By Jessica Wilson
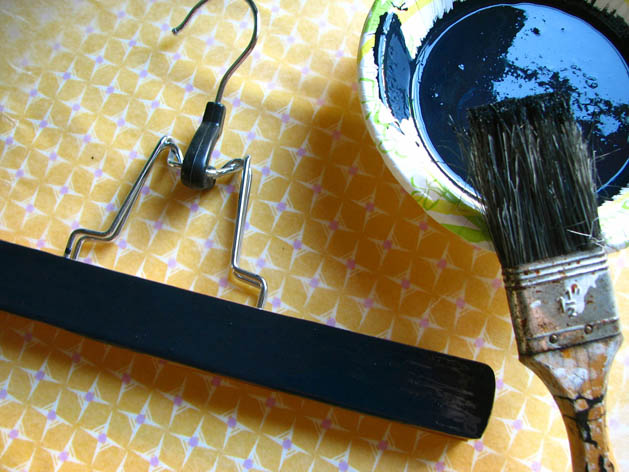
I’ve been using skirt and pants hangers to hold works in progress (WIP) for a half-dozen or so years. Because I lack pretty wall space, the projects that hang from the hangers generally end up in the closet where they are quickly forgotten. It’s that whole out of sight, out of mind thing, ya know? If and when I do happen across them again, I tend to forget why these pretty bits are all clipped together. My solution? Paint up a chalkboard hanger for easy labeling. It doesn’t hurt that they look pretty as well.
Materials
Chalkboard paint in a can
Paintbrushes, 1 large, 1 small
Wooden skirt/pants hangers
Chalk
Soft cloth
Note: Chalkboard paint comes both in a can and as a spray. For this project I recommend the can unless you don’t mind all parts of your hanger being green or black.
Directions
Step 1: Gather your supplies and find a paint-friendly workspace. I did this in my kitchen with a sheet of wax paper underneath all the paint and such. Mix your paint then dip your larger brush in, making sure to blot the excess paint off. Give the first side of your hanger a brushing, being careful of drips, and set aside to dry. Repeat for each hanger you wish to paint. I allowed 30 minutes between drying times.
Step 2: Once the first side is dry, flip your hanger over and paint the second side in the same manner as Step 1. Set aside to dry. Make sure you dry your brush thoroughly; too much water on the bristles will keep the paint from sticking to your surface. As an added precaution, you may wish to prime your hangers. It’s up to you.
Step 3: Pull the neck of the hanger down to open it up, and with your smaller brush, paint the top edges of the hanger around the wire neck. Then paint the sides. Once dry, paint the bottom edges and go gather some fabric and supplies that you want to hang. I did not paint the inside of my hanger because I am a lazy crafter.
Step 4: Now it is time to prep your surface. Grab your chalk and doodle all along the fronts and backs of your hangers. Wipe off with a small cloth, and you are now ready to label and hang!
Step 5: Label your happy hangers and hang something pretty on them. The super cool thing is that your works in progress are now easily mobile. You can carry them all over the place and they will look extra special and pretty as they hang on a wall or doorknob, just waiting to be recreated into something new. Don’t limit yourself to works in progress. You can turn them into impromptu inspiration boards or gift them to a friend with a pretty handmade something clamped gently in their grip. Have fun!
Note: I have heard that chalkboard paint comes in other colors as well. If you are really itching to make this project but cannot find chalkboard paint, you can probably use any indoor flat paint. I haven’t tried it, but I have written on my walls before.
About the Author:
Jessica Wilson is most happily known as ‘jek in the box’ and spends most of her time crafting it up and taking pictures. She can often be found standing on benches over on Flickr and creating all sorts of kiddie crafts on her blog scrumdilly-do! She lives a life of scrumdillydilly and loves to share.
0 thoughts on “Flashback: Chalkboard Hangers”
ADVERTISEMENT
Join Make: Community Today


Thank you! These will be great for my craft room.