Light_Jar_Baker

This article first appeared in Make: Volume 41.

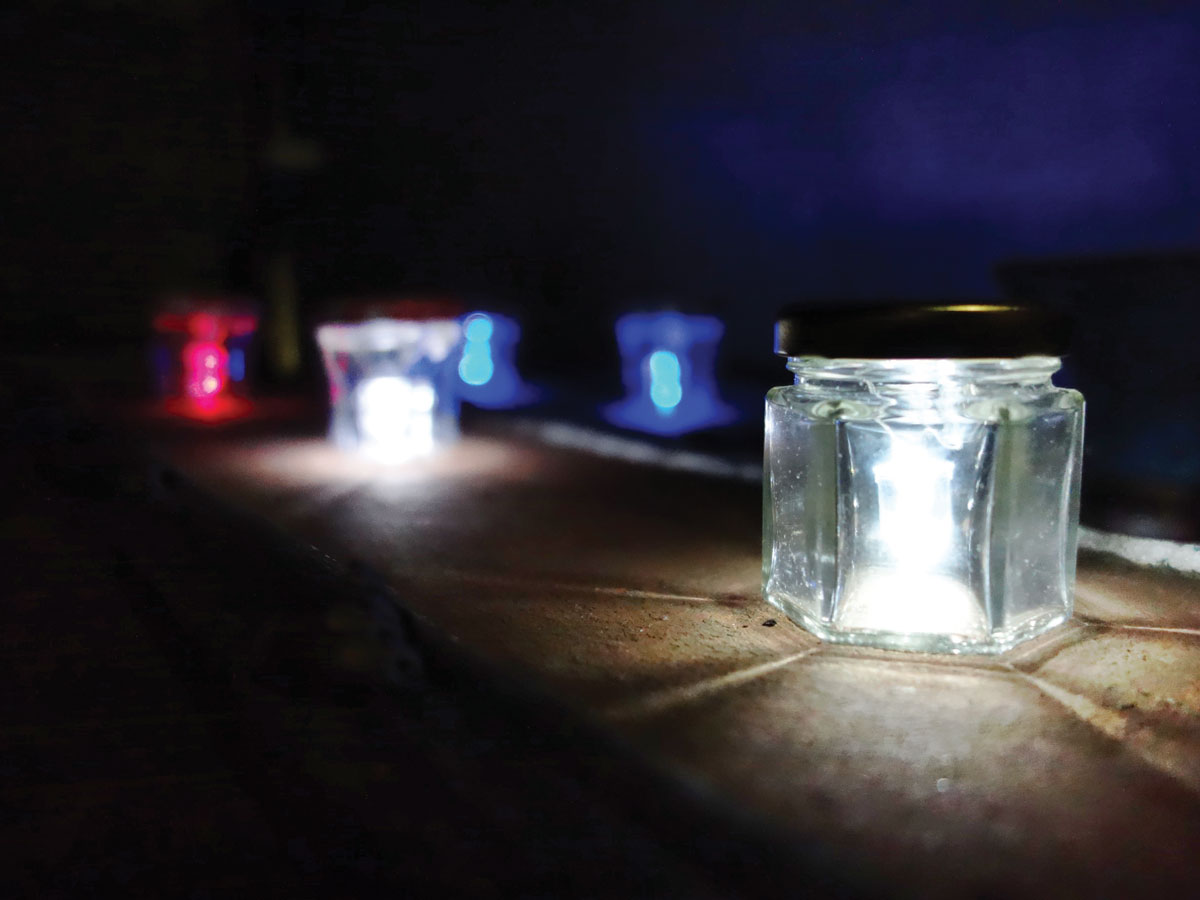
This cute little self-contained lamp works like a charm — set it right side up to turn the light on, flip it upside down to turn it off again. I call it the draailampje — that’s Dutch for “flip light.”

While most jars will work, I find a small, hexagonal jar to be particularly pretty. My first containers were mini jam jars from a hotel. Now I use 47mm hexagonal jars, which I buy in bulk.

Making a flip light is easy and fun — great for nontechnical people or first-time solderers, it makes for a perfect workshop or classroom activity.

Project Steps

Test the LED

Identify the negative (–) and positive (+) leads of the LED. The negative is usually the shorter of the 2 legs, but here’s how to be sure: Slip the coin cell battery between the leads. If it doesn’t light, flip it over. When it lights, the negative lead is the one touching the negative (–) side of the battery.

Put a kink in the negative lead if necessary, so you can find it later.

Prepare the battery holder

Use pliers to fold the legs of the battery holder flat, toward the outside.

Solder the LED

Solder the negative lead from the LED to the negative (–) lead from the battery holder.

Solder the tilt switch

Solder one leg of the tilt switch to the positive (+) lead of the battery holder and the other leg to the positive lead of the LED. Depending on the switch you’re using, this may require some bending.

You can use a helping hands tool but I just use a bit of kneaded-rubber eraser to hold the components while I solder.

Clip off any excess leads.

Add the battery

Insert the battery in its holder, and flip the lamp assembly upside down to test the on-off action of your LED and tilt switch.

Mount battery holder to jar lid

Glue or tape the lamp battery holder to the jar lid, bending the LED and switch leads if necessary.

Two ways of making

NOTE: There are 2 ways of mounting this type of tilt switch: you can simply solder the leads, as in the example on the right, or you can strip part of the switch’s coating and also solder the switch body to the battery lead for extra strength, as in the example on the left.

Use your draailampje

Next to the bed, at the campsite, in the rain — this handy lamp has many uses. And the light will remain bright for 5 days and nights of continuous use — just replace the inexpensive battery when it starts to dim.

Going further

Why not upgrade your draailampje? Try adding a slow-fading multicolor LED, or making it solar powered or rechargeable.

Let us know what you do with your flip lights in the comments, below!