tincanstove-camping-1

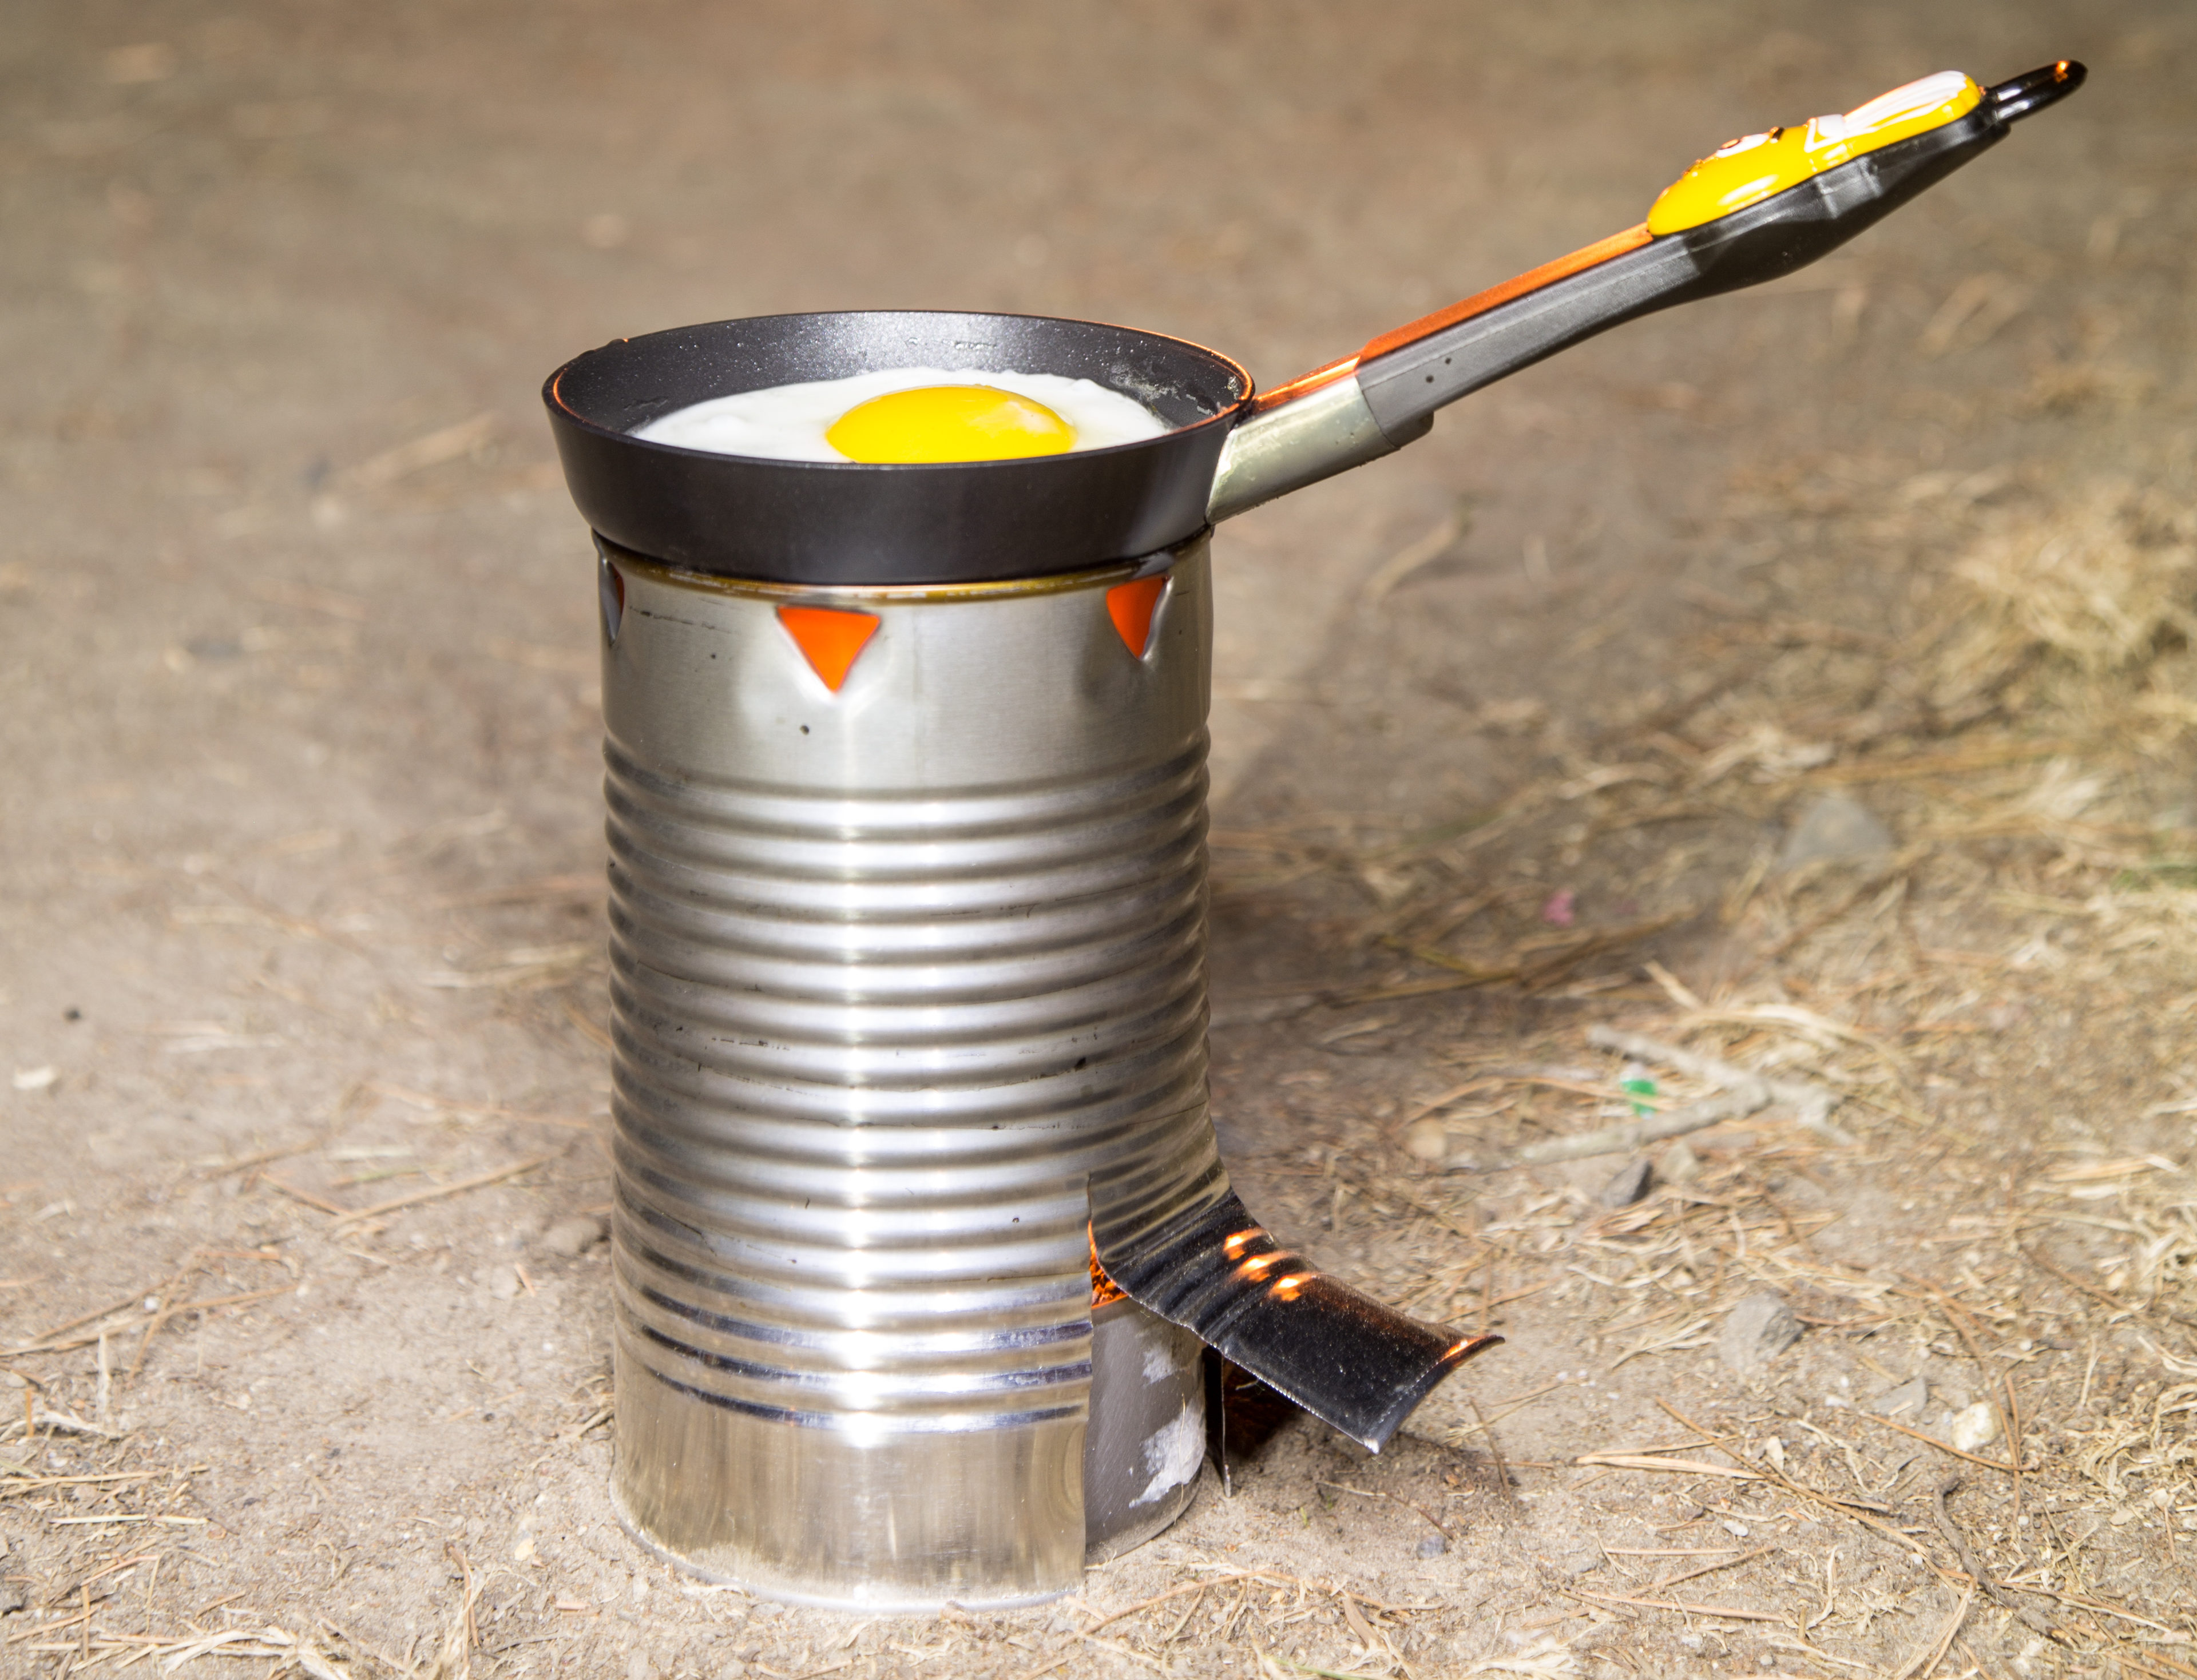
The Tin Can Cooker is a homemade outdoor stove that really works. Generations of Scouts have learned to make and use “Buddy Burners” for camping and emergencies. Instead of wood or liquid fuel, the Tin Can Cooker burns a small can of wax and cardboard. A larger can fits over it and holds your cooking pot. Each wax can should burn an hour or more. Make several so you always have one on hand.

Project Steps

1. 

c05f043-cans_cardboard_flopped

Curl up strips of cardboard and fit them loosely inside each of your small cans. Leave enough space for wax. Or you can cut short strips and arrange them to form a star that divides the can into pie-shaped slices. The cardboard will act as a wick to get the wax burning across the top of the can. Set the prepared cans on a protected surface, such as a cookie sheet covered in newspaper or aluminum foil. Place it close to where you’ll be melting the wax.

2.

c05f044-double_boiler

Break up wax or candles to fit into the top pan of the double boiler. Fill the bottom pan about halfway with water. Fit the top pan into it so it sits above the water. If you don’t have a double boiler, set a medium-sized saucepan so it sits over a larger saucepan of boiling water. Turn the stove on medium to heat the water to a steady boil. Let the wax melt until it is completely liquid.

3.

c05f045-pouring_wax

Carefully pour the melted wax into the prepared cans. Leave the top edge of the cardboard sticking up above the level of the wax. If your wax starts to harden as you’re pouring it, just reheat it to melt it again. Let cool until hardened.

4.

Take the large can and remove the entire top with a can opener.

5.

Hold the large can with the open end pointing away from you. Take the church key can opener and make 3 or 4 openings at the closed end, around one side, about 1″ apart.

c05f047-tin_snips

6.

Turn the large can so the opening is toward you. You have two options for letting air in at the bottom to feed the flames:

If you don’t have tin snips: Use the church key can opener to punch holes all around the open end of the can, about 3″ apart. Take a pair of pliers and fold up the sharp points of metal created by each hole and squeeze them flat.

If you do have tin snips: Create a flap that acts like a fireplace damper to control the airflow. The more oxygen, the higher the flames. Put on heavy work gloves to protect your hands from sharp metal edges. Use the tin snips to cut 2 slits into the side, about 3″ inches long and 3″ apart. Then grab the edge of the can between the slits and bend it outward to make the flap.

7.

To use your stove, place the wax can on a flat, nonflammable surface, like a stone paver. Light the cardboard strips, like lighting the wick of a candle. You want the flame to cover the entire top of the can.

When the wax can is lit, adjust the flap on the large can and place it over the smaller can so the holes on the top are facing away from you. (This keeps smoke from blowing in your face.) Now you can cook on top!

tincanexploded

Safety Tips for Tin Can Cookery

Tin Can Cookers use an open flame. They can be dangerous, so be sure to follow these safety rules!

lrg
This article is adapted from Edible Inventions: Cooking Hacks and Yummy Recipes You Can Build, Mix, Bake, and Growavailable now.
  • Adult supervision is needed to make and use a Tin Can Cooker.
  • Wear heavy gloves when handling cut-metal edges.
  • Always keep an eye on melting wax and on the lit cooker. Do not leave them unattended.
  • Do not melt wax in the microwave or directly on the stove. Always use a double boiler (or make one from two saucepans).
  • Always use hot pads or oven mitts to handle hot pots. Use metal tongs to adjust the cooking can or the wax burner.
  • Make sure to use your Tin Can Cooker on a level, fireproof surface, such as a flat paving stone. Watch out for hot liquid wax in the burner — avoid spilling it.
  • Do not pour water on burning wax. Use a brick or a metal lid to cover the wax can and smother the flames.
  • Tin can cookers can blacken cooking utensils with soot from the burning wax, so don’t use them with your best pots and pans.
  • Pick up a camping skillet and spatula or small, sturdy garage sale pots and pans and save them just for outdoor cooking.
  • Use nonflammable oven mitts and a pair of pliers if you need to adjust the flap while the stove is in use.
  • The entire tin can stove gets hot, so never touch it with bare hands while it is lit!

Conclusion

Your Tin Can Cooker is perfect for traditional outdoor fare like grilled cheese and egg-in-a-hole. Find those recipes and more in my book Edible Inventions: Cooking Hacks and Yummy Recipes You Can Build, Mix, Bake, and Grow.