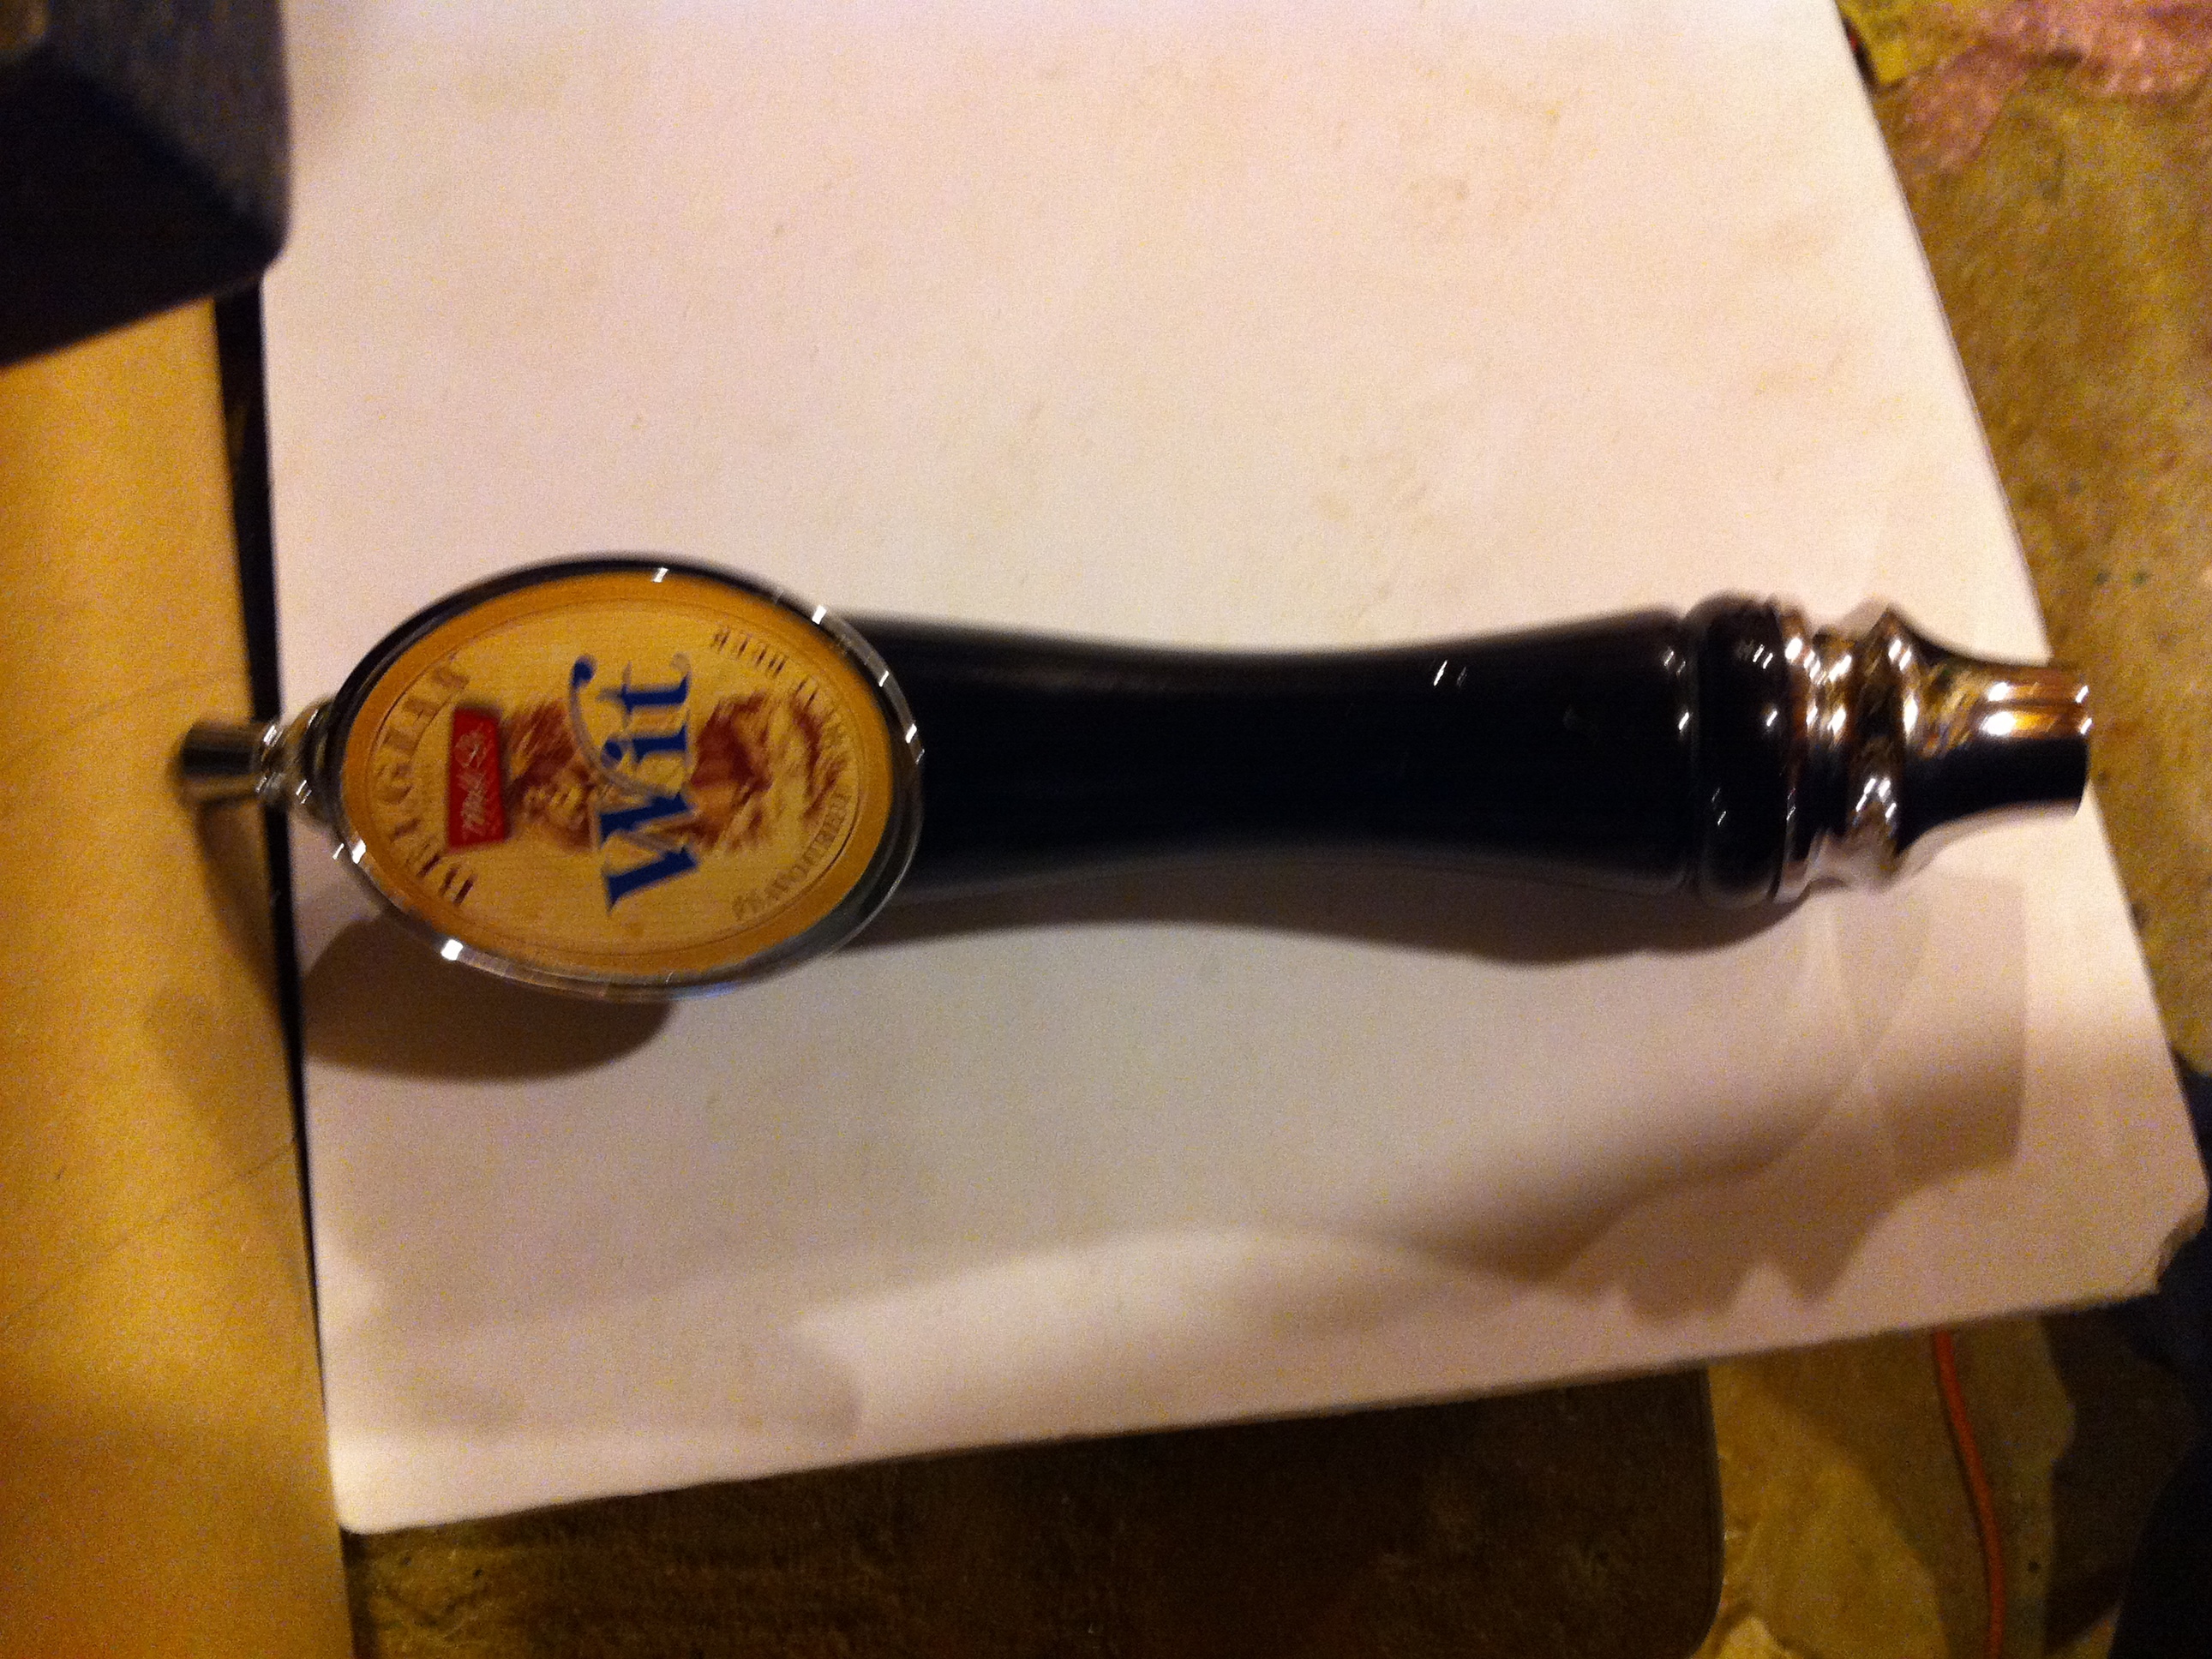
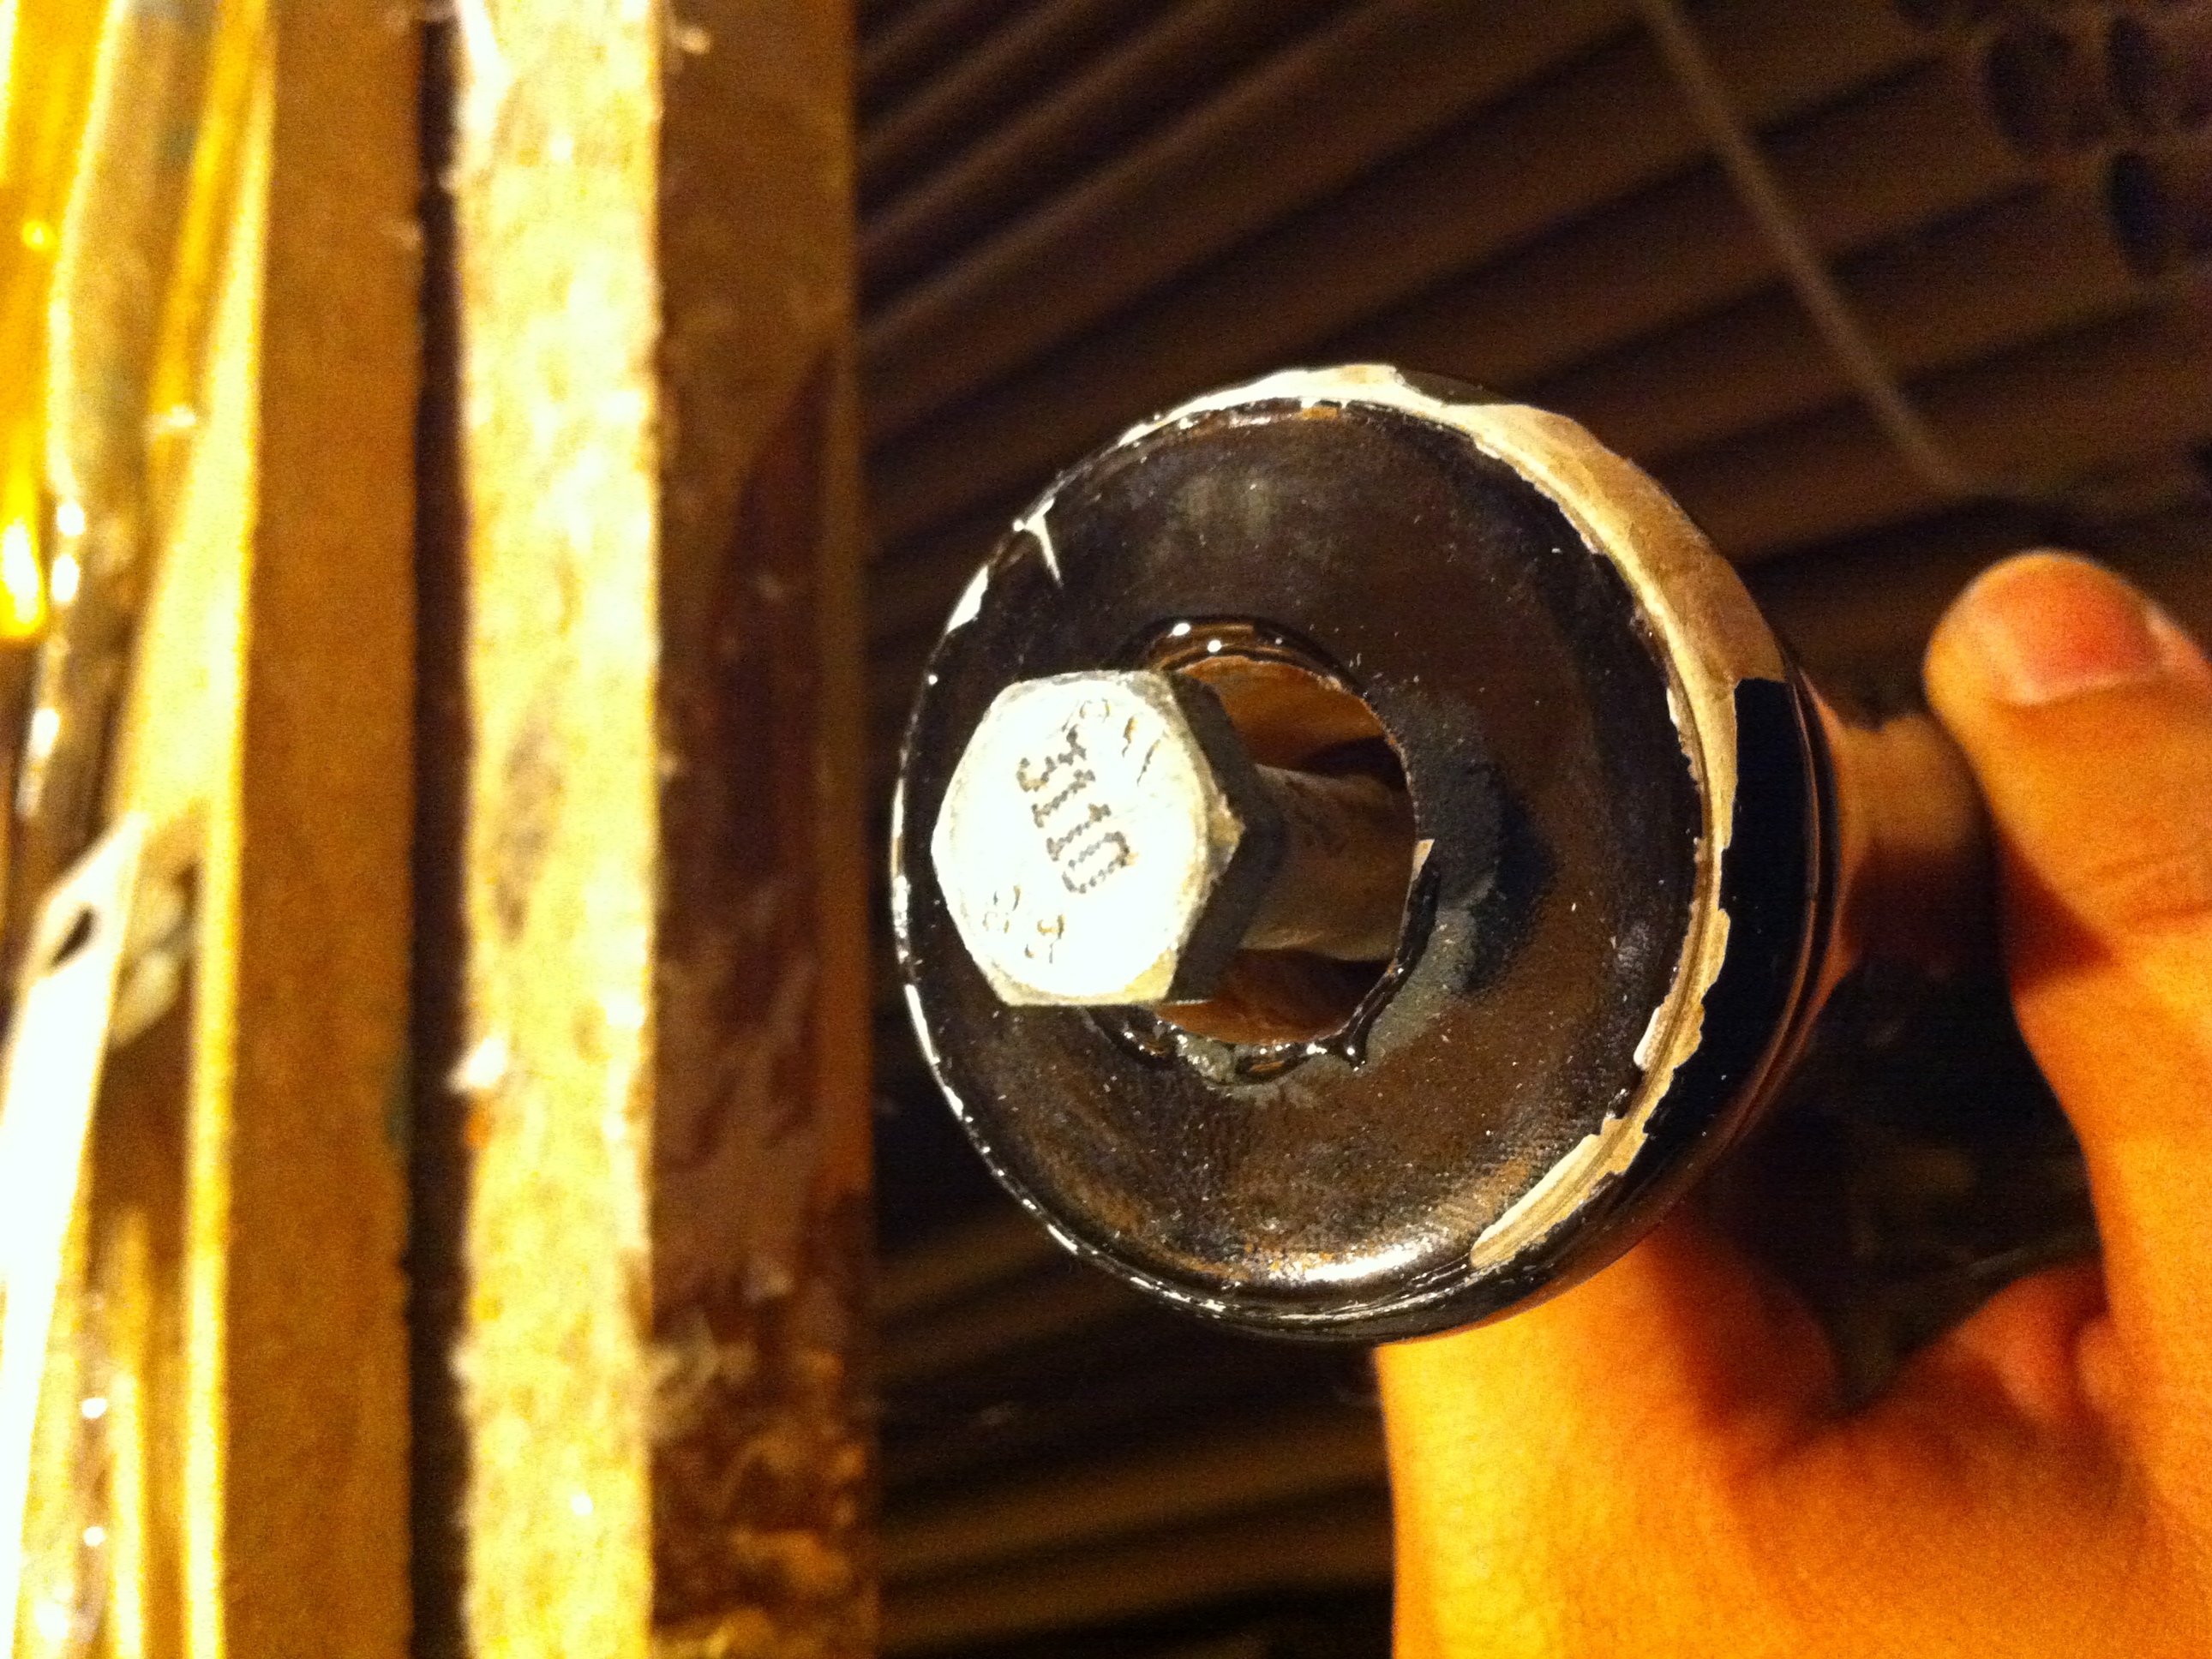
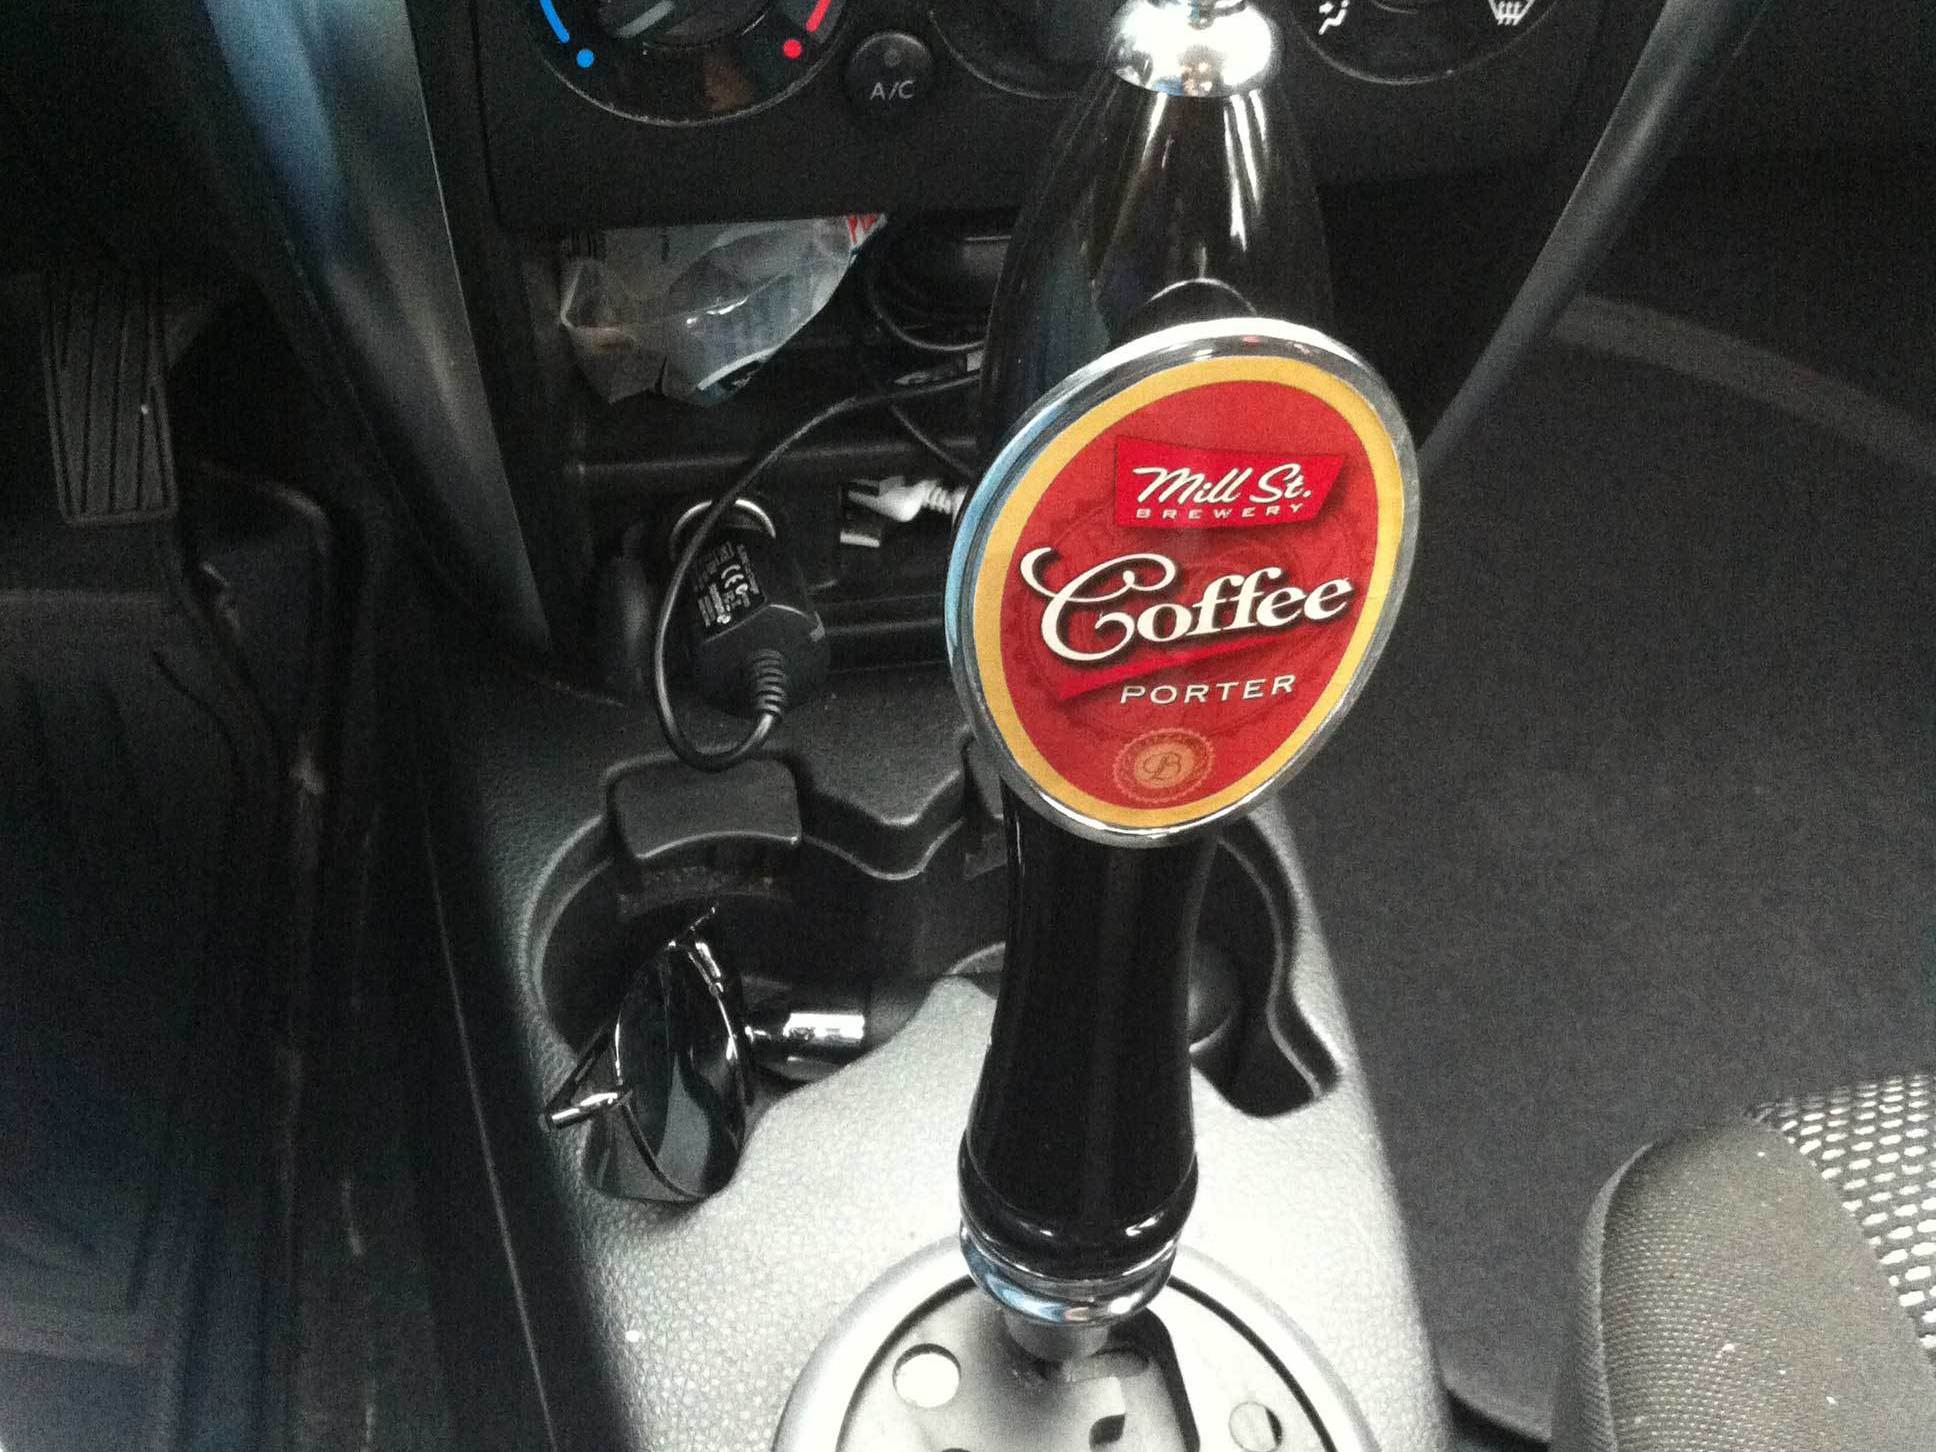
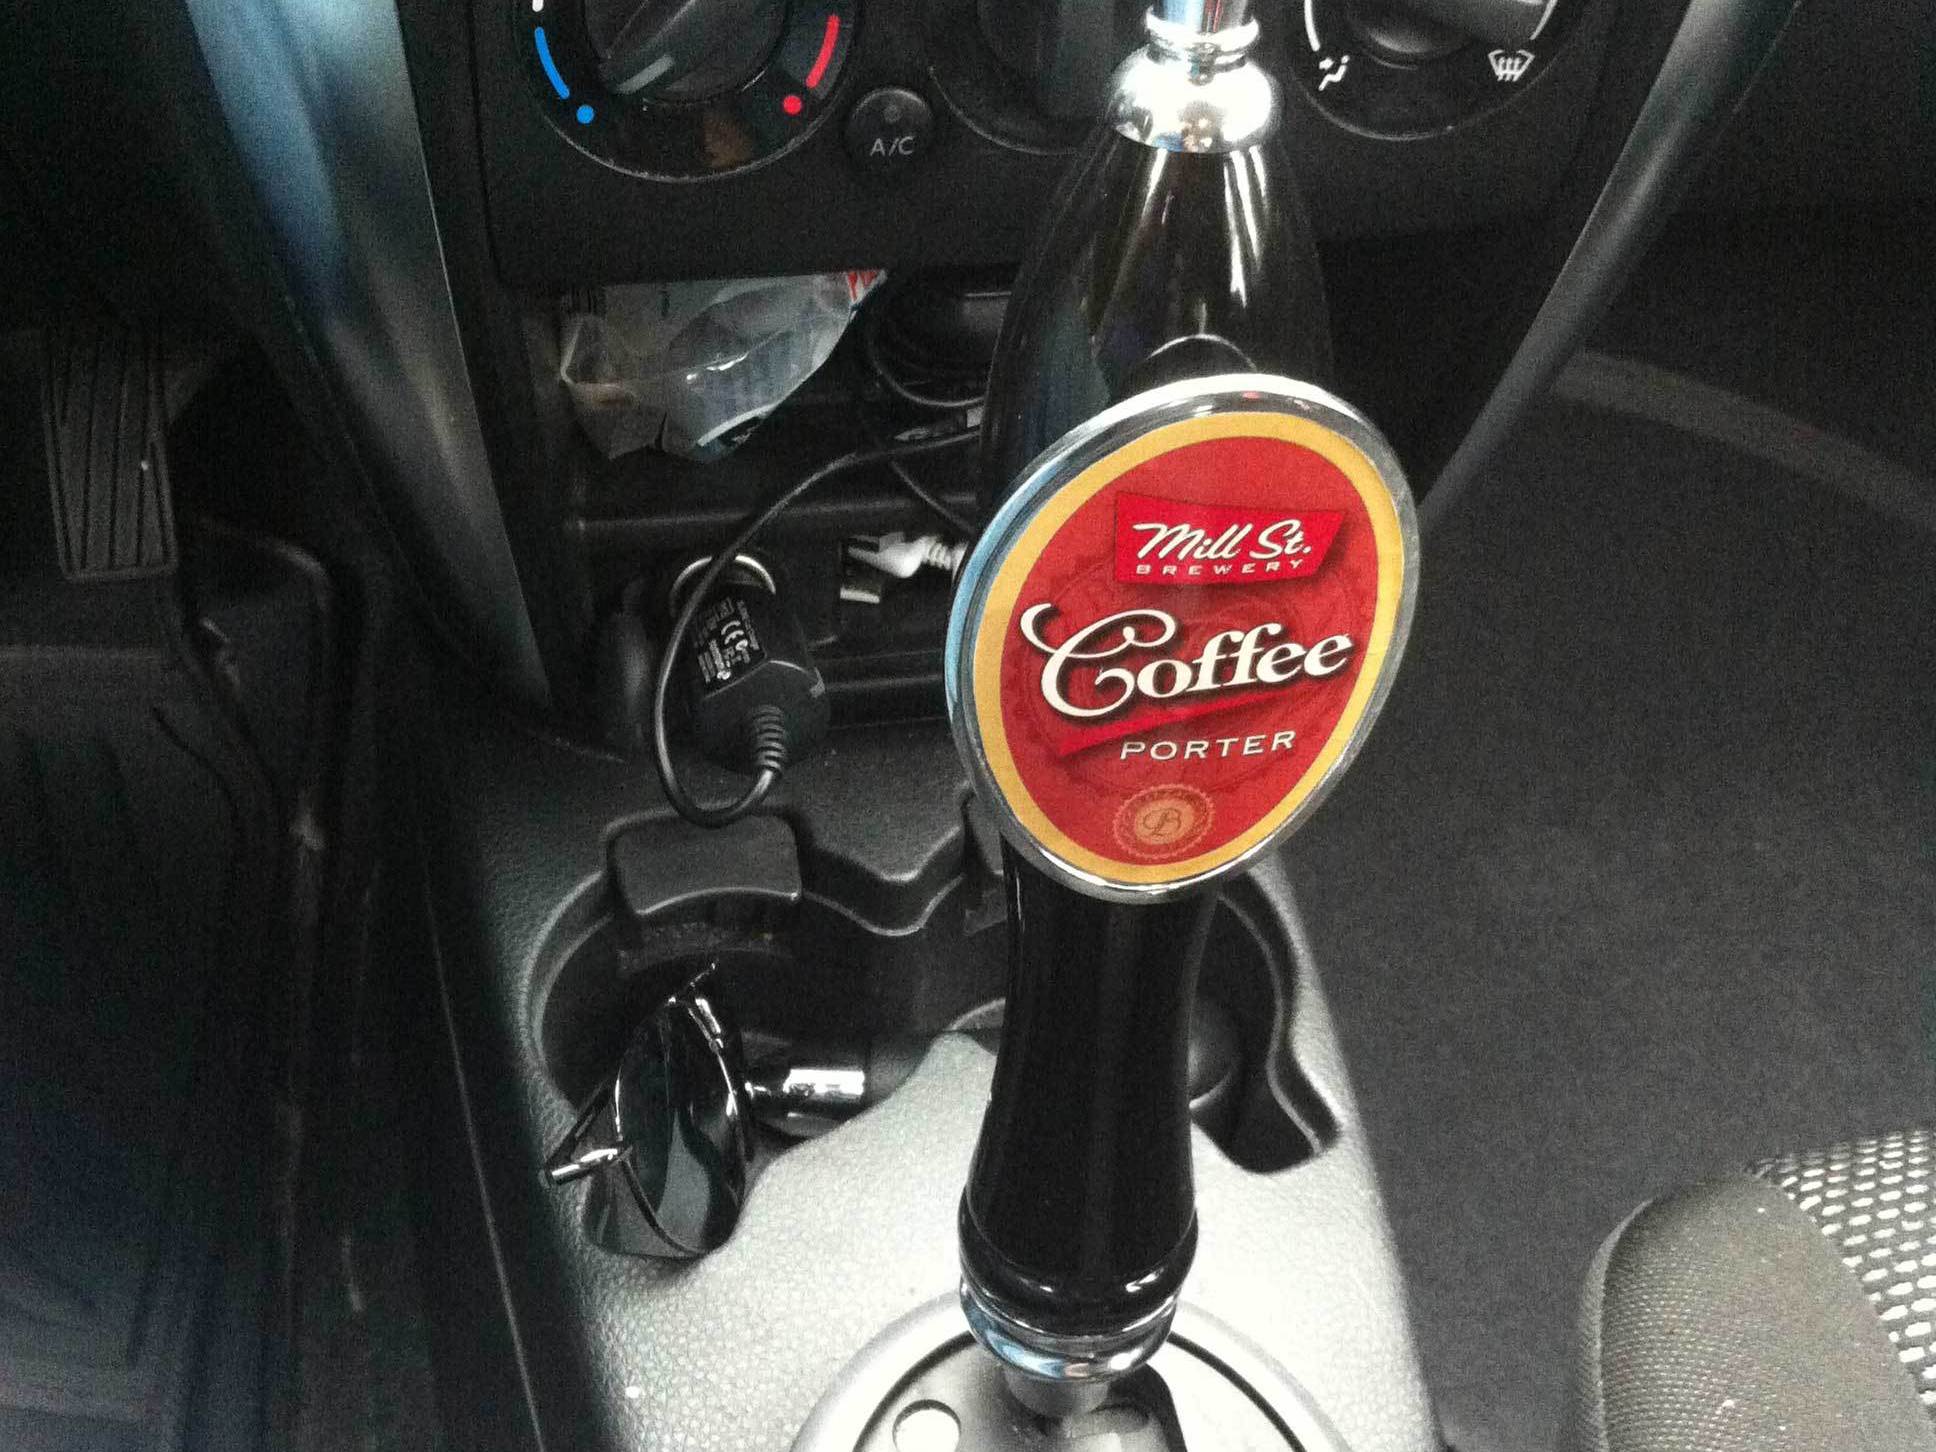
Beer tap handles; is there anything cooler? Probably, but they’re still pretty awesome. What’s more awesome is to stick your favourite beer tap handle on your car’s shifter. Your friends will be impressed, your beer will thank you, and cops will love it. All this can be yours with a little elbow grease and around $20. Obviously the first step is to get a beer tap handle. But where? Well, as my good friend and barkeep Hadley pointed out, beer companies are tripping over themselves trying to hand out these handles with each bar keg they sell. Chances are your local watering hole will have no shortage of handles waiting for you to stick in your car and will probably be more than happy to part with them for free!

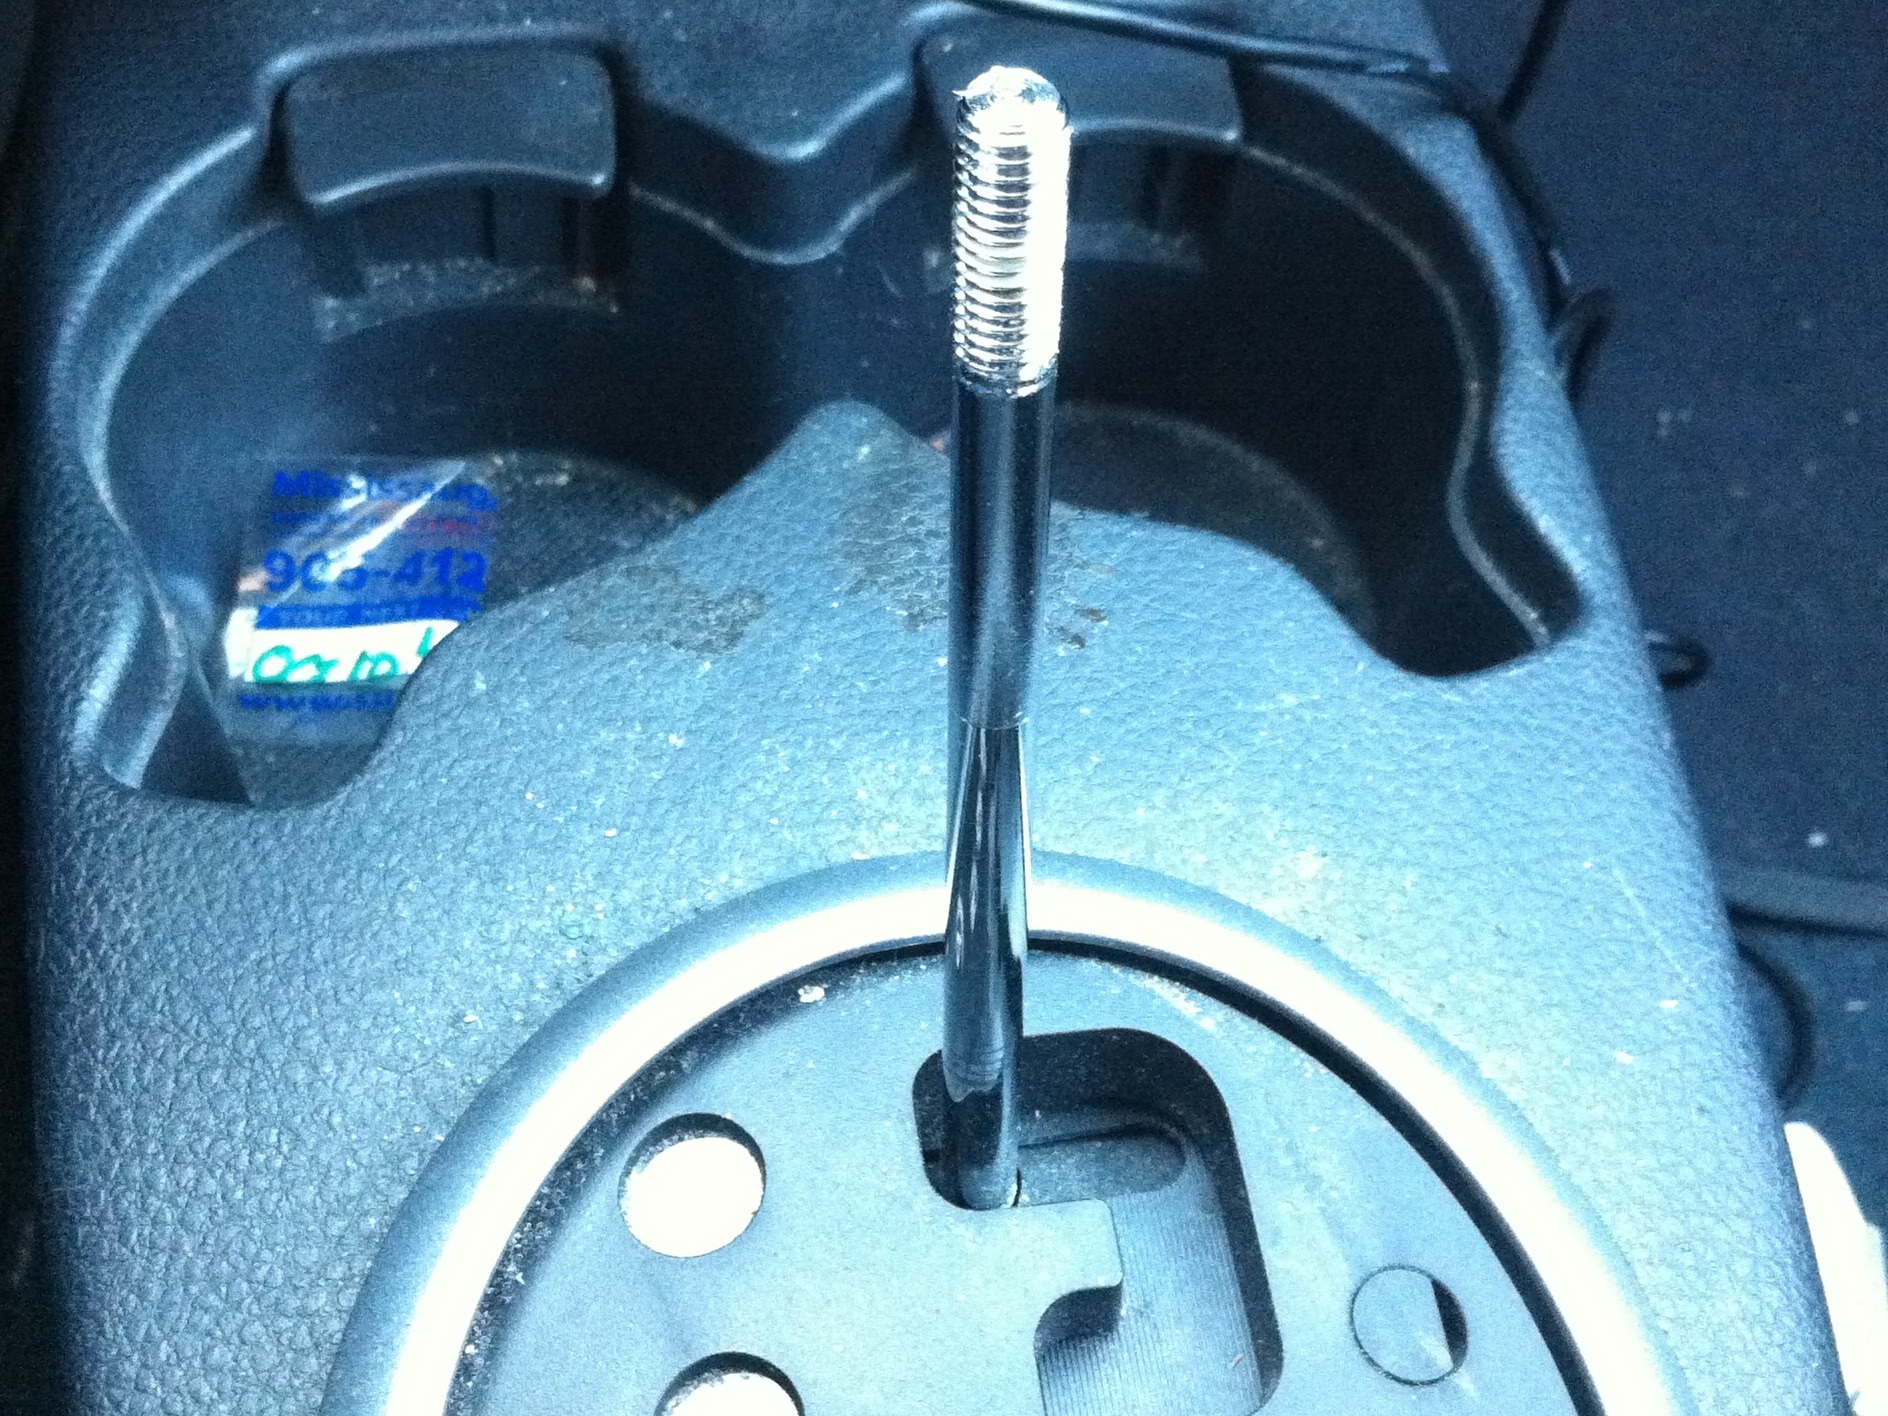
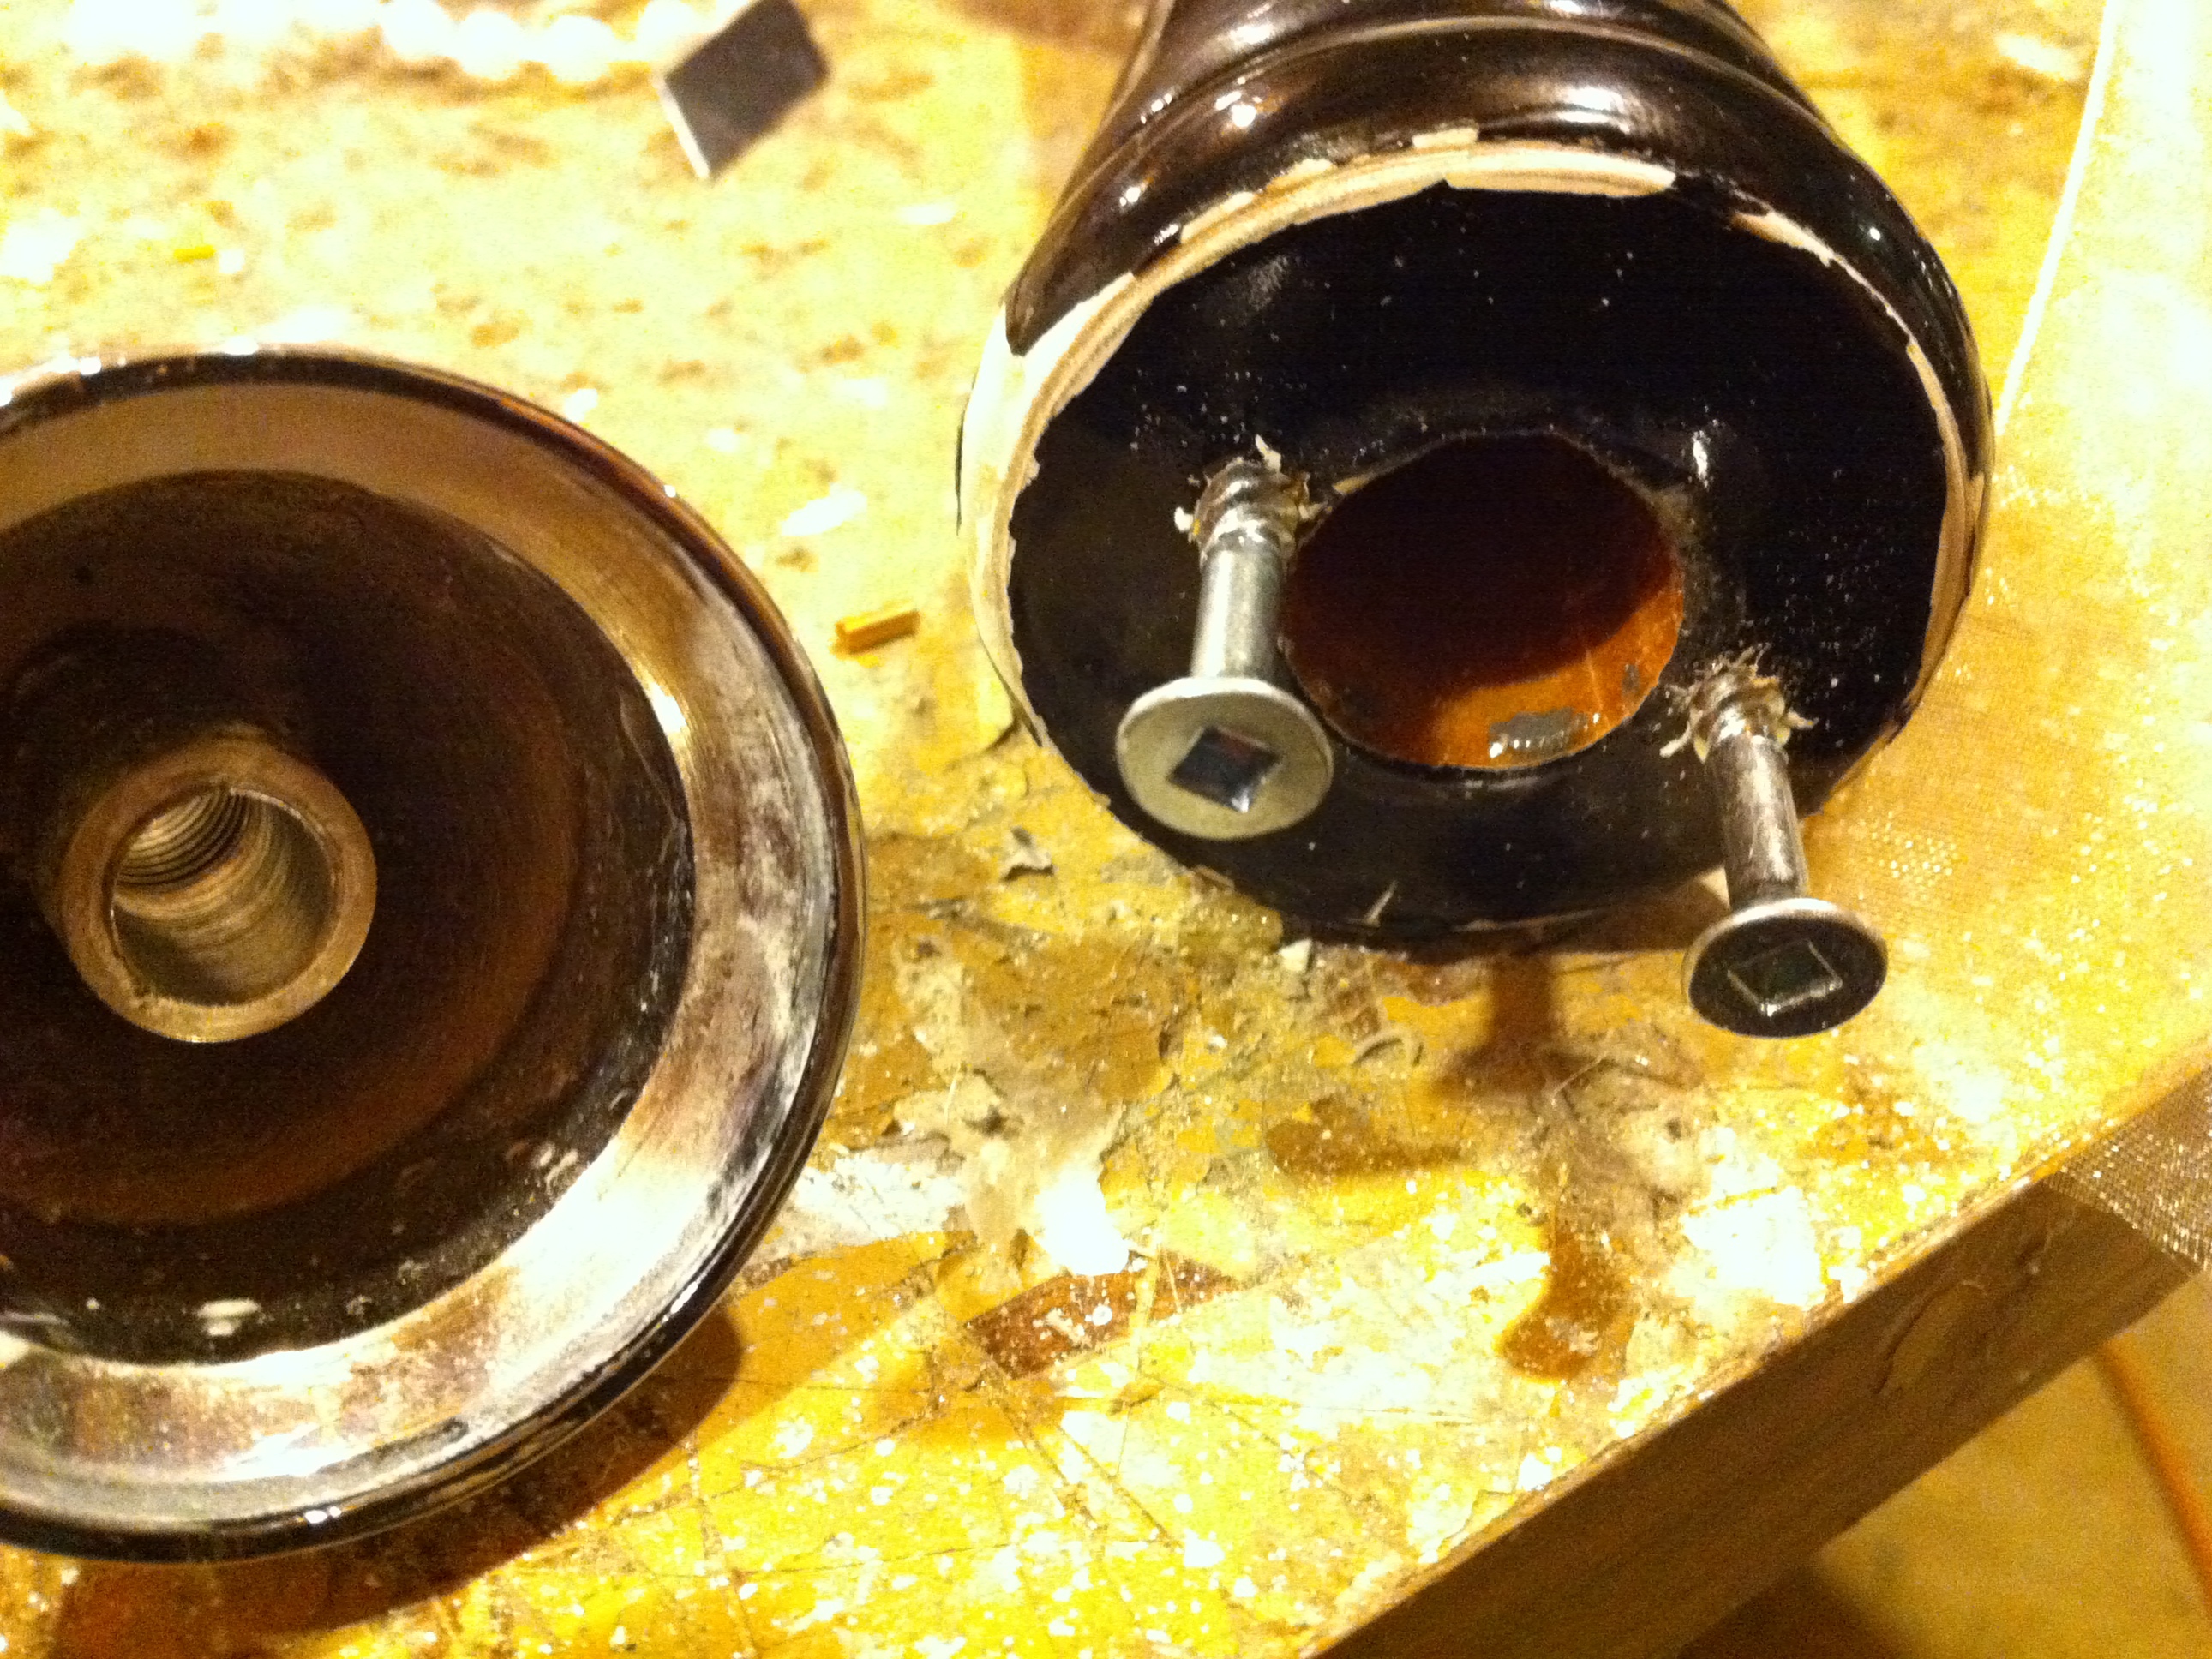
This guide will describe how to install one in my car (Suzuki SX4) but you can do this for any car whose shifter doesn’t have a button on it. The size of the shifter shaft might be different as well so you’ll have to investigate your car.

Here’s what you’ll need:
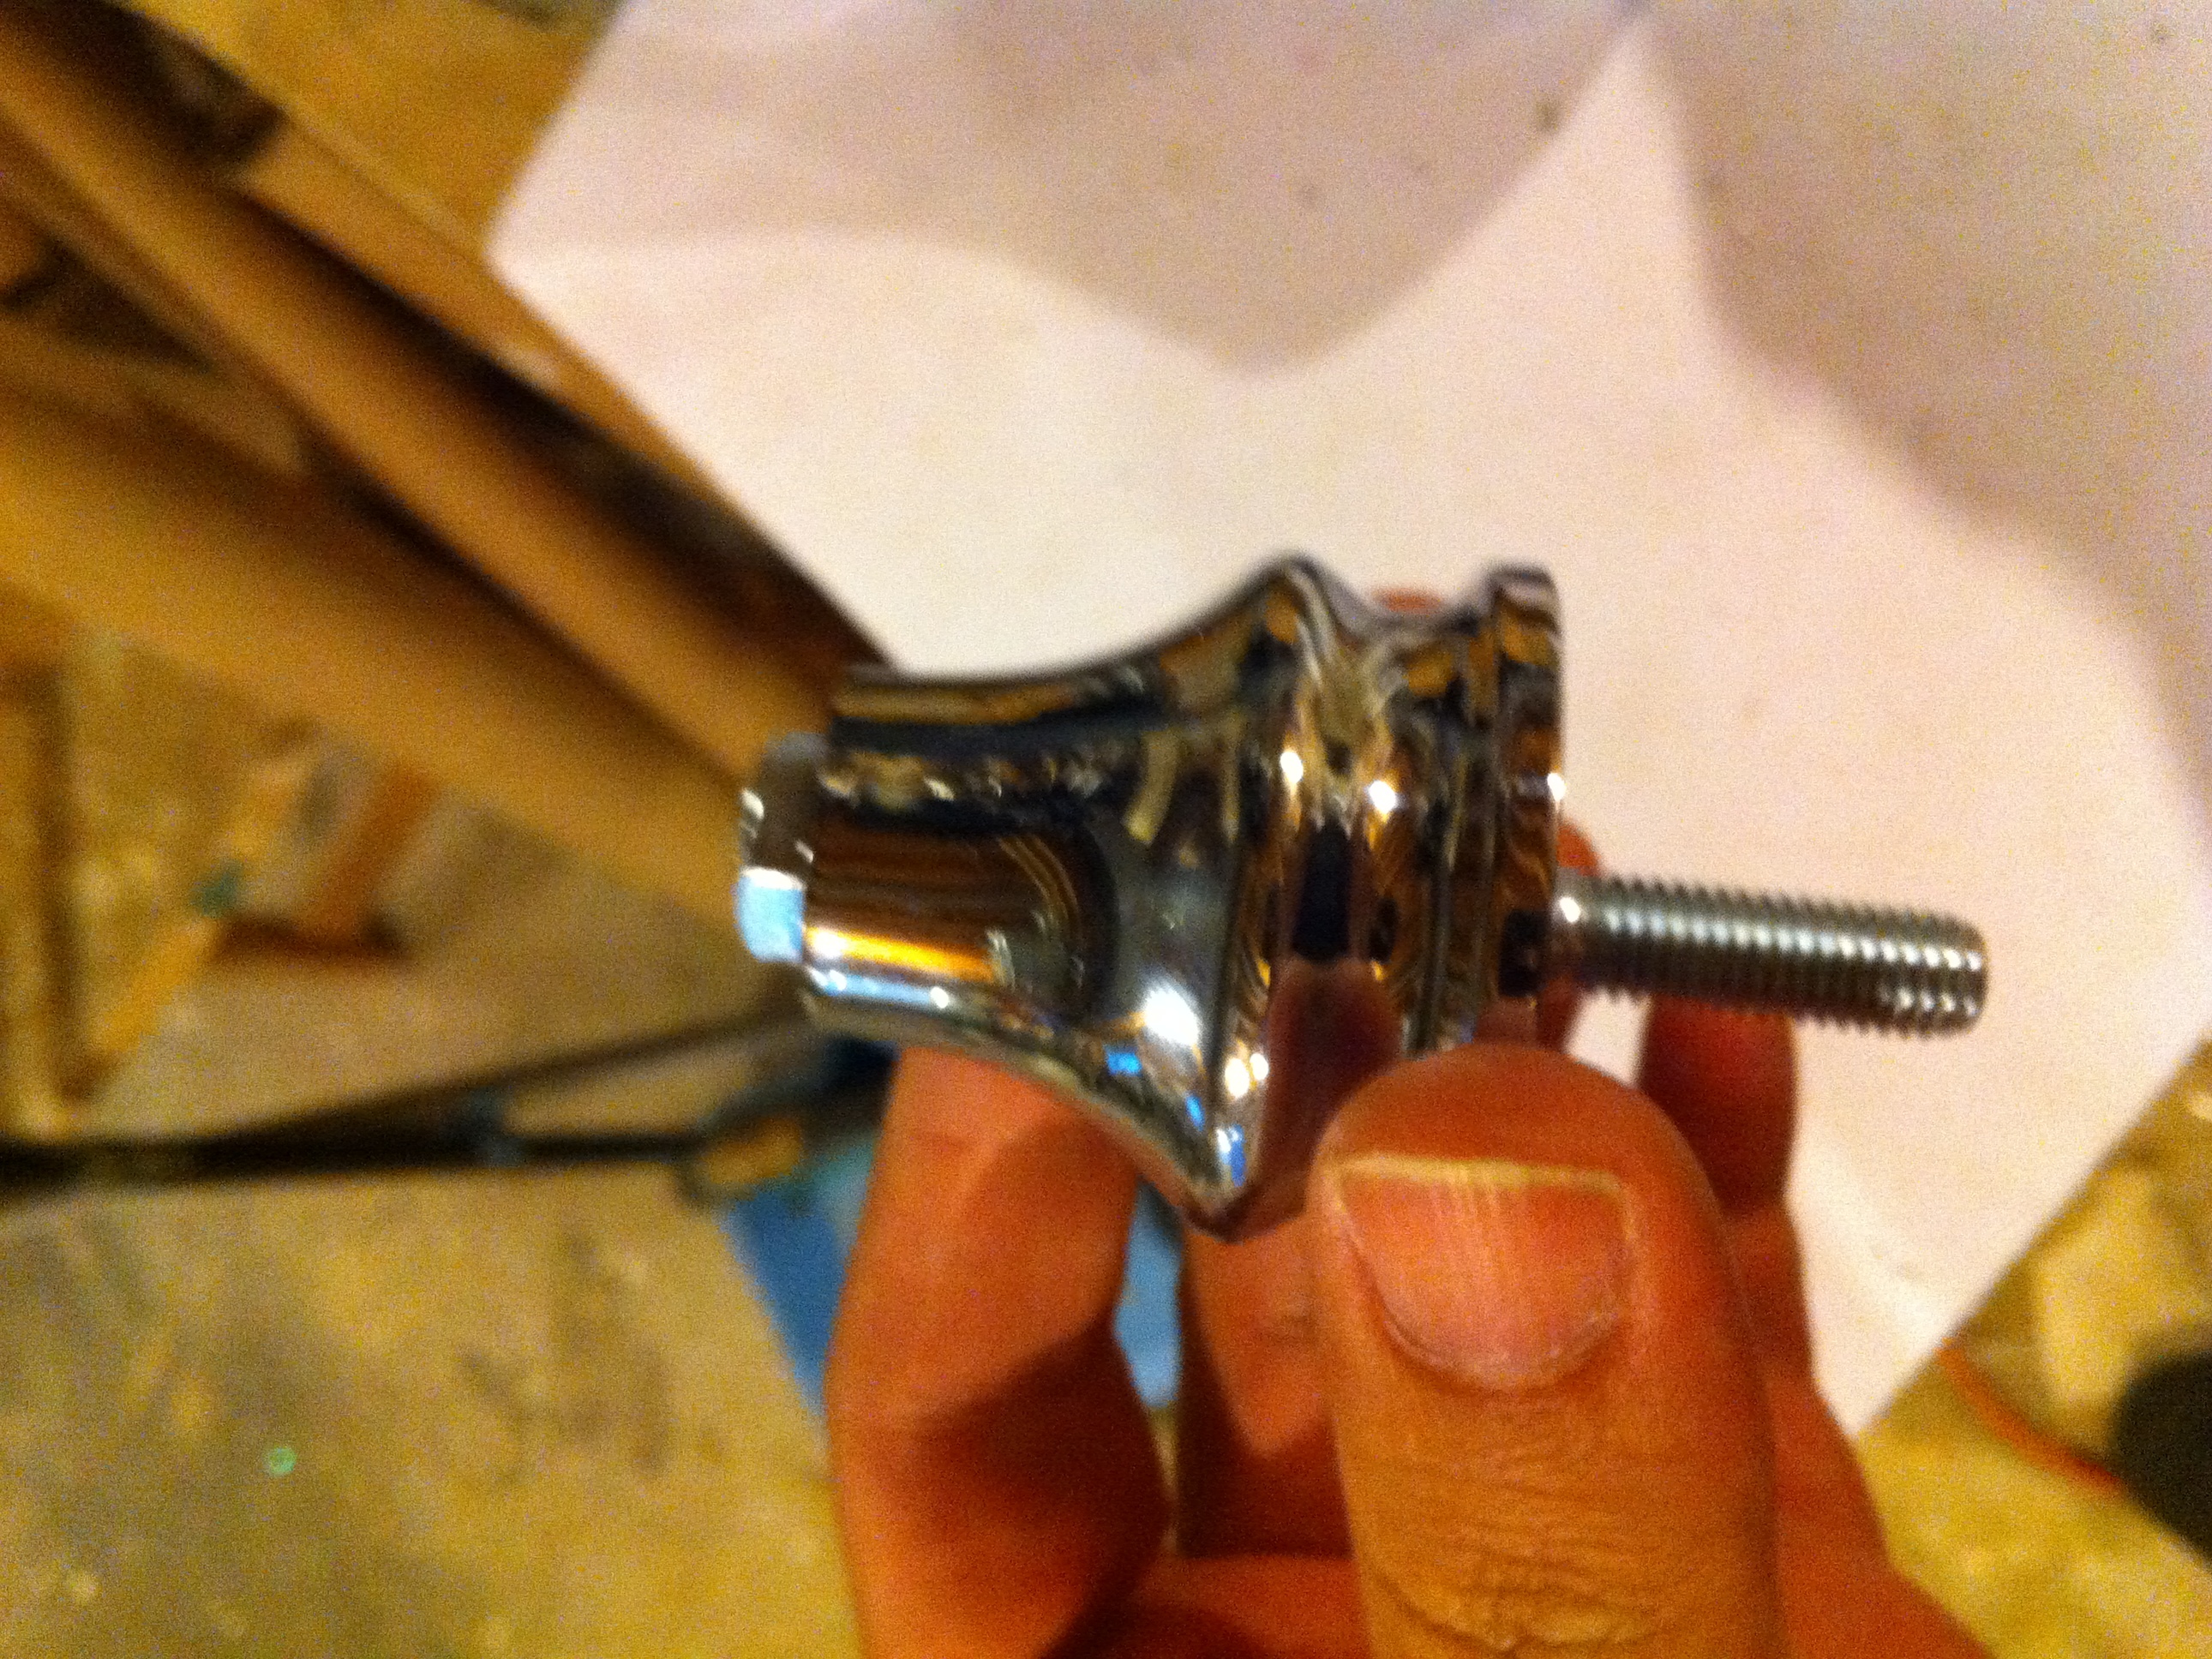
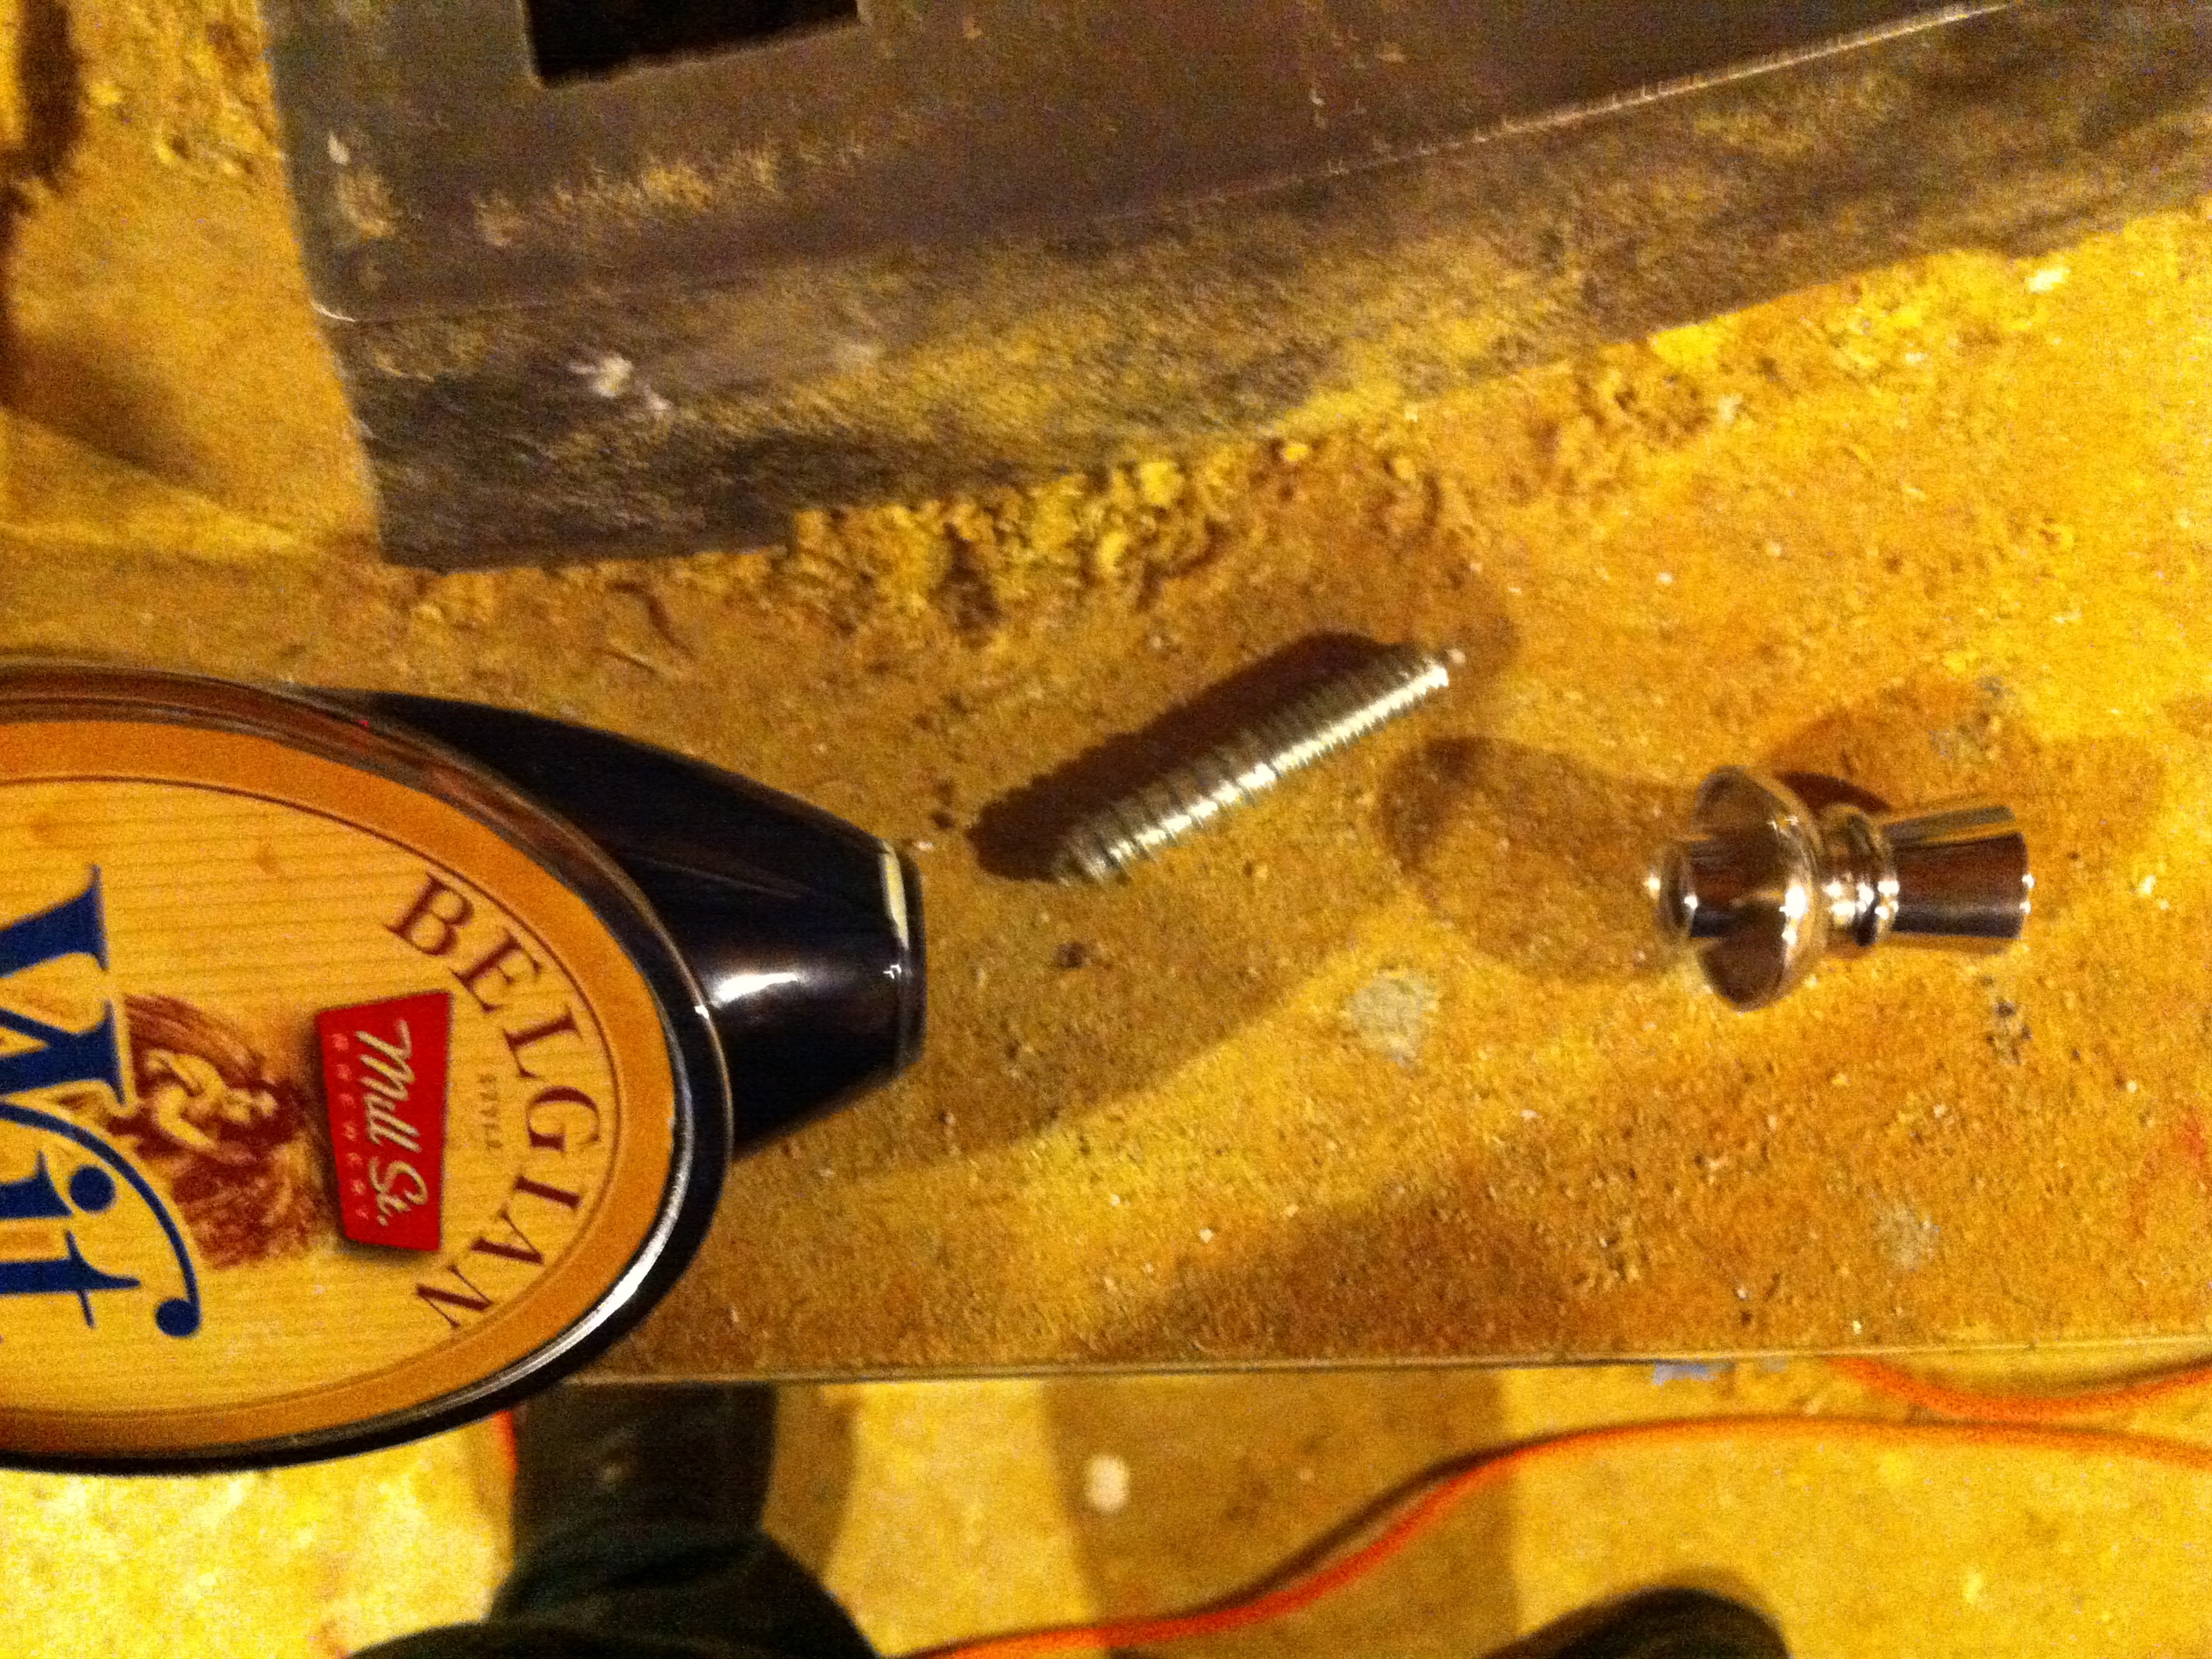
  • Tap handle
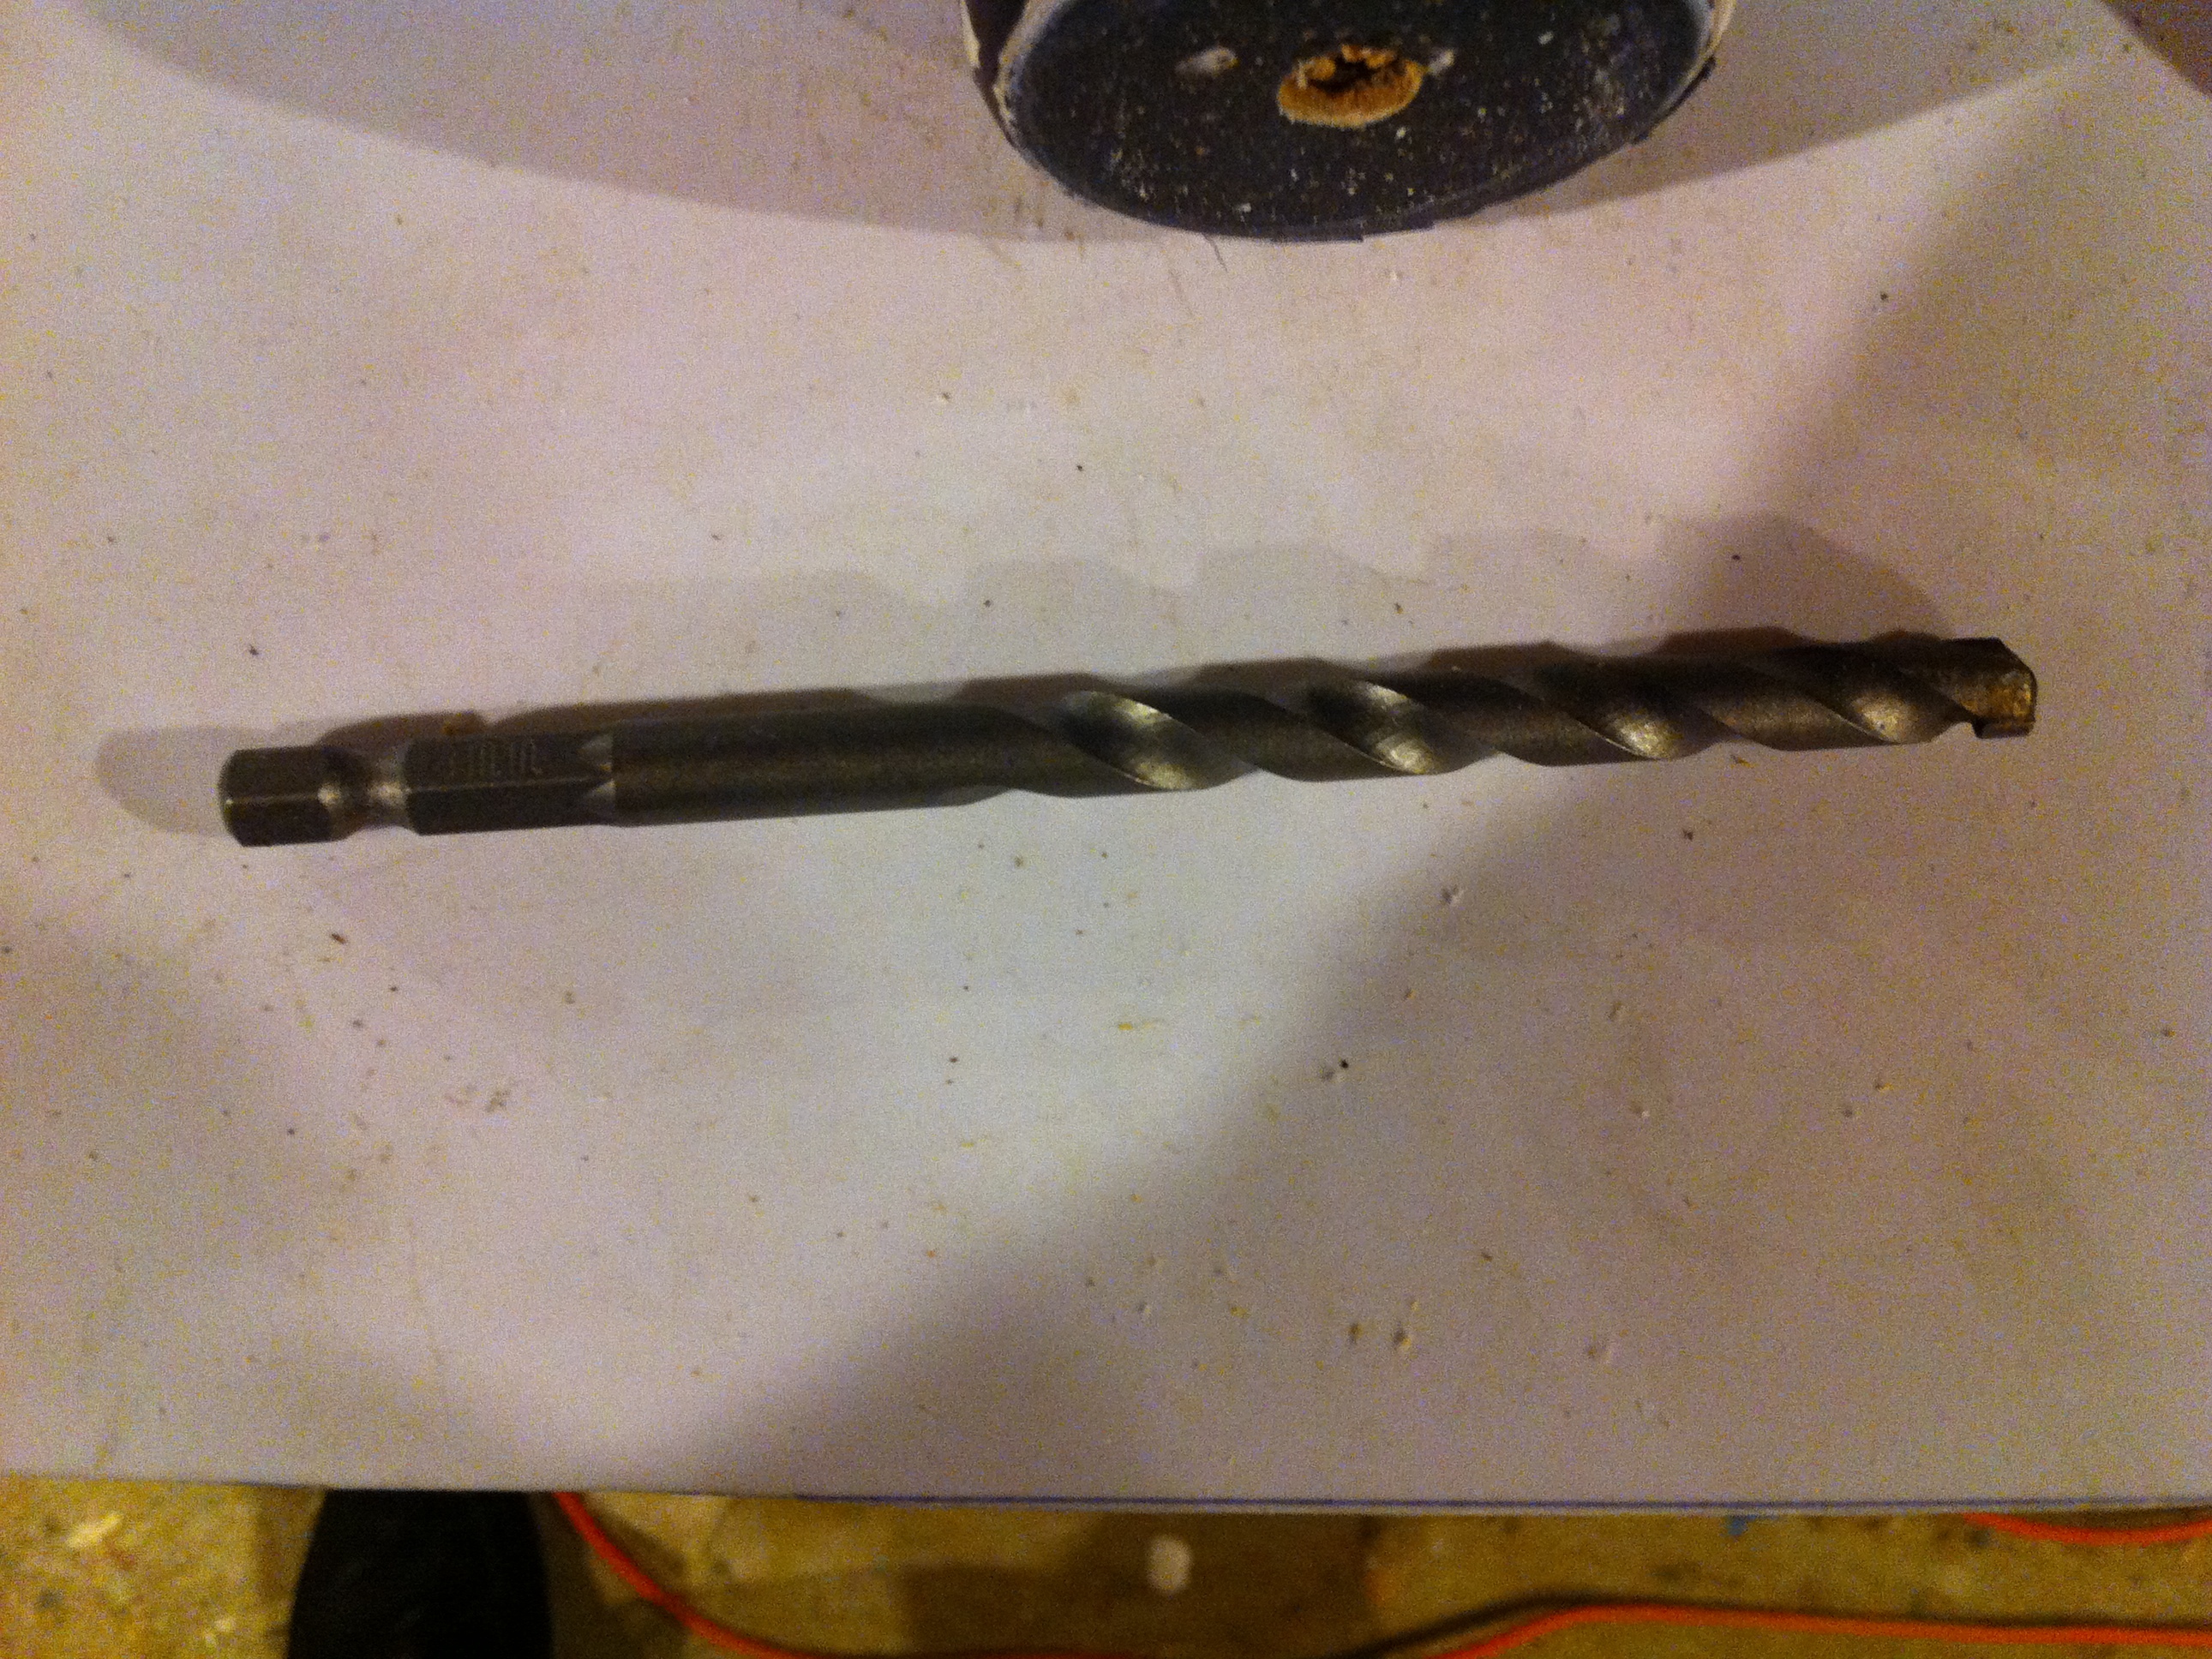
  • 8mm drill bit (that can go through metal)
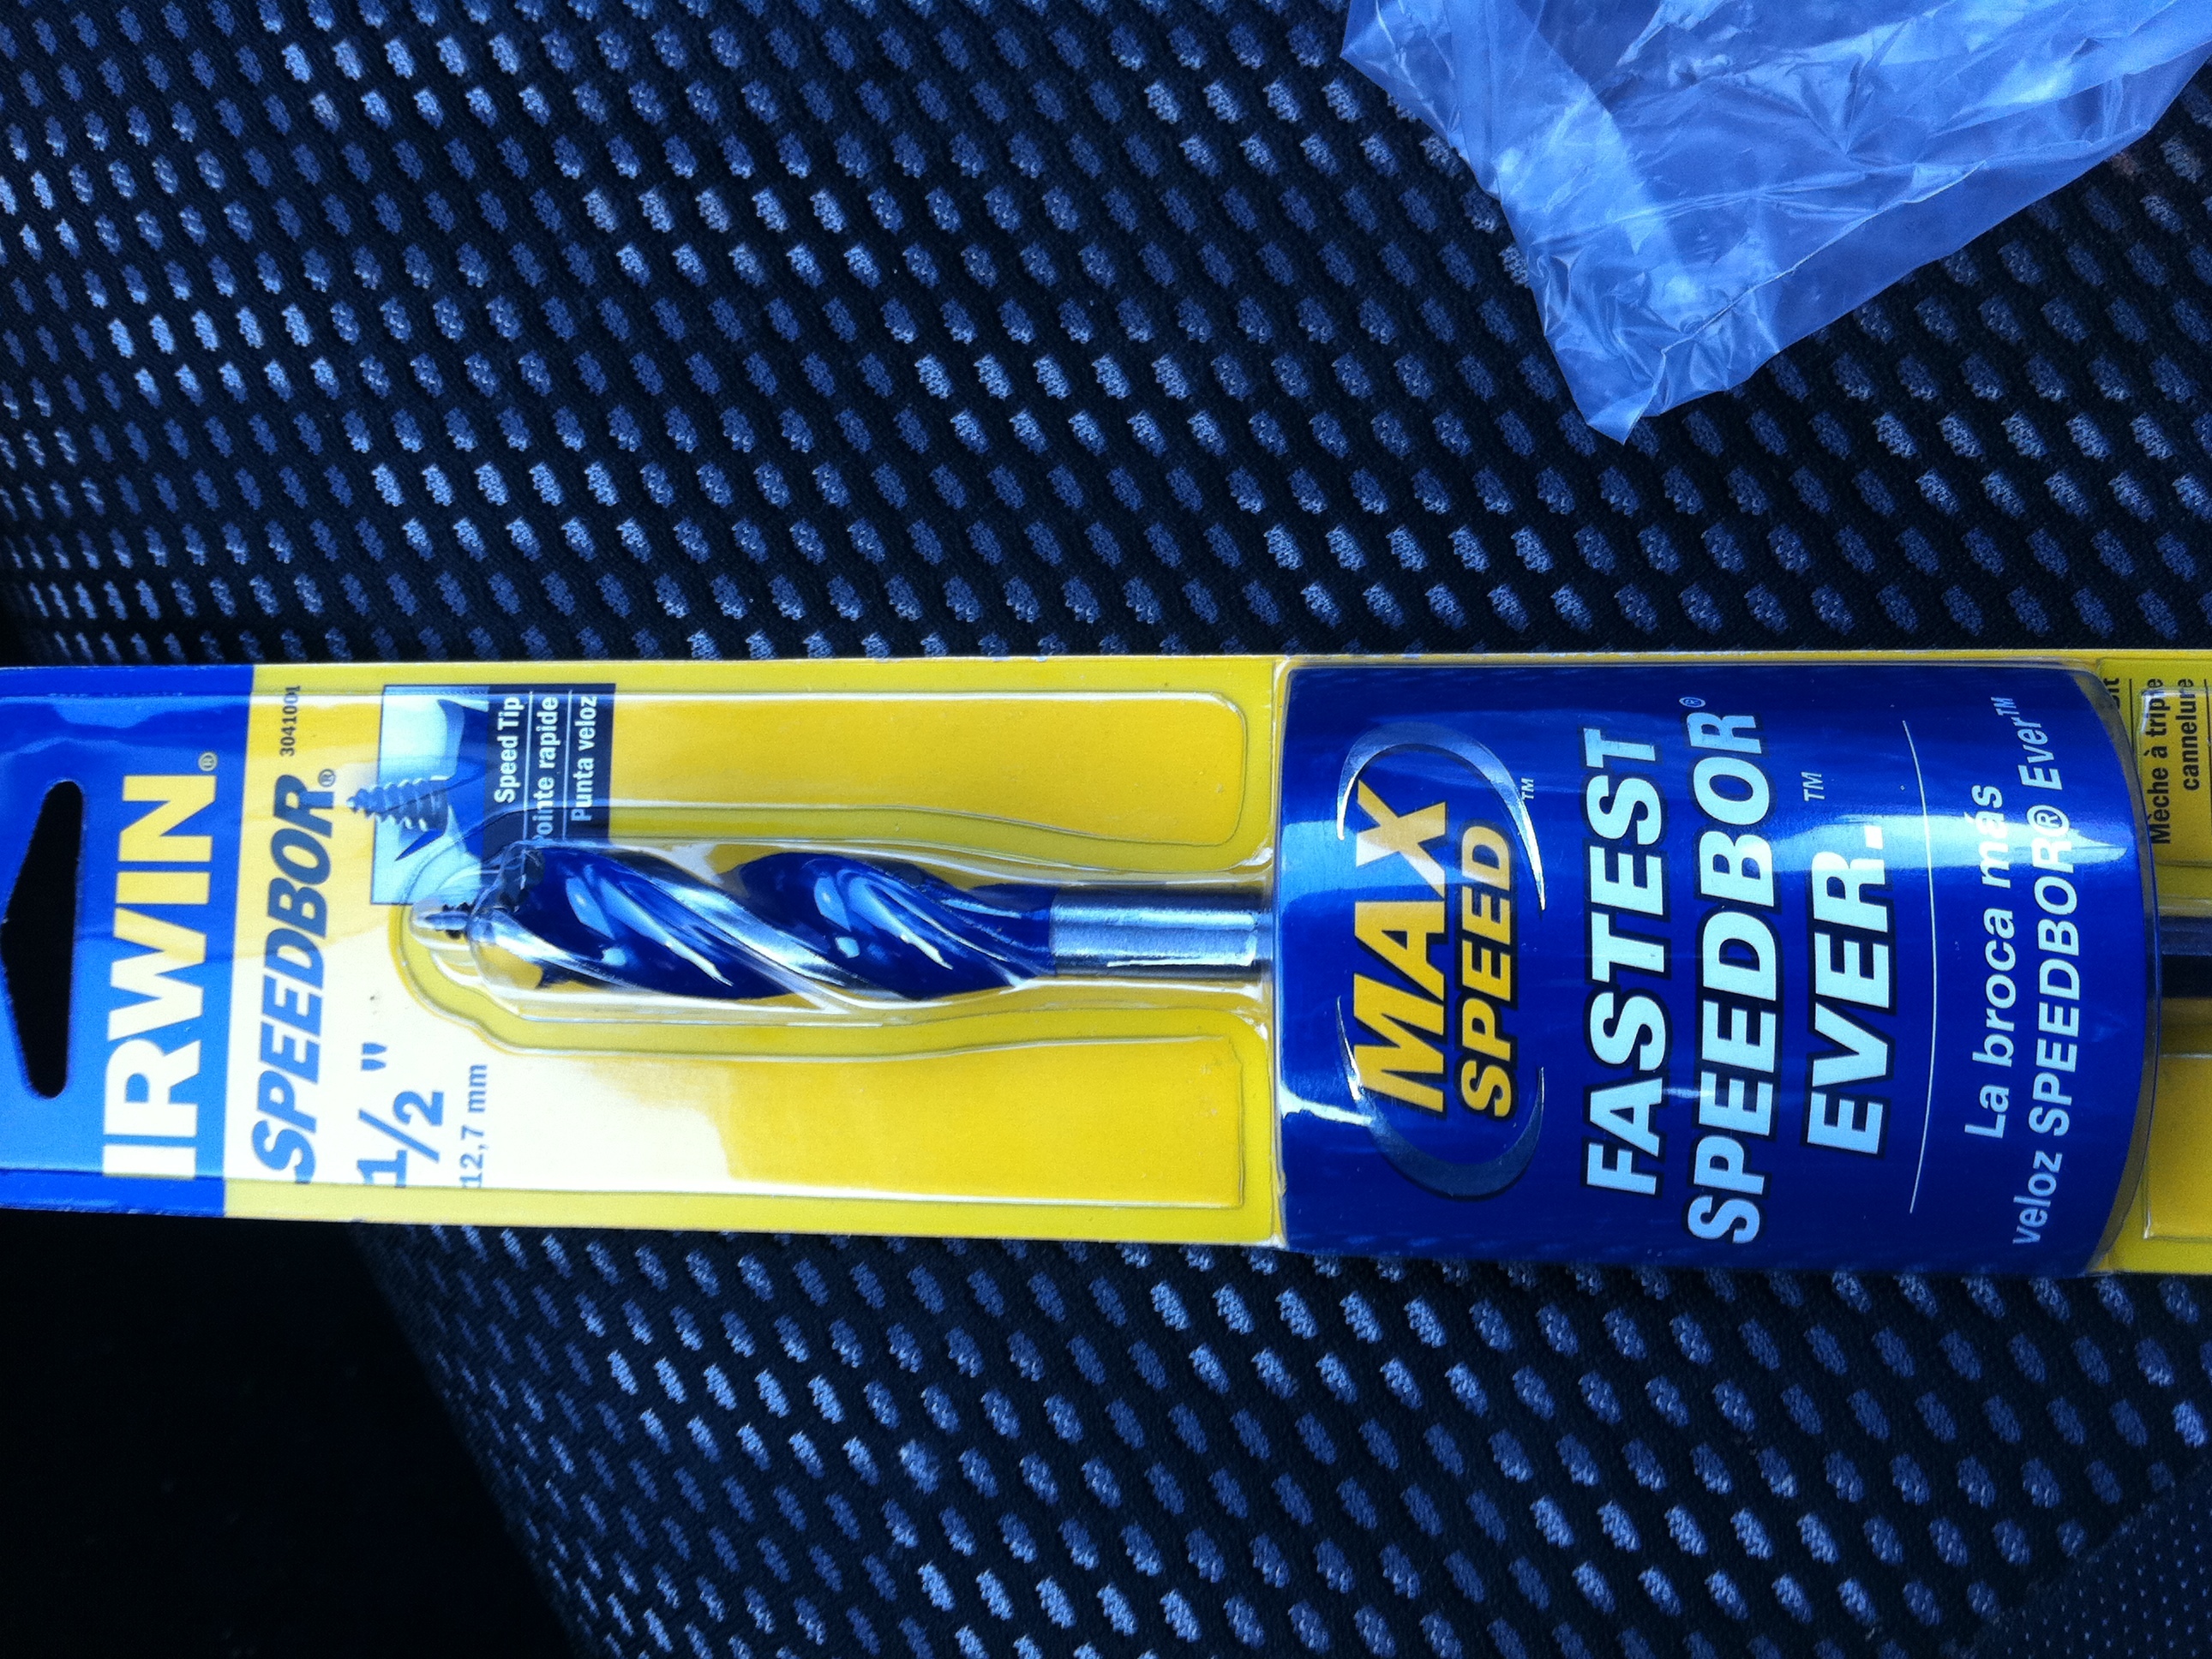
  • 1/2″ wood-boring drill bit
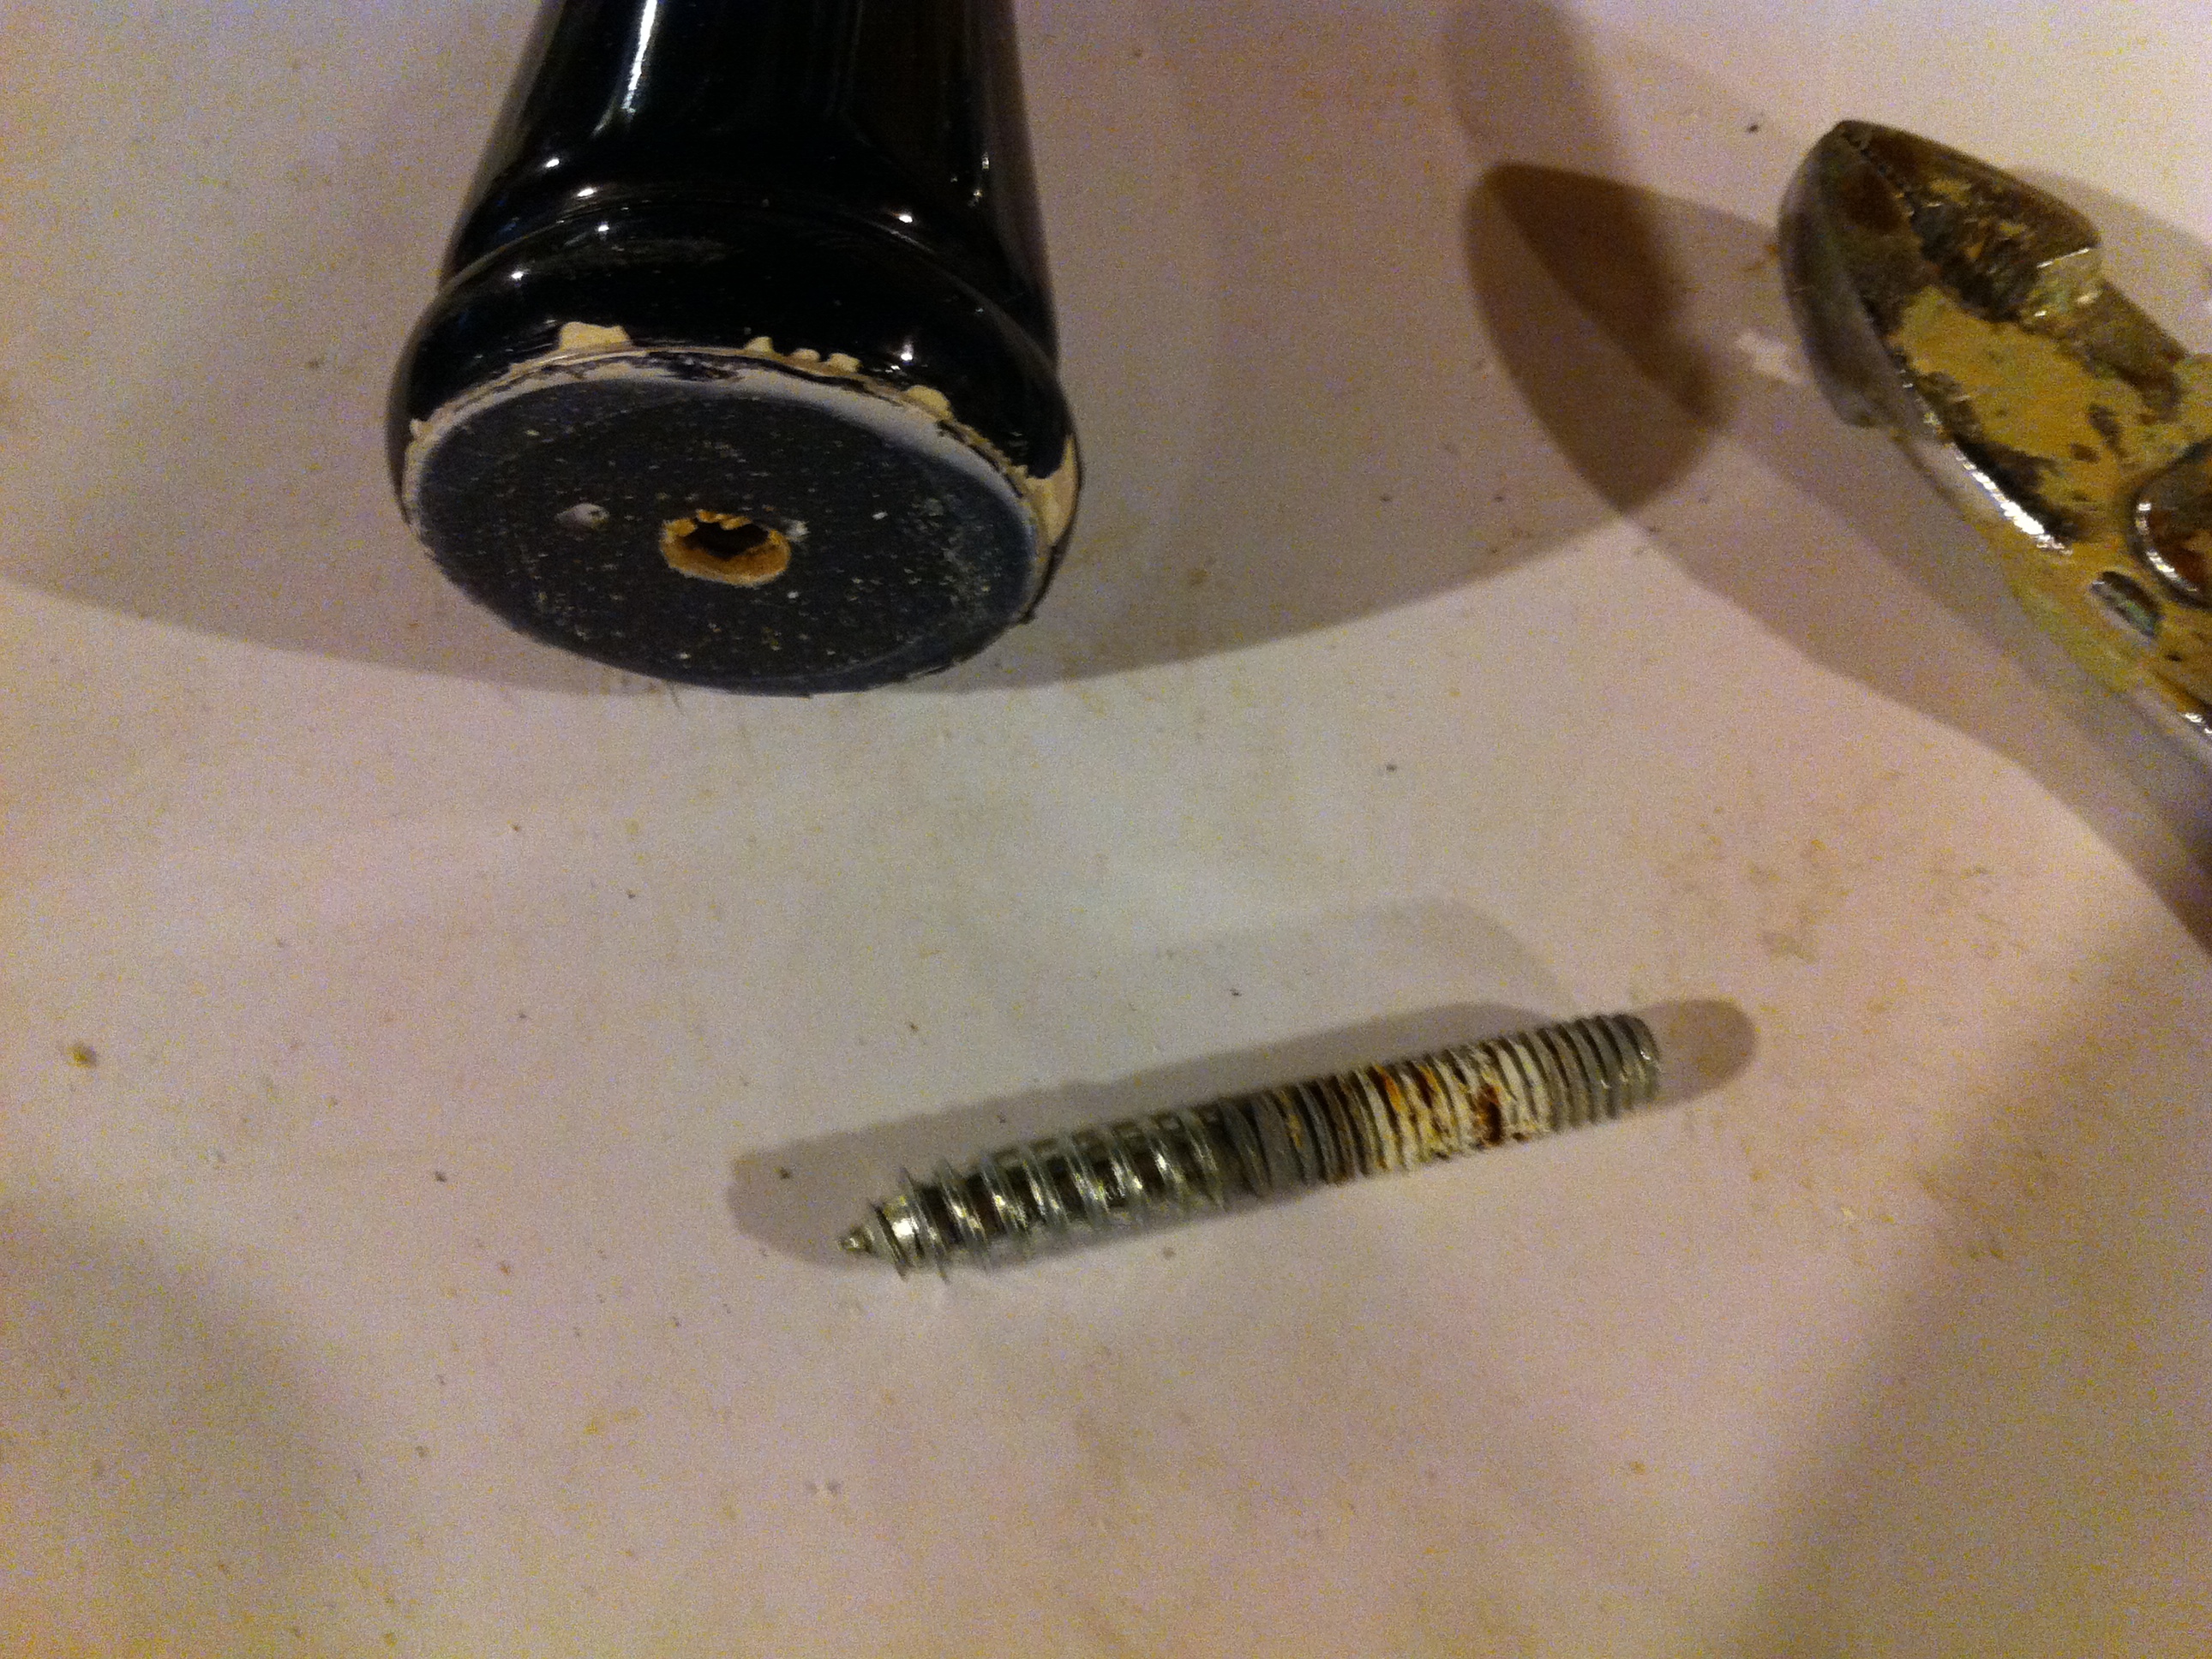
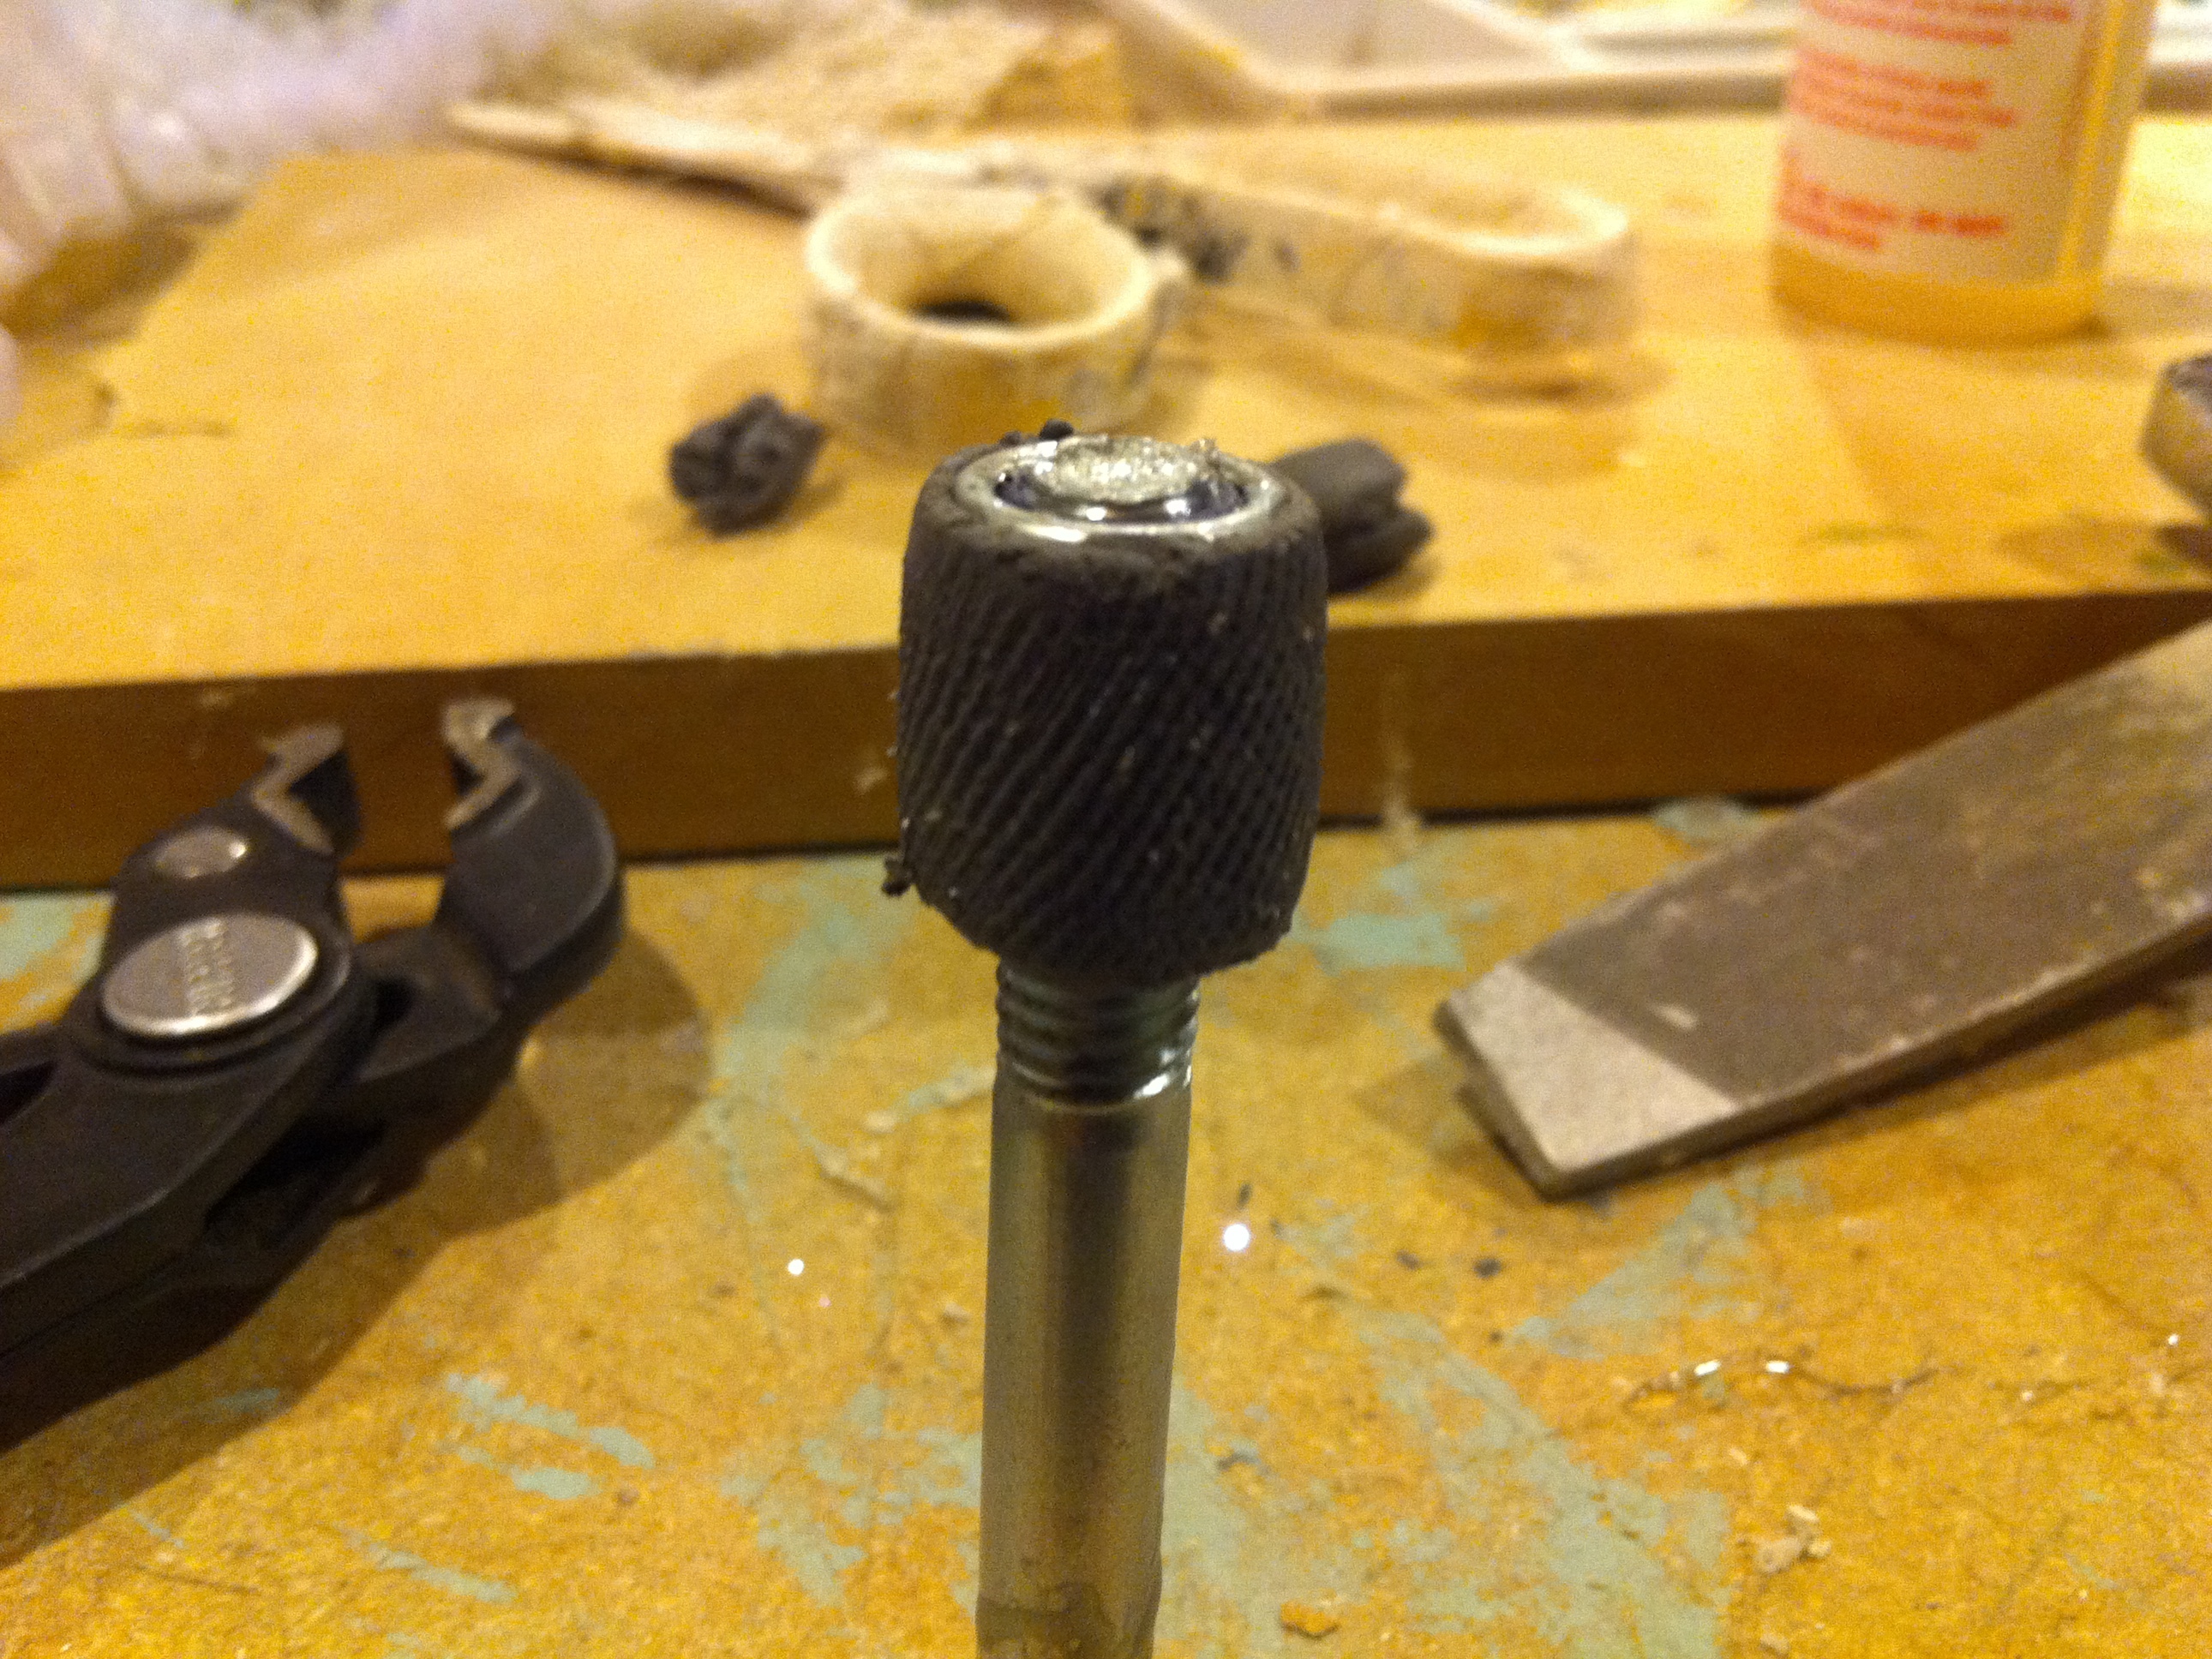
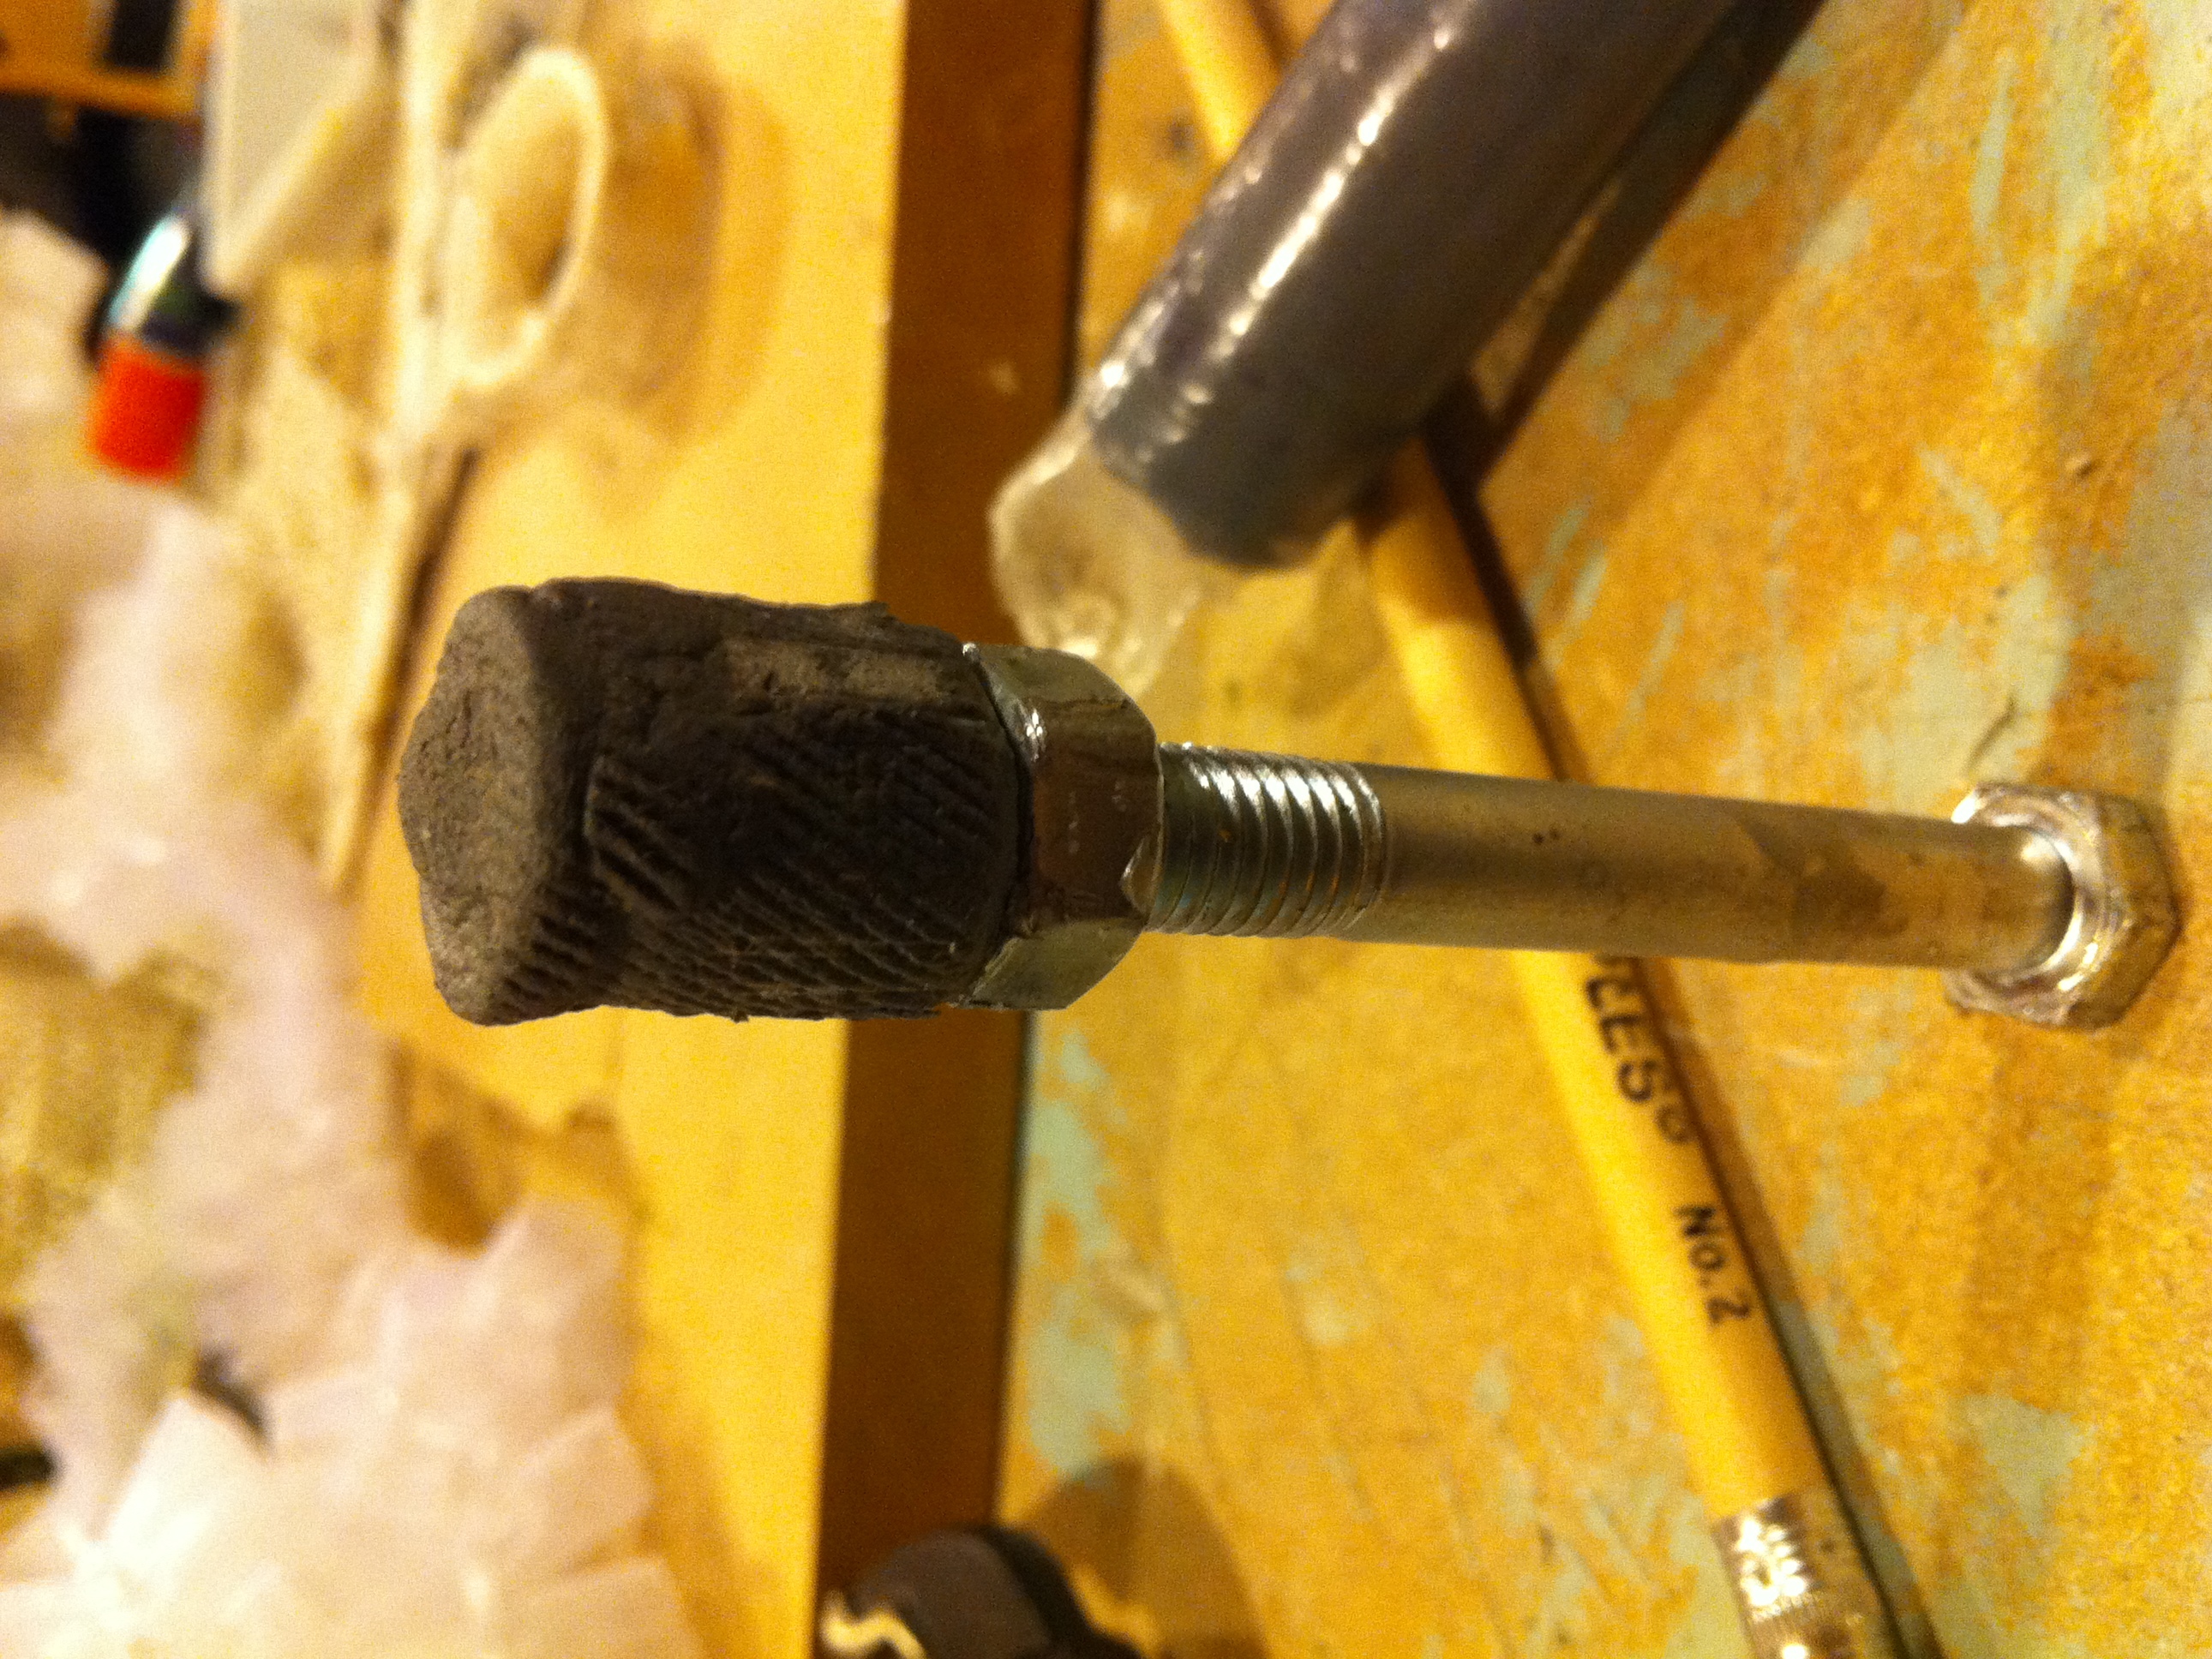
  • 4″ M8 bolt
  • M8 nut
  • 2 M8 lock nuts
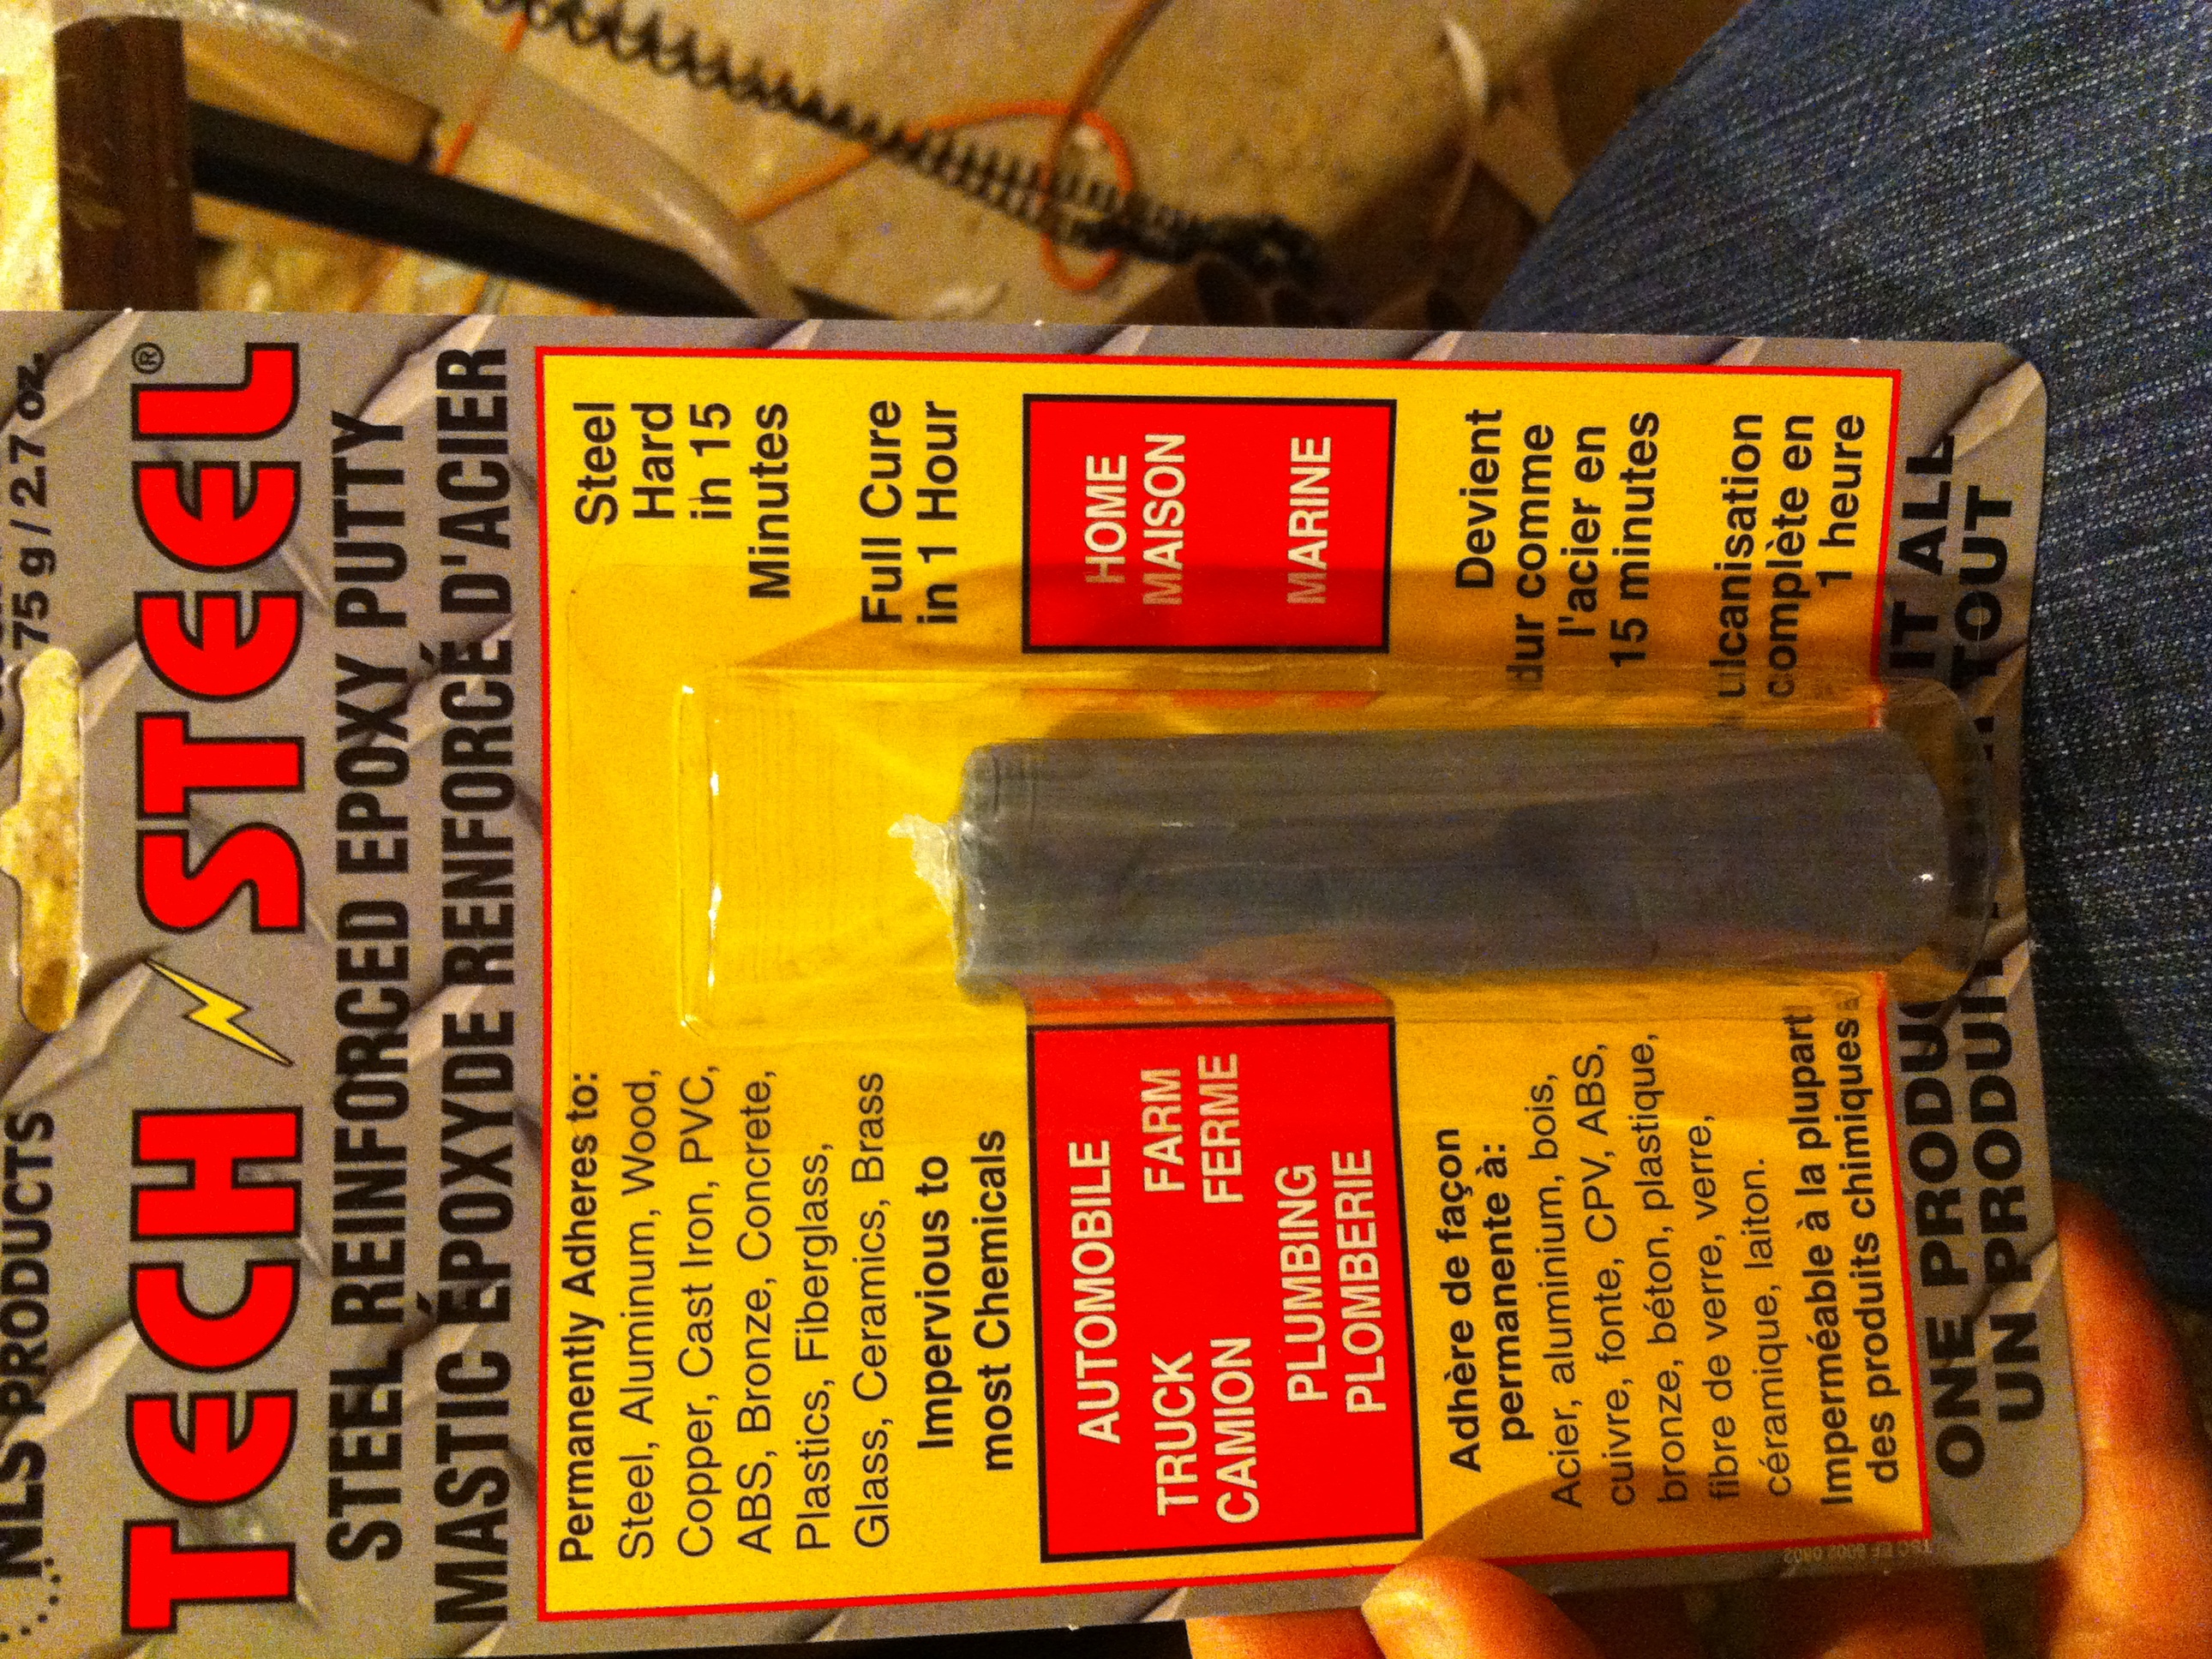
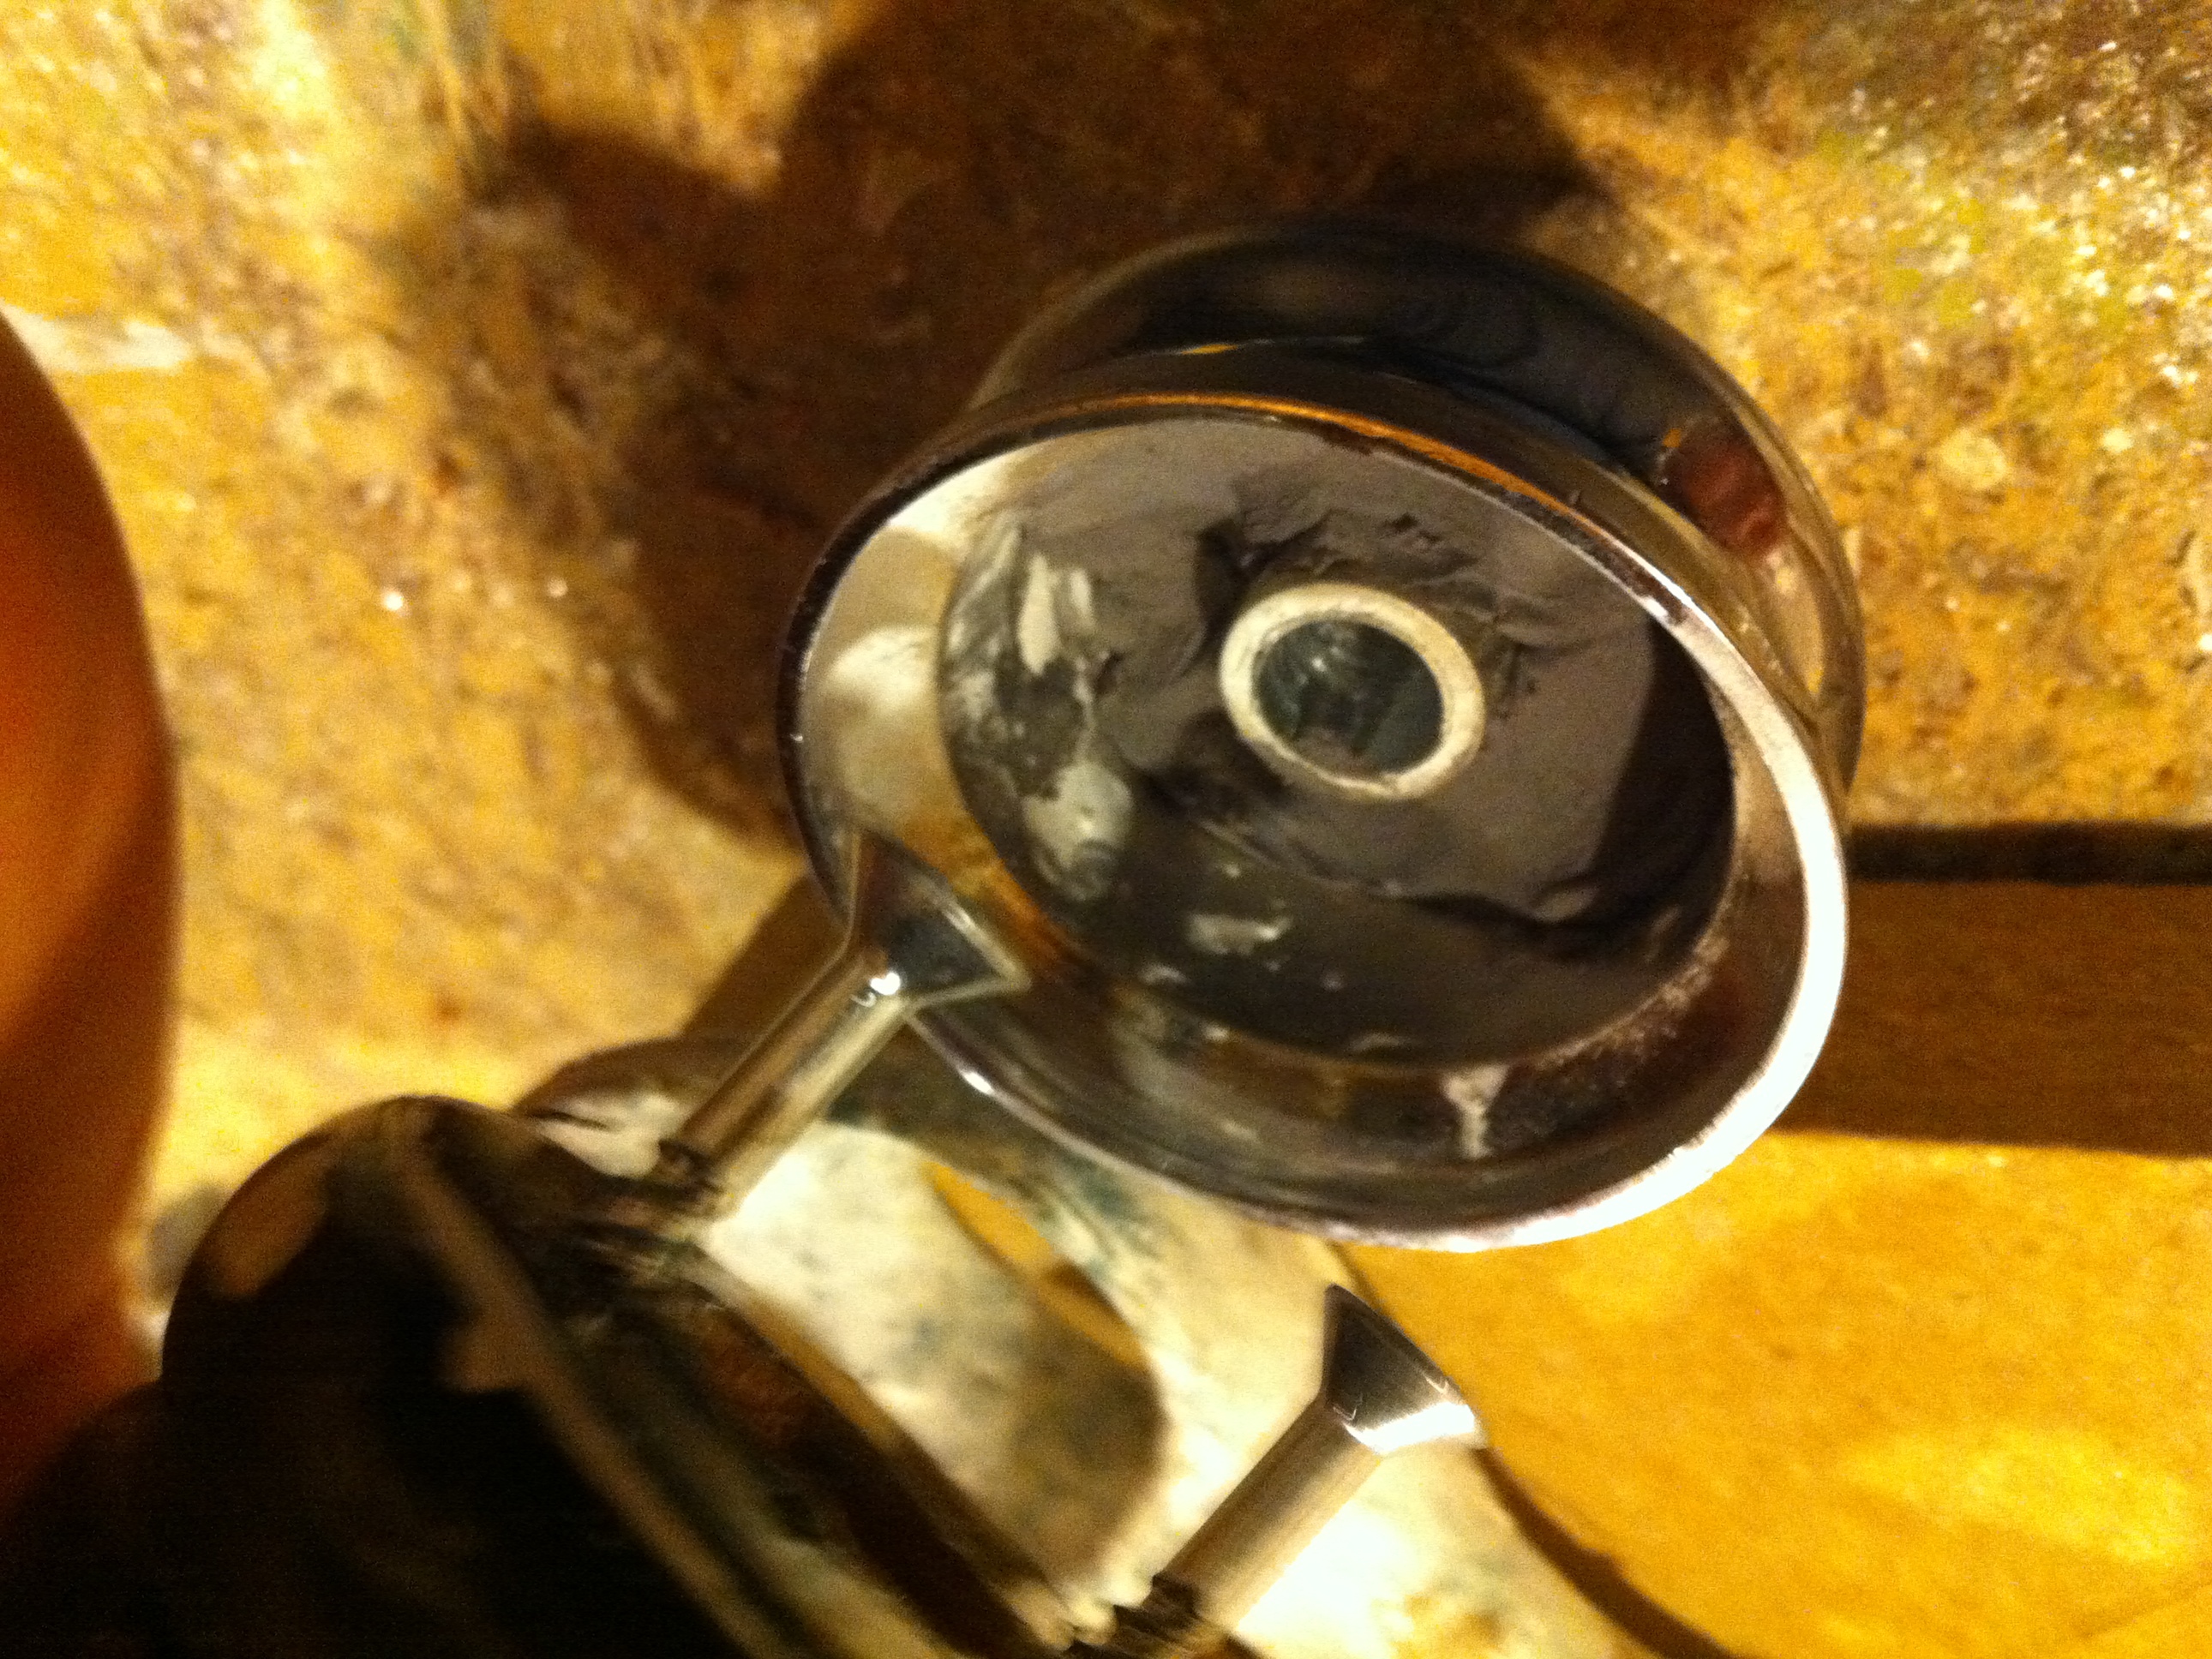
  • Metal-bonding epoxy putty
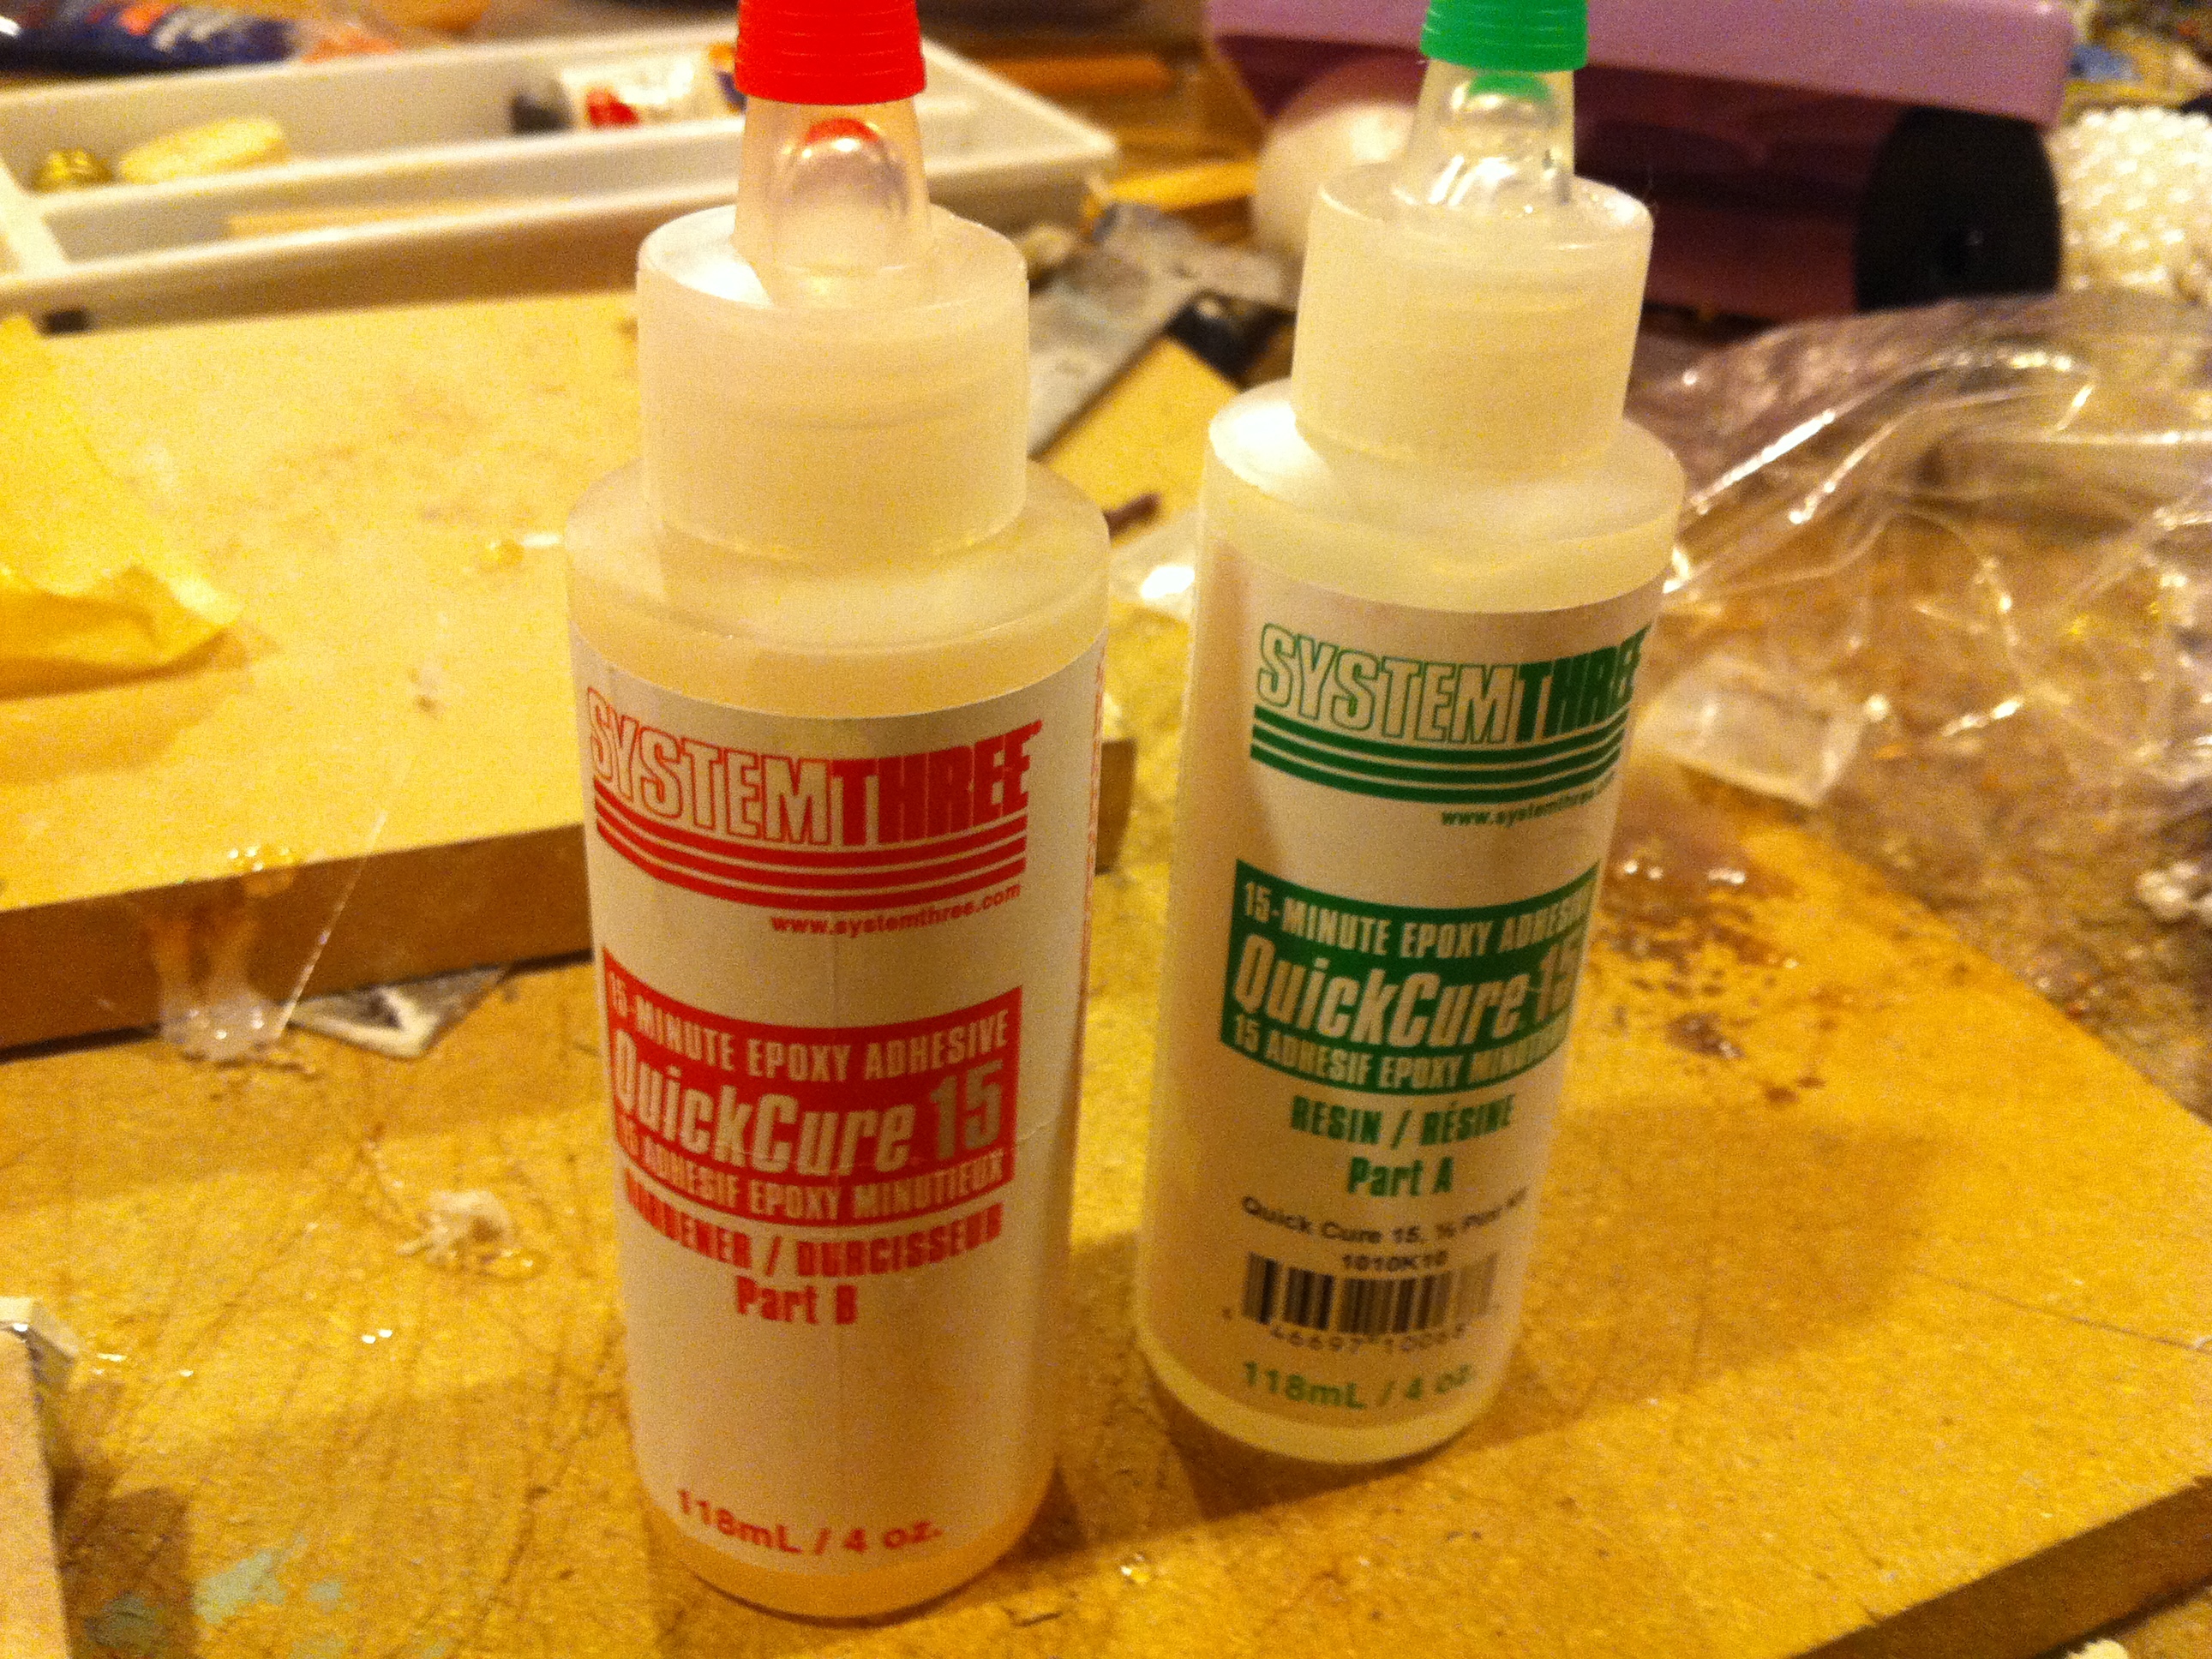
  • Regular liquid epoxy
  • Drill press (not essential but will make things a bit easier)
  • Clamps and a pipe wrench are also handy

Project Steps

The first thing you want to do is remove your existing shifter knob. Generally speaking, they’re just screwed on and you can unscrew them by hand. If yours has a button on the knob, you probably won’t be able to do this.

Once it’s off, you’ll want to figure out what size threads are on the shaft. Mine was M8 (metric). To figure that out I went to Home Depot with my existing knob, found both metric and imperial bolts that fit inside the knob and bought the matching nuts. Afterwards I returned the ones that didn’t fit.

As for the hardware, you’ll want to get a nice long bolt so you can line things up as you work, and you want to get a couple of lock nuts so that the new shifter can screw in with some resistance to hold it in place.

The way these tap handles work is that the bottom of the handle is a 5/16 threading which screws onto the bar tap, but only about an inch or so deep. For my handle, I just had to unsrew the bottom metal threaded part to reveal the screw.

The screw that holds the metal part on is actually a metal screw on one end and a wood screw on the other. With a pair of pliers I just grabbed the threaded end and unscrewed it from the wood.

Since the shaft of my shifter is an 8mm thread and the threading on the metal part of the handle is 5/16″, the M8 bolt I purchased didn’t fit through the hole so I had to widen the hole by drilling into it.

Using an 8mm drill bit, I drilled out the hole. All it basically did was remove the existing threading. I used my drill press and held down the work with a pipe wrench. I also wrapped the metal part with a cloth as to not scratch it.

Once the hole in the bottom metal piece has been drilled, the M8 bolt should fit through it nice and easily.

The next thing I did was to remove the top little metal nub so that the wooden part of the handle could fit in my drill press. The little nub screws off and there’s another screw that’s similar to the one I removed from the other end. Take that one off the same way.

Next we want to drill a large cavity into the handle to accommodate the nuts. For this, I purchased an Irwin Speedbor (1/2″ diameter). They were not kidding about this being the “fastest Speedbor ever.” It’s got this screw at the tip that grips the wood so insanely hard that it stopped my drill press at its lowest speed.

Since this handle is such a weird shape, I just grabbed it as hard as I could with one hand and drilled into it. Kind of scary and probably really unsafe. Had I a big enough vise or a clamp that didn’t suck, it would have been much easier. The drill bit biting down so hard didn’t really help matters either.

The bolt I got was a good length for me to use as a reference on how far to drill. The way I figured it out was I took that bottom metal part of the handle to my car, pulled it down the shifter shaft, and measured the remaining length of the shaft which turned out to be about the length of the bolt.

It’s better to drill a little too far than a little too short because we’re going to thread the handle in and if it’s too shallow then you’re going to have too much of the shaft exposed. If you’re using a smaller tap handle then you can be a little more sloppy. In my case, this giant thing is already really long; I don’t want it to be any longer. If you end up drilling too far, you can fill the hole with epoxy.

We now have to prepare the nuts so that the shaft can screw into them. I’m using a single M8 nut followed by two M8 lock nuts to give a little more resistance when screwing in.

You want to line up the nuts on your bolt so they’re just touching but not tightened together as this will cause binding when you try to unscrew the bolt from all three at once.

By epoxying the three nuts together, we get a nice long threaded section that we can shove inside the handle.

The epoxy I used is a putty that bonds to metal and dries in 5 min (fully cures in an hour). You cut a slice off, knead it until it’s got a uniform colour, and quickly apply it. I did the two lock nuts first and then did the leading nut.

Once I applied the putty, I used a file to press against the sides to produce a nice textured surface as it will then be epoxied into the handle.

This putty epoxy can be kneaded and used with your bare hands but it gets messy so have a damp rag by you to wipe off your fingers. It washes off relatively easily (well, much more easily than liquid epoxy).

As you can see from the first picture, I also covered the end of the last lock nut with the putty. This is so when we use the liquid epoxy, it doesn’t get into the thread and glue the nut to the bolt.

You want to test the fit of the nuts in the handle cavity. If the hole is too small you can file off a little bit of the epoxy or try to widen the hole a little more with your drill bit. The putty takes about an hour to fully cure.

IMPORTANT! Once the putty is cured you have to make sure the handle will be at the right height in your car otherwise you won’t be able to fix it after this point on. Slide the bottom metal part on the shifter shaft, screw on the nuts to the shaft (up to the first lock nut) and slide the handle over the nuts. If the handle falls all the way down to the base then you’ll need to add more putty to the nuts to fill the gap. You want about 1/2″ of room from the bottom of the handle (including the metal part) to the base of the shifter shaft.

Now you’re ready to attach the thread assembly to the handle. For this I used just regular 15-minute setting epoxy. I used about a teaspoon’s worth of epoxy and coated the outside of the nuts. I then poured the rest of the epoxy into the handle cavity.

Then I slid in the nuts with the bolt screwed in loosely (screwed into the first bolt and not into the lock nuts).

Make sure that the bolt is in all the way and that it’s sticking out straight. Then set to dry for about 30 minutes or however long it takes to set.

Once the epoxy has set, you should be able to easily unscrew the bolt.

Now we have to attach the bottom metal part back to the handle, but since we don’t have a screw here anymore, we have to improvise. My solution was to screw in two screws into the wood at the bottom of the handle, and fill the metal cavity with more of that epoxy putty. Then you just press the two pieces closed and stick in the bolt to make sure the holes line up. Actually, my bolt was too short to reach the nuts once the bottom part was in so i just used a pencil to align everything.

Once the epoxy dries you’re all set. Just screw on the handle and pour it in “Park.”