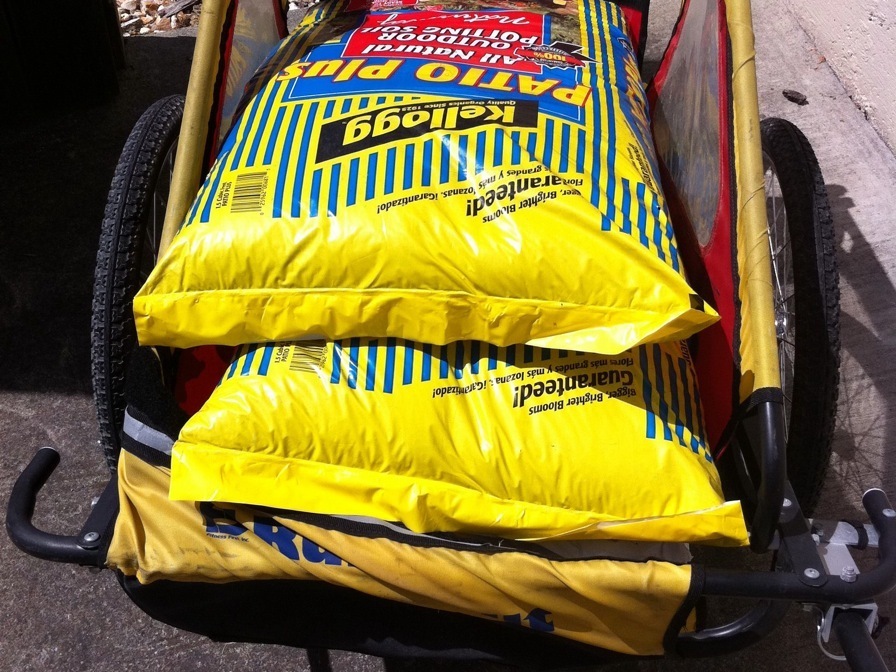
A local Sonoma County tradition is the Occidental Farmers market. It is every Friday evening, and this Friday was my first time attending. Surprising to me was the large amount of farmers selling not only fresh product from their farms, but also a lot of starts. I walked away with some winter squash, pumpkins, zucchini, long neck squash, two kinds of peppers, and some tomatoes.
Projects from Make: Magazine
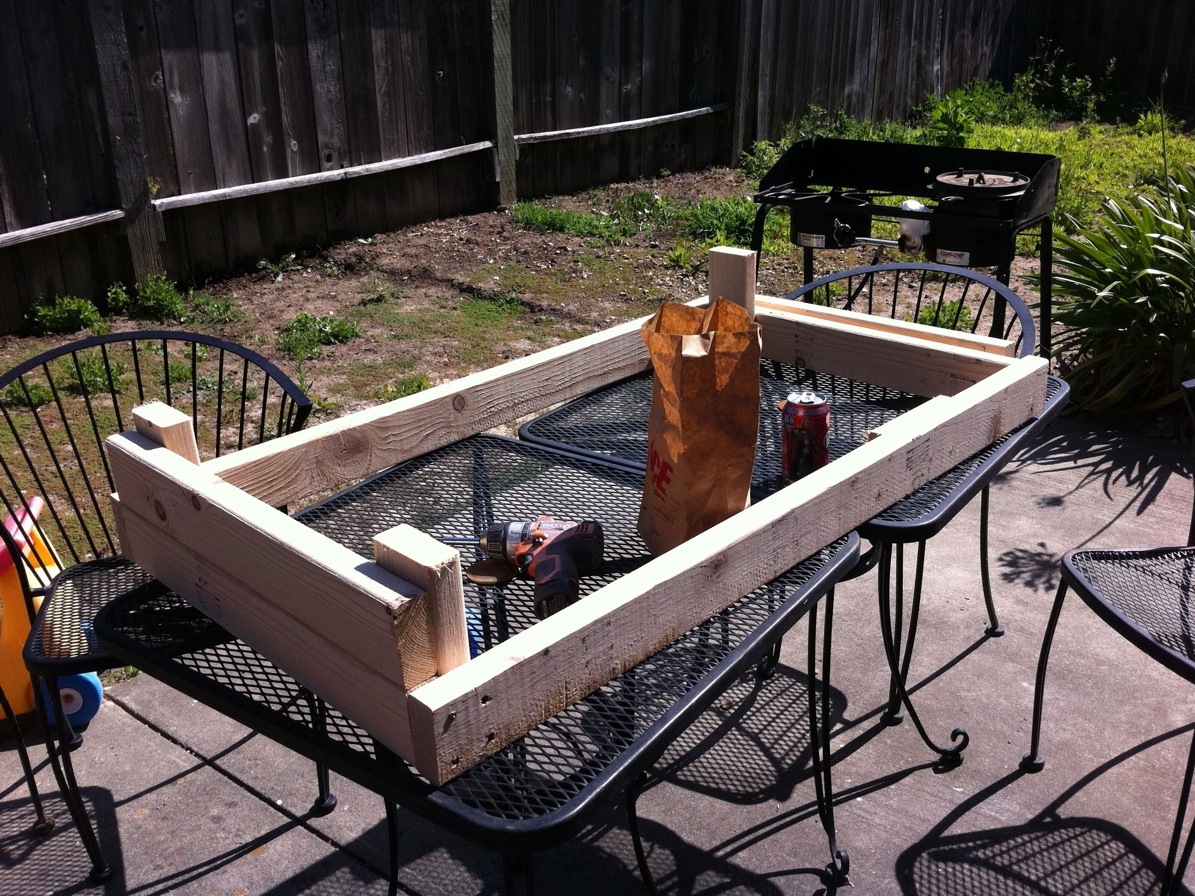
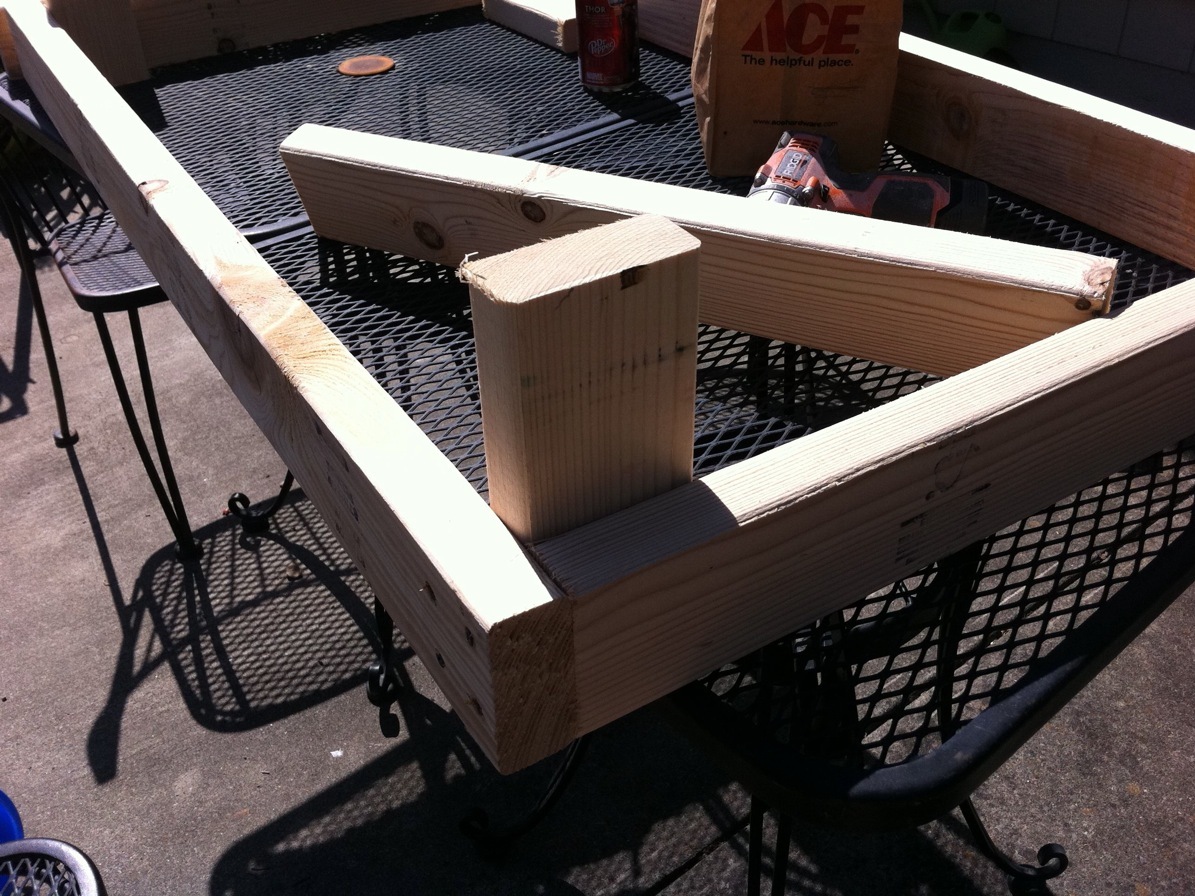
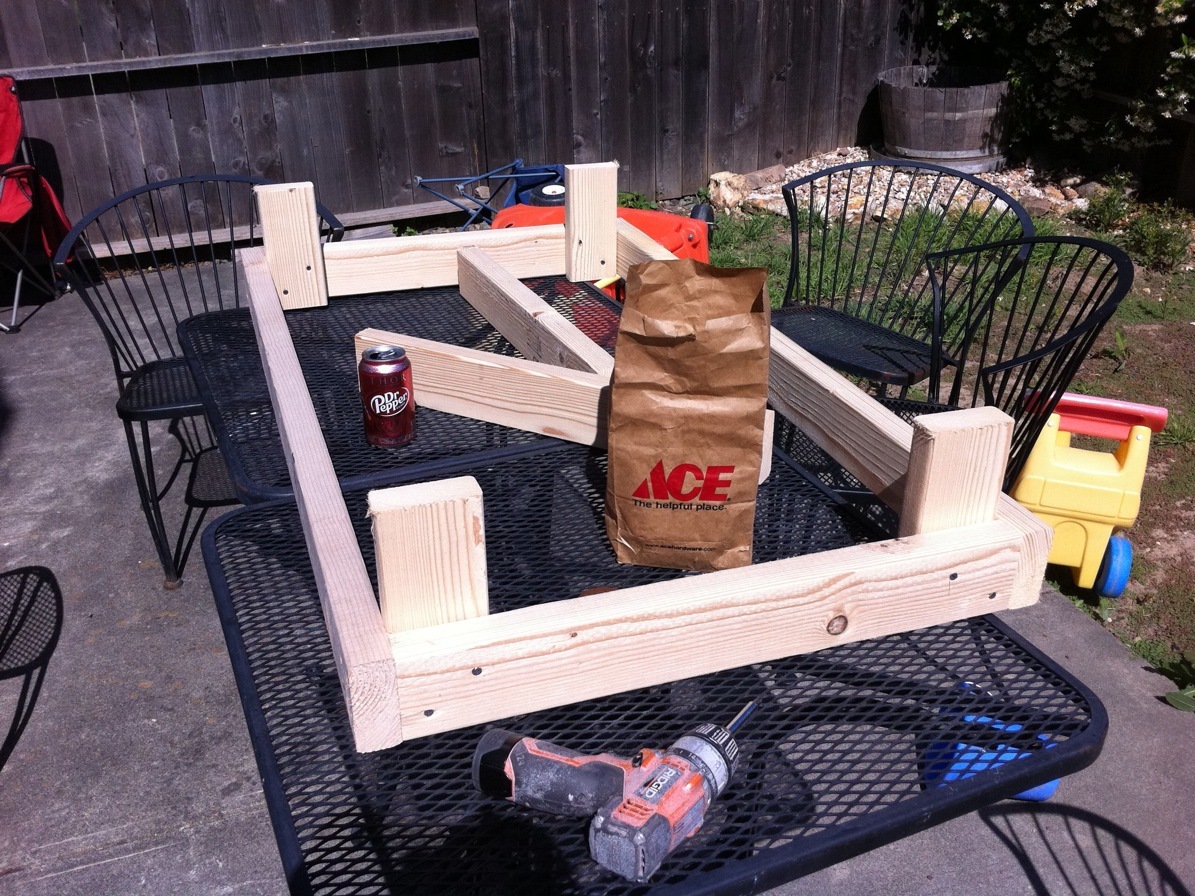
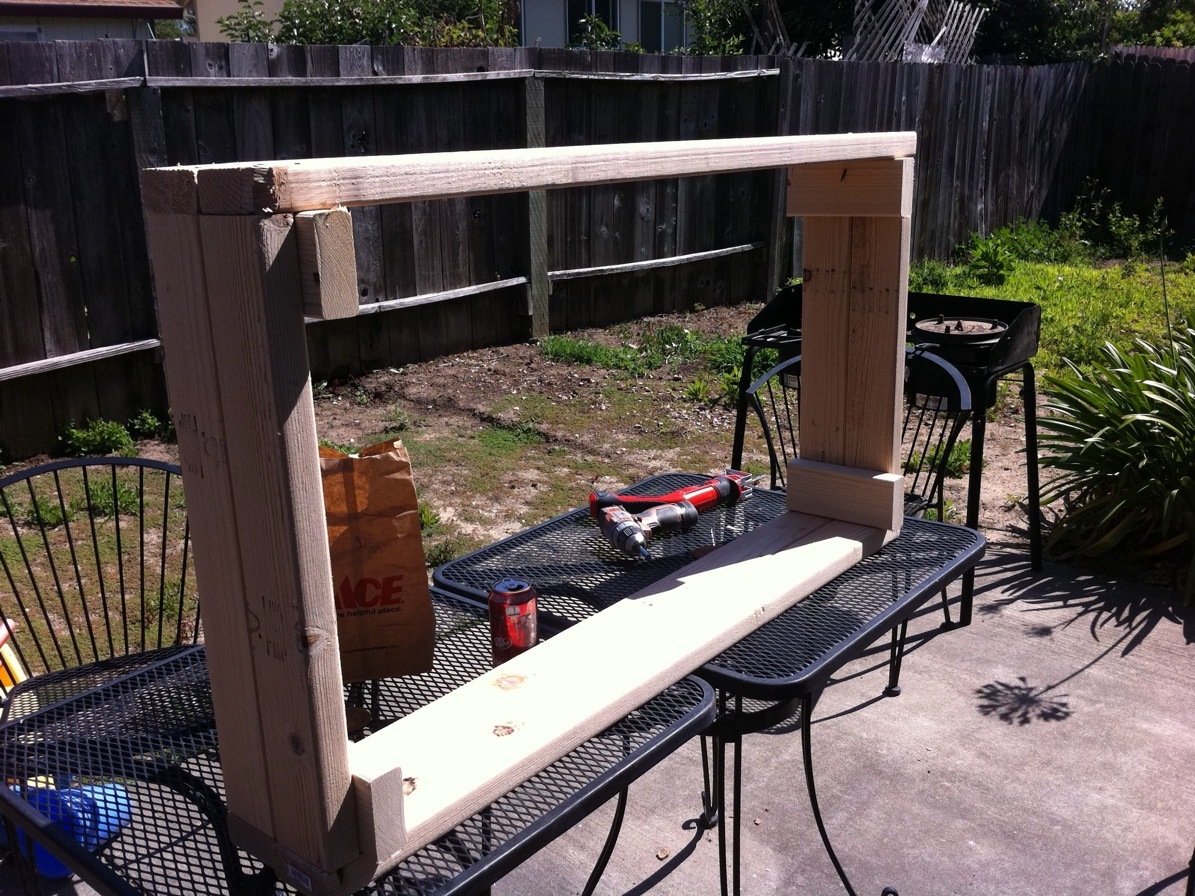
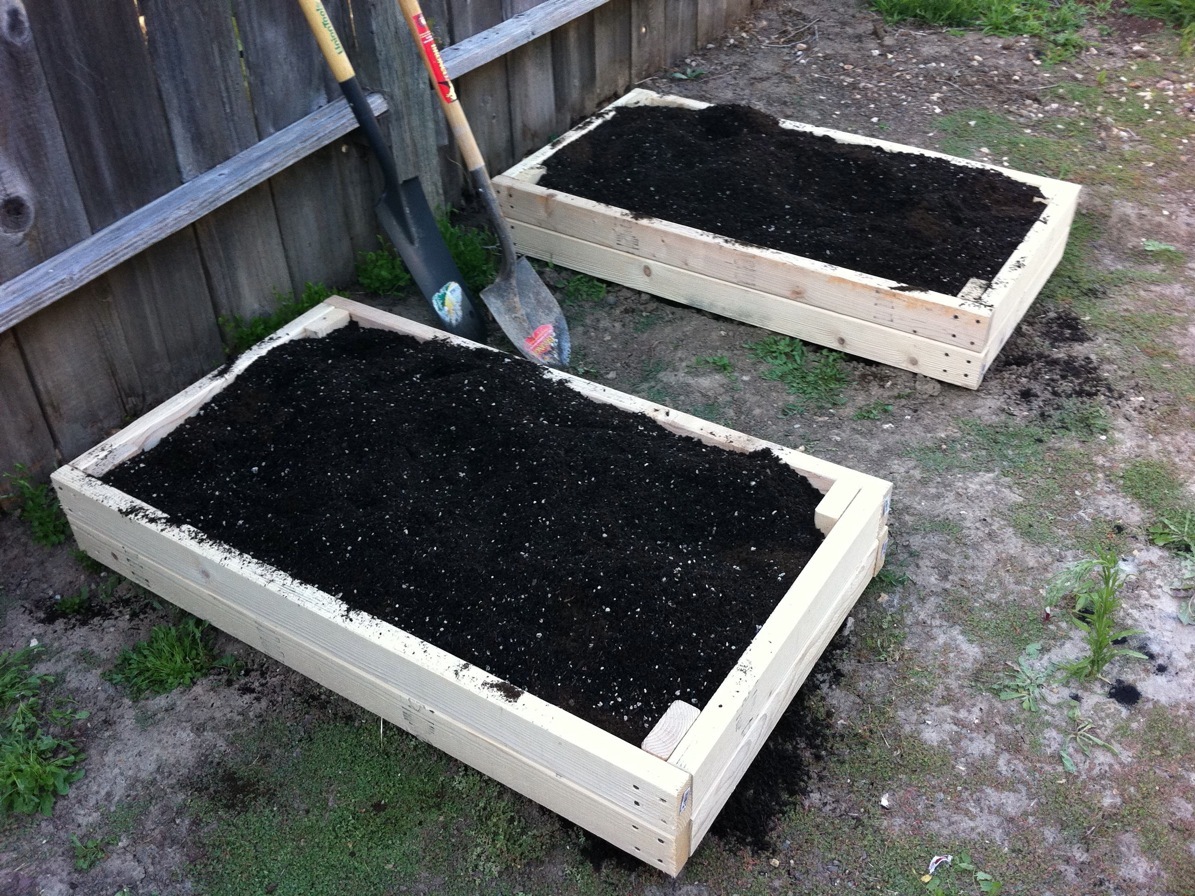
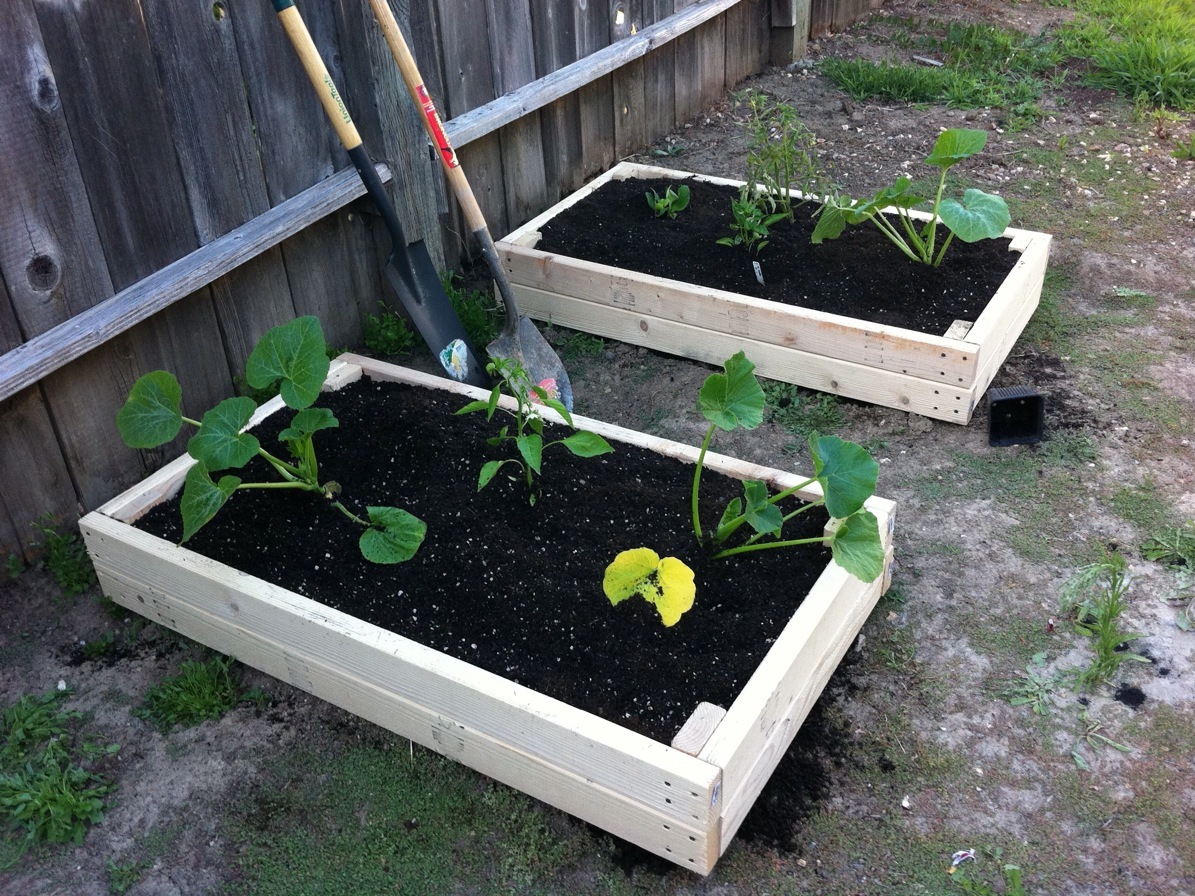
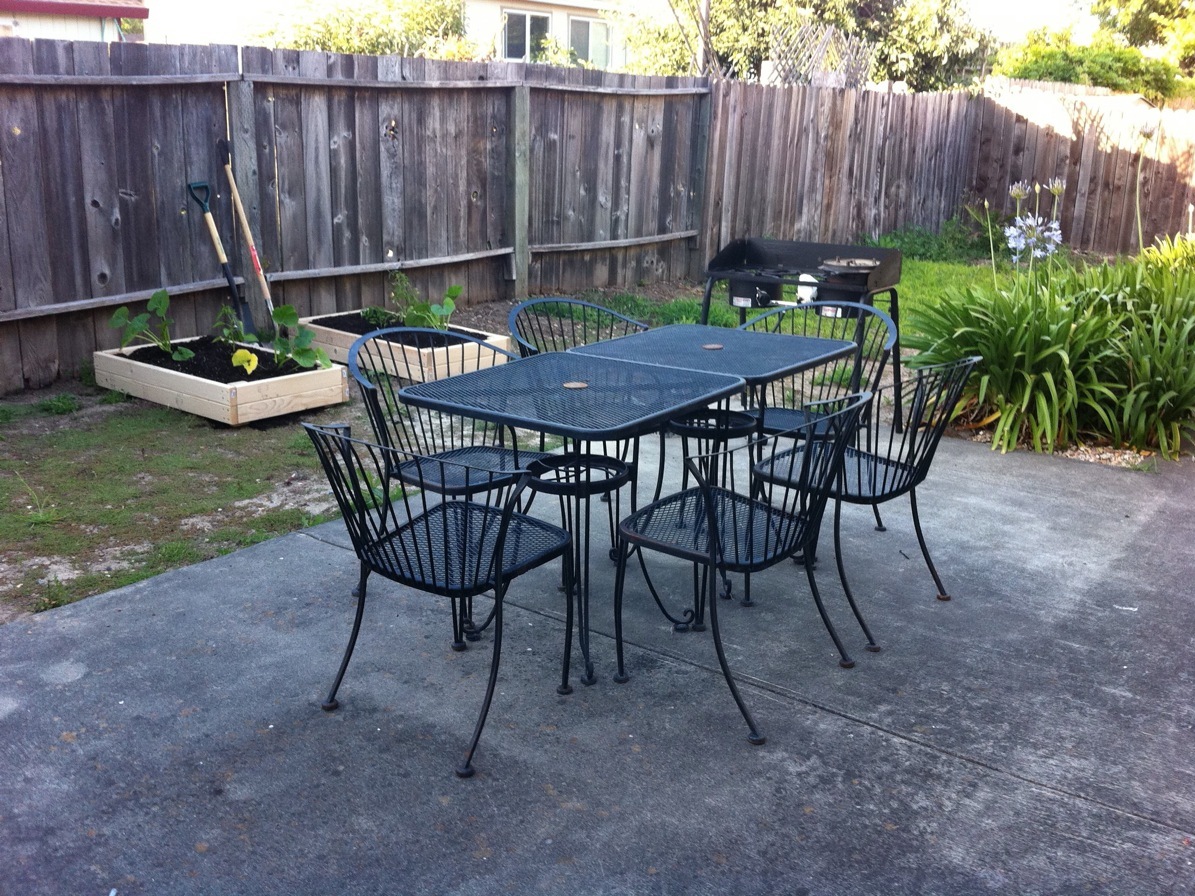
2×4 Planter Boxes
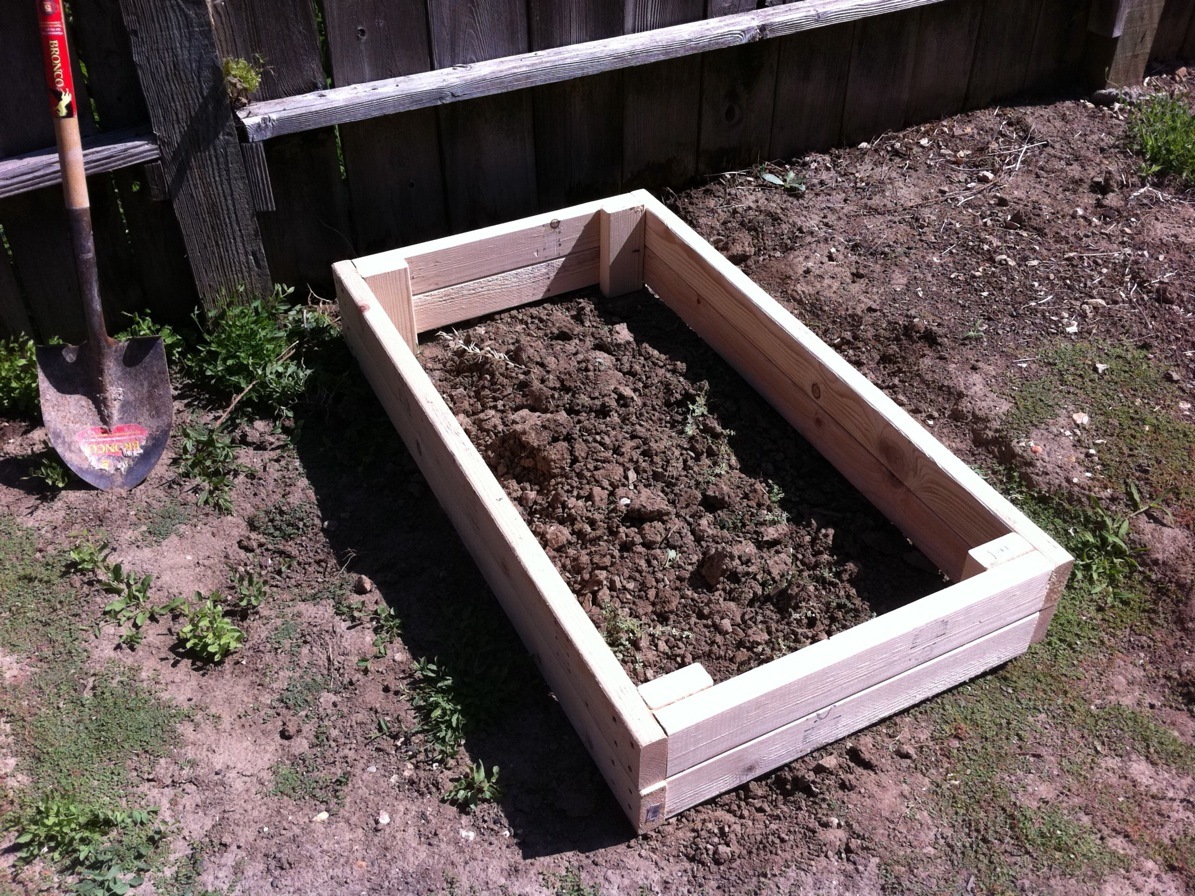
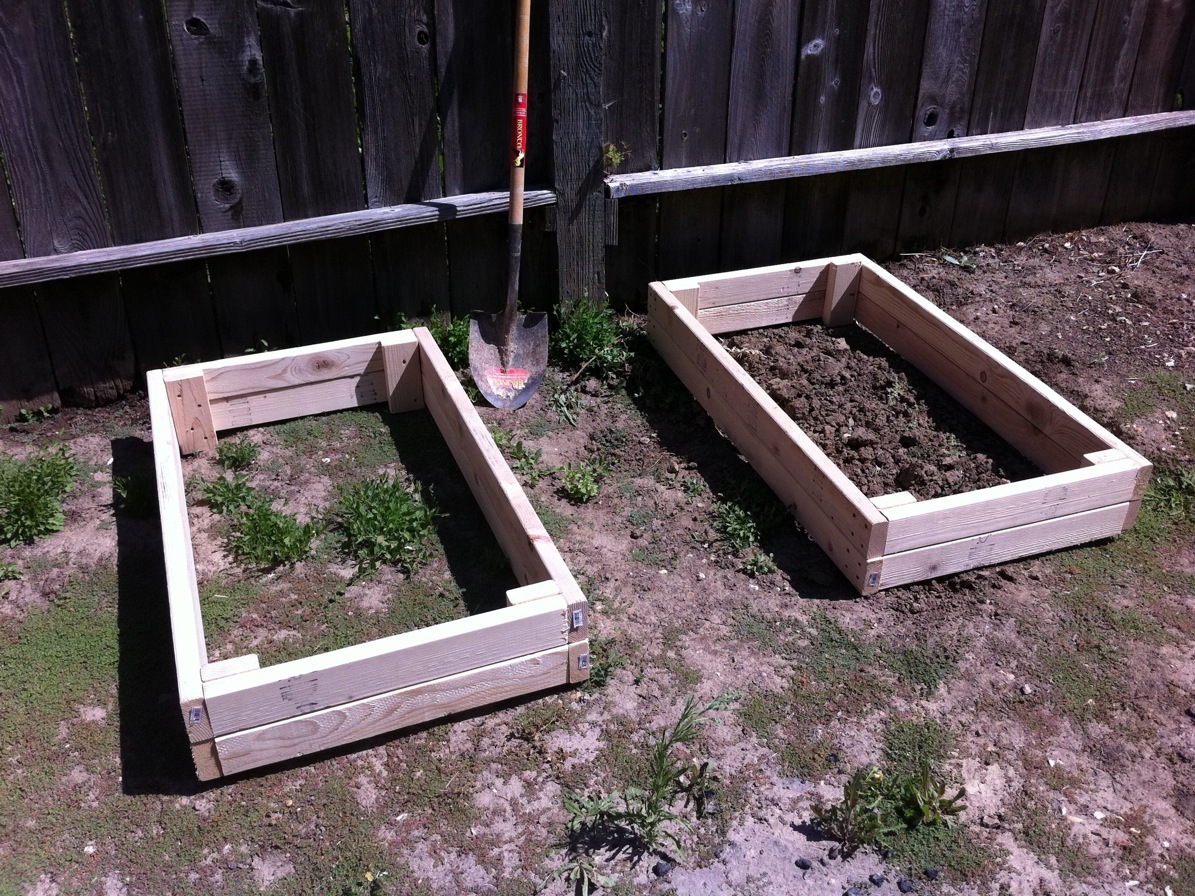
So, what's a person to do when all of the barren soil in their backyard is harder than concrete that is next to it? Build planter boxes, of course!