


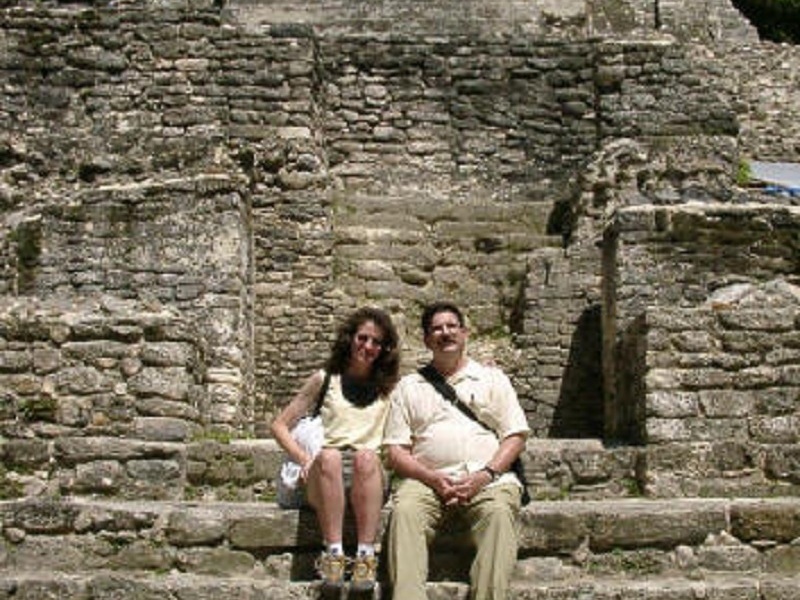
If you are using the cut-apart method, open your image and print it out on a single sheet. Then proceed to step 4.

To do your cutting in software, create a copy of your image, either as a new image or as a duplicate layer. From a copy or a duplicate layer of the original digital photograph, use the eraser tool or “cut” tool to remove an image “layer” from the background of the picture.

Repeat this process for each layer of picture that you wish to have in the final project. Remove the bottom of each image that will have a layer on top of it, keeping only about the top inch of what will be the next layer on top of it. Later each of these layers will be combined with some space between them and printed onto one or two sheets of paper.
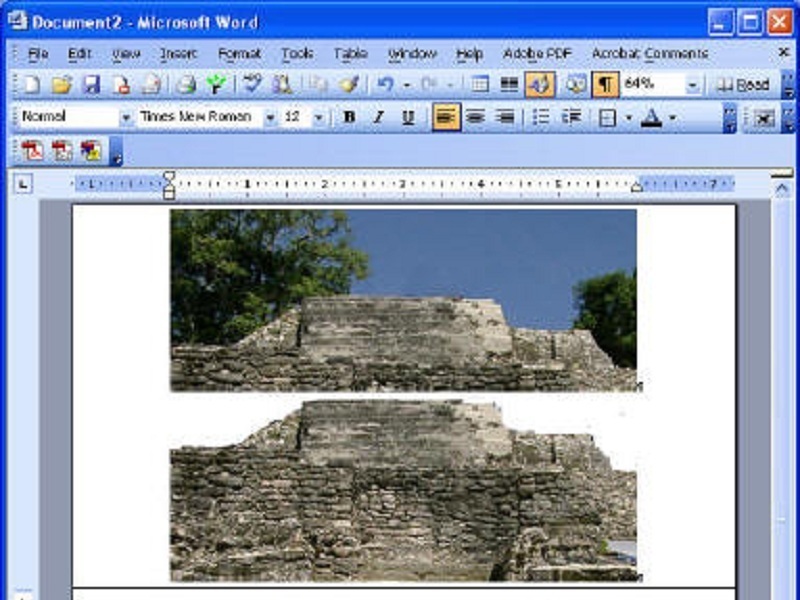
Once you have made all your picture layers plus an inch, save them into a new document and then print them out. Removing parts of the picture to help with the layering effect will cause you to use less ink in the printing process.

Once you have your sheets printed, use scissors to cut out the blank sections of each image. If you are doing the project from a single print, carefully separate the picture into visual layers by cutting the layers apart with an art knife.

Now, using a white pencil or crayon, trace the outline of the top of the cutout picture onto black foamcore. Then cut out that outline using the art knife, cutting inside the line a bit to decrease the size (this will help with the shadow/depth effect). The final foamcore shape should be slightly smaller than its corresponding image. The top of the foamcore should match the image shape, but the bottom section should continue down the rest of the print’s height.

Use contact cement or other adhesive to attach each layer of the image to its matching piece of foamcore.

Now place the layers on top of each other matching up the image. Once they are aligned, glue them together with the rubber cement.

Optional: If you are using something like a shadow box frame you can add an extra layer to go on top (in the front). Do this by placing objects onto a black page and then printing the image(s) onto an overhead transparency sheet. This will later be placed next to the glass of the frame, creating an interesting foreground effect.
This is a fun way to make a plain old photo POP!


