When it comes to shoe projects, Converse All Stars is a brand we love to mod. Originally created in 1917 as basketball shoes, “Chucks” (nicknamed after basketball player Chuck Taylor) quickly caught on to become one of the most popular shoe brands of all time. It’s their playful shape, easy-to-cut canvas, accessibility, and relative low cost that make these sneakers the most fun to hack. So try the following fabric swap or knitted Chuck project and consider yourself a Converse crafter.
I bought my first pair of All Stars about a year ago and wore them almost constantly, until they finally fell apart. In the end it was only my girlfriend’s nagging (and eventually her putting them in the bin) that tore them away from me.
All of my Converse sneakers eventually fall apart in the same way – the fabric in the back rips away from the sole, but the rubber itself is fine. Shortly after realizing this, I rescued a pair from the rubbish and started pulling them apart, trying to work out how I could create a pattern for them with new fabric. Here’s what I came up with.
Take a craft knife and cut the old fabric off the sole, removing the insole as well. Do this carefully so that you don’t hurt any part of the shoe.
Try and remove the fabric in one piece, as we need it for the next step. Also, carefully cut out the “Converse All Star” circle label and save it for later.
You may want to start with only one shoe, saving the other as a reference for the placement of the border stitch, Converse label, and shoelace holes.
You should have 1 large piece of fabric you’ve just removed from the shoe, plus the tongue.
Cut the large piece in half down the back of the shoe. Place the 2 halves of fabric on a large sheet of paper and trace around them. When tracing the bottom, trace 1” away from the fabric so that you’ll have extra fabric to tuck under the insole later.
Trace the tongue, adding 1” extra at the toe end.
Cut out the paper pattern you just made. Fold the new fabric in half so that it’s doubled up, and pin the paper templates to it as shown.
Face the right sides of the fabric together (wrong sides facing out) and sew together the side where the back of the shoe will be. Then turn them right-side out and iron them flat.
Using the other shoe for reference, sew the standard decorative Converse border stitches around the panel and down the back. Then glue the “Converse All Star” label back onto the shoe. Once it’s firmly in place, hand-sew along the edge of the label to further secure it.
Read the instructions for Shoe Goo or any other type of glue you use before applying to this project.
Smear Shoe Goo around the inside edges of the sole and inside the toe cap.
Stick the tongue in and shove a wad of paper in there to apply pressure to it.
Stick the edges of the fabric to the top of the sole and inside the toe, then pack the inside of the shoe with paper to apply pressure while the glue is drying. Insert the insole and apply more glue around the edges to fix the fabric to the insole. Allow at least 24 hours of drying time before wearing the shoes.
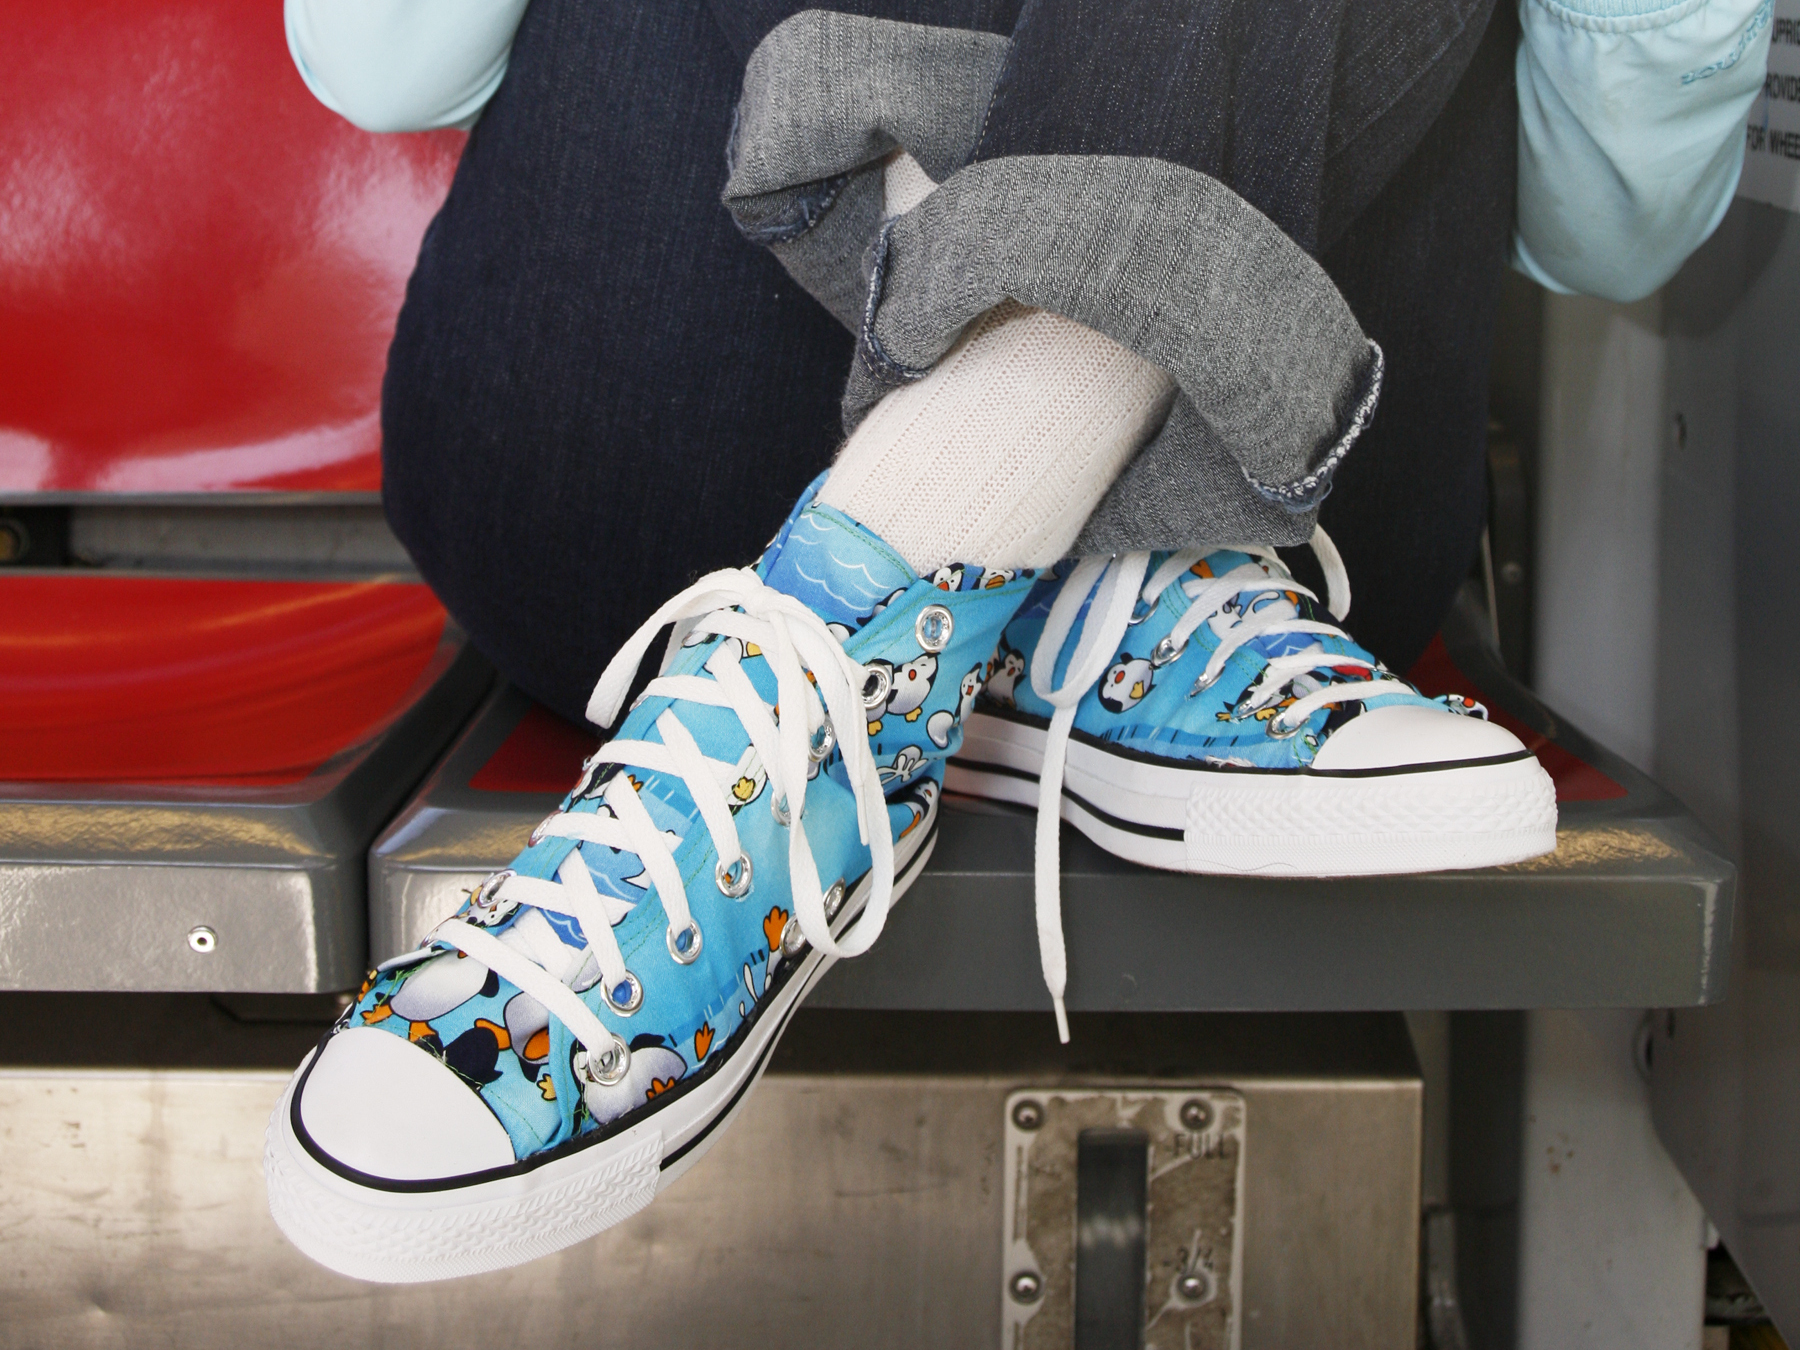
My shoes have held up nicely, and when they do wear out, I’ll just make myself another pair!
Conclusion
This project first appeared in CRAFT Volume 07, pages 49-51.
Our websites use cookies to improve your browsing experience. Some of these are essential for the basic functionalities of our websites. In addition, we use third-party cookies to help us analyze and understand usage. These will be stored in your browser only with your consent and you have the option to opt-out. Your choice here will be recorded for all Make.co Websites.
Allow Non-Necessary Cookies
Escape to an island of imagination + innovation as Maker Faire Bay Area returns for its 15th iteration!
Buy Tickets today! SAVE 15% and lock-in your preferred date(s).