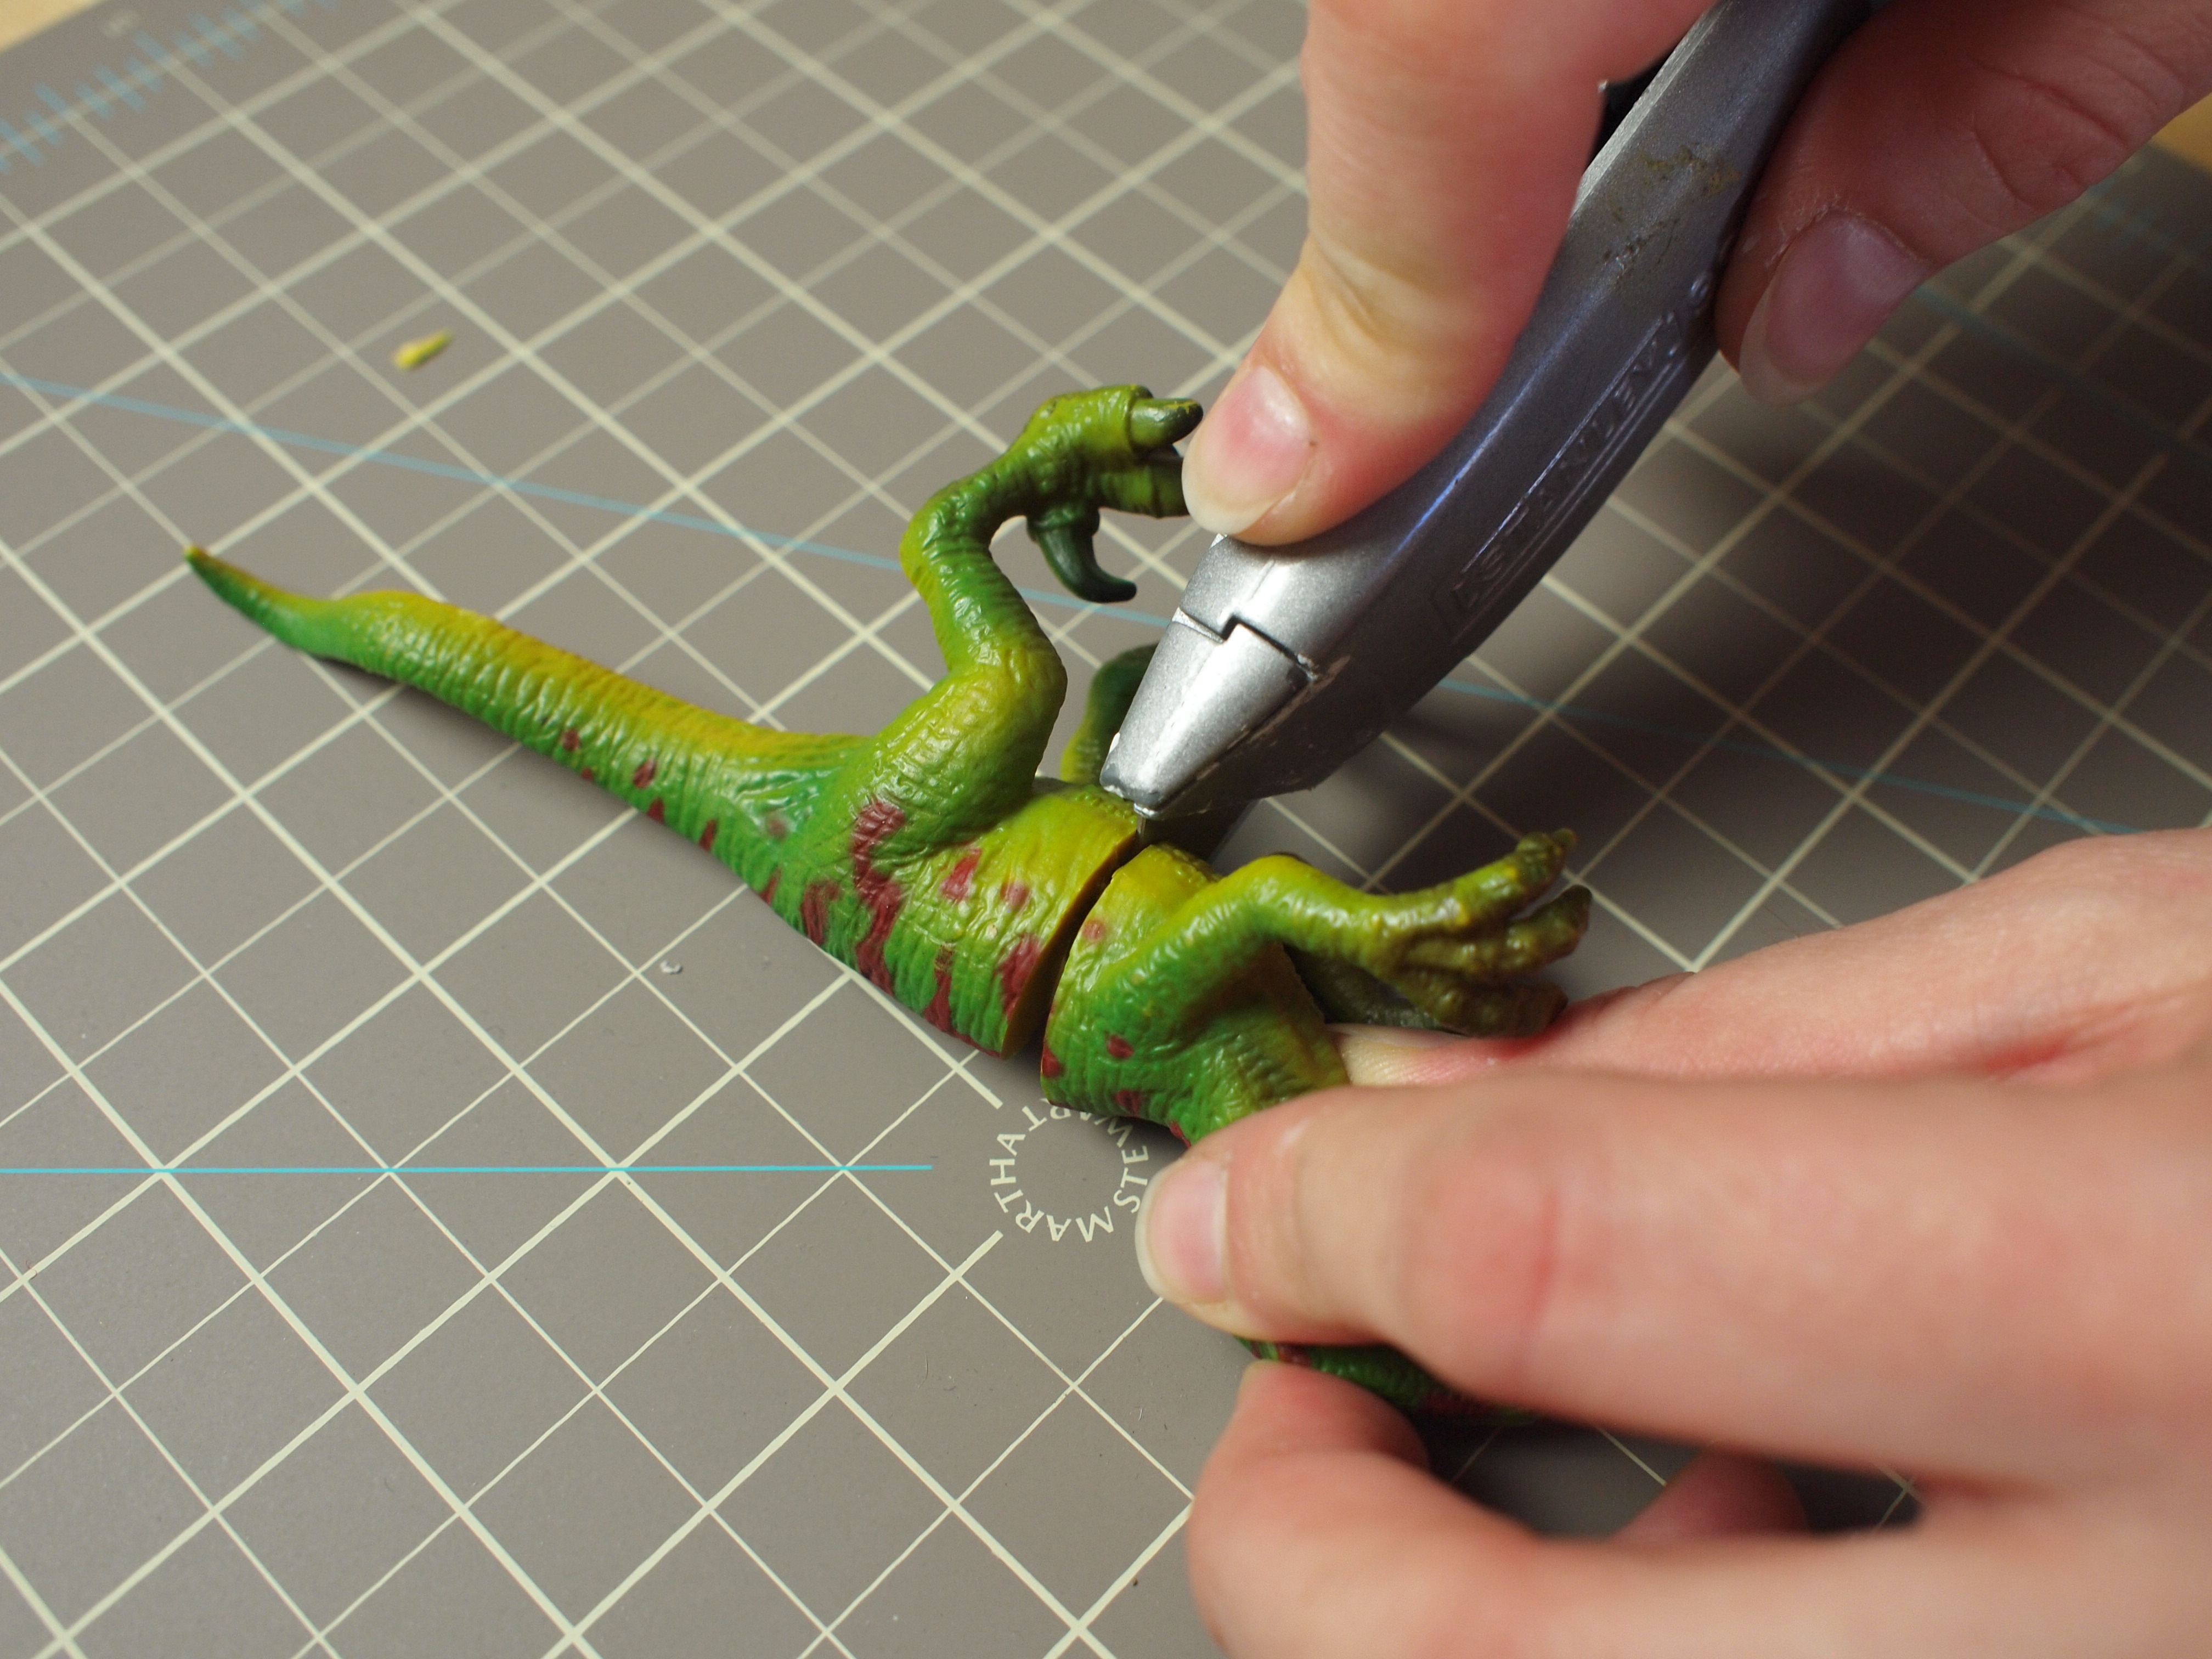
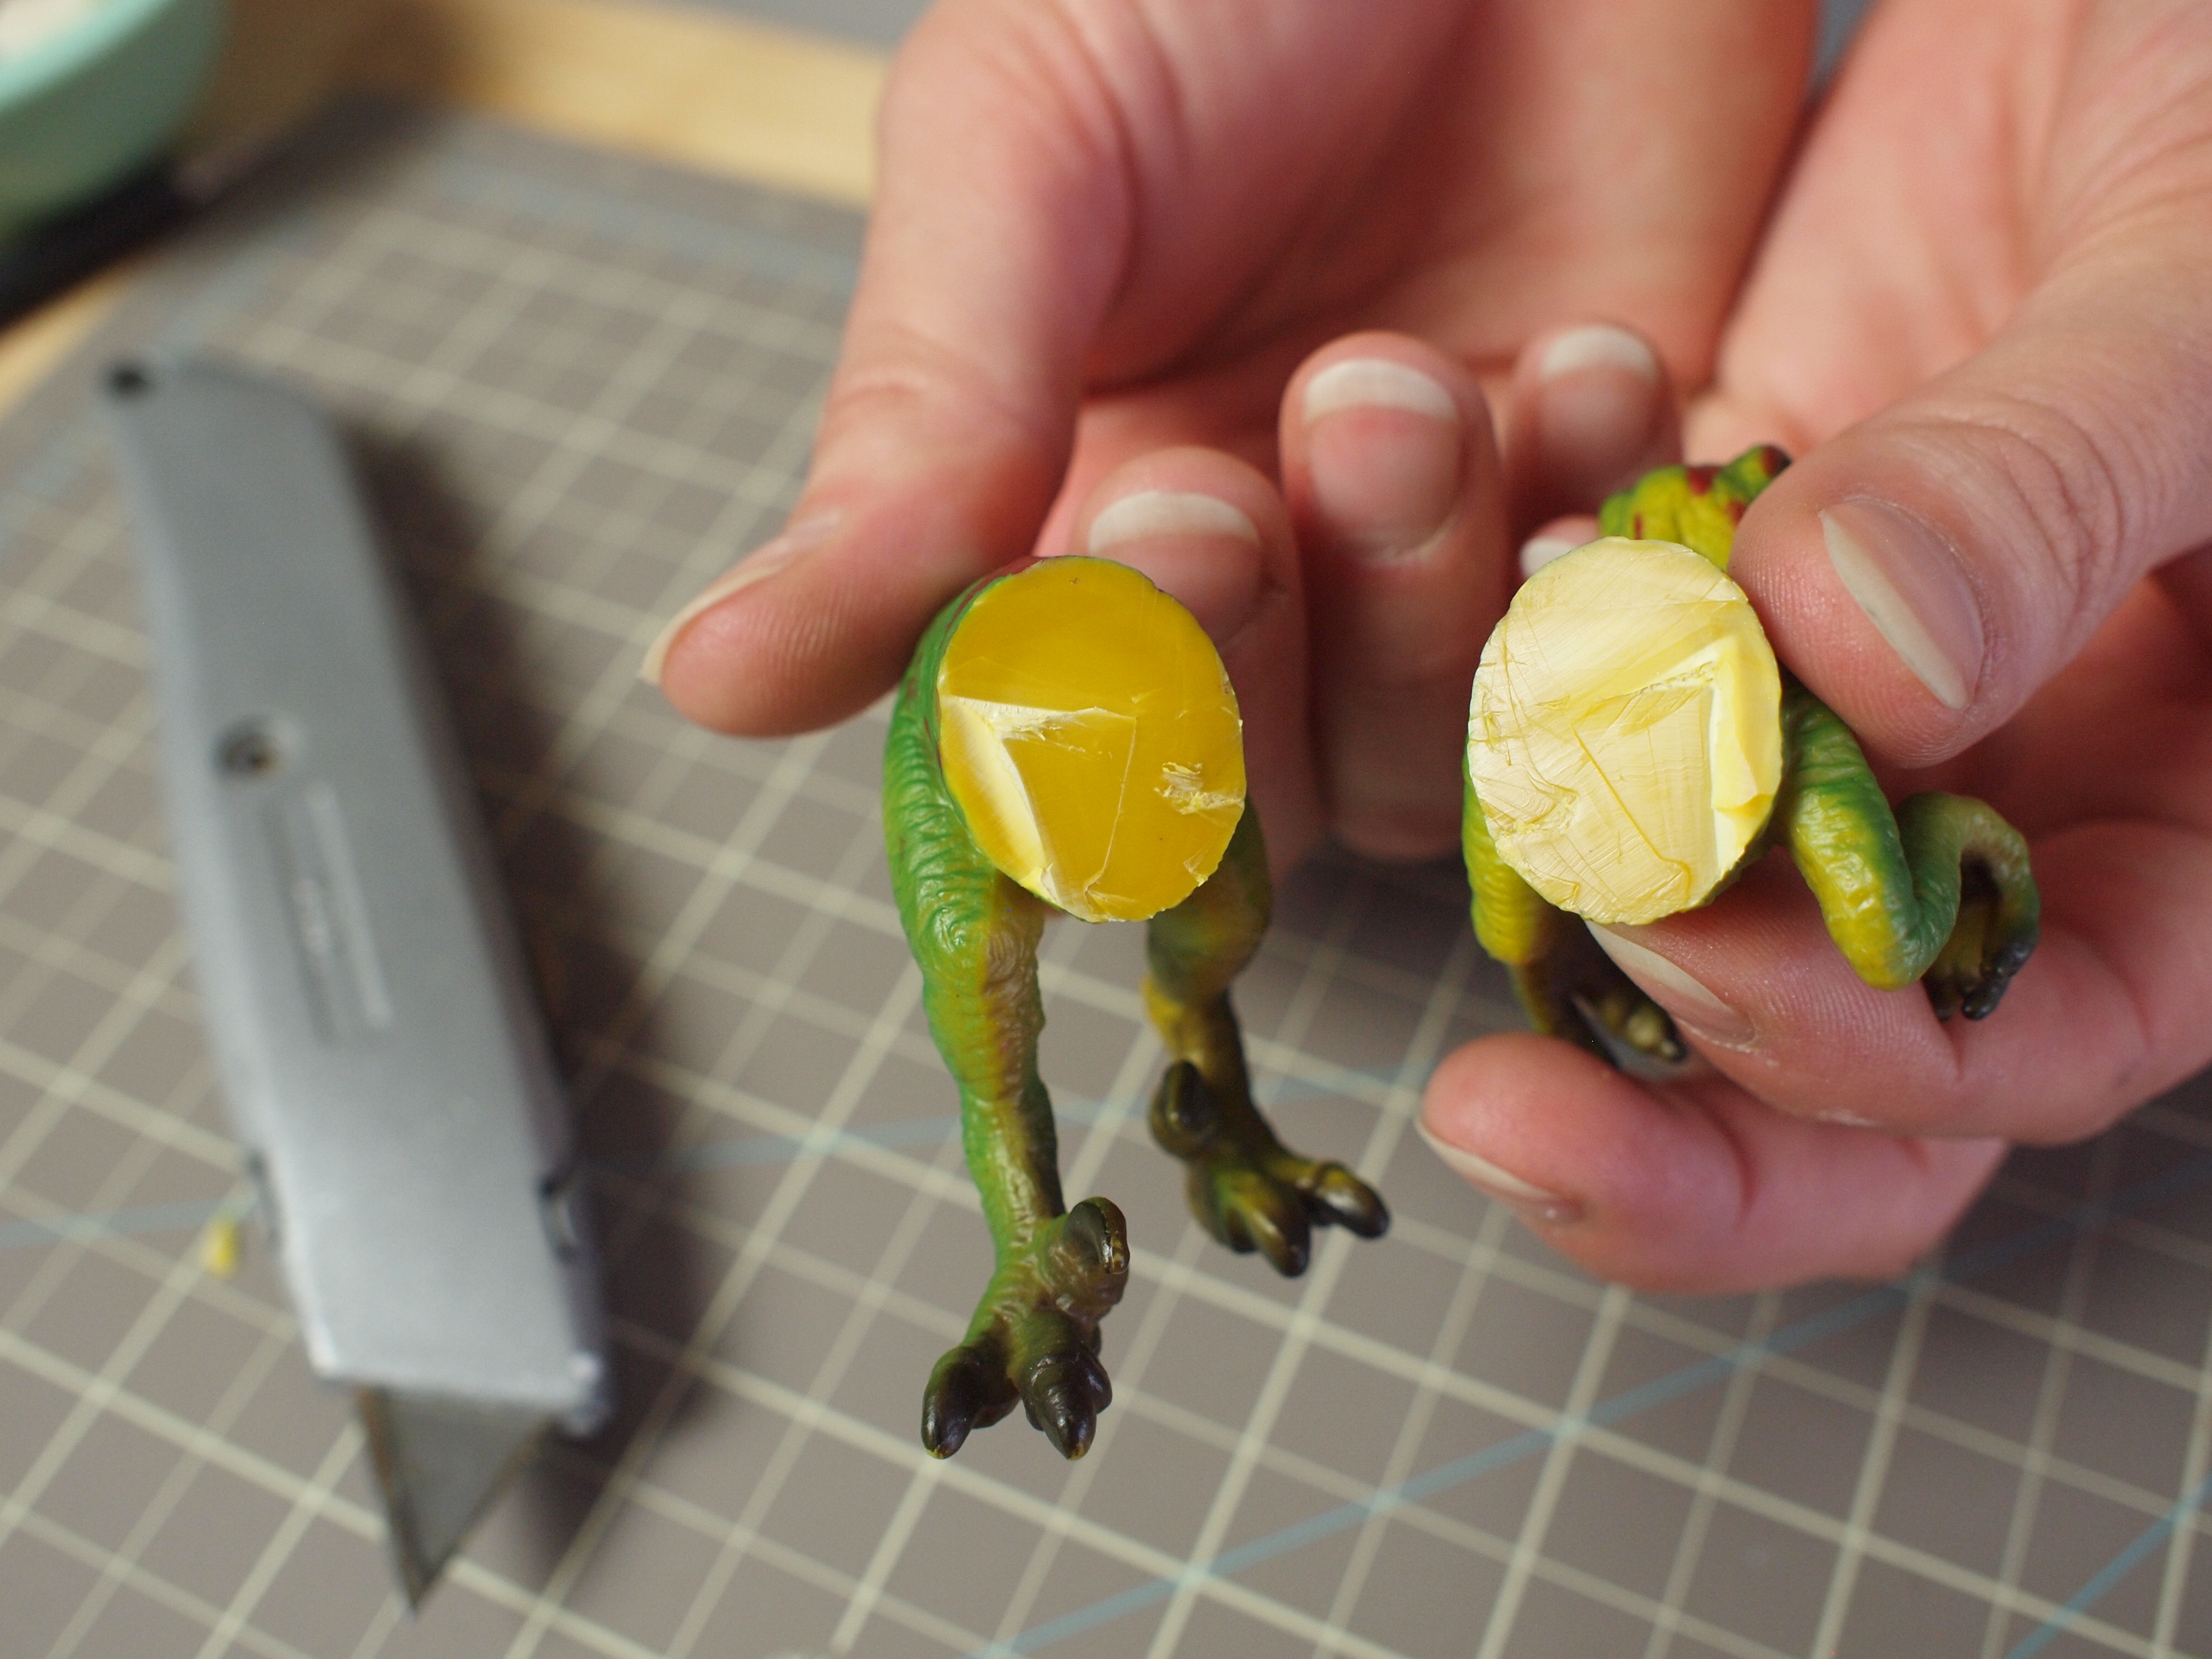
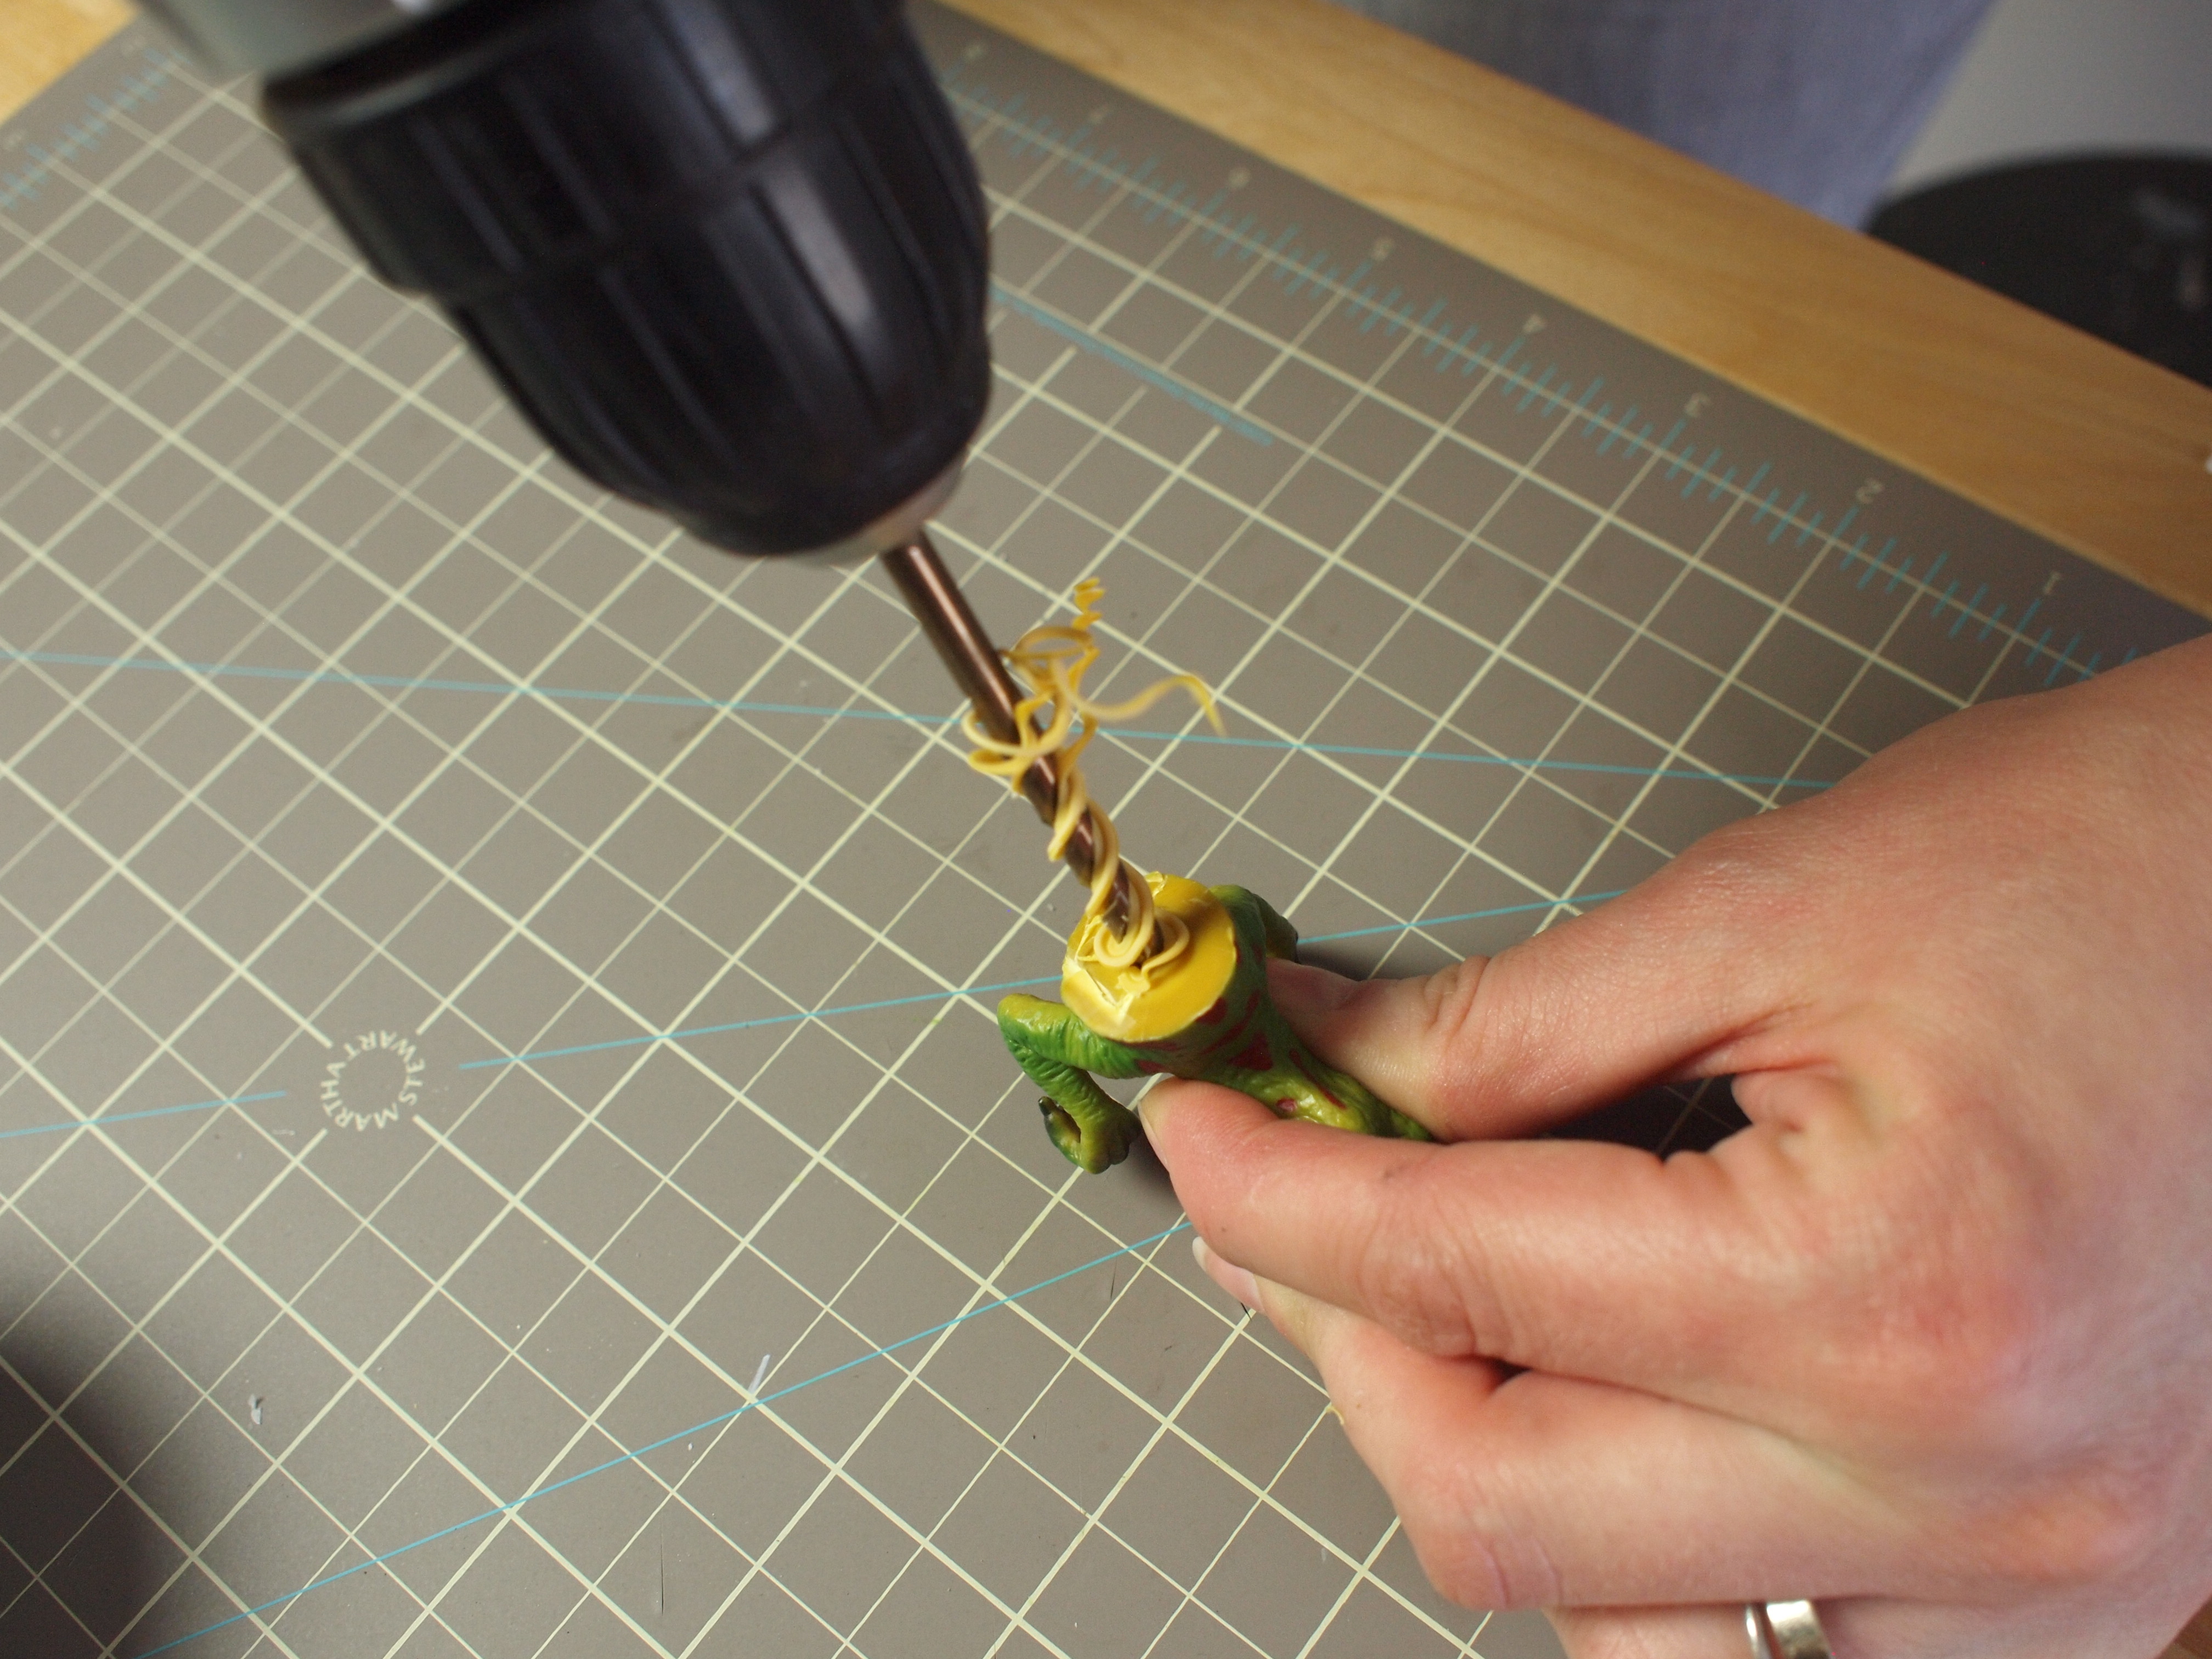
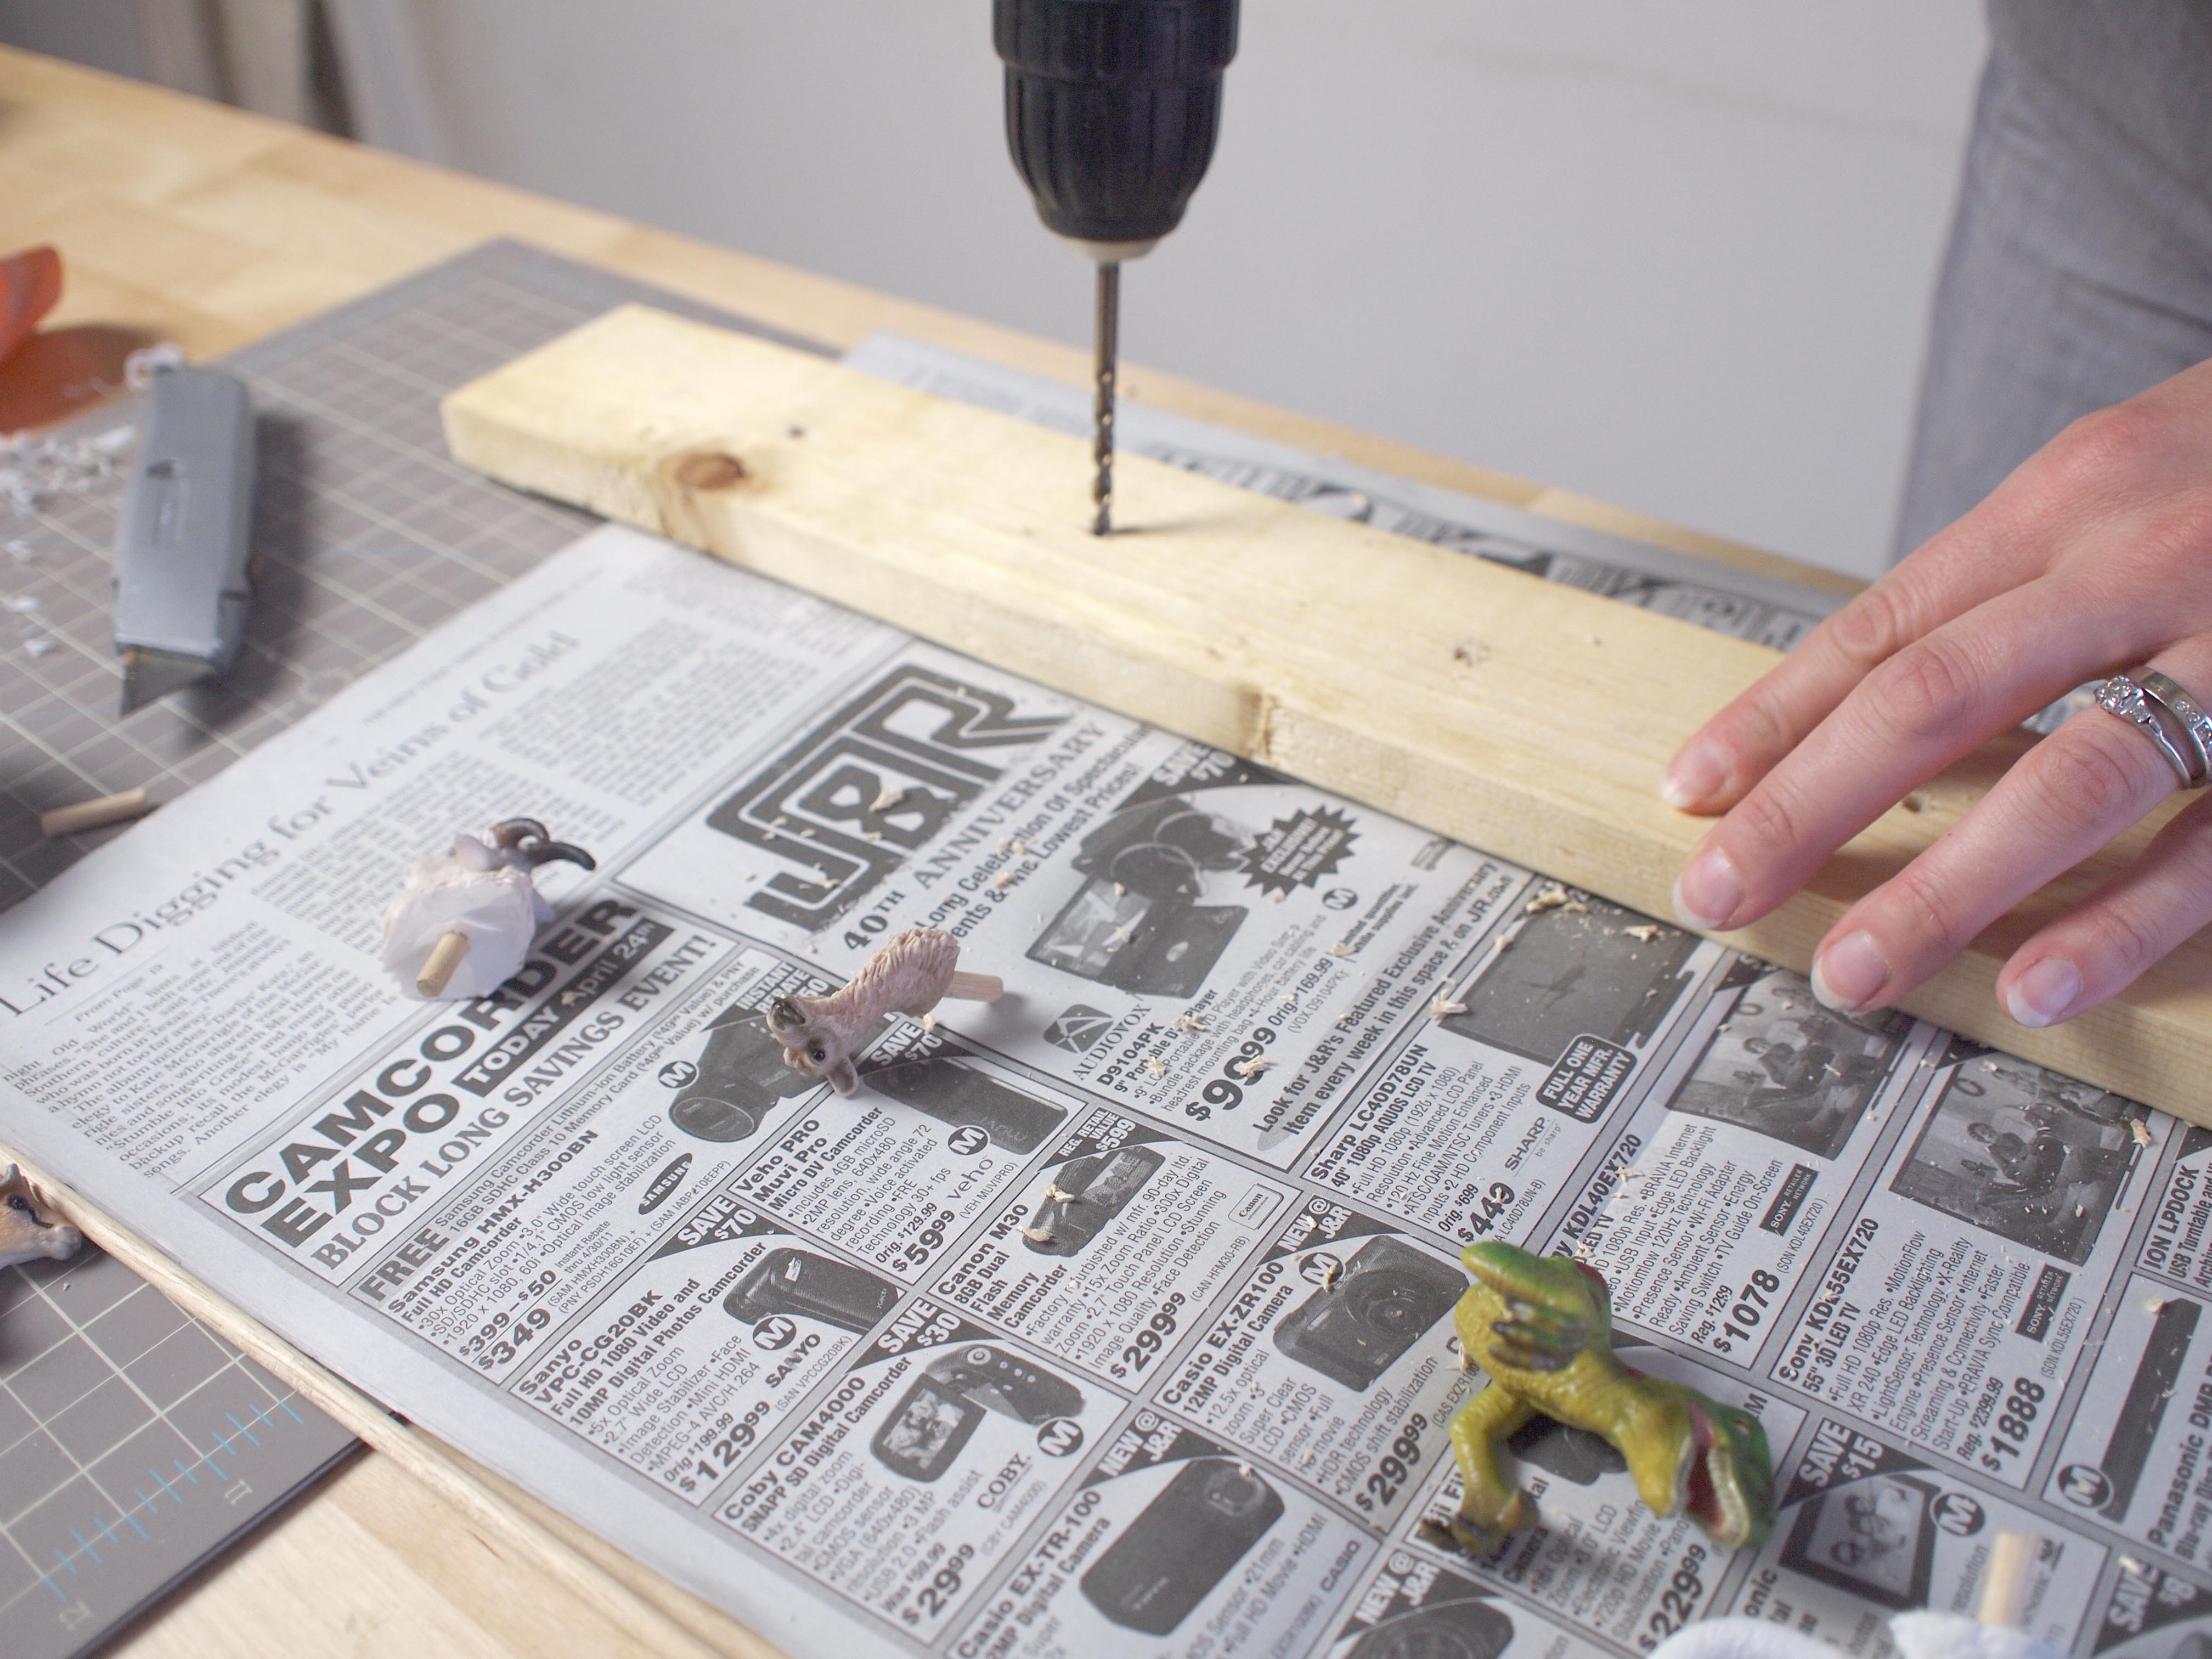
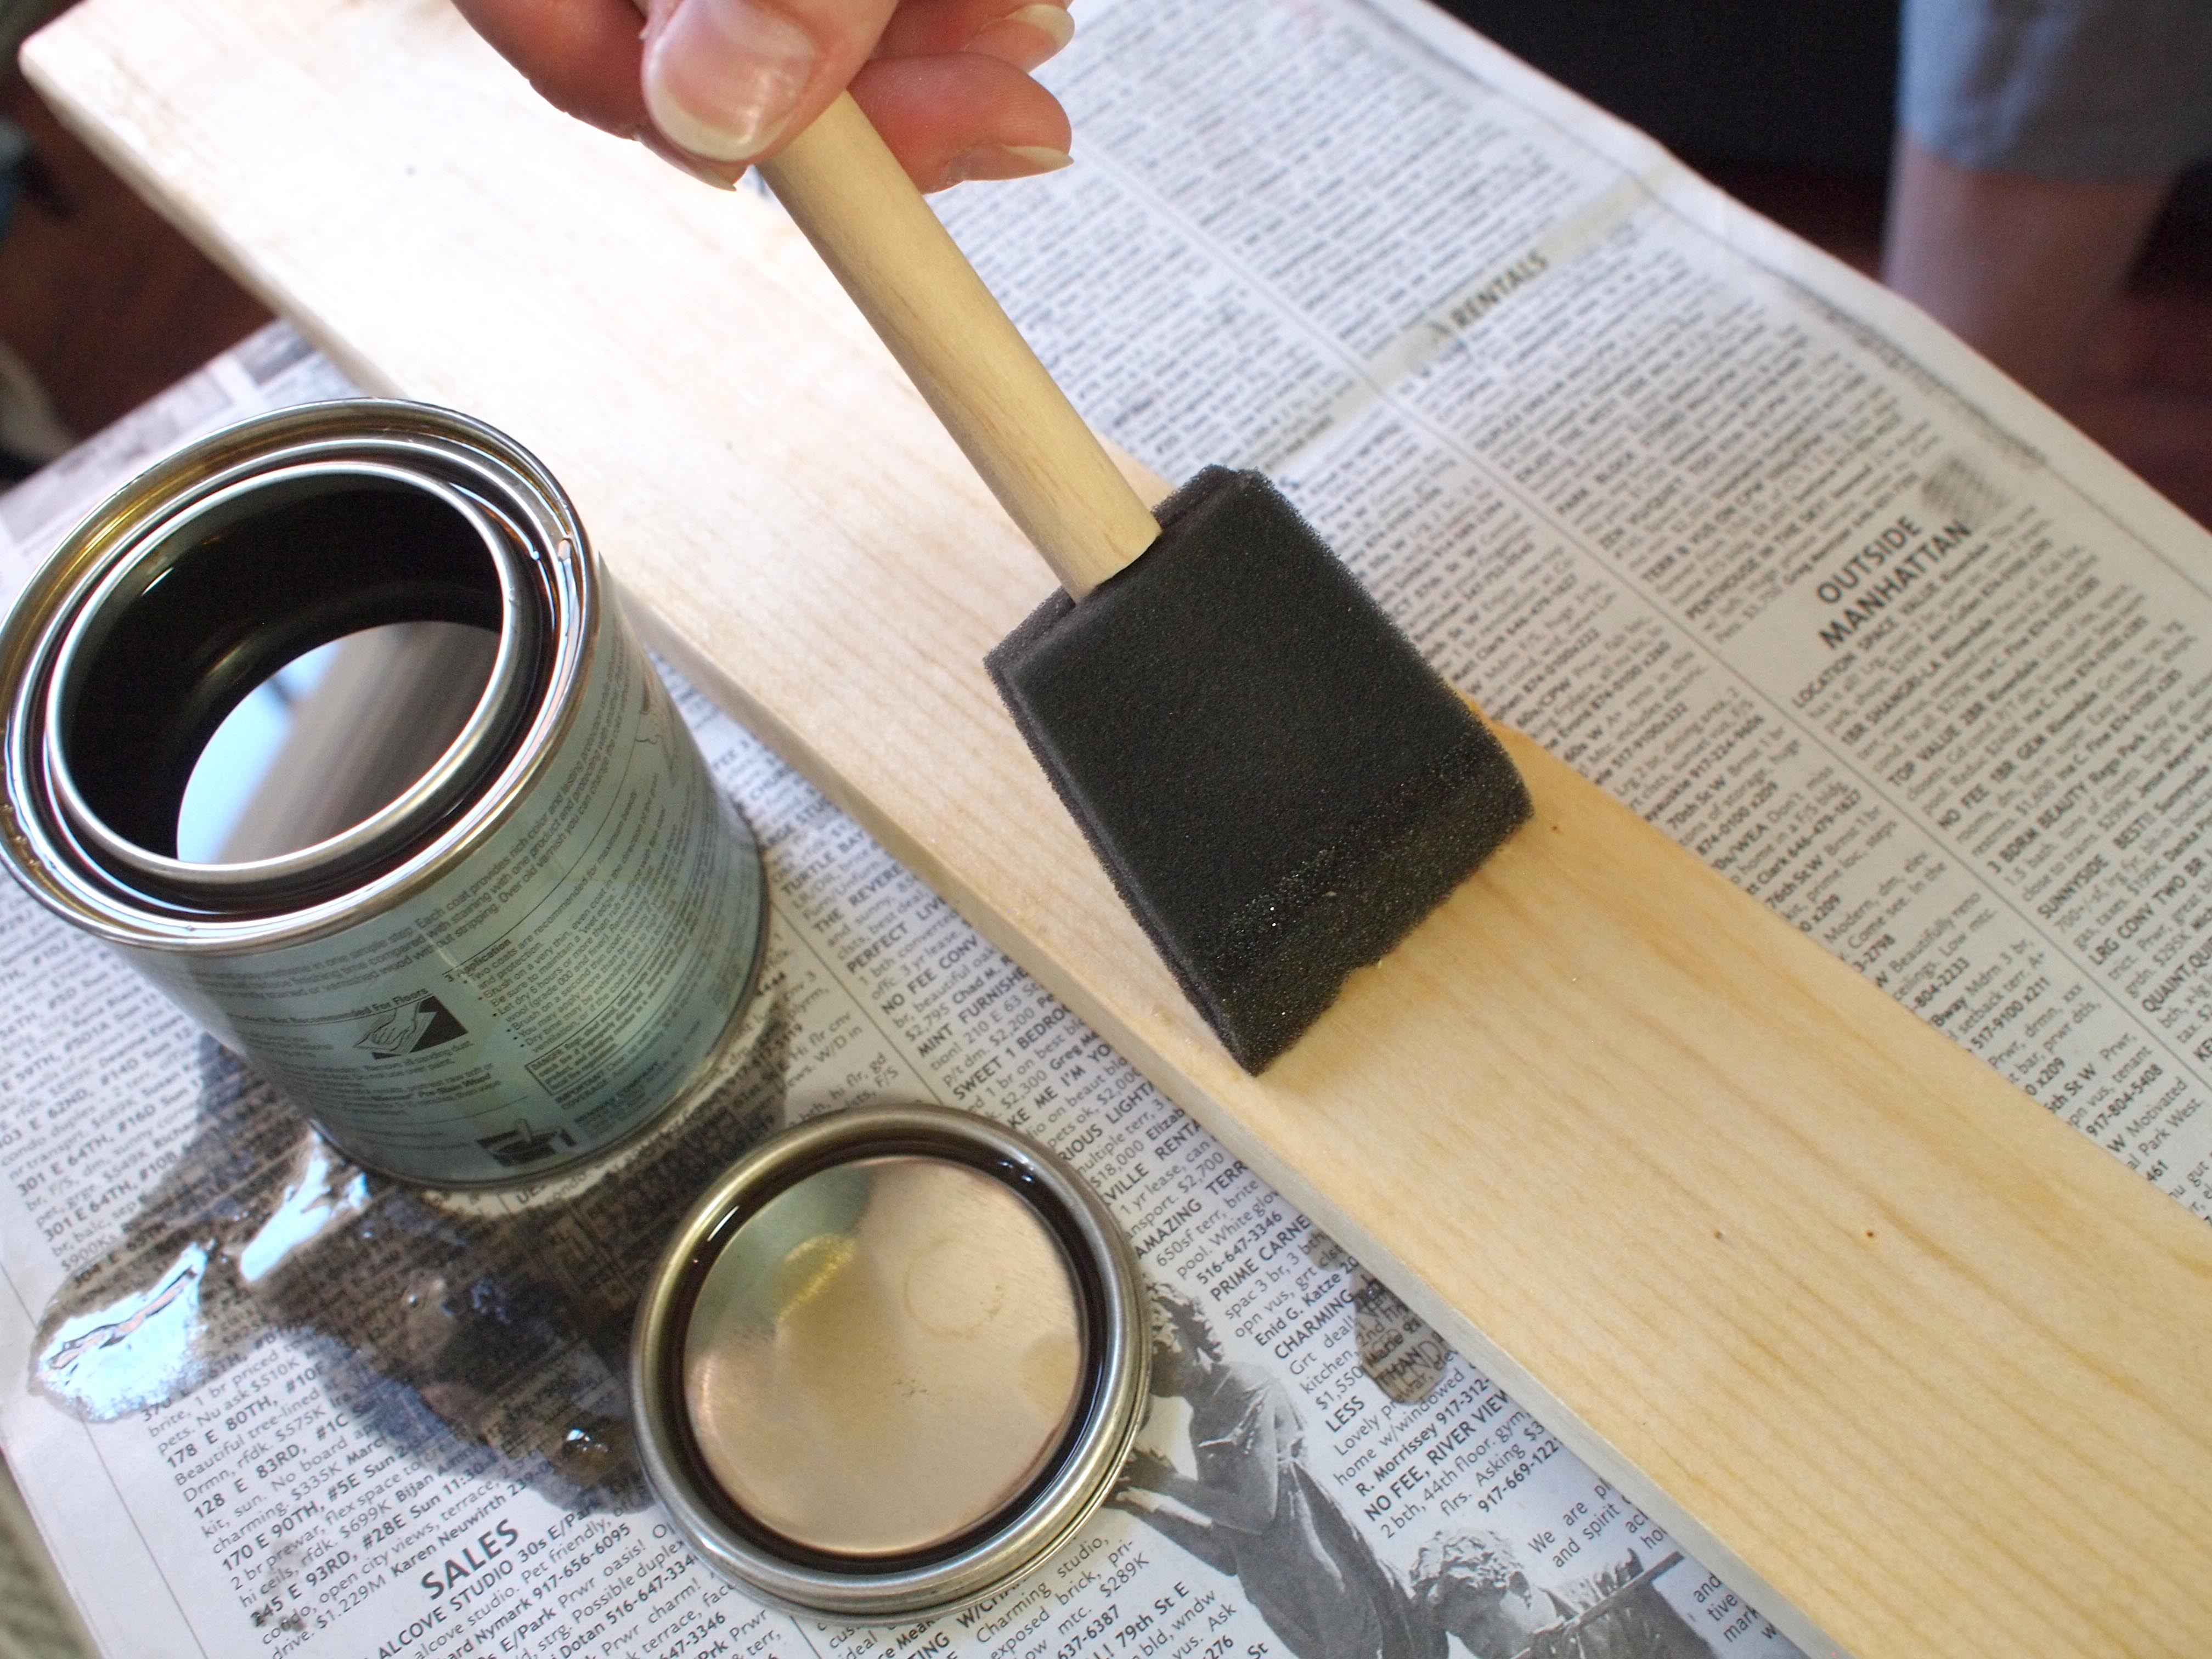
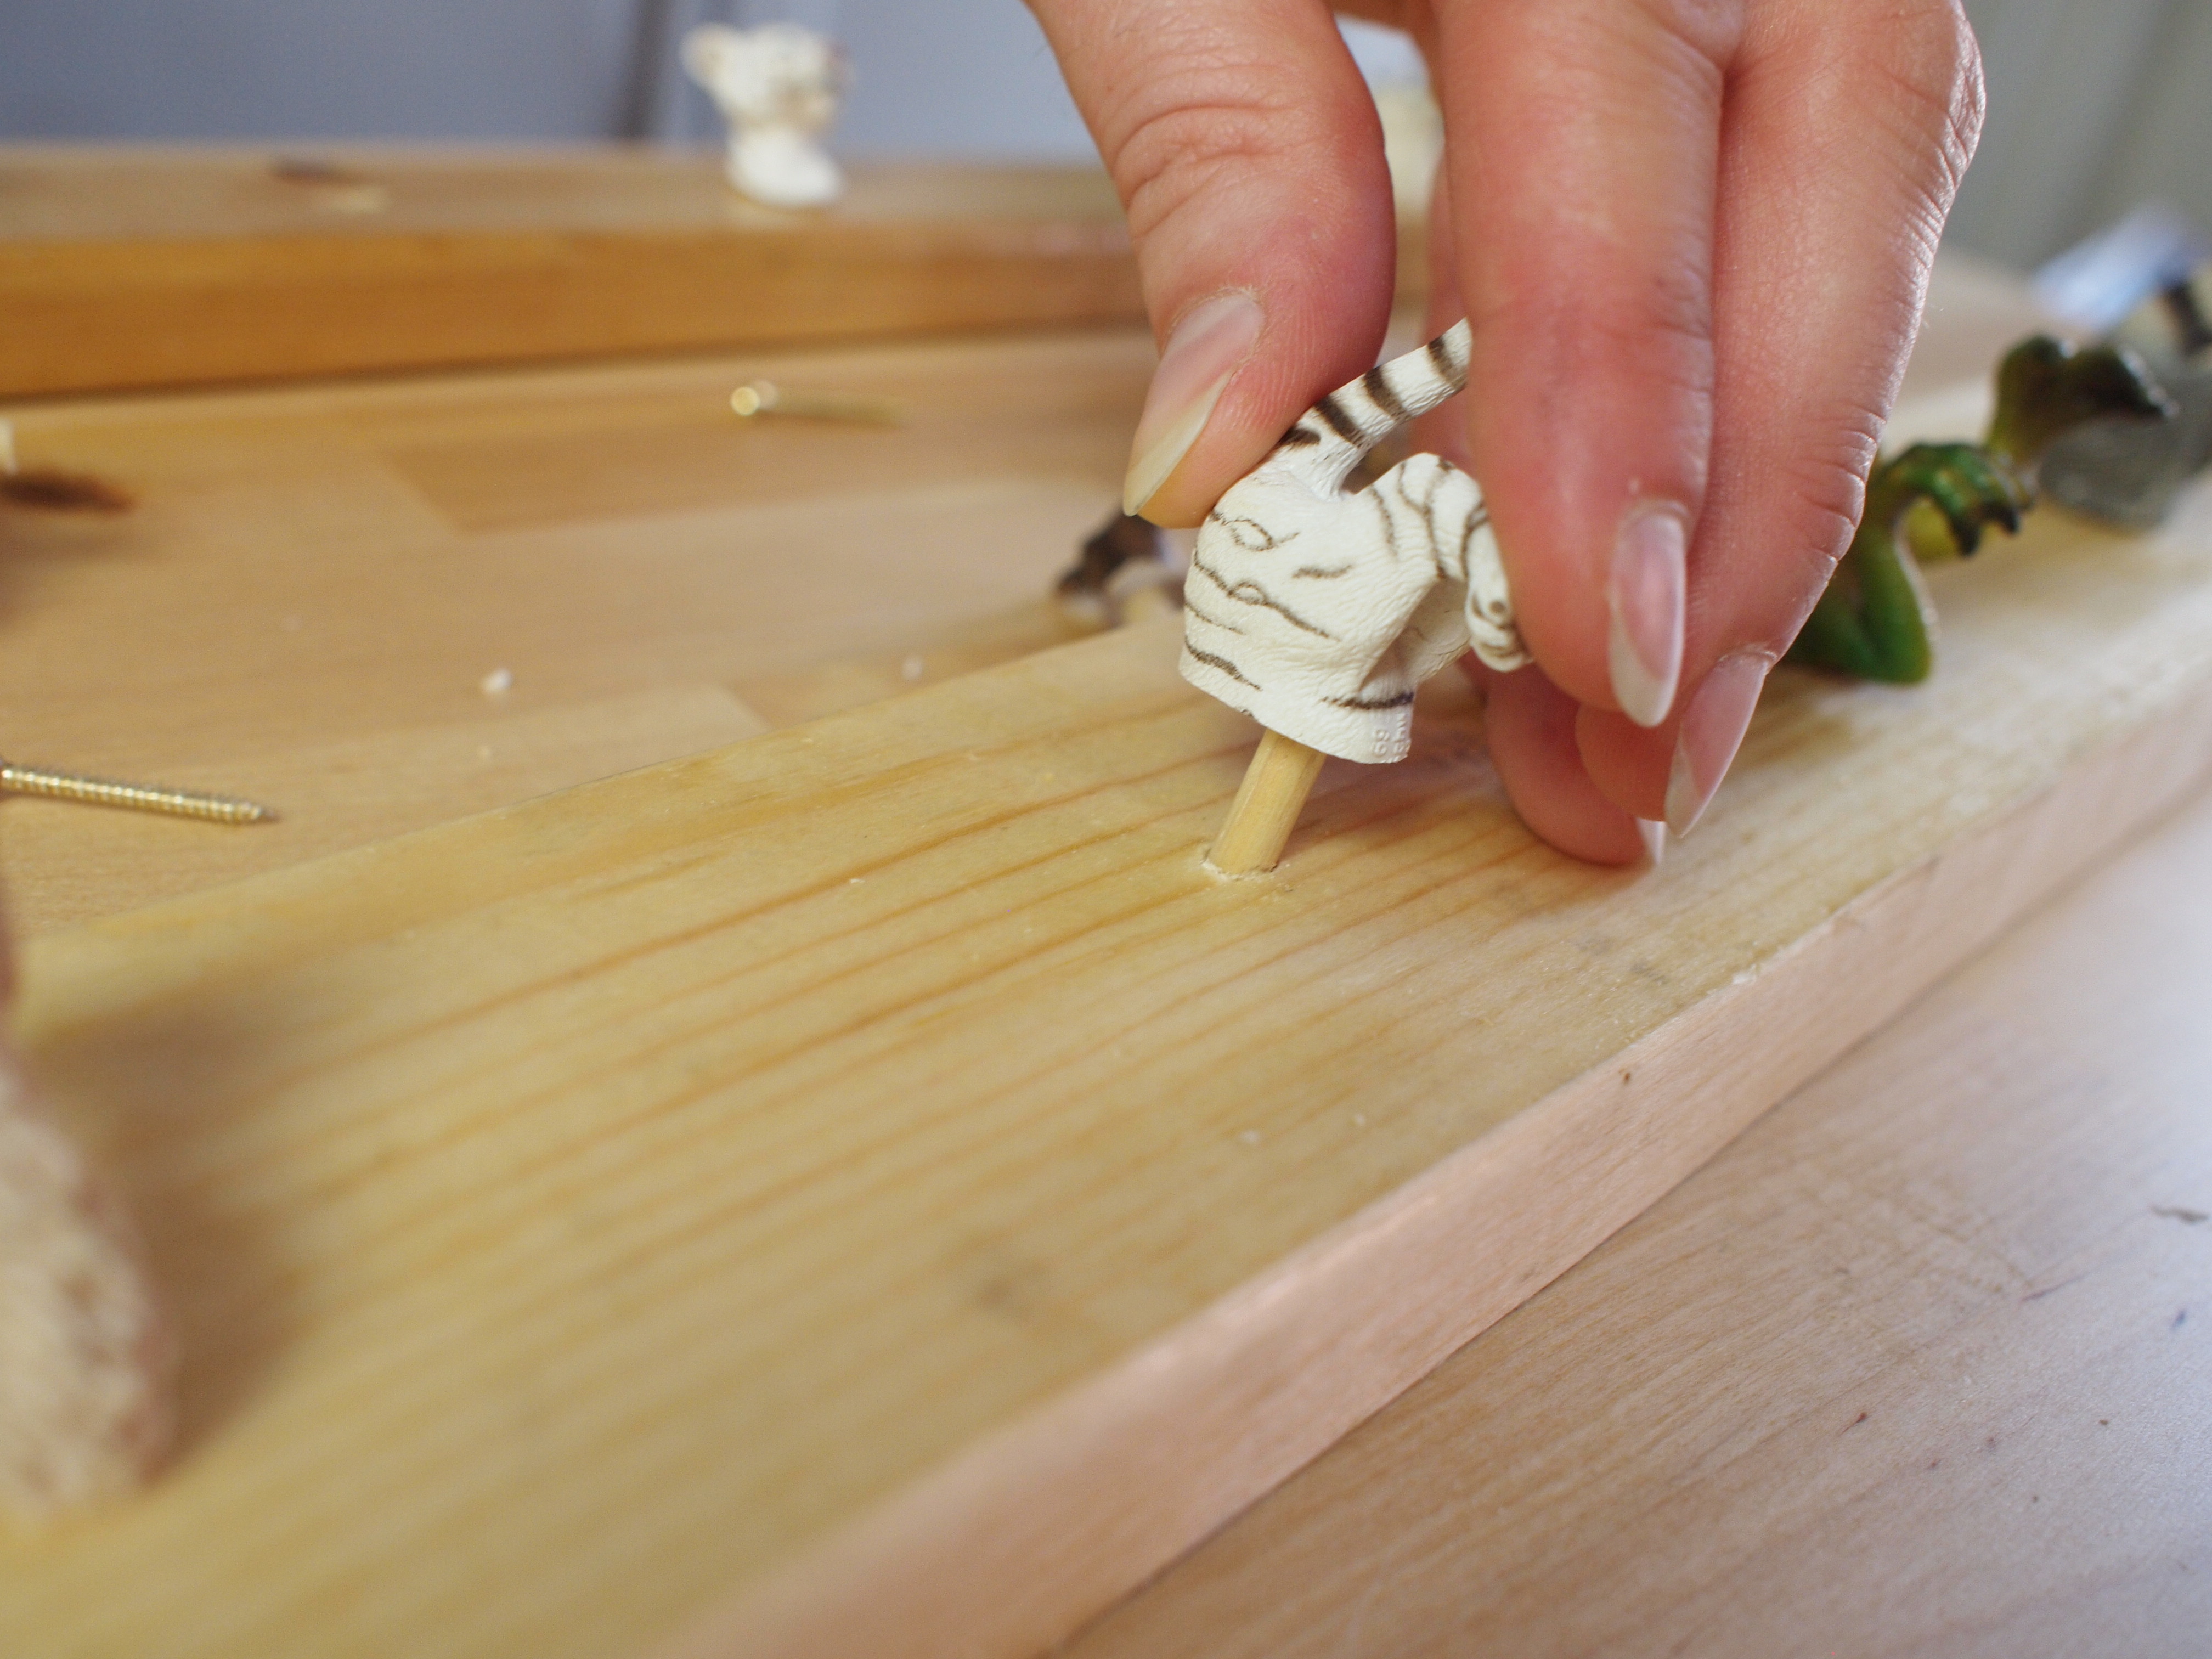
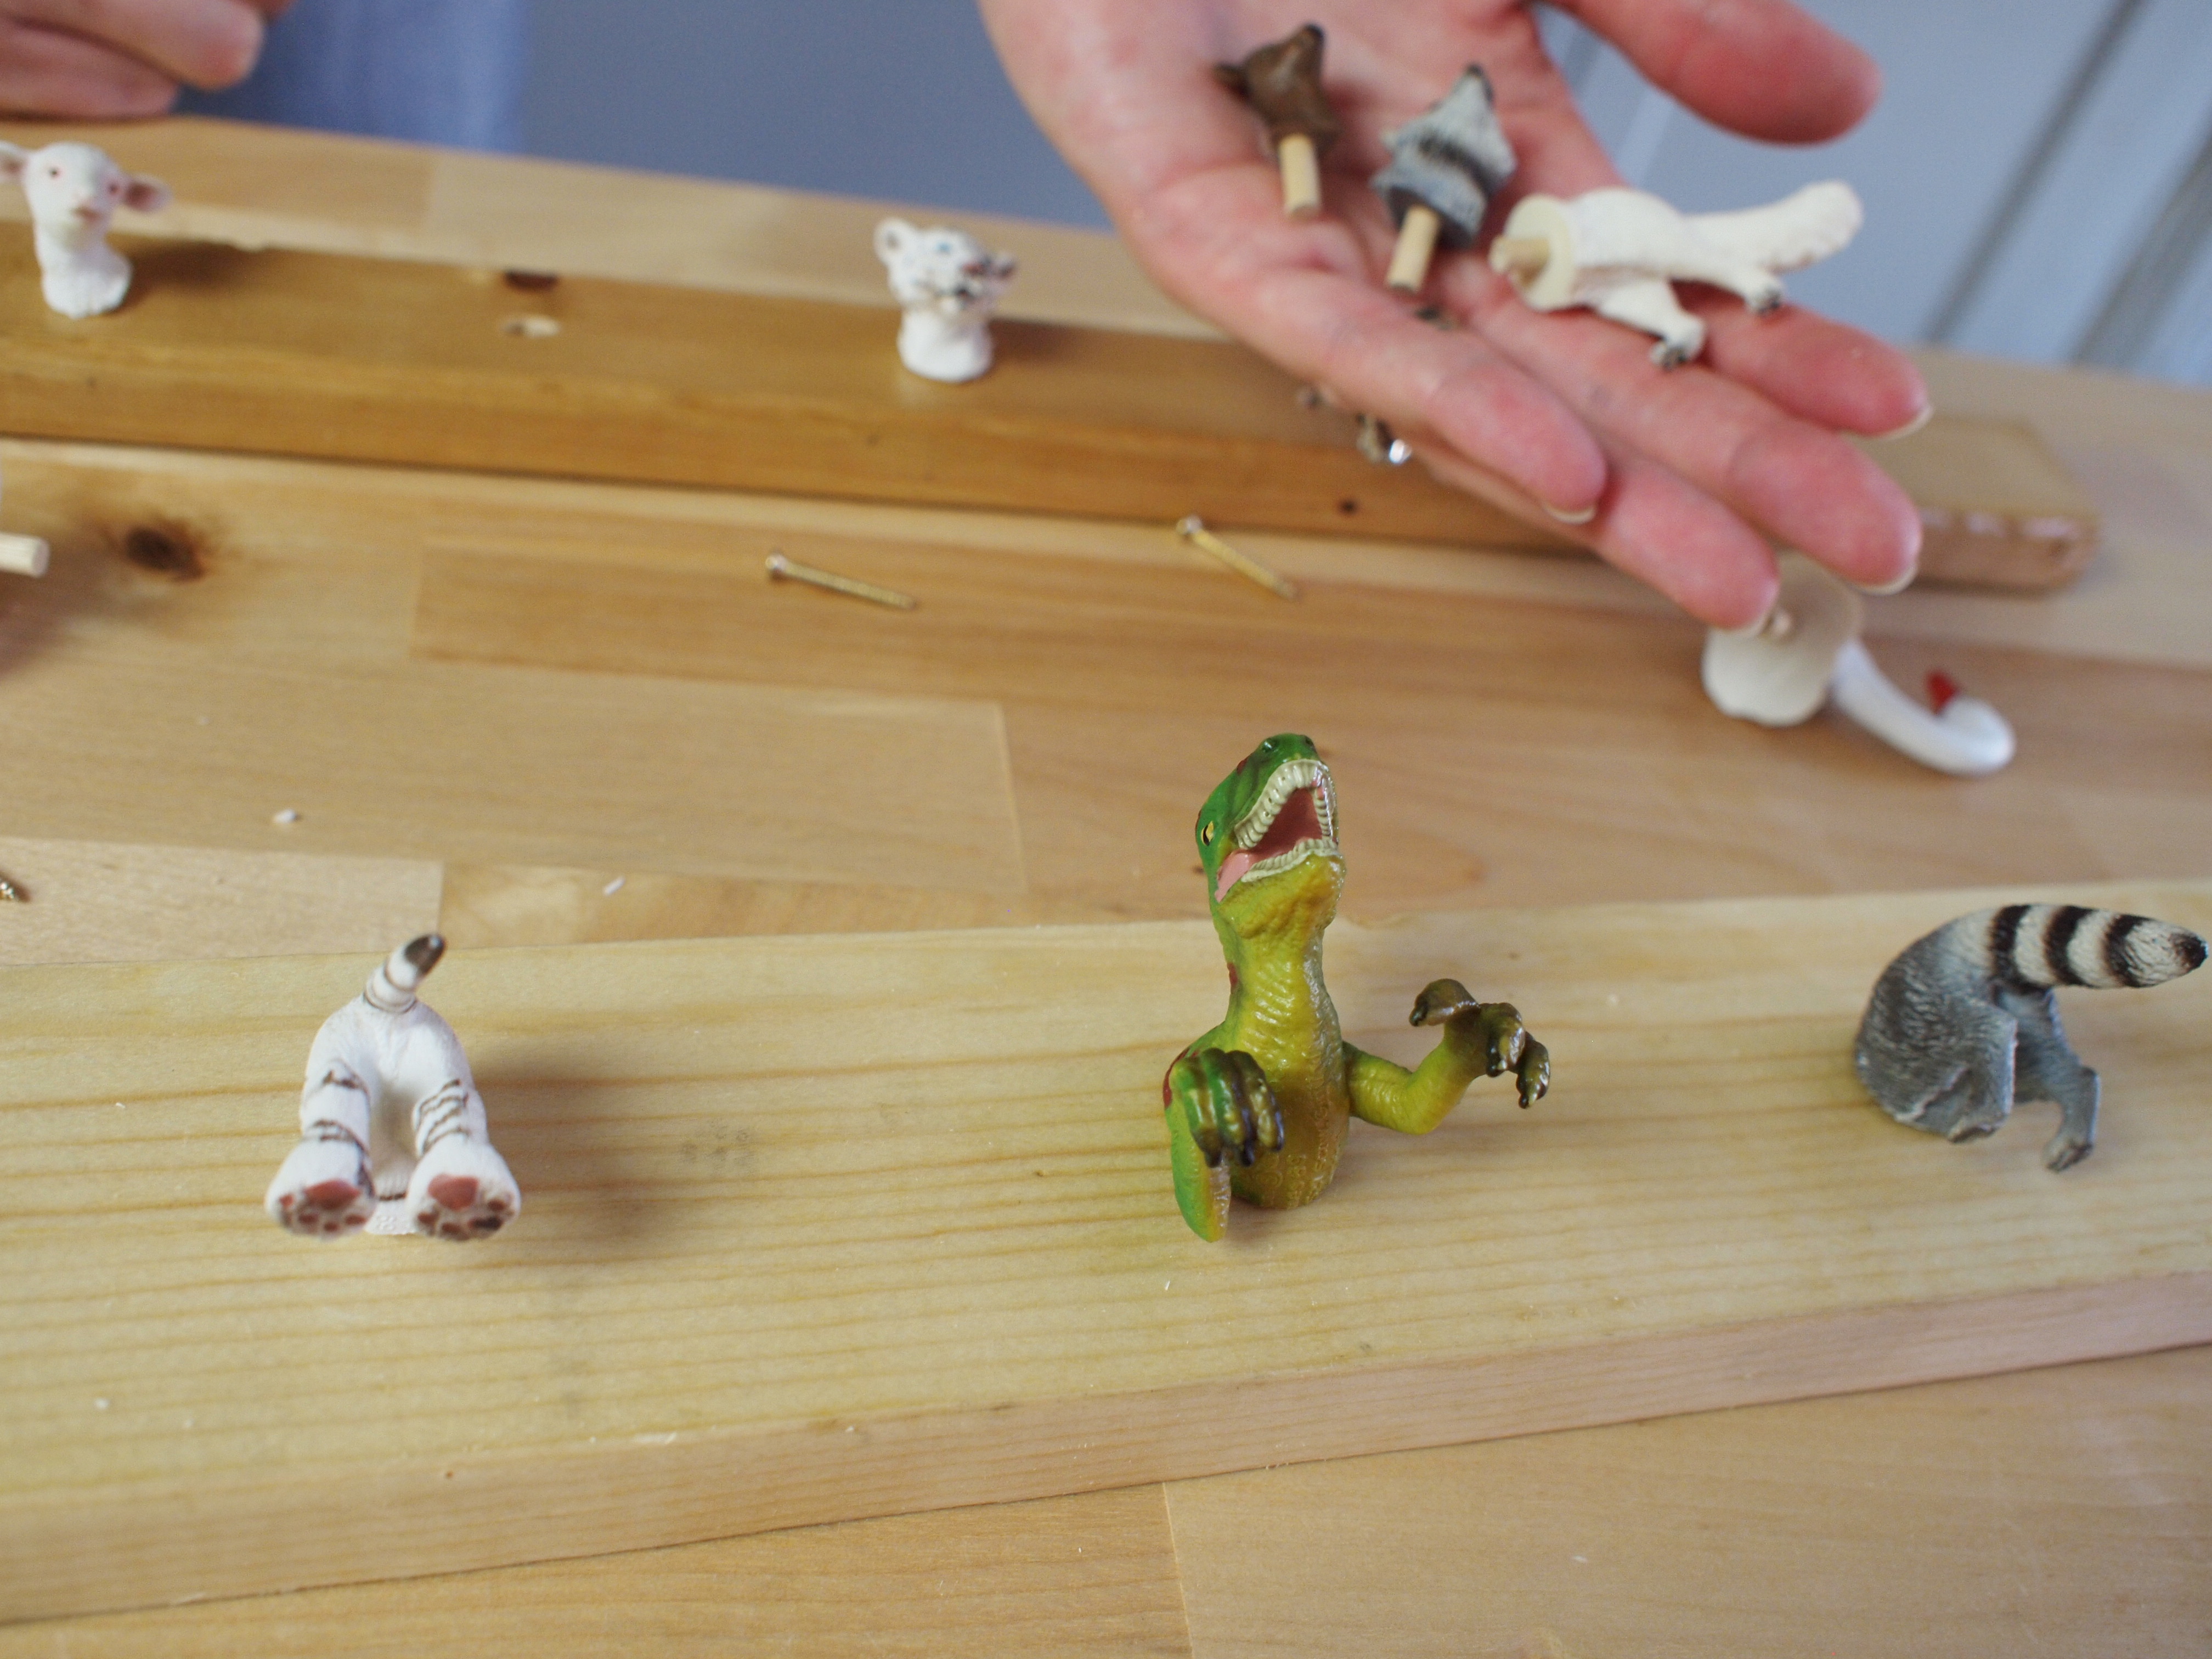
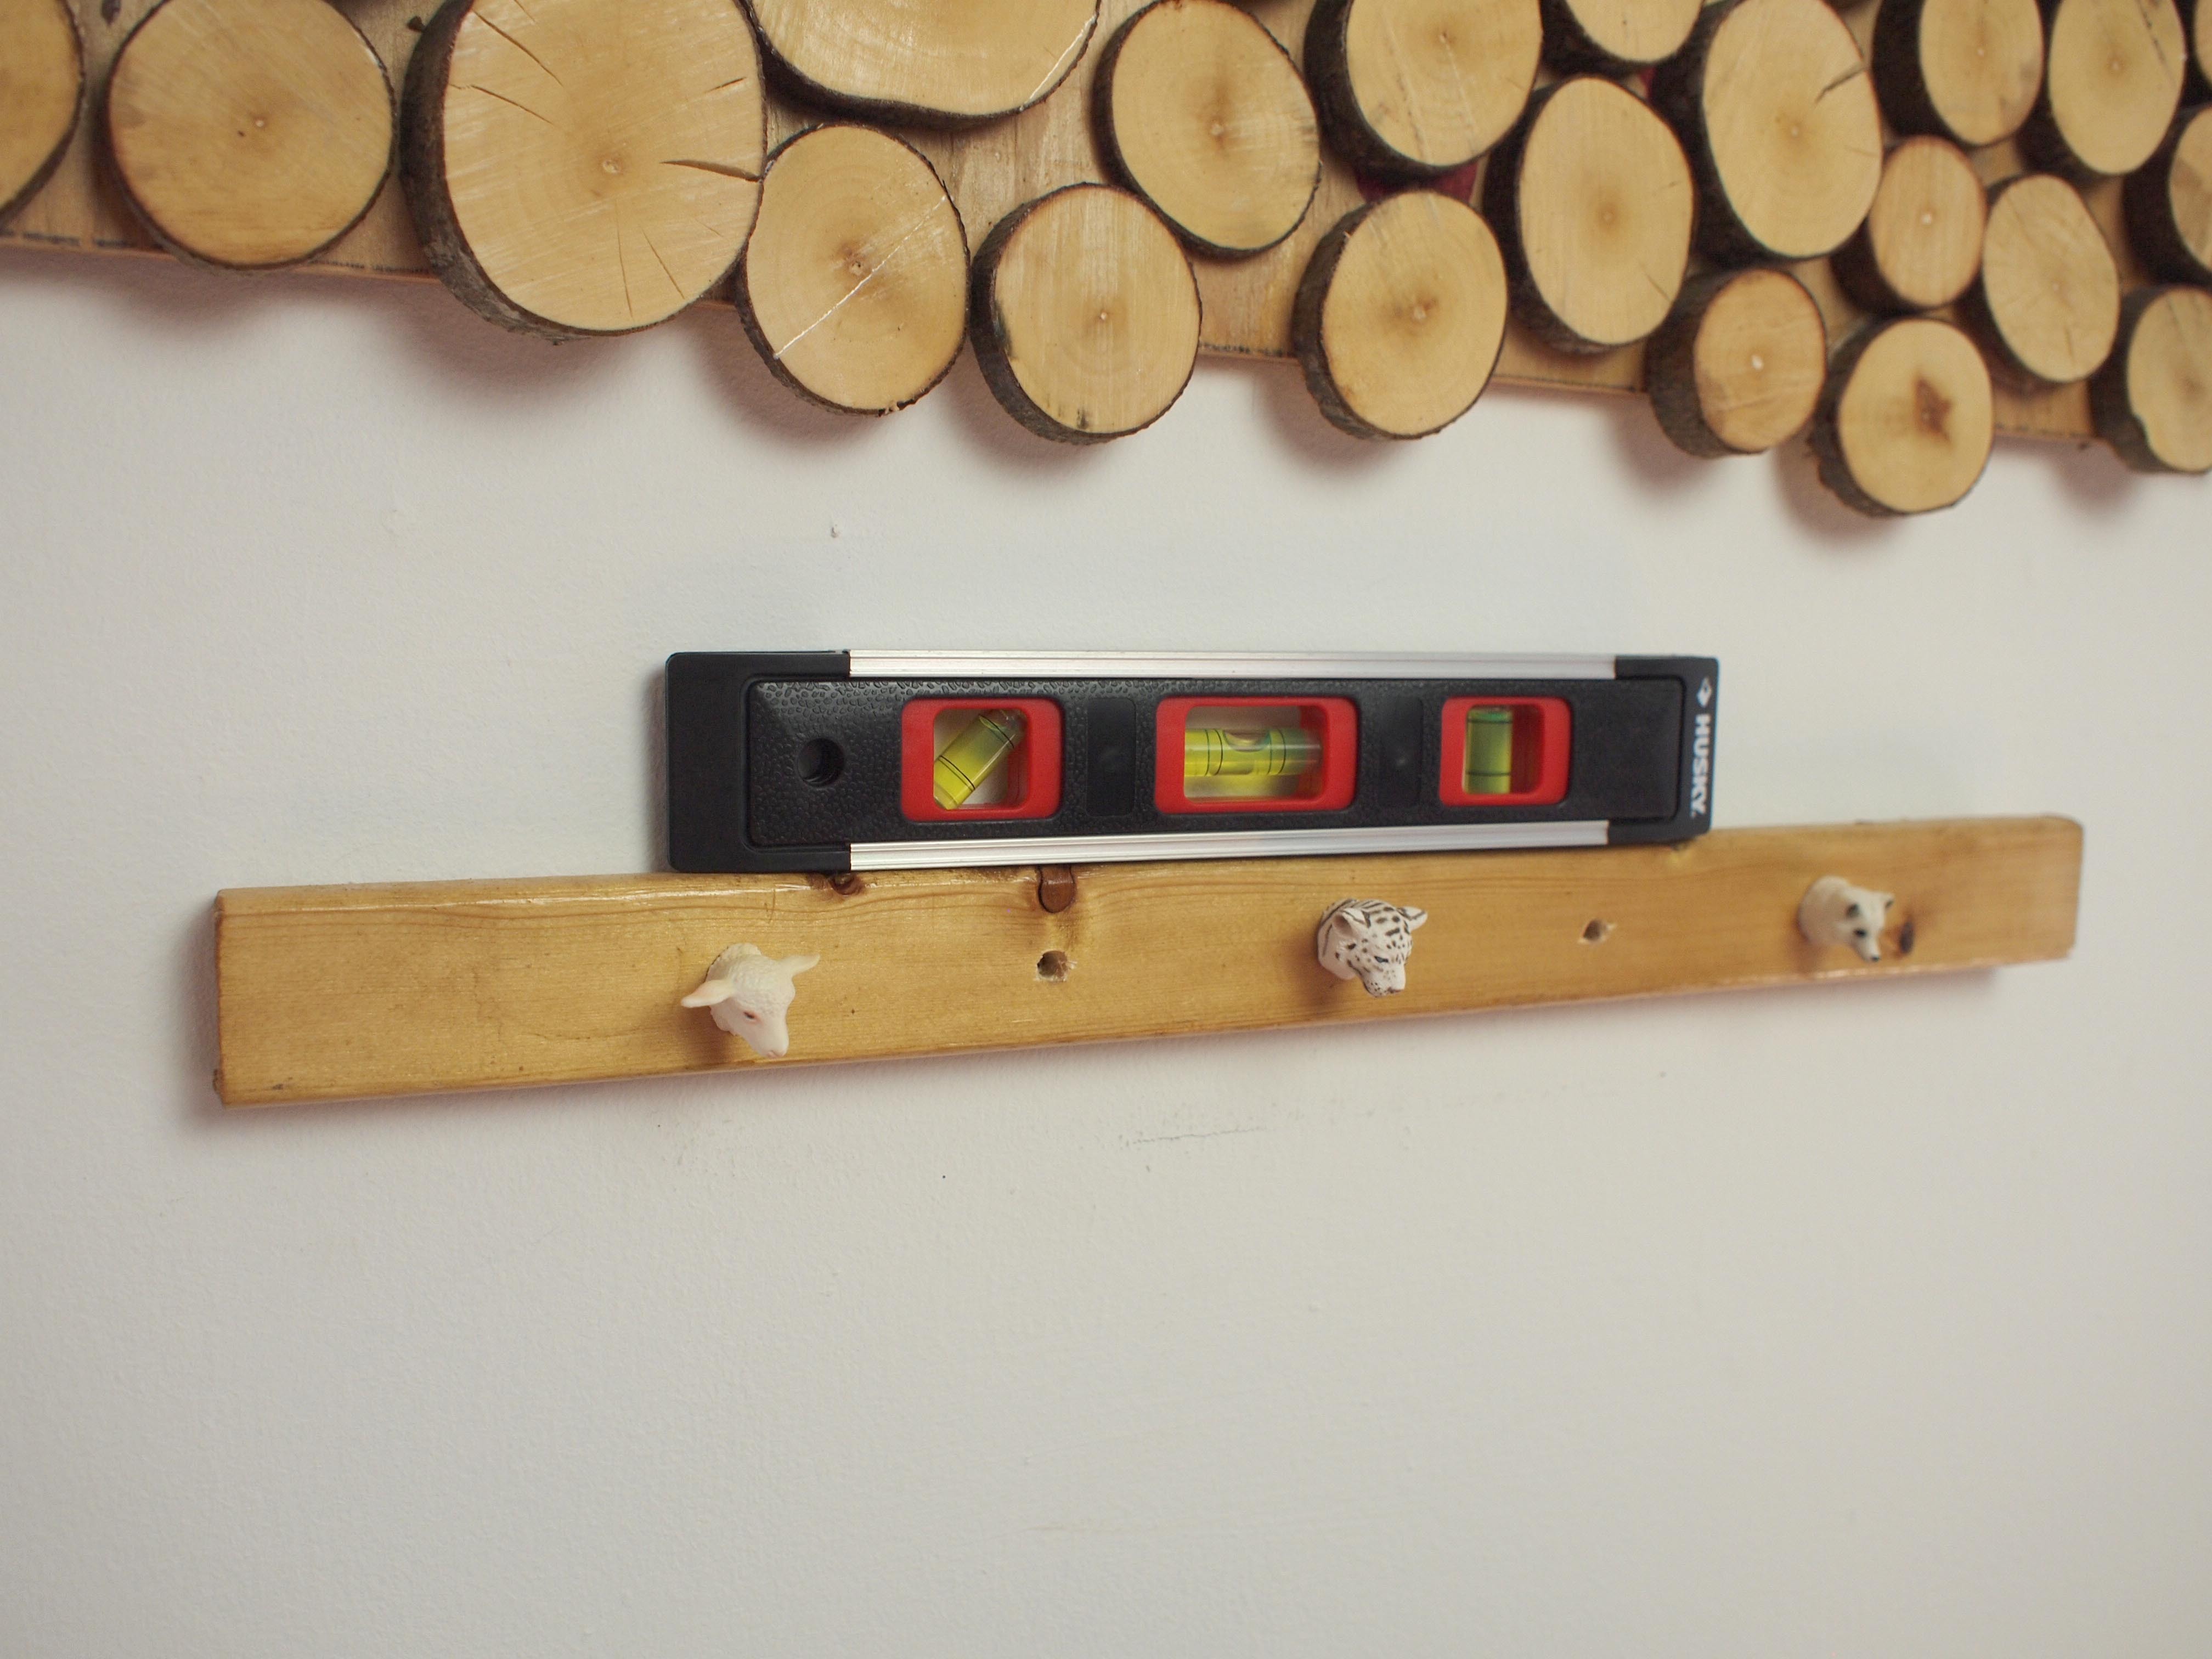
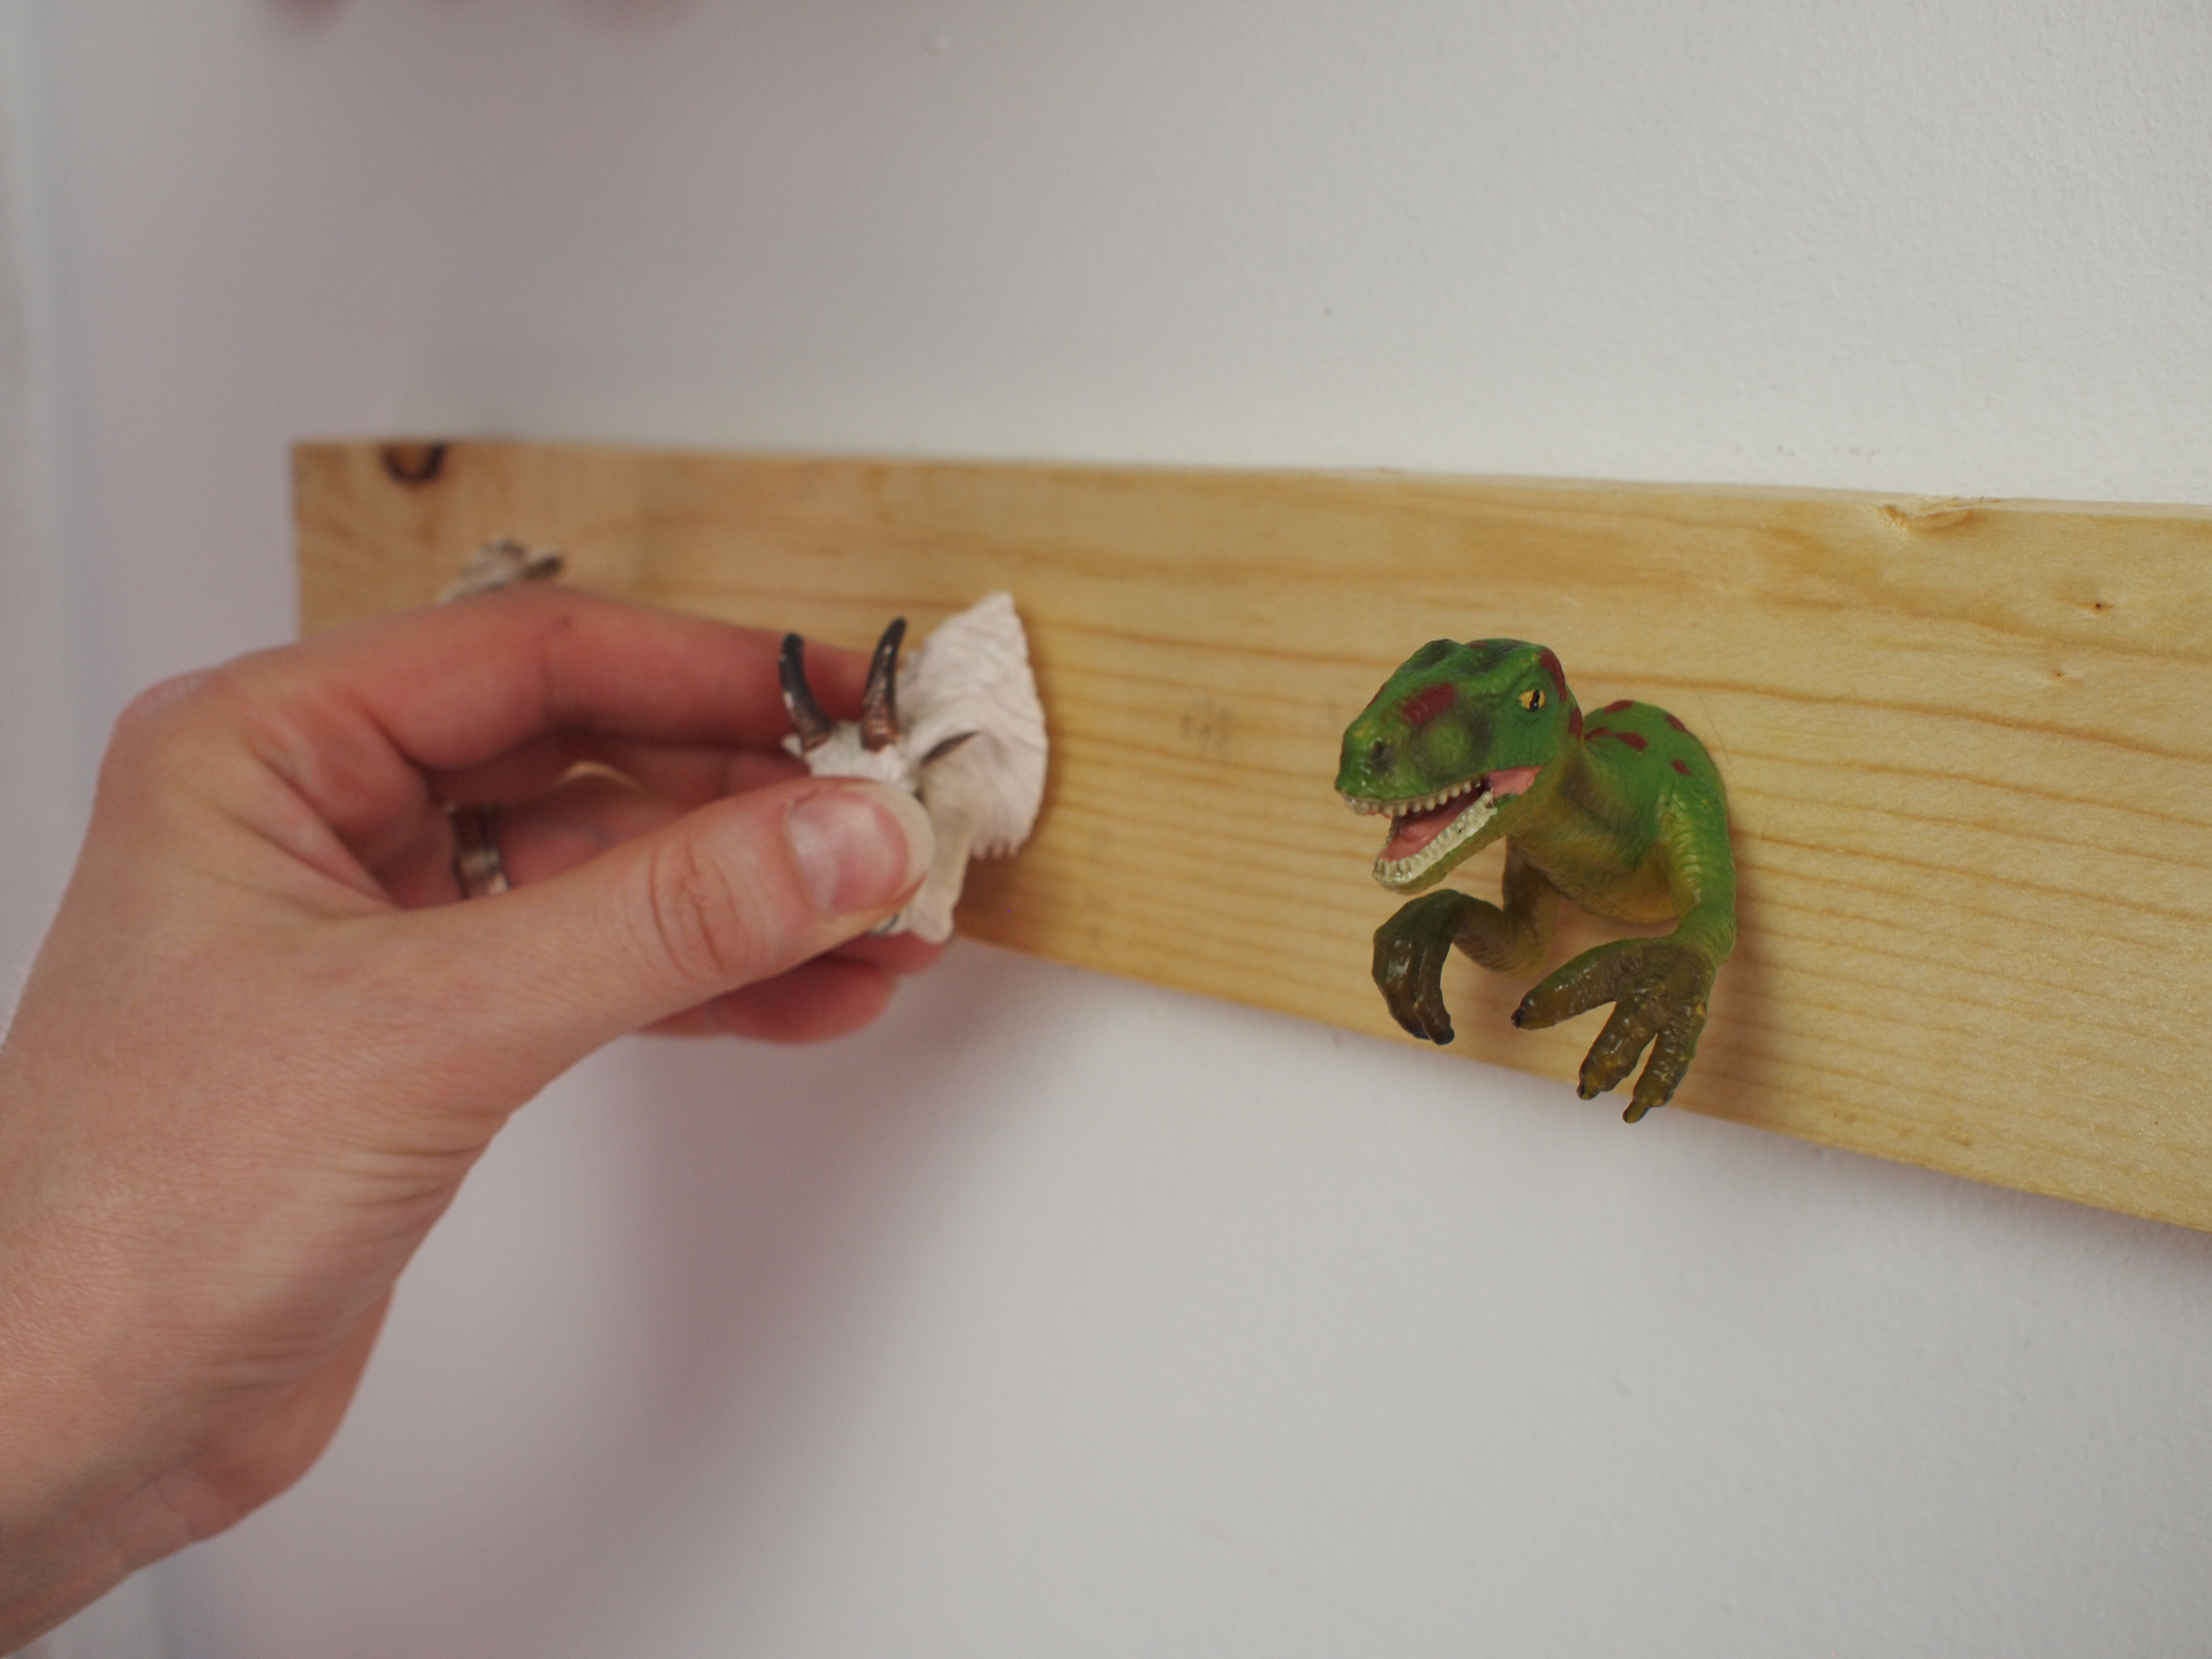
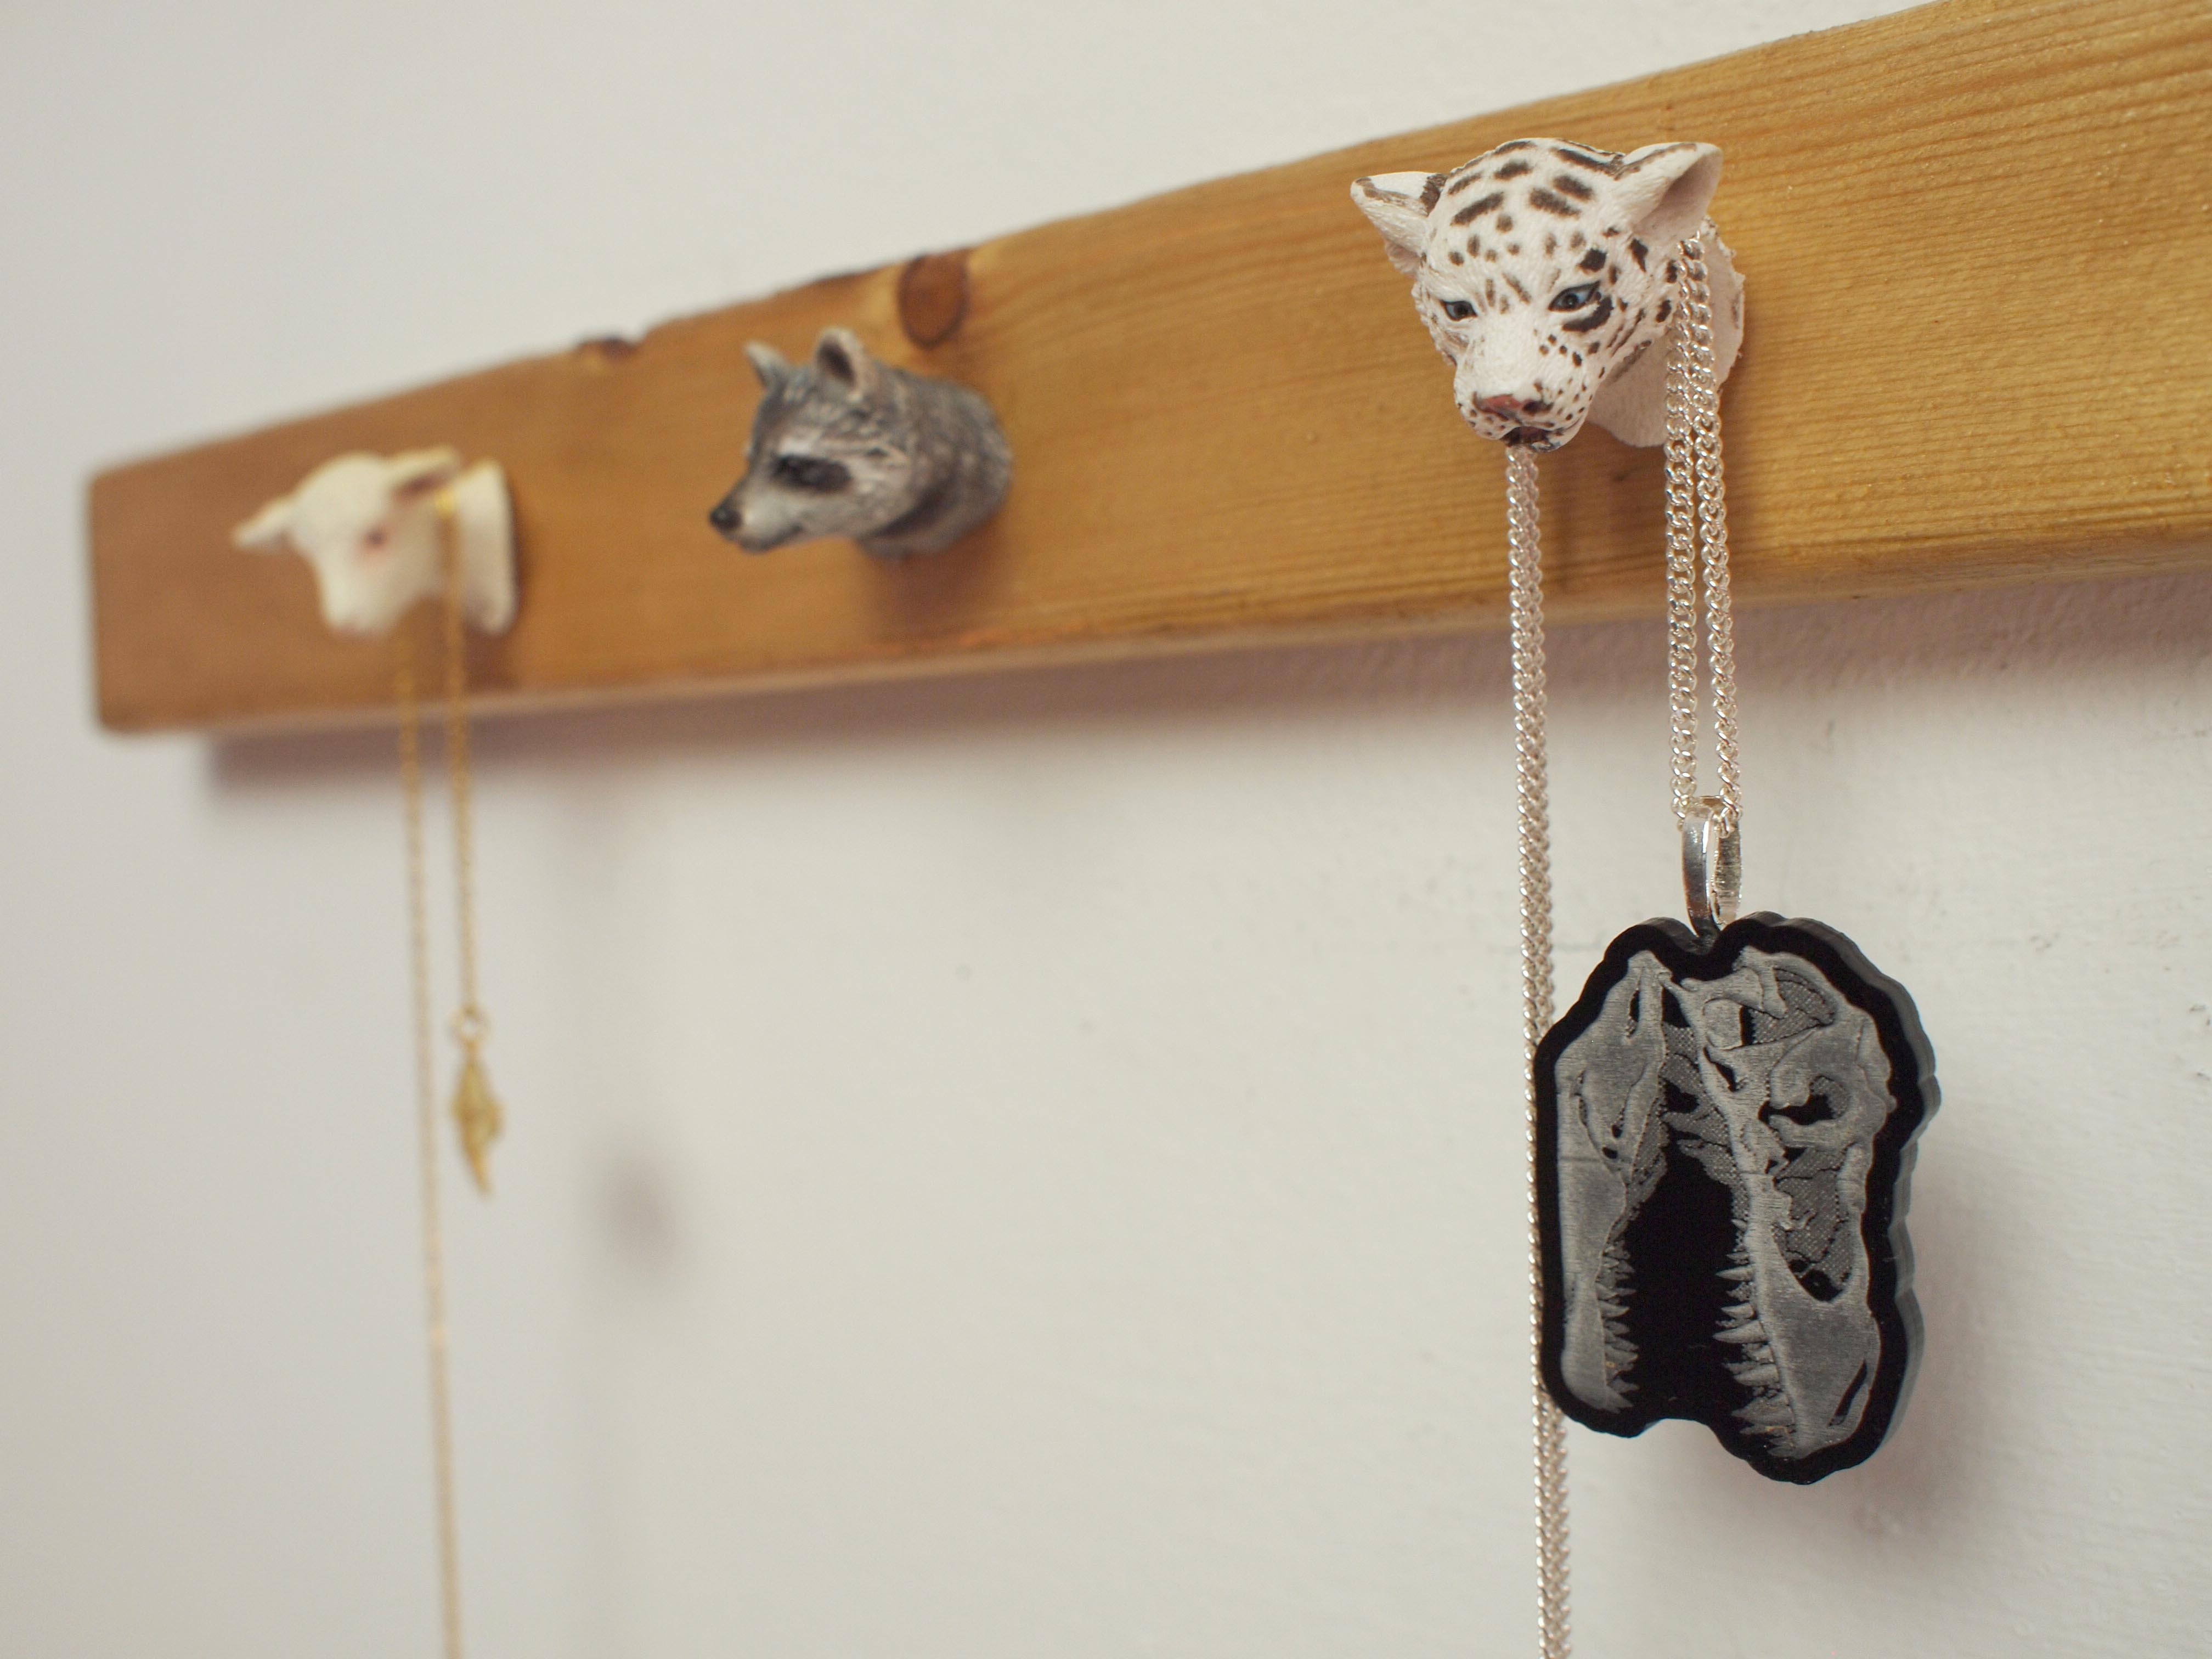
Using cute little animal figurines, we are going to decapitate them and turn them into many mini-busts creating an awesome animal rack. For a more detailed tutorial, check out the accompanying video.

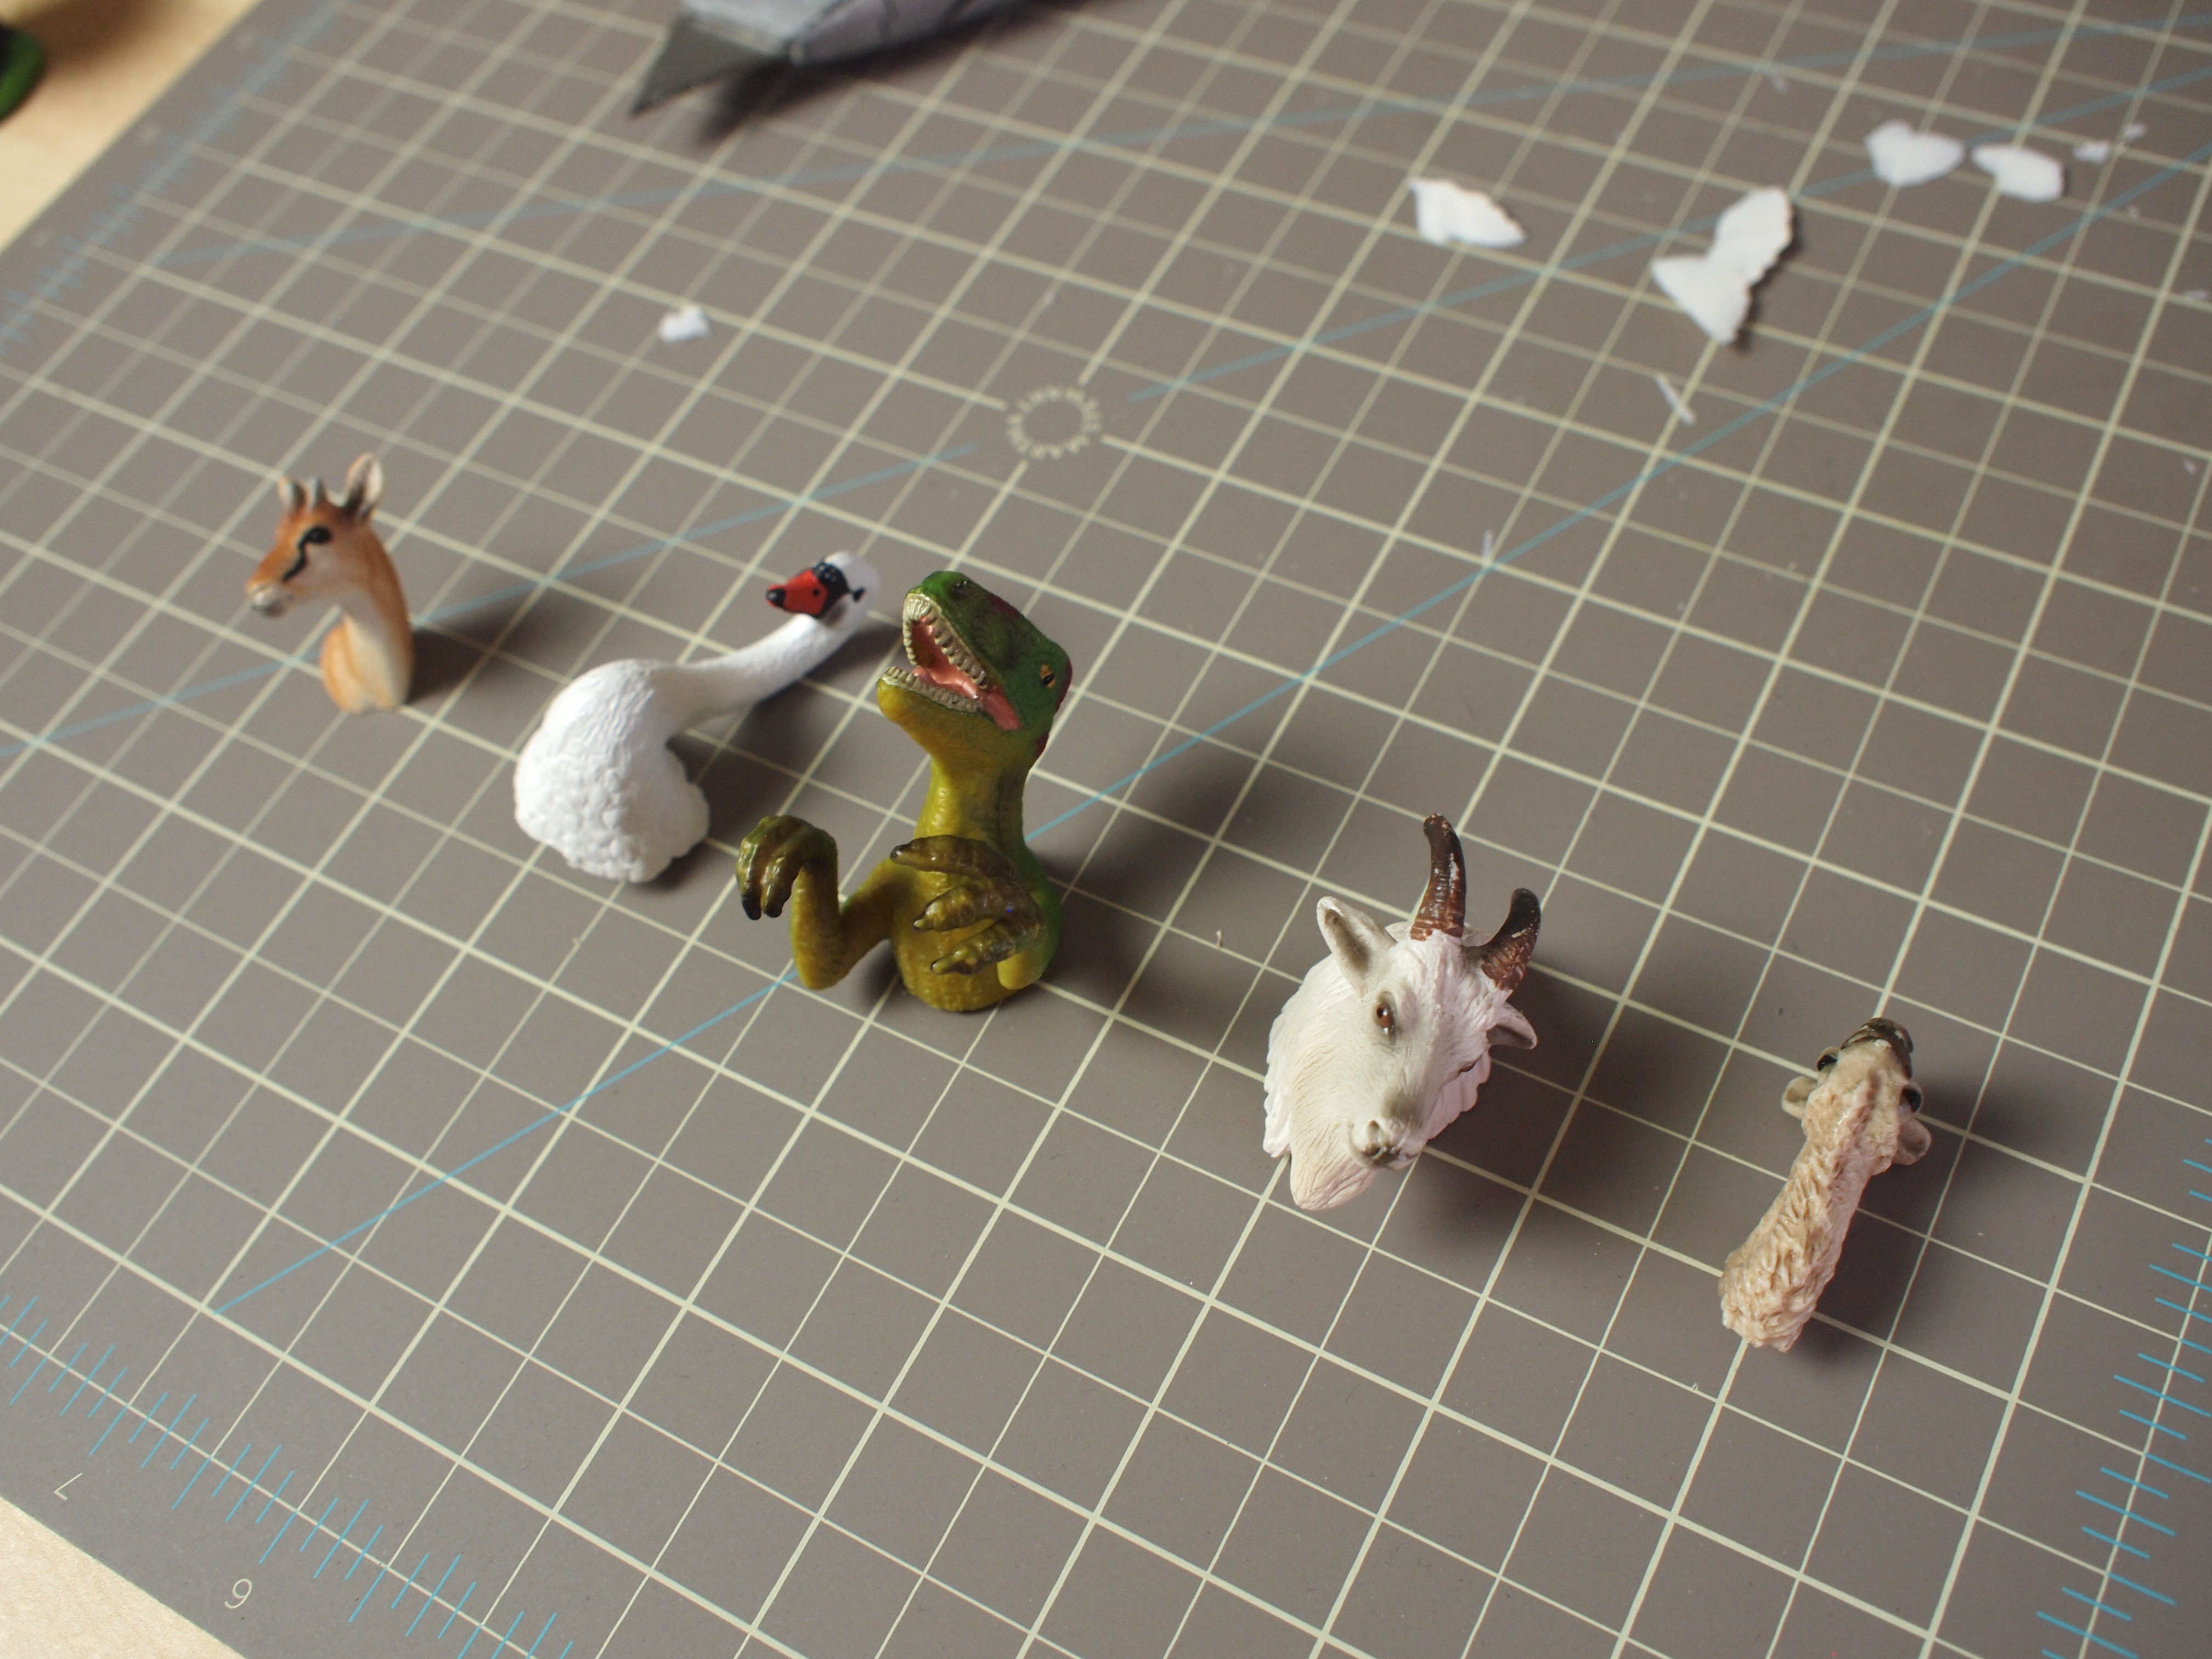
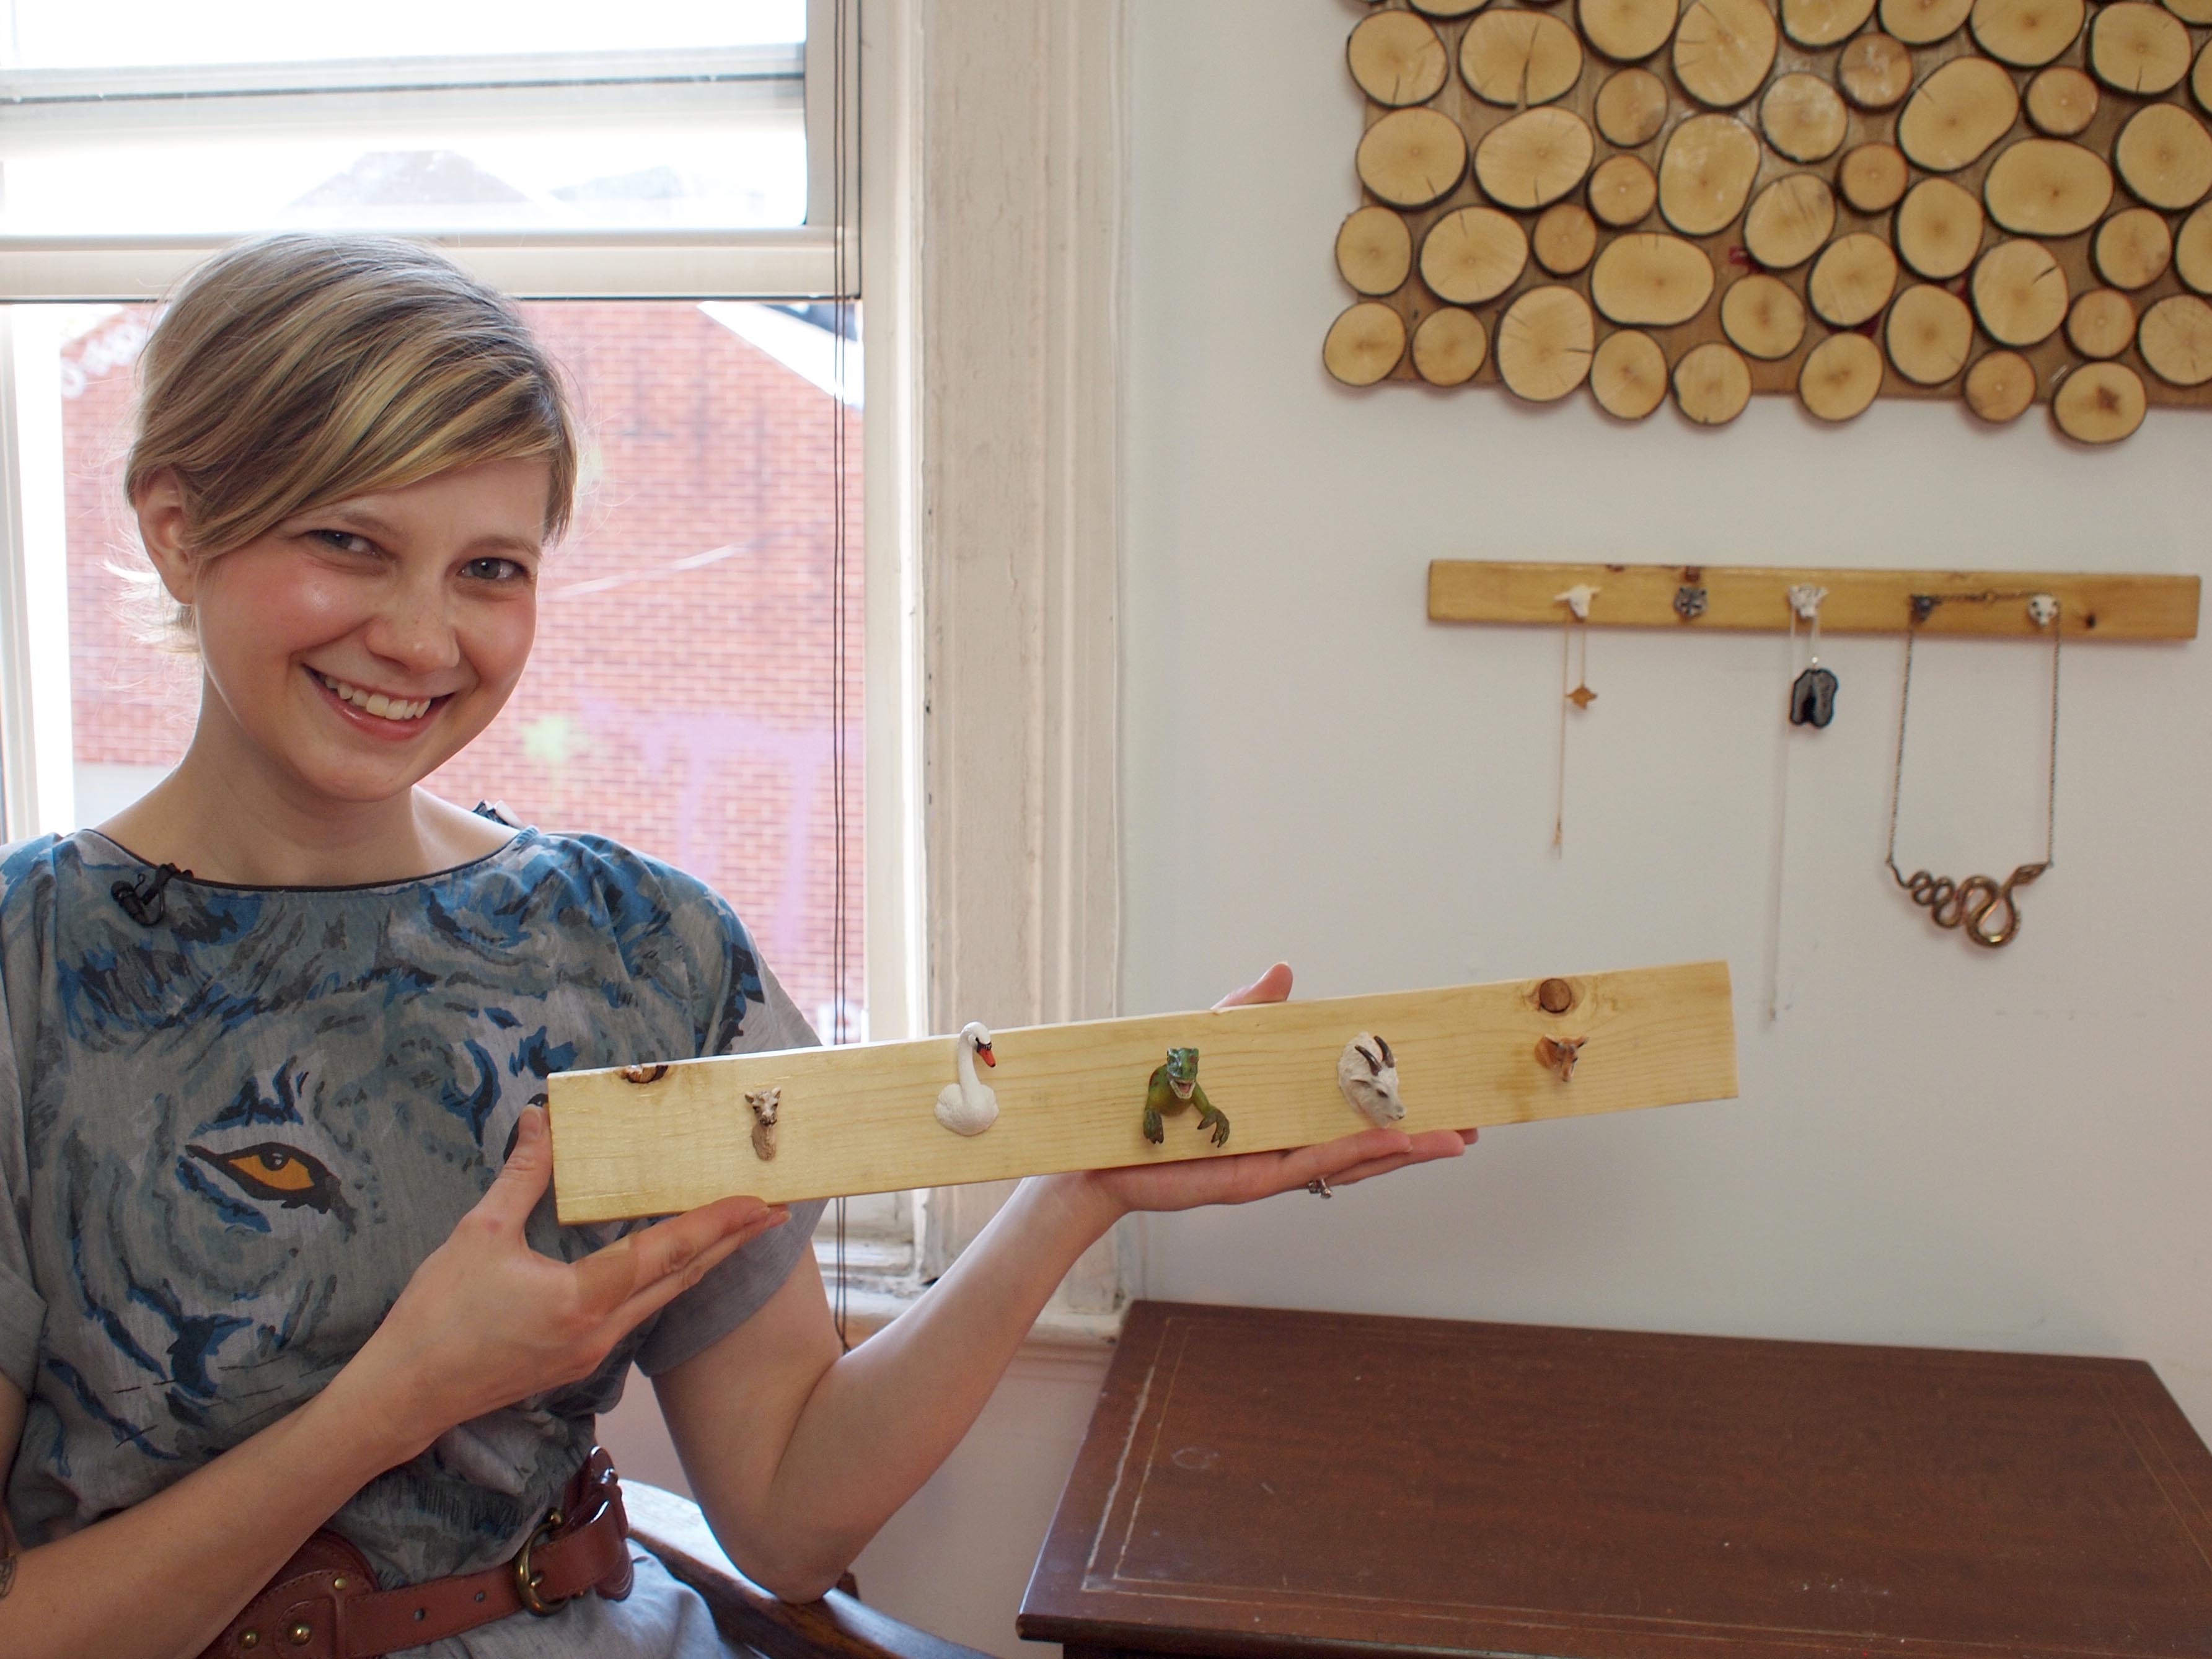
As a huge animal nut, I have a ton of animals all over my home. A tiger planter, a collection of deer figurines, bird sculptures flying across my wall. I can’t get enough! When I found these little animal figurines, I wanted to make something out of them. Inspired by Anthropologie and Brooklyn artist Steph Mantis, I decided that an animal rack was the perfect thing to create.

YouTube player

Project Steps

Gather your materials and lay out the animals in the order you want them.

Using your utility knife, cut the front portion of each animal off. Lay them flat on your cutting mat, and make sure the angle of the cut is correct and adjust accordingly.

Drill in a straight line about 1/2″ deep into the center of each animal head. Cut 3/4″ dowel bits and insert into the drill hole of each animal. Use your scrap animal pieces to practice drilling before you go for the actual animal heads.

Measure and mark where you want your animals to go on your board, and drill holes in your marks about 1/2″ deep. Stain or paint your board the color or shade you want and allow to dry. I used Honey Pine gloss PolyShade by Minwax, which is a stain and polyurethane in one.

Insert your animal heads or butts into the drill holes and mix and match as you please.

Remove animals from the 2nd and 4th holes and use those holes to hang your rack. Be sure to use a leveler, and trim down any dowel that may stick out too far to make the animals flush to the board.

Drive screws through the holes you just drilled to hold the rack to the wall.

Affix animal busts in the holes to hide the screws.

Admire your new creation!

Hang jewelry from the animals’ heads, or leave as is for a sweet new piece for your wall.

Conclusion

It is best not to use gloves when working with a utility knife so you can hold onto it without slippage. Just be careful when using your knife, and be sure to wear protective goggles when using your saw.

Photography by Becky Stern.