arduioo-week
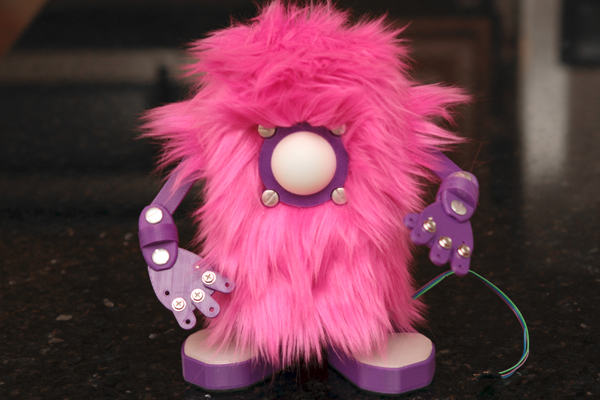
Here is a great project for your next hack-night… grab a couple friends and prepare to make a fun, furry, and fabulous monsterbot – meet Mopsey!

Mopsey the Monsterbot

What can this robot do? That is an excellent question… what would you like for it to do?

Mopsey could wave her arms when you get a new tweet, turn her eye red when your website is down, or do both when someone opens the cookie jar.

Robots will do whatever you tell them!

I’ve prepared a repository that contains detailed photos of assembly, paper templates, 3D models for printing… all the goodies you’ll need to construct Mopsey.

https://github.com/rwinscot/mopsey

YouTube player

Have you used servos with Arduino before? If not, this link will get you up-to-speed with Arduino Servo Control.

http://arduino.cc/en/reference/servo

You’ll also need one library to drive the NeoPixel, which can be found in the Adafruit Learning System.

http://learn.adafruit.com/adafruit-neopixel-uberguide/overview

Ready? Let’s get started!

Project Steps

Choose Your Colors

Pink, green, blue… what’s your favorite color?

Robots are much more fun when they reflect your personality

3D Printed Parts

Printing your plastic parts will take a little bit of time and you can find the STL files on my repository: https://github.com/rwinscot/mopsey/tree/master/models

While your printer is buzzing-away… you can start working on the paper craft and fuzzy wuzzy steps

Paper Craft

Print the paper templates onto your paper; cut on solid, fold on dotted. You can find my templates:

https://github.com/rwinscot/mopsey/tree/master/templates

You’ll need sharp scissors or an exacto knife to cut out the paper body

Use a metal ruler or the edge of a desk for straight / crisp lines

Don’t get too fussy… we’re just going to cover the body with fur

Fuzzy Wuzzy...

A yard of craft fur is a lot… be prepared for fuzzy bits to get everywhere – use a lint brush to tame this wild beast!

‘Shave’ areas around the shoulders and eye so that plastic parts sit flat and glue sticks best

Was Very Fuzzy!

Glue the shoulder to the body with Beacon’s 3 in 1

Cut a bit of fur to match the shoulder and glue in place

Grooming Seams

Add some 3 in 1 to your seams and pinch the fur around the glue

Body Assemly

Nuts, bolts, and screws help provide a rigid frame for Mopsey

The aluminum posts are a little soft… use the force wisely!

Eye Love You!

Place the ping pong ball in the eye mount and trace around the outside – cut along that line and glue in place

After soldering your NeoPixel, give it a test to make sure it works

A snap-on cap and a few screws secure the eye assembly to the body

Mounting Servos

Your 3D printed servo mounts should fit most 9g micro servos

You may need to tap the mounting holes or warm the plastic a bit for an optimal fit

Shoulder Servo Mount

Use a bit of sandpaper to flatten both sides of your servo mount

Trim the servo horn flush with the side of the mount

Mount the shoulder to the servo with the longer screw included with the servo horn

Firm Footies

Adding a little weight inside the foot can help stabilize Mopsey

Washers, sand, plaster of paris, BBs, small rocks… be creative!

Add some craft foam to the bottom of the foot to prevent things from slipping around

Arduino!

Make sure you have Adafruit’s NeoPixel library installed found: https://github.com/adafruit/Adafruit_NeoPixel

Use SoftwareServo to control your servos

My code examples for Mopsey are located: https://github.com/rwinscot/mopsey

Add more hardware to expand Mopsey’s capabilities!