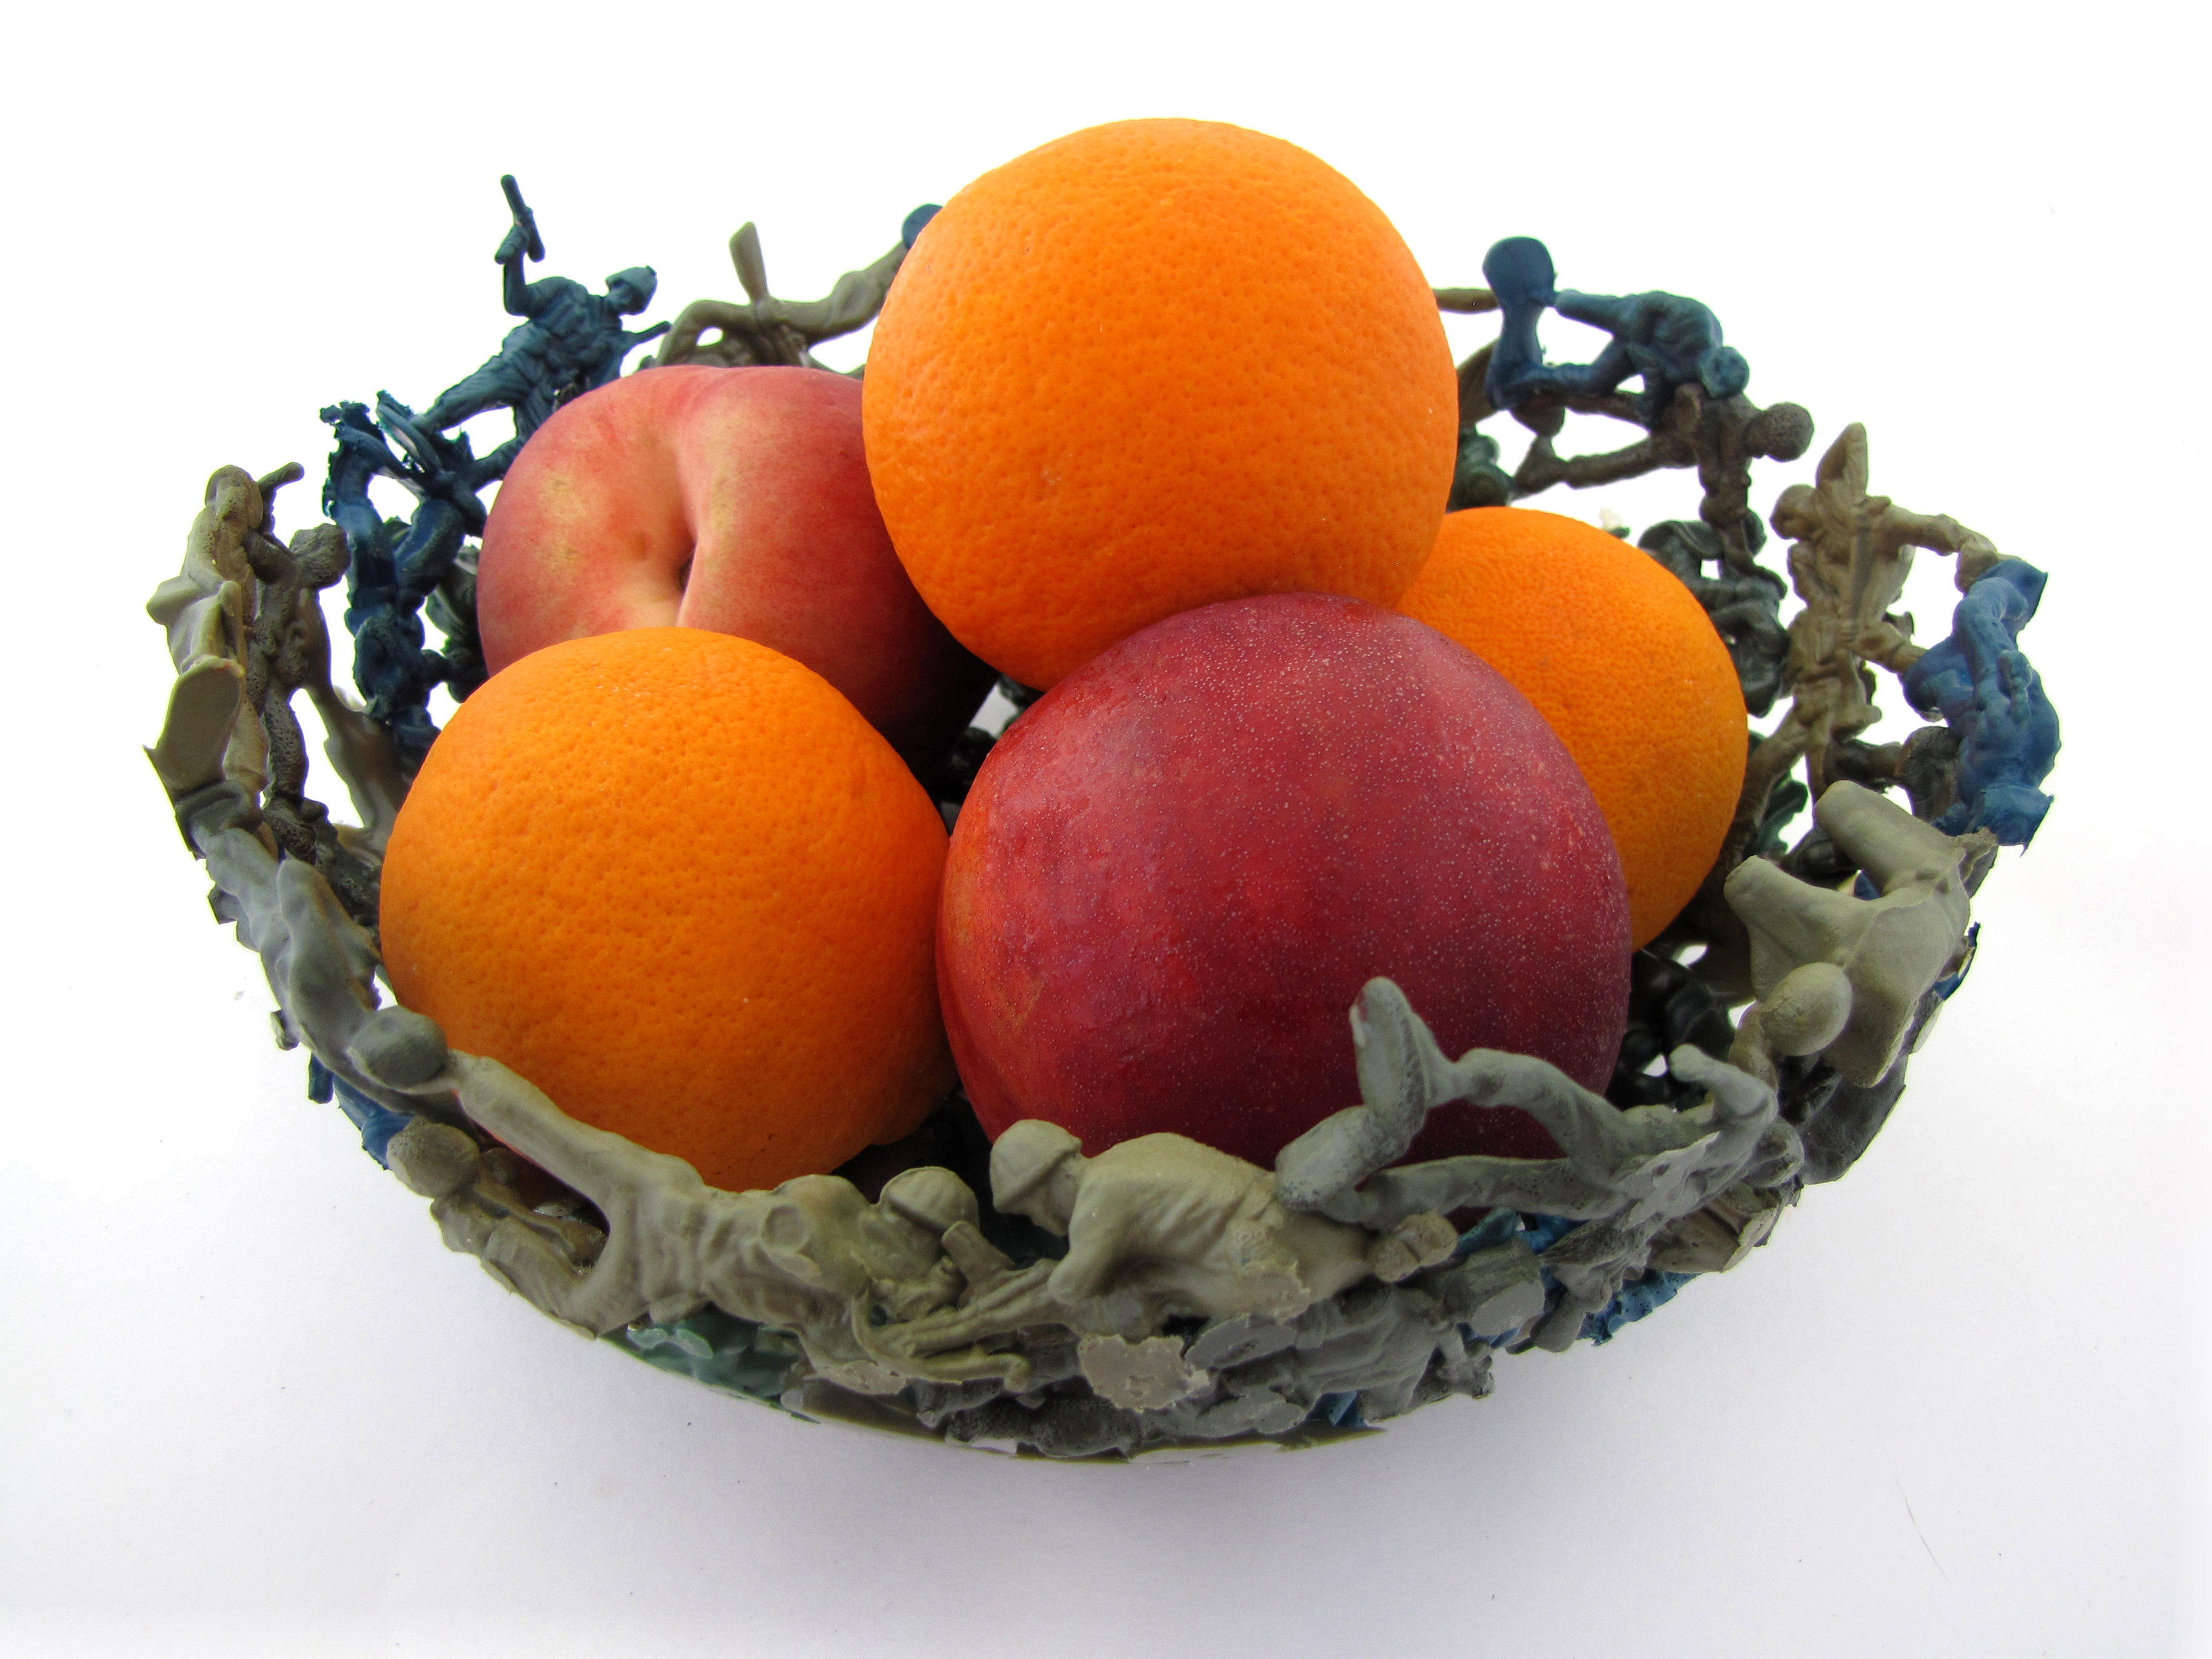
This is a fairly well-known stunt, especially since Mark blogged the work of Dominic Wilcox on Boing Boing back in 2004. The methods circulating on the web generally favor the use of an oven to melt the guys together, and while that’s certainly less labor-intensive, it generates a bunch of foul-smelling fumes in your kitchen. The oven method applies indiscriminate heat, which tends to melt the guys pretty severely, and is also, reportedly, fairly sensitive to differences in composition between guys from different manufacturers.

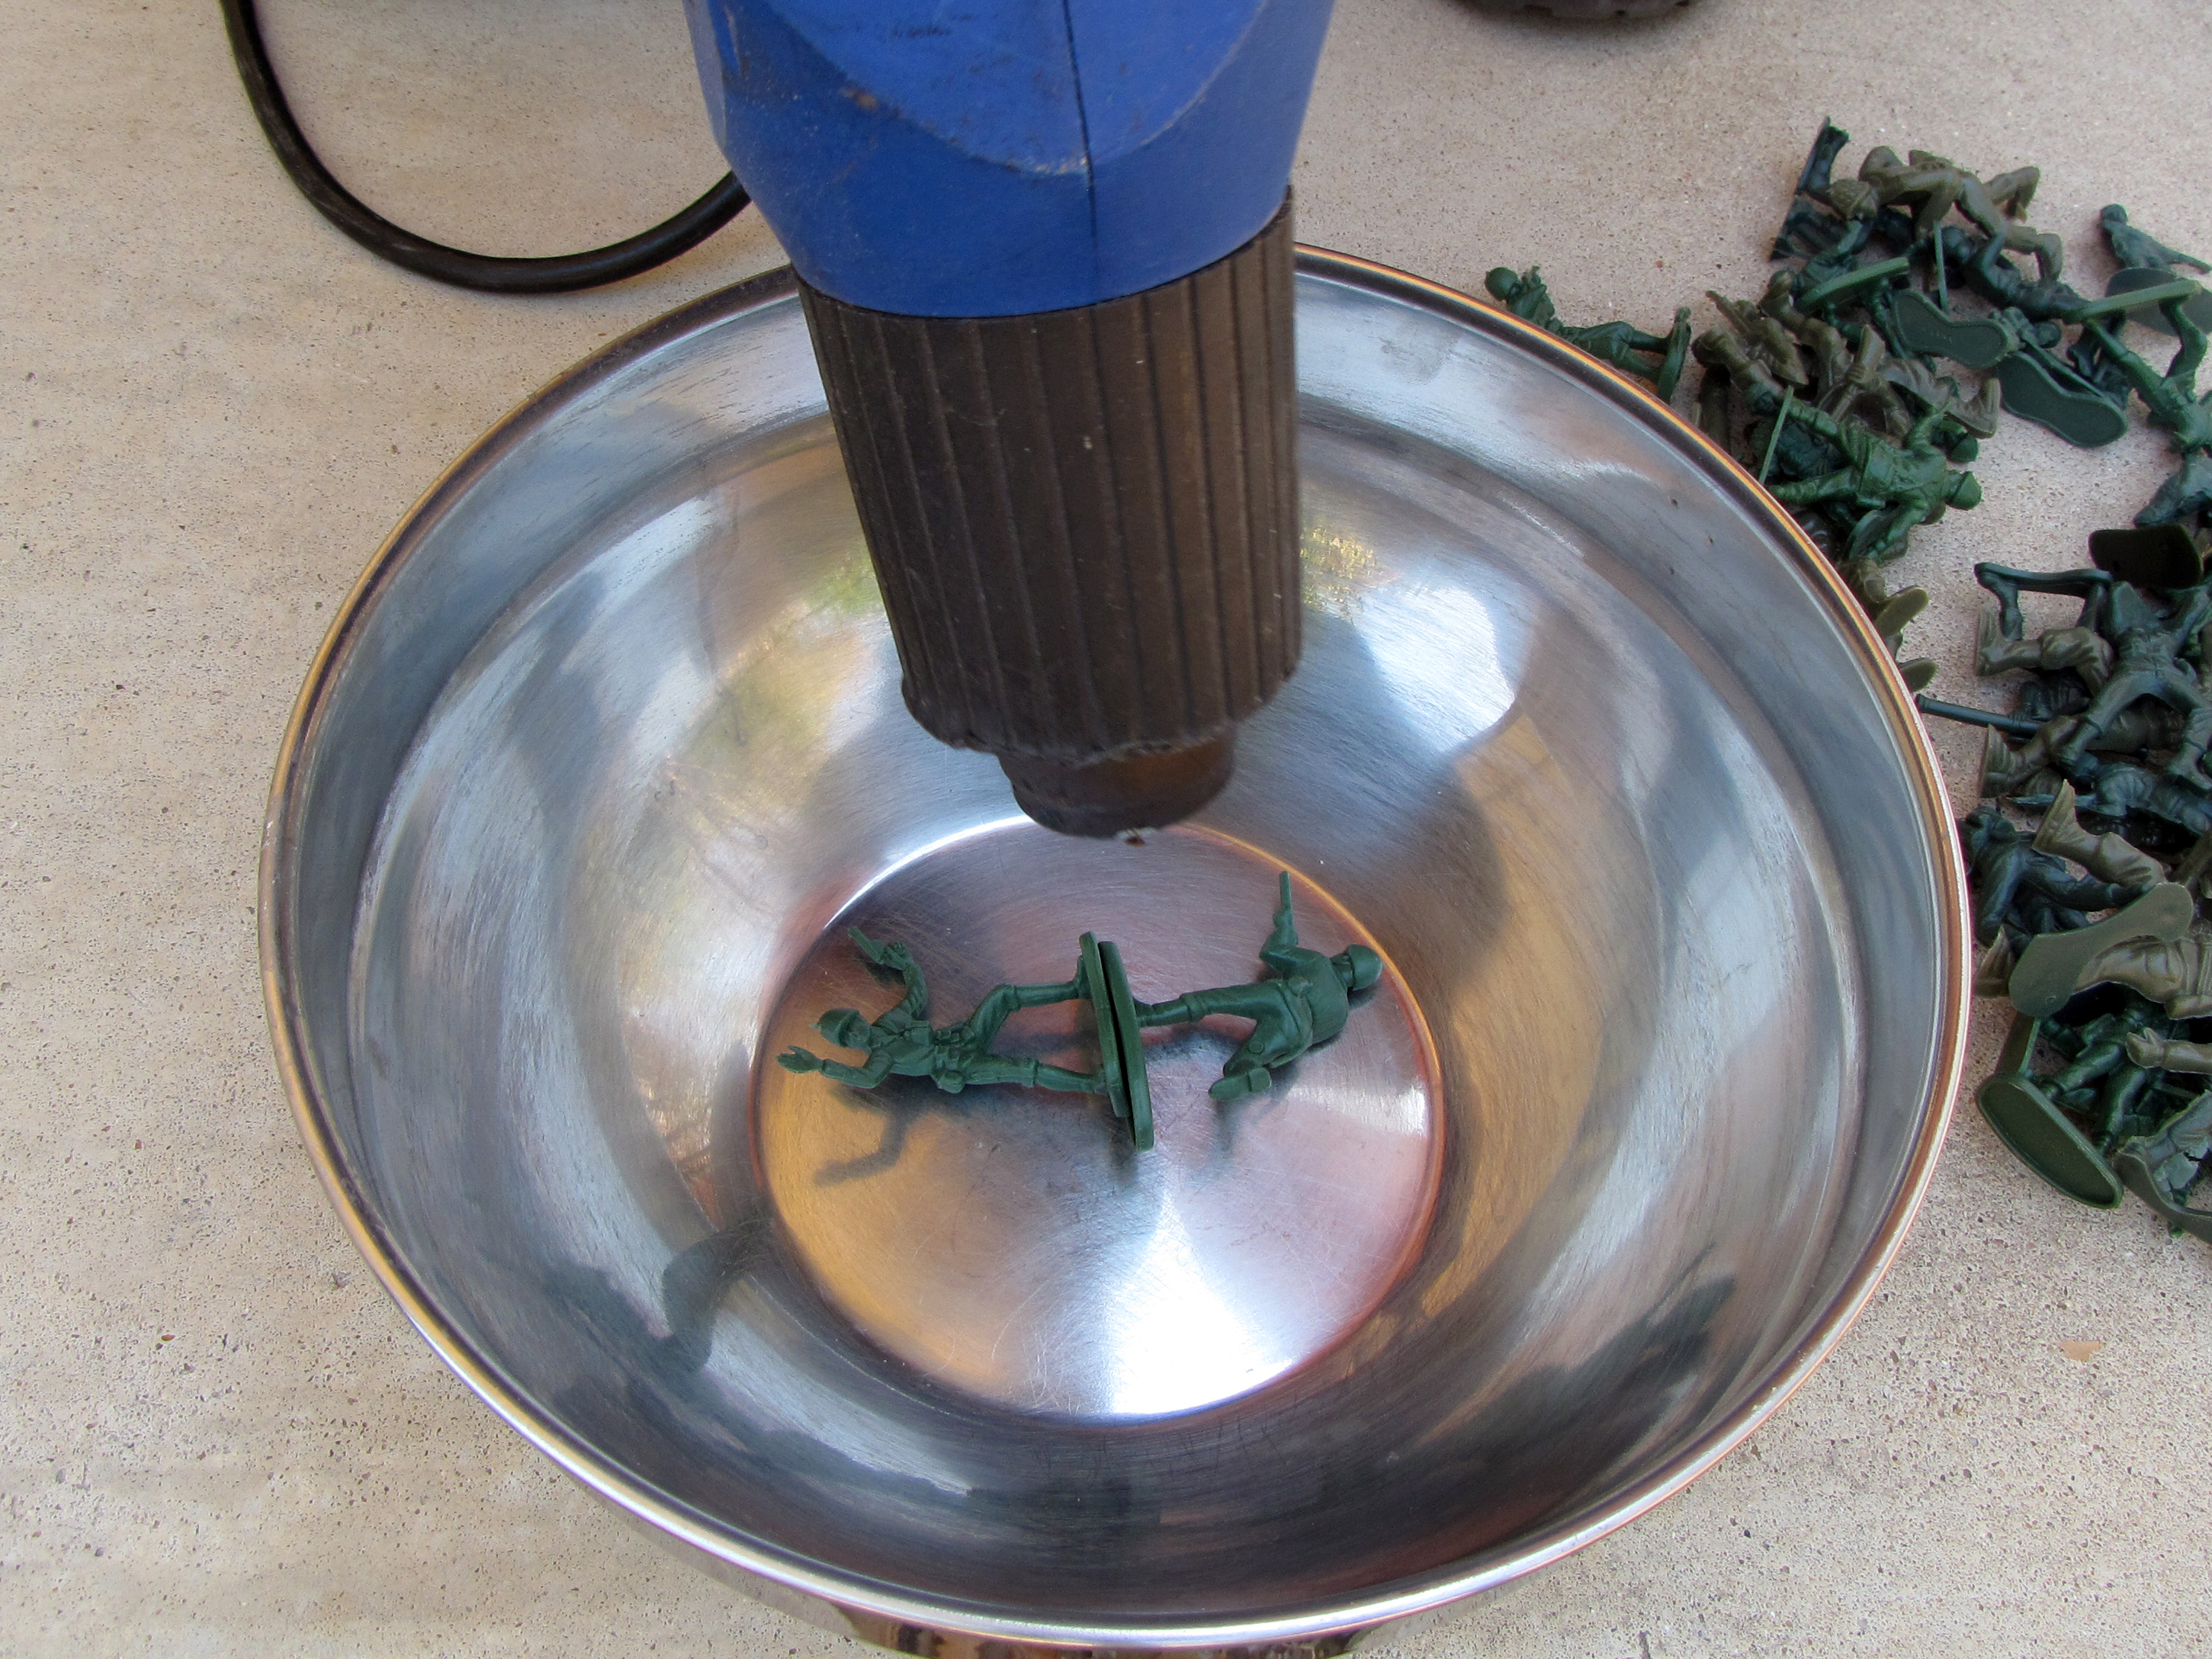
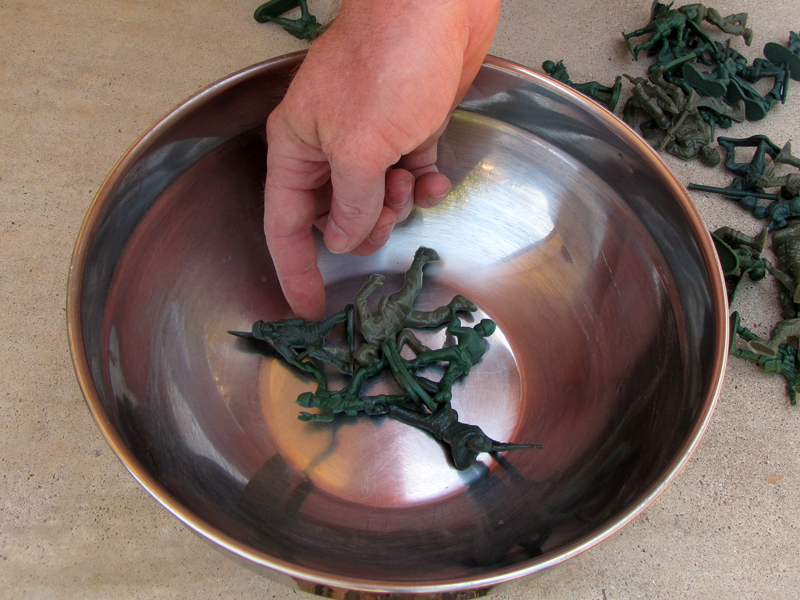
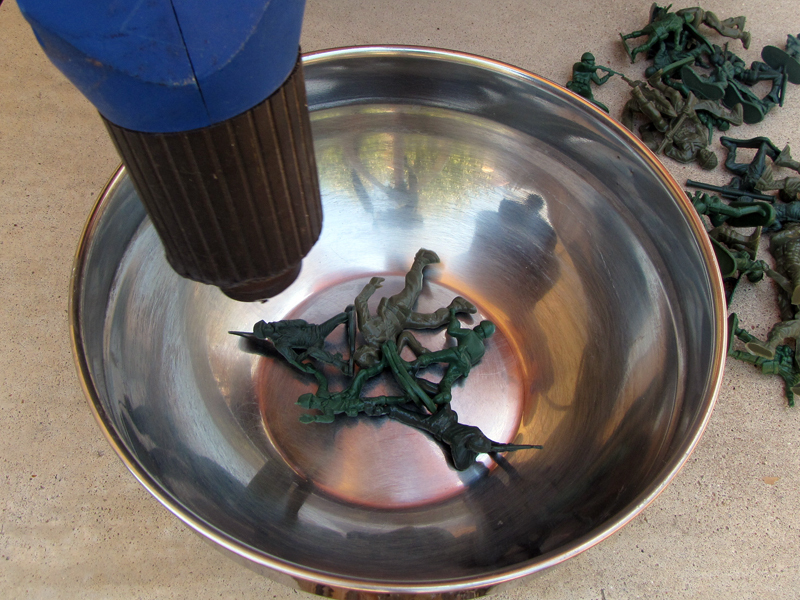
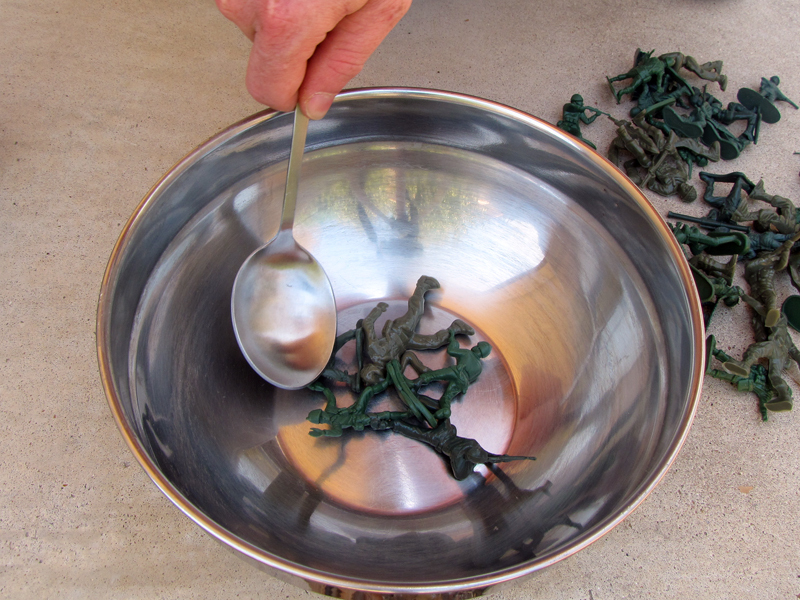
I’ve always wanted to try this, and since it’s plastics month, I thought I’d try to figure out a way to do it outside. This method uses a heat gun to soften the plastic in a more discriminate way, and though it’s more work, it can result in a less-melty look, with more intact guys. Adding a mechanical “mushing” action to the weld also seems to make the process more tolerant of different types of plastic from different batches of guys.

Project Steps

Setup

Work outdoors. I recommend also using a fan positioned to blow directly across the top of the mold. Some people do this in the kitchen oven, but that seems like a bad idea to me. Melting plastics smell terrible, and the compounds that produce those smells are widely believed to be toxic.

To make sure you have enough guys, line the inside of your mold with them, without applying any heat. You should be able to fill up the mold and have 5-10 guys left over.

Dump out the mold, turn on the fan, plug in the heat gun, and you’re good to go.

Weld first pair of guys

Position two guys base-to-base in the bottom of the mold.

Direct the heat gun to soften both bases at the same time.

Push the softened plastic bases together with your hands. Let it cool for a couple minutes and confirm that you got a good weld.

Add more guys, one at a time

Position another guy against the network formed by the earlier guys.

Use the heat gun to soften the plastic wherever the new guy makes contact with the earlier guys.

Use the back of a large spoon, as shown, to mush the guys together where the plastic is softened. Let ’em cool for a couple seconds, and repeat from the beginning of this step.

The mold will get pretty hot as you continue doing this, so after the first pair of guys, use a spoon instead of your hands to mush them together.

Continue until the entire surface of the mold is covered.

Remove bowl

Unplug the heat gun, and set it beside the mold in a safe, dry place away from flammable materials.

Leave the mold and the heat gun to cool for at least two hours.

When the mold is cool, you may have to bump it around a bit to dislodge the mass of welded figures. Be patient, and apply pressure a little bit a time, working your way around the entire surface of the bowl.

When the bowl comes loose, inspect it for weak points or incomplete welds. If you find any, simply return it to the mold and re-melt the weak spot, adding an additional guy or two for reinforcement, if necessary.