You could buy a dinky, ready-made kit with a short zip line for kids, but why not make your own industrial-strength zip line that will support the heaviest of neighbors? It’s a fun project you can tackle in a weekend. You can order all the parts on the web for less than $300.

First, you’ll need to find a suitable location for your zip line. Depending on the lay of the land, you’ll be choosing between two basic types of zip line. If you would like to put your zip line on a steep hill, you’ll need to use a braked zip line, which has a brake block attached to bungee cords that slow you down as you approach the end of the line. If your site has a more gradual incline, you can use a gravity-stop zip line that simply uses gravity to slow you down. I knew small children would be riding mine, so I chose a gravity stop because it is tamer, and our property layout made this option ideal.

Project Steps

First steps.

I surveyed my property and identified two large oak trees that were far enough apart and only had a few very small trees between them. I measured the distance between the trees and ordered the following parts from Starlight Outdoor Education.

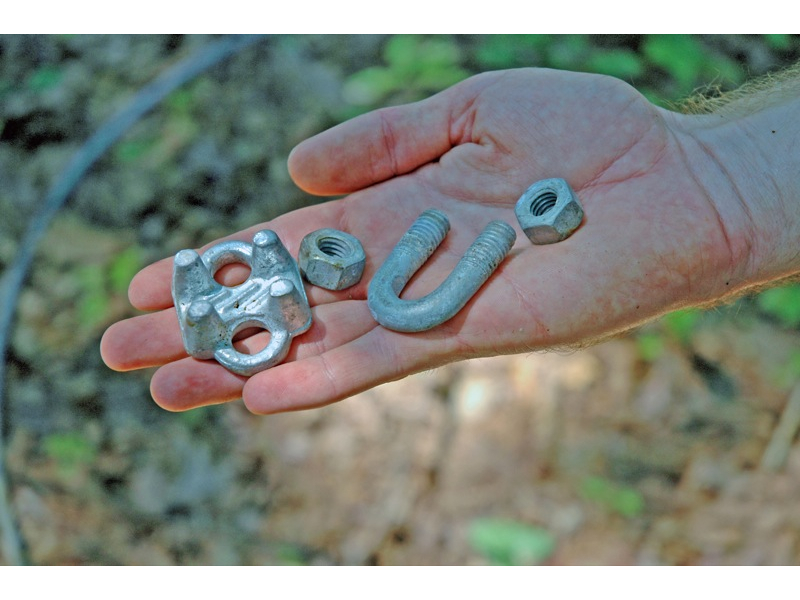
For a permanent zip line, you’ll need long eyebolts, drilled through the entire tree trunk, to attach the cable to. I knew I might move the zip line in the future, so I chose a more temporary technique to attach the cable.

Depending on the run you’ve selected, you’ll need to determine how much cable to purchase. The cable comes in a spool in multiples of 250 feet. You should get more than you need because you’ll need a bit of play on both ends.

While I was waiting for the supplies to ship, I started preparing the site. I had to clear some small trees and underbrush to create a path between the two trees. I also started visualizing how far up each tree I was going to need to attach the cable and how steep the slope should be. I knew there would probably be some trial and error, but taking some time to plan ahead of time definitely minimized this once the supplies arrived.

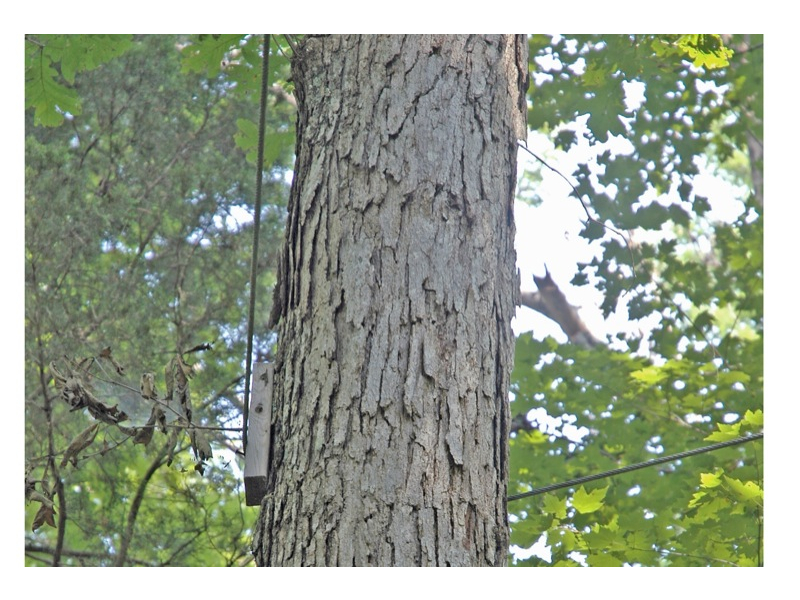
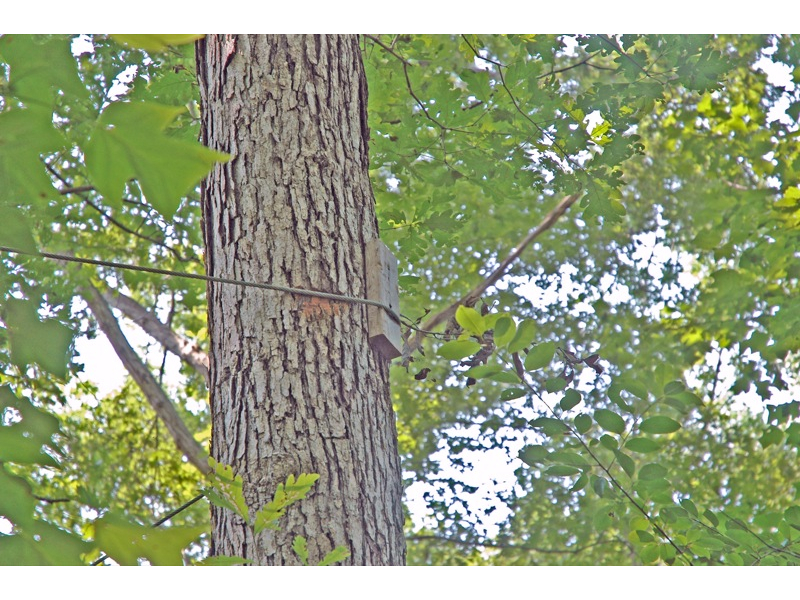
You’ll need a buffer between the cable and the tree it is attached to — otherwise, the tree will actually grow around the cable and, over time, completely engulf it. For this purpose, I bought three 1×6 boards of pressure-treated deck flooring and cut them into several 1-foot lengths. I went ahead and drove the nails partway into the boards so I wouldn’t have to do so once I was at the top of the ladder. I nailed the boards into the tree vertically so that they encircled the trunk with small gaps in between them. This allows the cable to attach securely to the tree without actually touching it. On a couple of the boards, I drove a nail about halfway in so the cable would be supported by it and wouldn’t slide down the tree.

Laying cable.

When the cable arrived, I unwound some from the spool, climbed the ladder and circled the tree one full time, and then secured it with two cable clamps. Depending on the diameter of the tree, you may need a second person and ladder to help, as the cable tends to be unwieldy, especially on top of a ladder.

I unwound the rest of the cable toward the other tree and nailed the boards to the second tree. Because the cable on the second tree is so high, I knew it would be difficult and dangerous to tighten the cable and clamp it at that height. Instead of risking life and limb, I took the cable halfway around the tree and then chose the base of another tree to secure and tighten the cable to. This allowed me to use the come-along (a.k.a. the hand winch) to tighten the cable standing on the ground rather than at the top of an extension ladder.

To tighten the cable, I took it around the tree and put two clamps on the cable without tightening them. I then clamped a loop on the end of the cable so I could attach the come-along to it. Because there was so much tightening that needed to occur to raise the cable to the proper height, I captured the gain by tightening the cable clamps and then repositioned the come-along and the loop at the end of the cable. This took several repetitions before the cable was tightened (and therefore raised) to a useful riding height.

Test runs and safety considerations.

For the first couple of test rides, I started well shy of the top to make sure I wouldn’t get a mouthful of bark if I hit the tree at the bottom of the run. I used a wooden handle from an old ax as a hanging bar and drilled an eyebolt through it, using a carabiner to attach the pulley to the hanging bar. I made more test runs by starting closer and closer to the top tree, carefully observing ground clearance and whether height adjustments needed to be made on the bottom tree to create more or less “gravity” at the end of the line.

Depending on the age, strength, and confidence of the rider, there are a variety of options for attaching the rider to the zip line. A climbing harness is the safest and easiest for younger riders, but it is time-consuming to transfer and adjust the harness between different riders.

Older and stronger riders can use a couple of climbing straps as a seat by simply attaching the straps to a carabiner and sitting in the loop. The strongest and most confident riders can simply hang from the wooden bar, although because of the height from the ground at the end of the line, this is discouraged due to safety concerns.

Conclusion

This project first appeared in MAKE Volume 05, pages 72-74.