board game settlers of catan box organizer

I feel as though I speak for most Settlers of Catan board game fans when I say that nothing is more disheartening than opening the box and looking down at a chaotic disaster of cards and hexagons. After painstakingly sorting out all the pieces last time I played (delaying for at least 10 minutes my unfortunate defeat by an opponent with the longest road), I decided something had to be done. Although it does nothing for my mediocre Catan skills, this board game box insert is a great and easy way to organize all the pieces while still using the original box.

After a quick google search, I realized that a surprising number of people have gone above and beyond, creating perfectly sectioned wooden Catan board game boxes. Rather than dedicating the next two weeks of my life to this project, I designed my box insert so that it would only take up a few hours of my time.

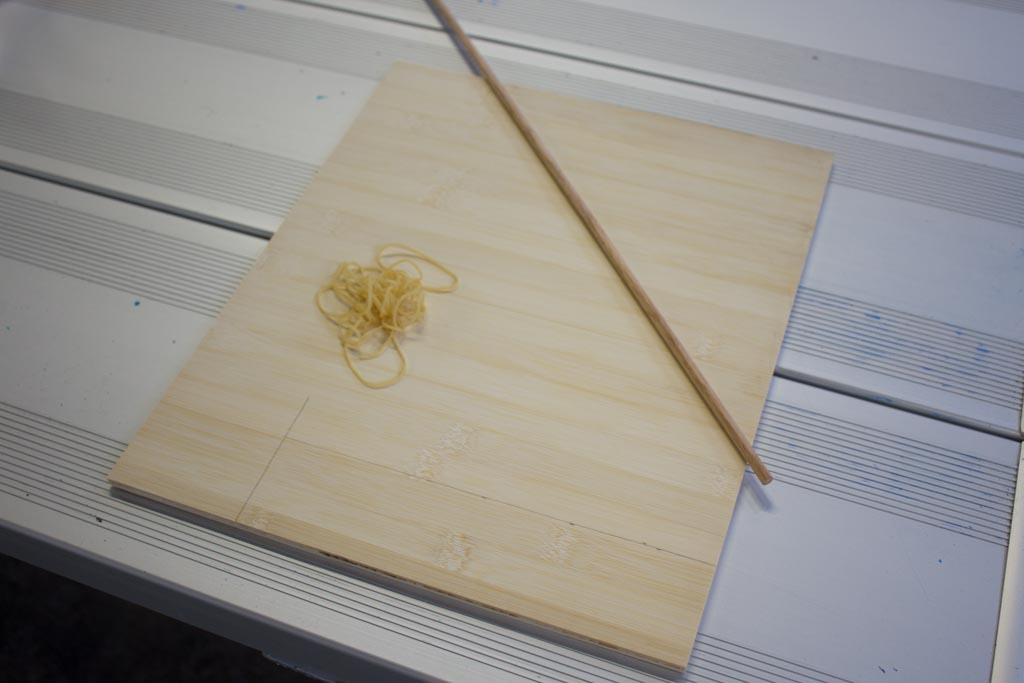
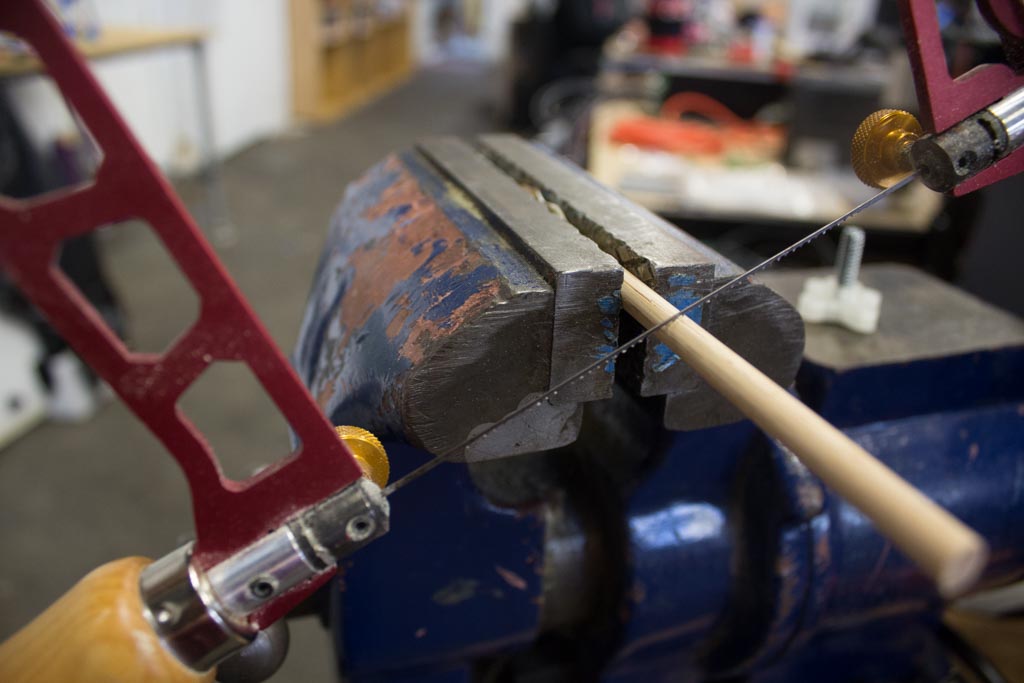
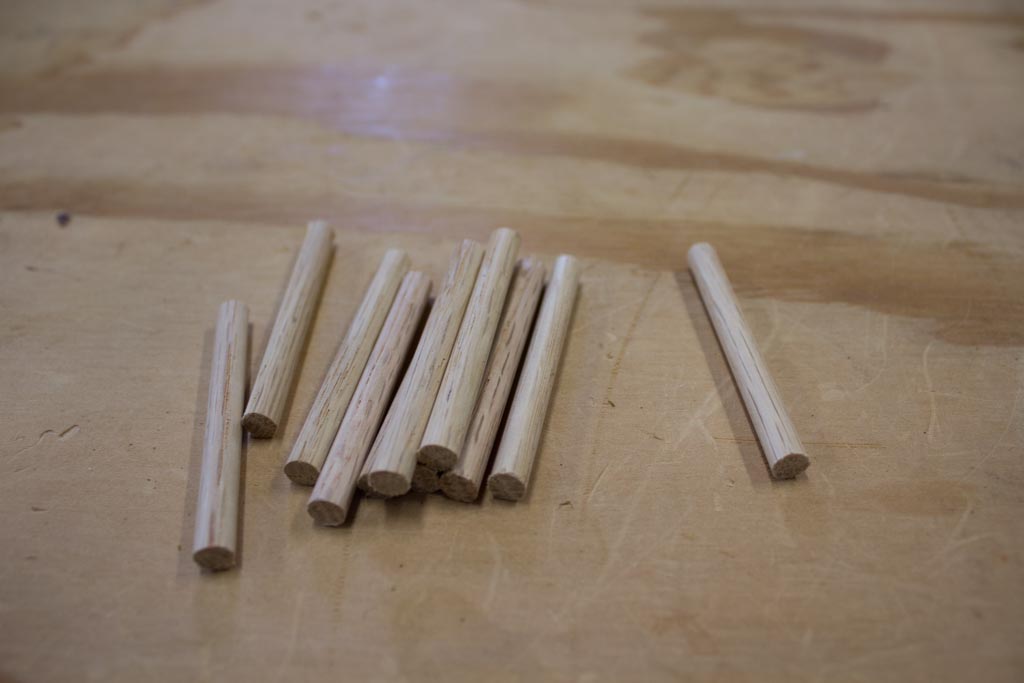
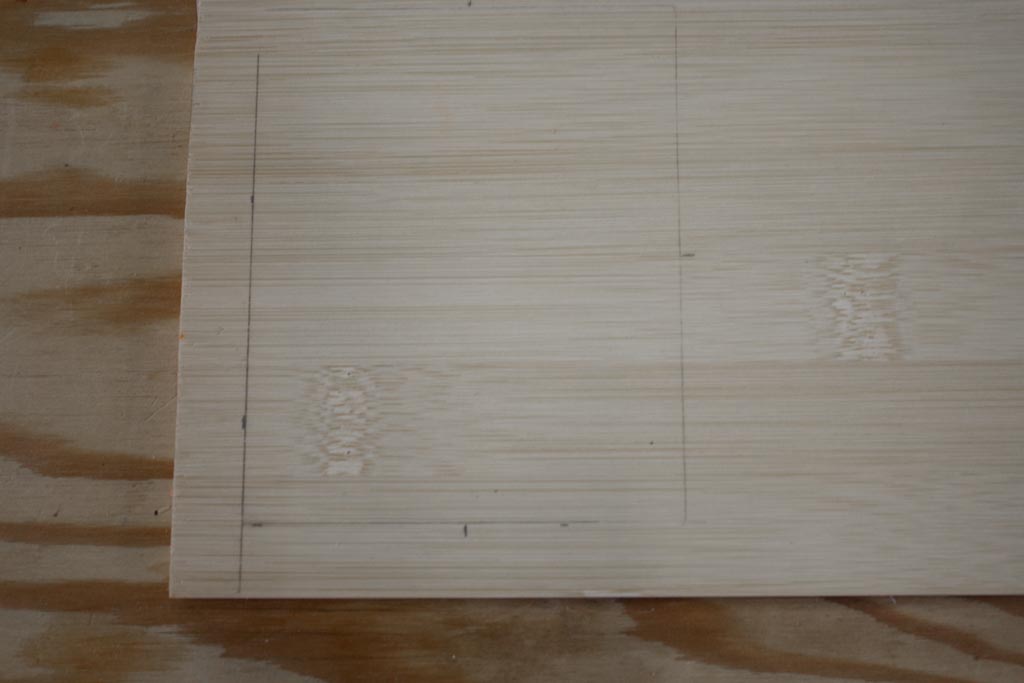
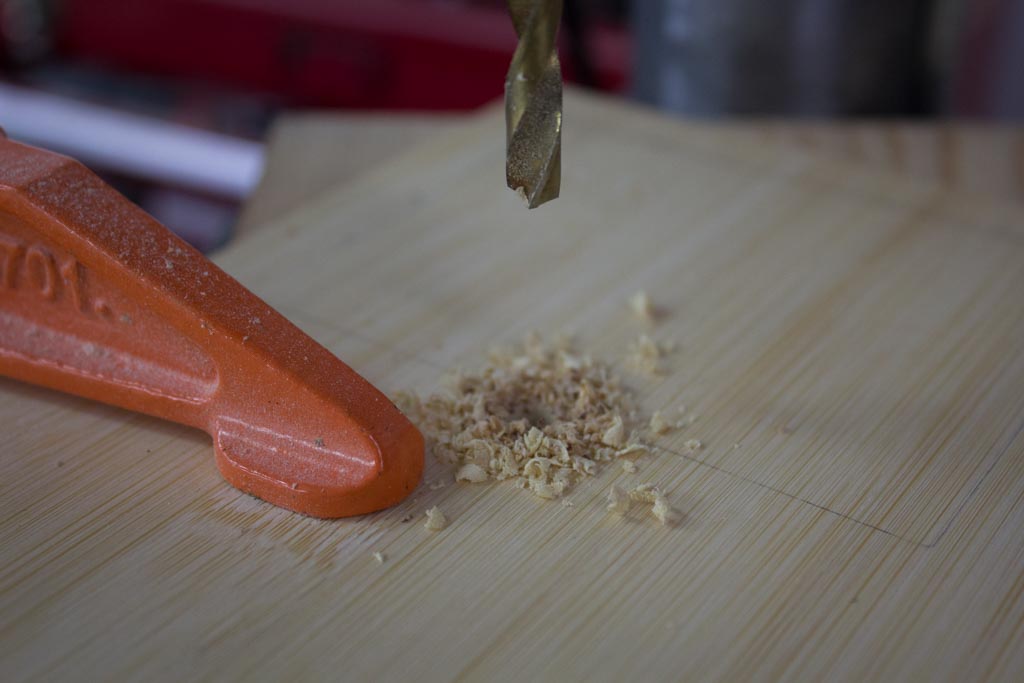
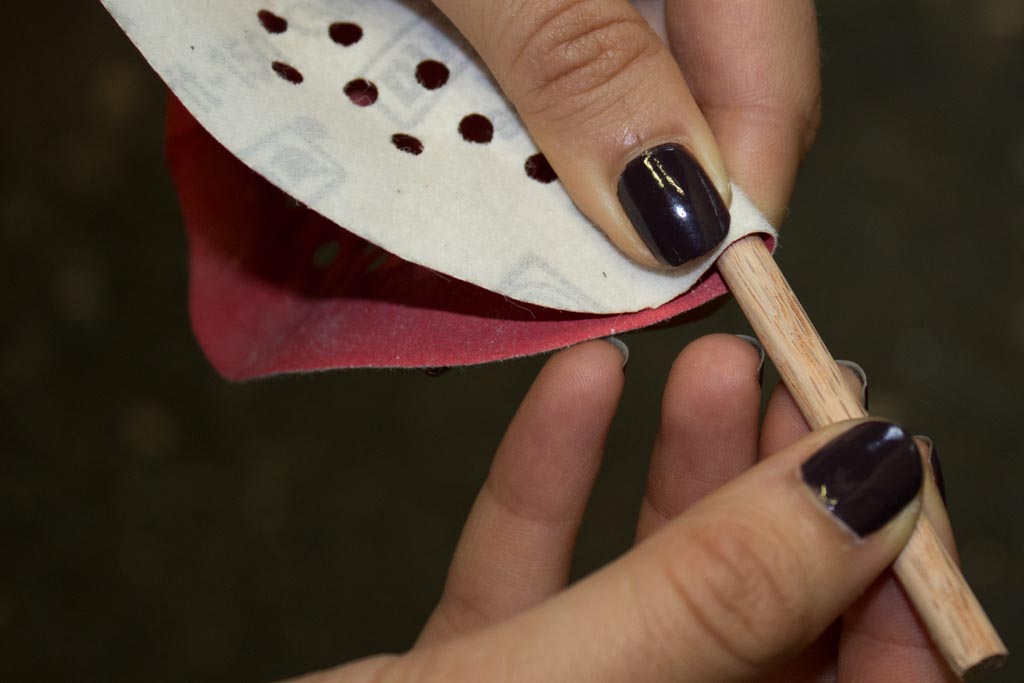
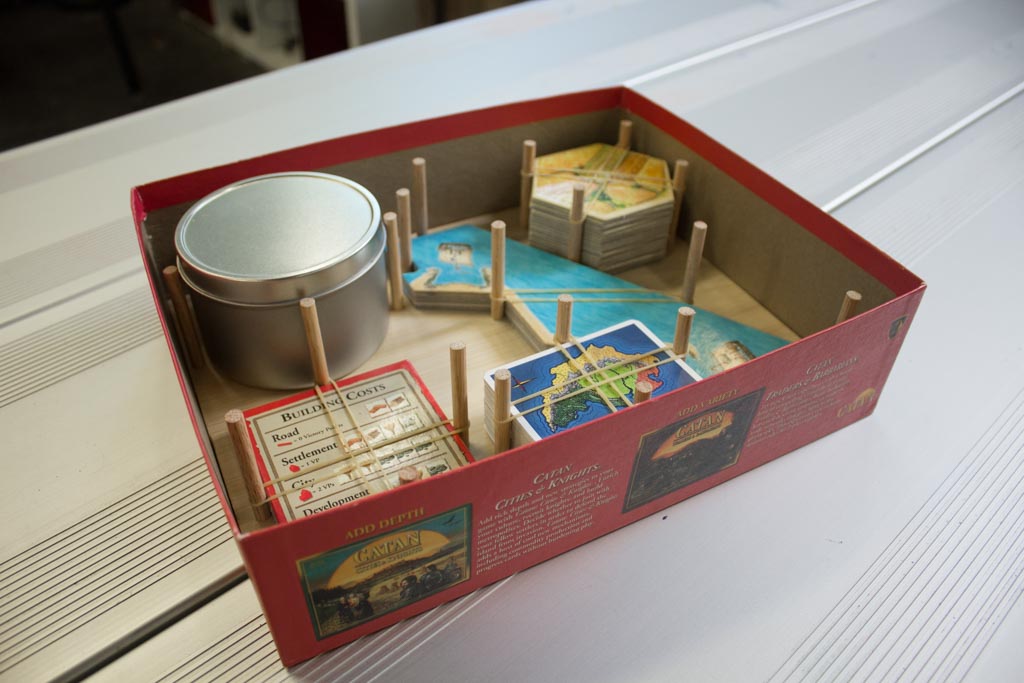
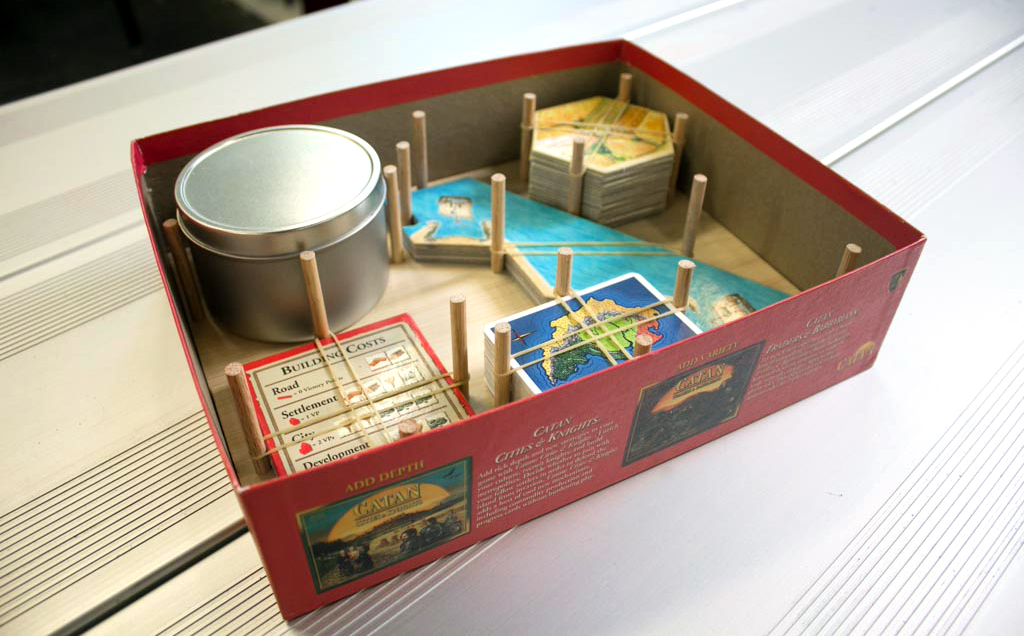
Using a small piece of bamboo plywood and some wooden dowels, I created sections on the board for each type of piece. I measured everything out so that the pieces all fit tightly into their individual sections (I also purchased a cheap metal tin for all the smaller bits and bobs). Once all the dowels were placed, the cards and pieces were held down with rubber bands.

final no box

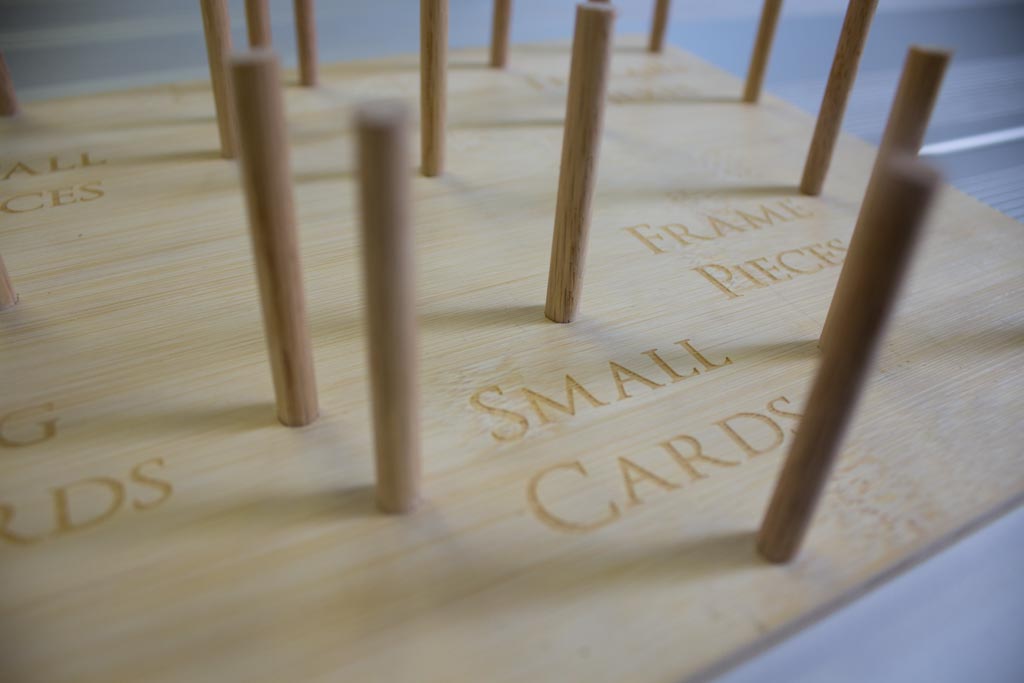
For a nice finishing touch, I engraved labels onto the surface of the board using a laser cutter. I realize that laser cutters are not the easiest to come by, so this extra step is completely optional. Nonetheless, if you like the idea of labels but don’t have access to a cutter, you can always paint, draw, or burn them on.

dowels in 2

Just to make sure my design actually worked, I put everything in the box and shook it vigorously. As I hoped, everything stayed in place and now I can look forward to some stress-free Catan.

Project Steps

Gather tools and materials

They are listed above.

Cut wood to size

Measure the outside size of the board game box (9¼’’ x 11½’’).

Cut the piece of wood about ⅛‘’ shorter on each side, taking into account the width of the cardboard box itself. This way the piece will slide in nicely and fit snugly in the box.

Roughly organize pieces

Make sure that you have a general idea for how you want everything laid out in the box. I actually changed from this organization later on, but this was my original layout.

Remember, you will need space between all the pieces for the dowels. So, you won’t want to put the pieces in the box touching each other.

Cut dowels

Cut dowels to 2½’’ in length.

I ended up using 20 pieces total, but the final number completely depends on the layout you want.

Trace objects onto the wood

Trace out the different sized pieces onto the wood so you have a general idea of where everything will be.

Mark out where you want the dowels.

Drill holes

First, practice drilling holes into a scrap piece of wood to make sure the dowels fit snugly. If the dowel is just a little too large, sand it down so it fits perfectly.

When you drill into your final piece of wood, be careful not to drill over the outlines. This would make the marked areas too small to hold the objects.

Engrave labels (optional)

In order to line up the words with the holes I took a picture of the board, imported it into illustrator and put it on its own layer at around 50% opacity. This way I put the text on top and aligned it with the image of the board.

When I engraved (using a 12×24 Epilog cutter); I used a power of 95 and a speed of 90.

Insert dowels

Sand the dowels as necessary.

Play way too much Catan

You know you want to.