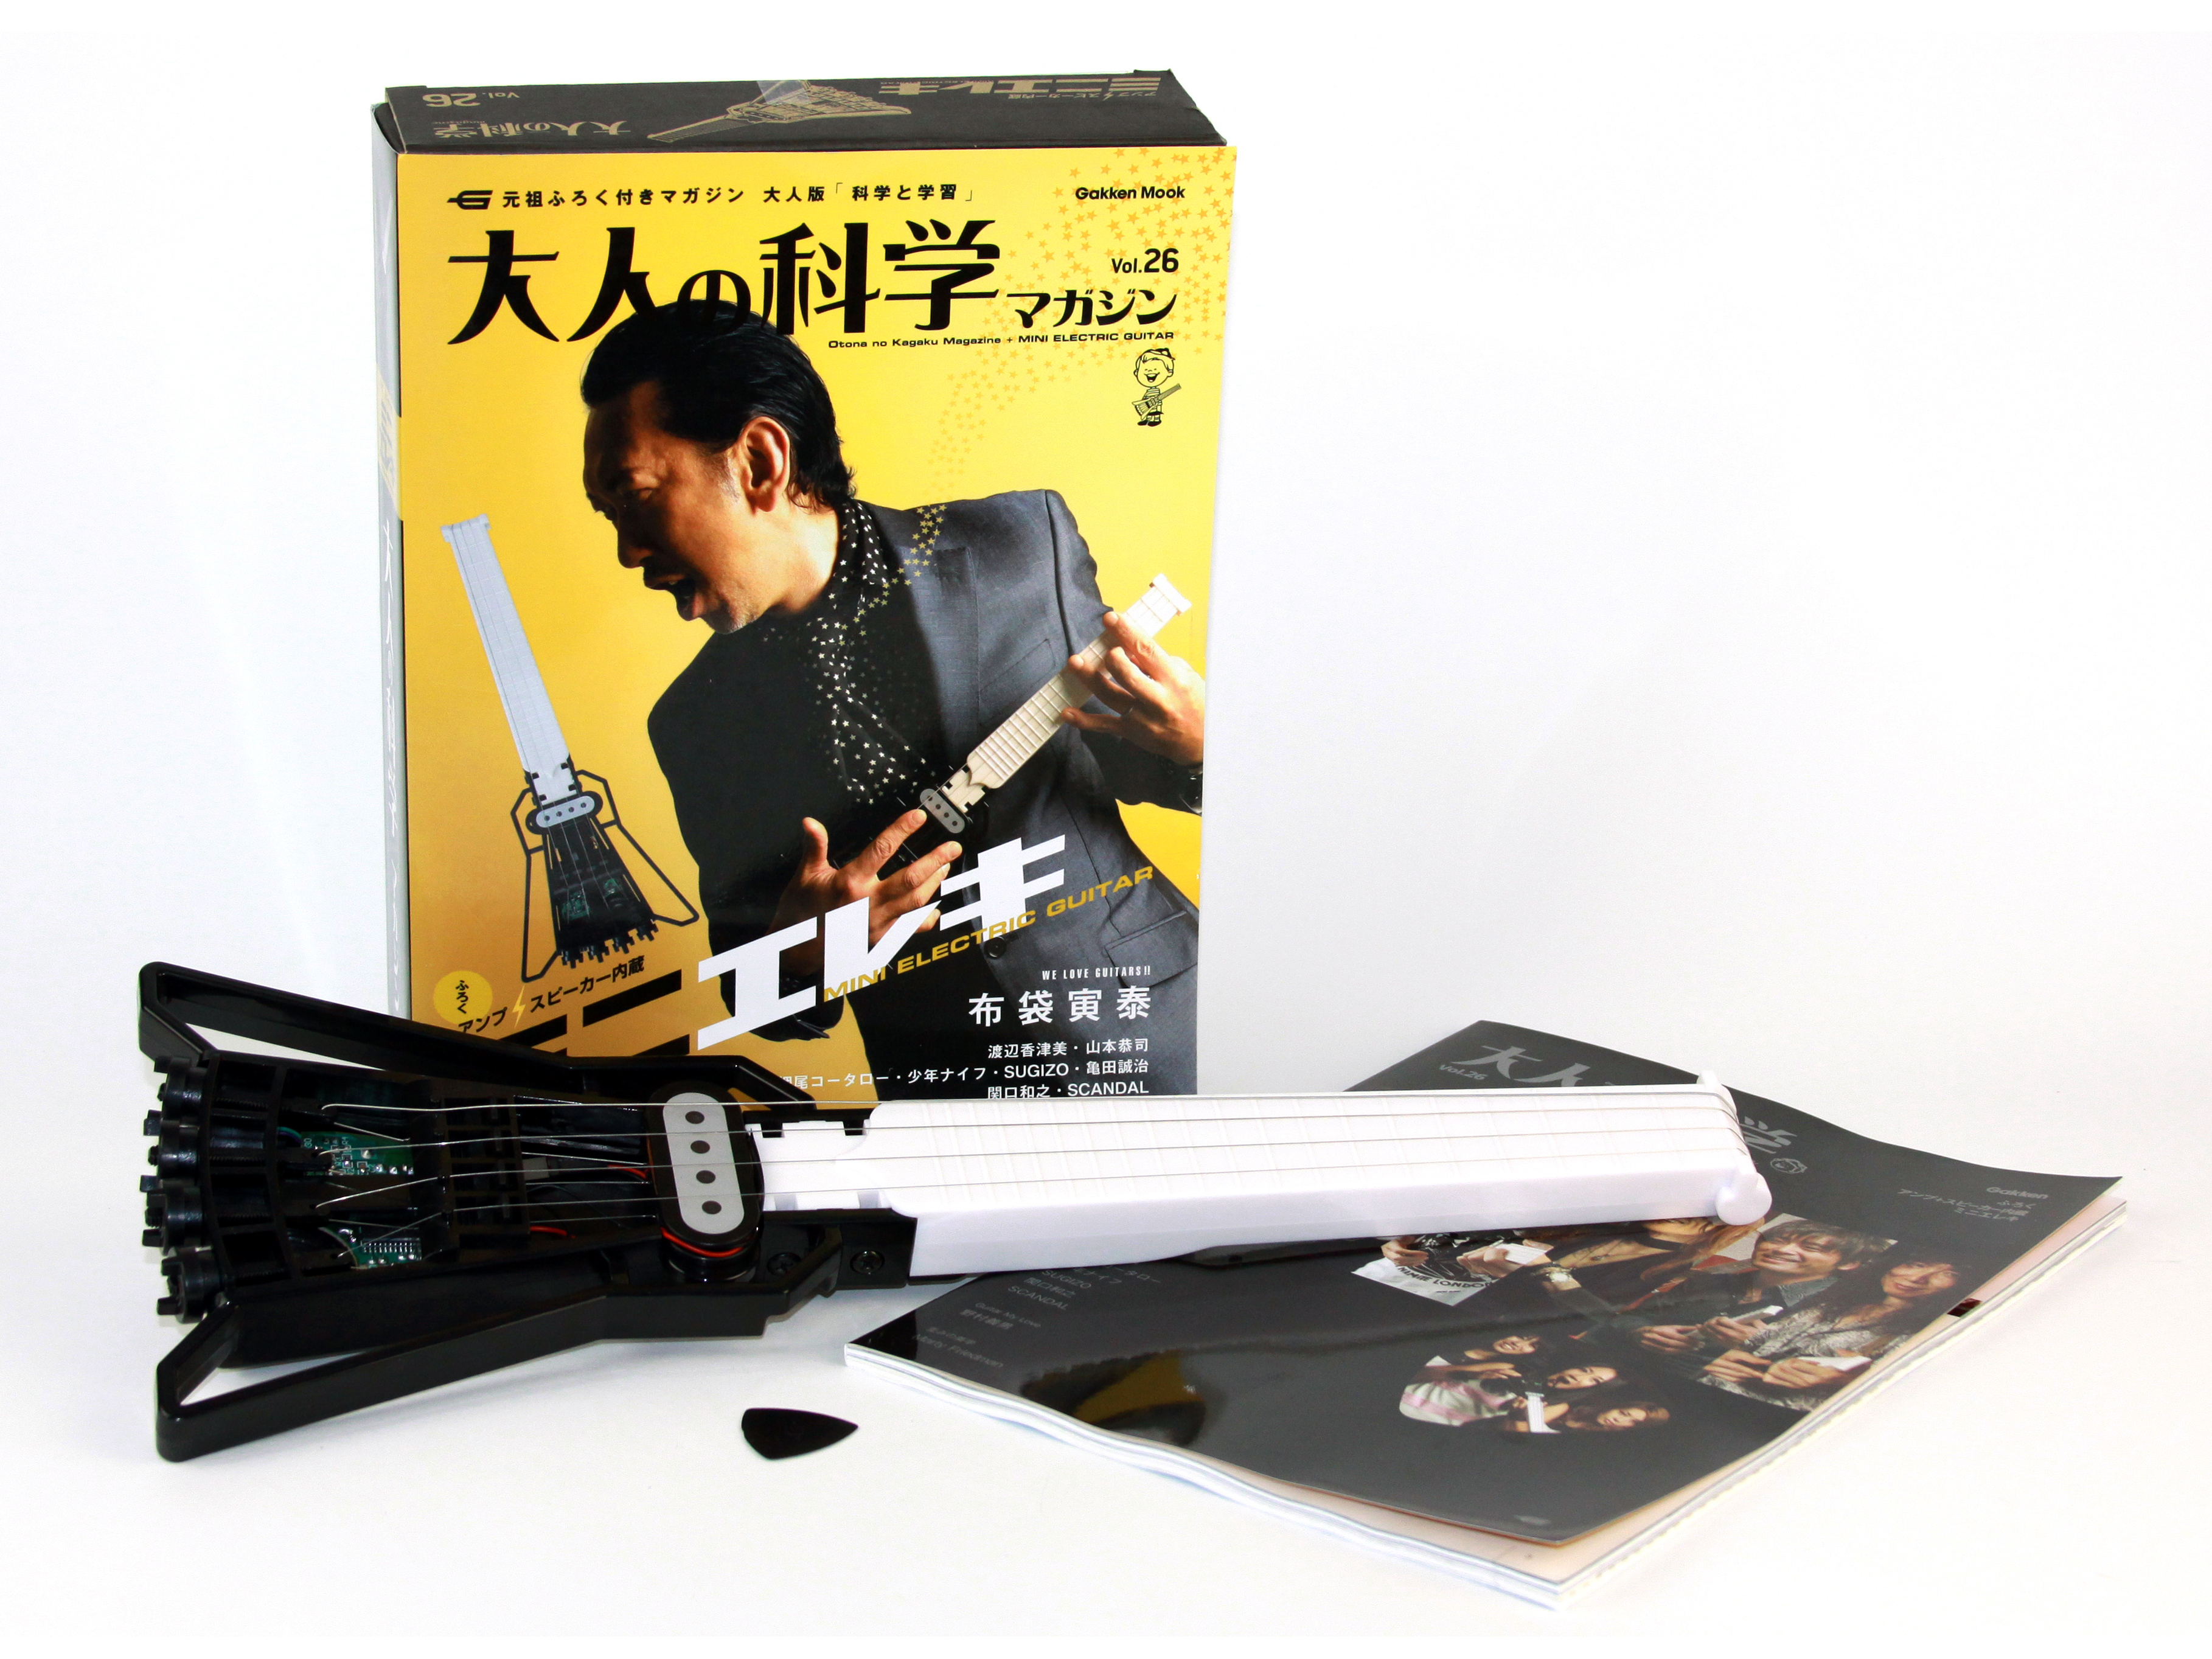
It’s no secret that we love Gakken kits here at MAKE, and the Mini Guitar kit is no exception. It has a built in amp, speaker, and line out so it’s a lot of fun, even if you don’t own an amp. After building the kit, just pop in some AA batteries and you are ready to rock.

Project Steps

Most of the Gakken kits don’t need any English translation because the illustrations are so well done and they go together easily. This kit has the same great step-by-step instructions, but because it is a little more complicated, we thought it would be a good idea to make our own how-to just in case you needed a little extra help. So let’s get started building the Gakken Mini Electric Guitar kit from the Maker Shed.

“Note:” You can see all the pictures from this build in my Flickr photo set found here.

Start by unpacking everything and taking inventory. You can see a complete parts list on page 88 of the included magazine. Now let’s get started with the assembly.

Next, locate the 4 tuning pegs. They all have a small “notch” on them.

Insert This notch, or tab, needs to face up, towards the front of the guitar when they are installed. here.

Each one is inserted, notch-side up, with the hole for the guitar string towards the center of the guitar.

Leave all the tuning pegs sticking out about 7-10mm (or about 3/8″). It isn’t super-critical how much sticks out, a good guess is good enough!

Now locate the rest of the tuning peg parts. Each one of the pins gets a knob and bolt attached to the end. This is how you with tighten up the strings and tune the guitar.

Insert the bolt into the tuning nut and screw onto the tuning peg. No need to tighten just yet.

Now it’s time to attach the neck of the guitar. For now, just use one bolt.

Next, we can add the screw that will hold the strings in place. Use 4 of the screws that have the built in washer.

Only screw them in about half way. You need to leave room for the strings to wrap around.

Insert the brass grommet of each string into the metal bar from the kit. Make sure to put them on in order from thinnest to thickest, left to right.

Insert the bar into the body of the guitar. Again, from the back of the guitar, the strings should go from the thinnest on the left to the thickest on the right.

Now place each string through the respective hole in the pegs.

Then wrap around the top of the neck, making sure each one is in its own “groove”.

Next, wrap the end each string around its individual screw on the back of the neck, and tighten down each screw. Make sure the string is pulled tight. Now you can add the last bolt that holds the neck of the guitar in place.

Finish up by placing the 4 bridge supports into the front of the guitar. I know these have a better technical name, but you get the idea!

Once they are all in, you are done with this part of the build and can move on to part 4.

Now let’s add the electronics. The guitar has a built in pickup, amp, and speaker. Start by unscrewing the bolt and washer off the 1/4″ jack.

Use the small black screw in the kit to attach the plastic knob to the potentiometer on the circuit board.

Now let’s add the speaker. I found it much easier to insert the 2 small black screws into the rubber housing of the speaker holder first.

Now you can attach the speaker and the 1/4″ line-out plug to the plastic housing of the guitar.

Next, plug in the power connectors from the plastic housing into the circuit board.

Now you can gently cram everything into the plastic housing. It’s a snug fit! Once it’s seated properly, use a few screws and attach it permanently to the plastic housing. Don’t worry about that extra wire; we will attach it to the neck of the guitar in a later step.

Now it’s time to make the pickup. Yep, you are going to hand-wind your own pickup. Neat! Find the 2 pickup housing parts, and snap them together.

Now take one end of the pickup wire and insert it into the hole on the housing and tape it down, leaving about 2″ of extra wire at the end.

Now attach the pickup housing temporarily to the back of the guitar with one of the extra screws. This will help hold it in place while you wrap the coil. Clever!

Now you can start wrapping the coil of the pickup. It takes forever a while; just be patient and keep wrapping, and wrapping, and wrapping, until it’s done.

When you’re all done, loop the last bit of wire through the hole in the housing and remove it from the guitar.

Now attach the wire with the quick connector to the wires from the pickup. You can use any kind of tape, but electrical will work best. I used standard clear tape just to test it out and it’s fine.

Now we need to secure all that wire in the pickup. Use another piece of tape, preferably electrical, and cut it down to about 1/8″ wide and about 3-4″ long. Wrap it around the coil, making it secure and clean-looking.

Now we can add the magnet to the housing of the pickup.

Next, add the sticker to hold it in place.

Now the pickup can be attached to the guitar. Use 2 screws to hold it in place.

Now you can plug the pickup wire into the circuit board. Make sure to feed the wire through the middle of the guitar body.

Now you can attach that “extra” wire from the plastic housing to one of the screws that holds the strings in place.

Now it’s time to attach the plastic housing to the guitar. Use 2 of the larger screws to secure it to the back of the guitar.

Last but not least we can add the 2 covers to the back of the guitar’s neck. Start with the long one first. Use the small screws with the built-in washers.

Now you can add the last cover to the back. Again, use the same type of screws and secure. You’re all done!

Add a couple of AA batteries, tune it up, and start jamming! It sounds great, but for now you will have to take my word for it. I’ll shoot a video demo soon!