


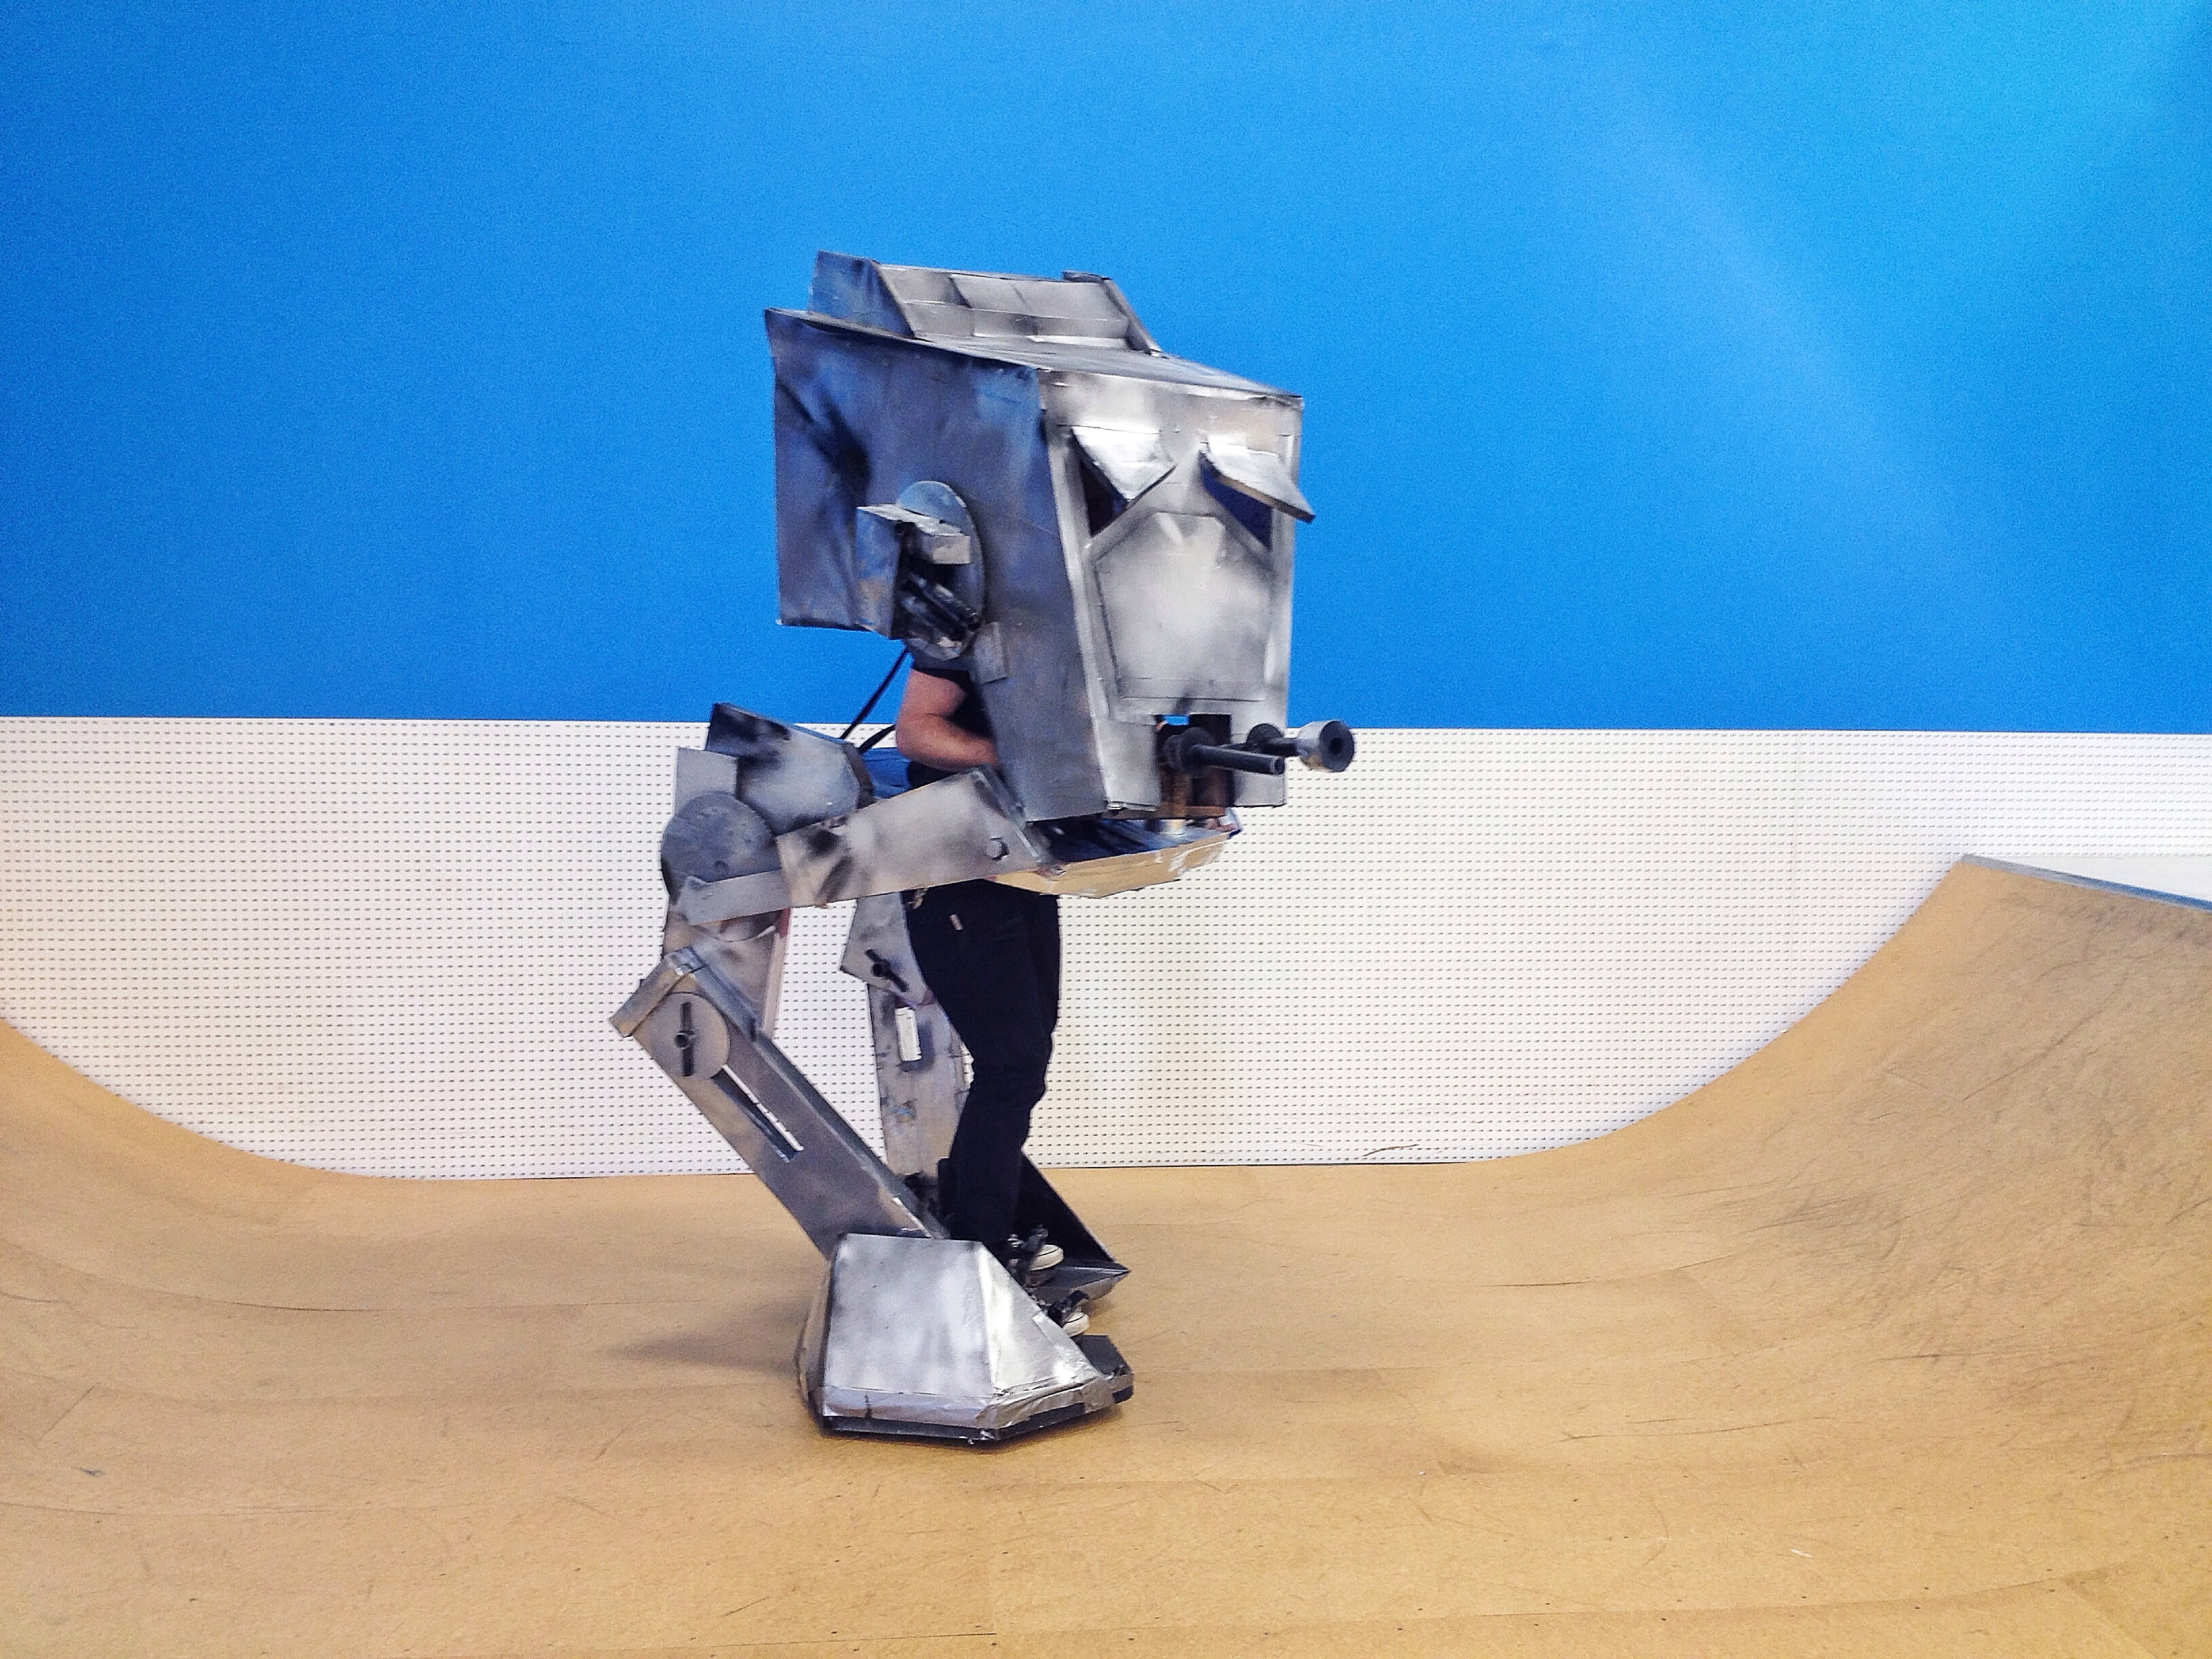
Last year I built a 7-foot tall, fully animated, chicken walker costume using mainly just insulation foam, spray paint, and printer paper.

DESIGN
After doodling a little bit, I created the basic form out of Rhino 3D (but one could just as easily used Google SketchUp) and used the CAD model as a guide for construction. I decided almost immediately that I didn’t want to do a completely loyal scaling down of the AT-ST, but instead wanted to do a miniature interpretation of the character. This meant I needed to tweak and take some liberties with the proportions and design. Using CAD was invaluable in helping me explore the form. The result ended up being what my wife called “a cute little baby one.” Not my favorite critique, but also not entirely inaccurate.


CONSTRUCTION
Using the CAD model as a visual reference, and a general guide for measurements, I used 2″-thick pieces of insulation foam to create the basic frame. Everything was done more or less by eye from this point. There was no need to build it directly from the CAD plans.

I started with the feet and cut out the rhombus-shaped footprints from insulation foam using a retractable utility blade. I then shrouded those foam “soles” using cardboard and duct tape. For the mechanical joints on the limbs, you can see I used scrap PVC pipe, cardboard circles, and little wooden dowels as a kind of washer/bolt connection system. I also used snowboard bindings, (acquired at a local thrift store for $3) for the feet straps. Snowboard bindings come with holes in the bottom that work well for drilling into the base of the feet. You’ll also note that I eventually put 2x4s on the bottom to lift the feet off the ground and give me a better range of motion as well as make the soles more durable.


From the above picture you can see that while foam made up most of the costume, there are certain stress points that needed to be reinforced with wooden blocks. The way I discovered each stress point was by putting the thing together, walking around, and seeing what broke first. At which point, I put the thing back together, replacing the broken foam with wood pieces. This process was repeated more times than I care to admit. But it was effective. Just a few blocks in the right places and the thing was plenty sturdy for vigorous travel.

It took lots of iteration to get the “animation” of the thing to work just right. But this part really was the most fun. There’s really nothing like making something that looks like it could be alive. At one point I was so convinced that I needed to make a career of this that I did a quick Craigslist search looking for job postings on making really, really tall, wearable puppets. Nothing yet, but I remain optimistic.
To get that distinct walk down just right, I would put together the limb assembly and take video of myself walking around a bit. I then watched the video and decided if I needed to move things around a little here, or loosen things up there. Mostly it came down to the lengths, angles, and joints. You can see by my diagram where things generally went as far as swivel joints, slide joints, or fixed points.
The hips and thighs need to be fixed to each other, I found. And the calf needs to slide freely at the knee, and swivel at the ankle. It’s also important to mention that the “hips” should be lose around the waist of the wearer. You want a lot of movement in the hips to give the walk some character.

The head I made using the follow steps:
- I laid some 1″ insulation foam on the ground and, using wheat paste, plastered it with a bunch of 8.5 x 11 sheets of printer paper. This would allow me to spray paint the costume, as foam erodes when it makes contact with aerosol.
- I drew the pieces I was going to cut out onto the paper. (If you want to get tricky you can actually print the guides out “poster-style” from the CAD model.)
- I cut out the 4 panels of the head using a utility knife. And I cut out the eyes as well.
- I taped the 4 panels together. And taped back on the eye-lids.
- On the underside you can see that I mounted a piece of wood as a crossbeam under the jaw. This I did to create strength and also give my arms something to hold onto while in the costume.
- Using that same crossbeam, I mounted some PVC pipes as the blasters.

We now have a fully animated, naked, chicken walker.
PAINTING/FINISHING

When the the kinetics were pegged down just right, I dissembled the thing and paneled all exposed foam with paper using wheat paste. I then painted the paneled pieces with metallic, gray, and black spray paint to get the distressed, battle-worn aesthetic. The paper panels not only made it easy to paint and protected the foam, but the seams of the paper, which I made sure were a brick pattern, naturally made the costume look like it was crafted out of metal sheets. I found it important to carefully alternate between glossy and matte spray paints to get the desired finish.
This is also when I added more guns and small pieces of foam to simulate components and other details.
BLAST-HOLES TECHNIQUE

Since the insulation foam erodes on contact with the aerosol, I used that to my advantage to make “blast holes.” I just ripped some paper away and sprayed directly onto the foam. The bubbling and eating-away of the foam looked remarkably like what I would expect a laser blast to look like. If it didn’t eat away enough, I chipped away some pieces of foam and painted again.
COST/TIME
The materials were extremely cheap for a project like this. I used pink insulation foam, normal printer paper, and spray paint. I used a lot of scrap wood I had handy, and got some cardboard and PVC pipe from a dumpster. The only other major expense included the $3 thrift-store snowboard bindings. It took me roughly a week to design and build. But I’m pretty happy with the results.


