By Kathreen Ricketson, Rob Shugg, and Orlando Shugg

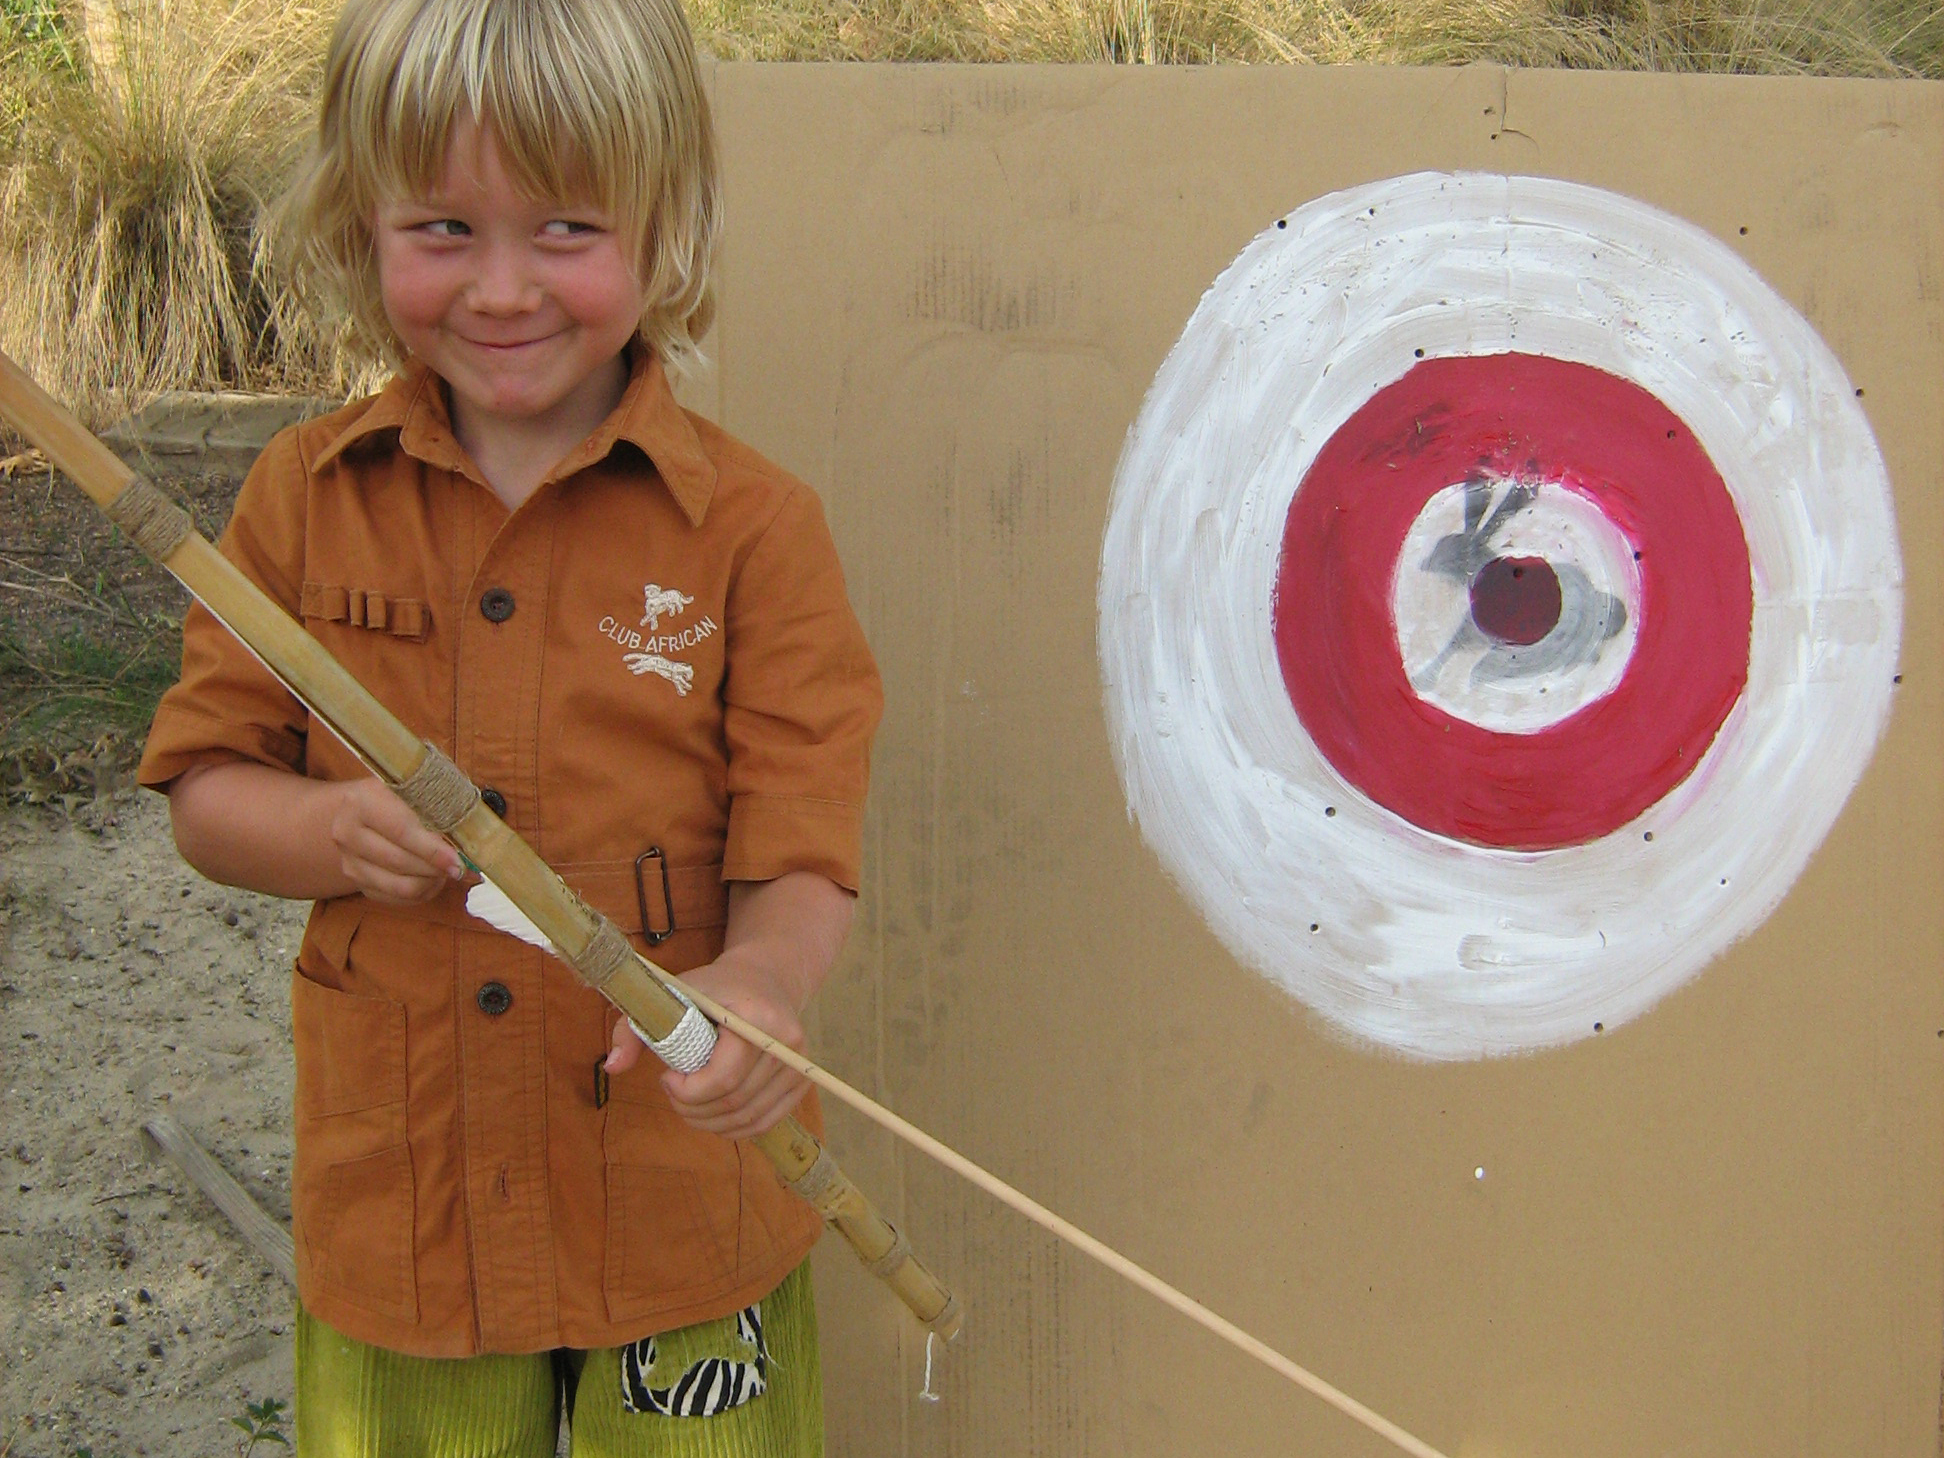
As a boy, my partner Rob Shugg always had a bow and arrow. He was quite a little ragamuffin and had a wonderfully free and adventurous childhood, very different from all the cautionary parenting of today.

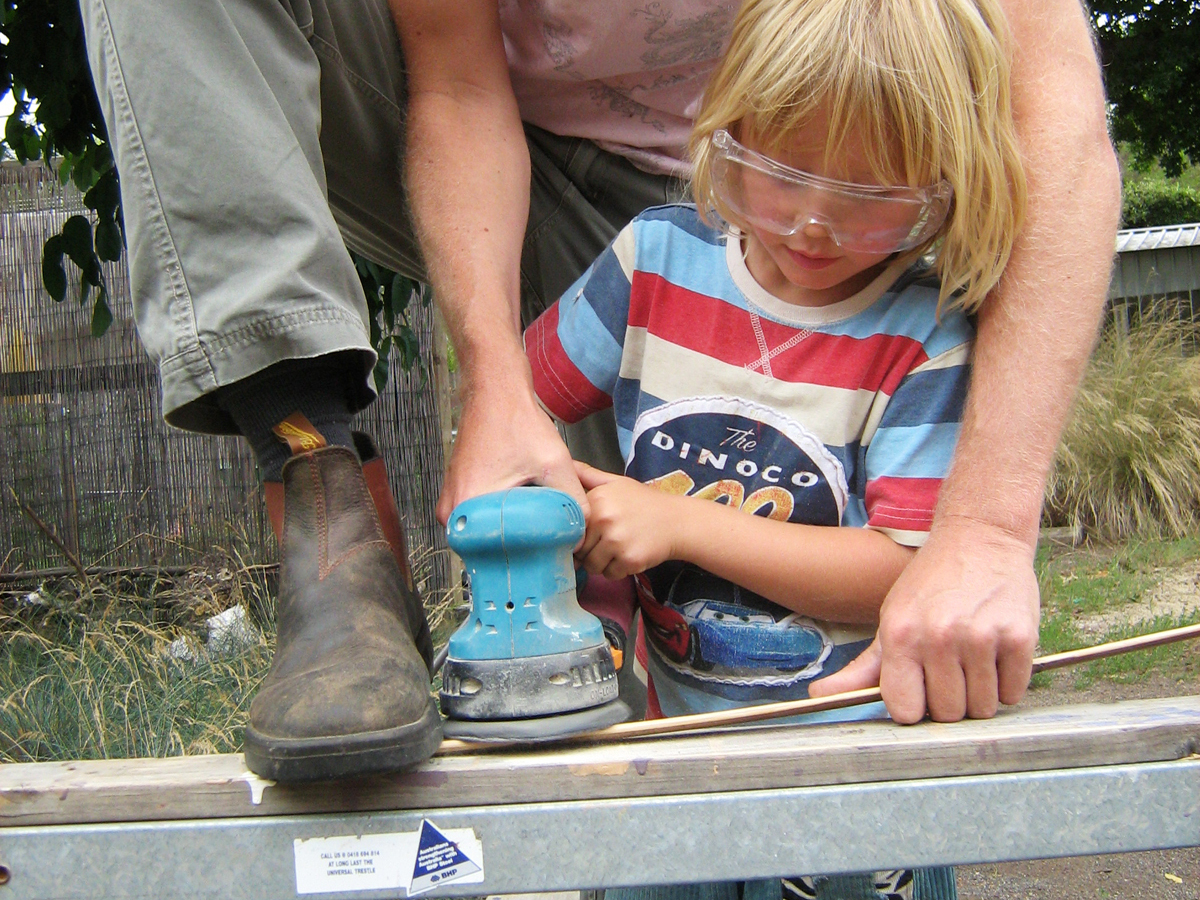
With the resurgence of books about adventures for kids and 19th-century DIY projects, some of these more exciting pastimes are enjoying a comeback. Rob wanted to share some of these adventures with our son, 5-year-old Orlando, who is only too happy to go along for the ride. Making the bow and arrow is their first step toward a bush camping trip they’re planning for later in the year.

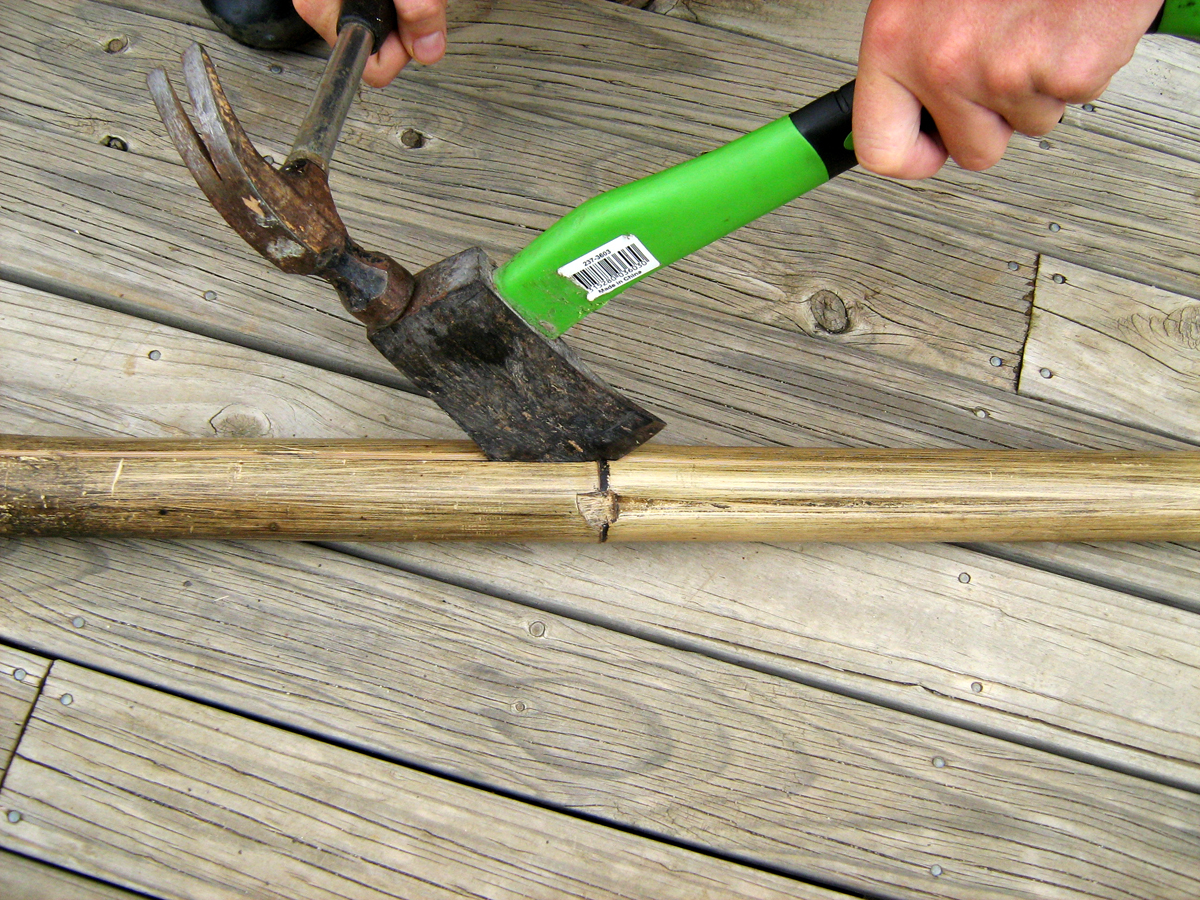
For this father-and-son weekend project, we made a simple, safe, and sturdy bundle bow out of bamboo that’s fairly quick to make with materials available at any hardware shop. We chose bamboo because of its strength, flexibility, and availability, but other materials, such as straight sticks or fiberglass, can be used.

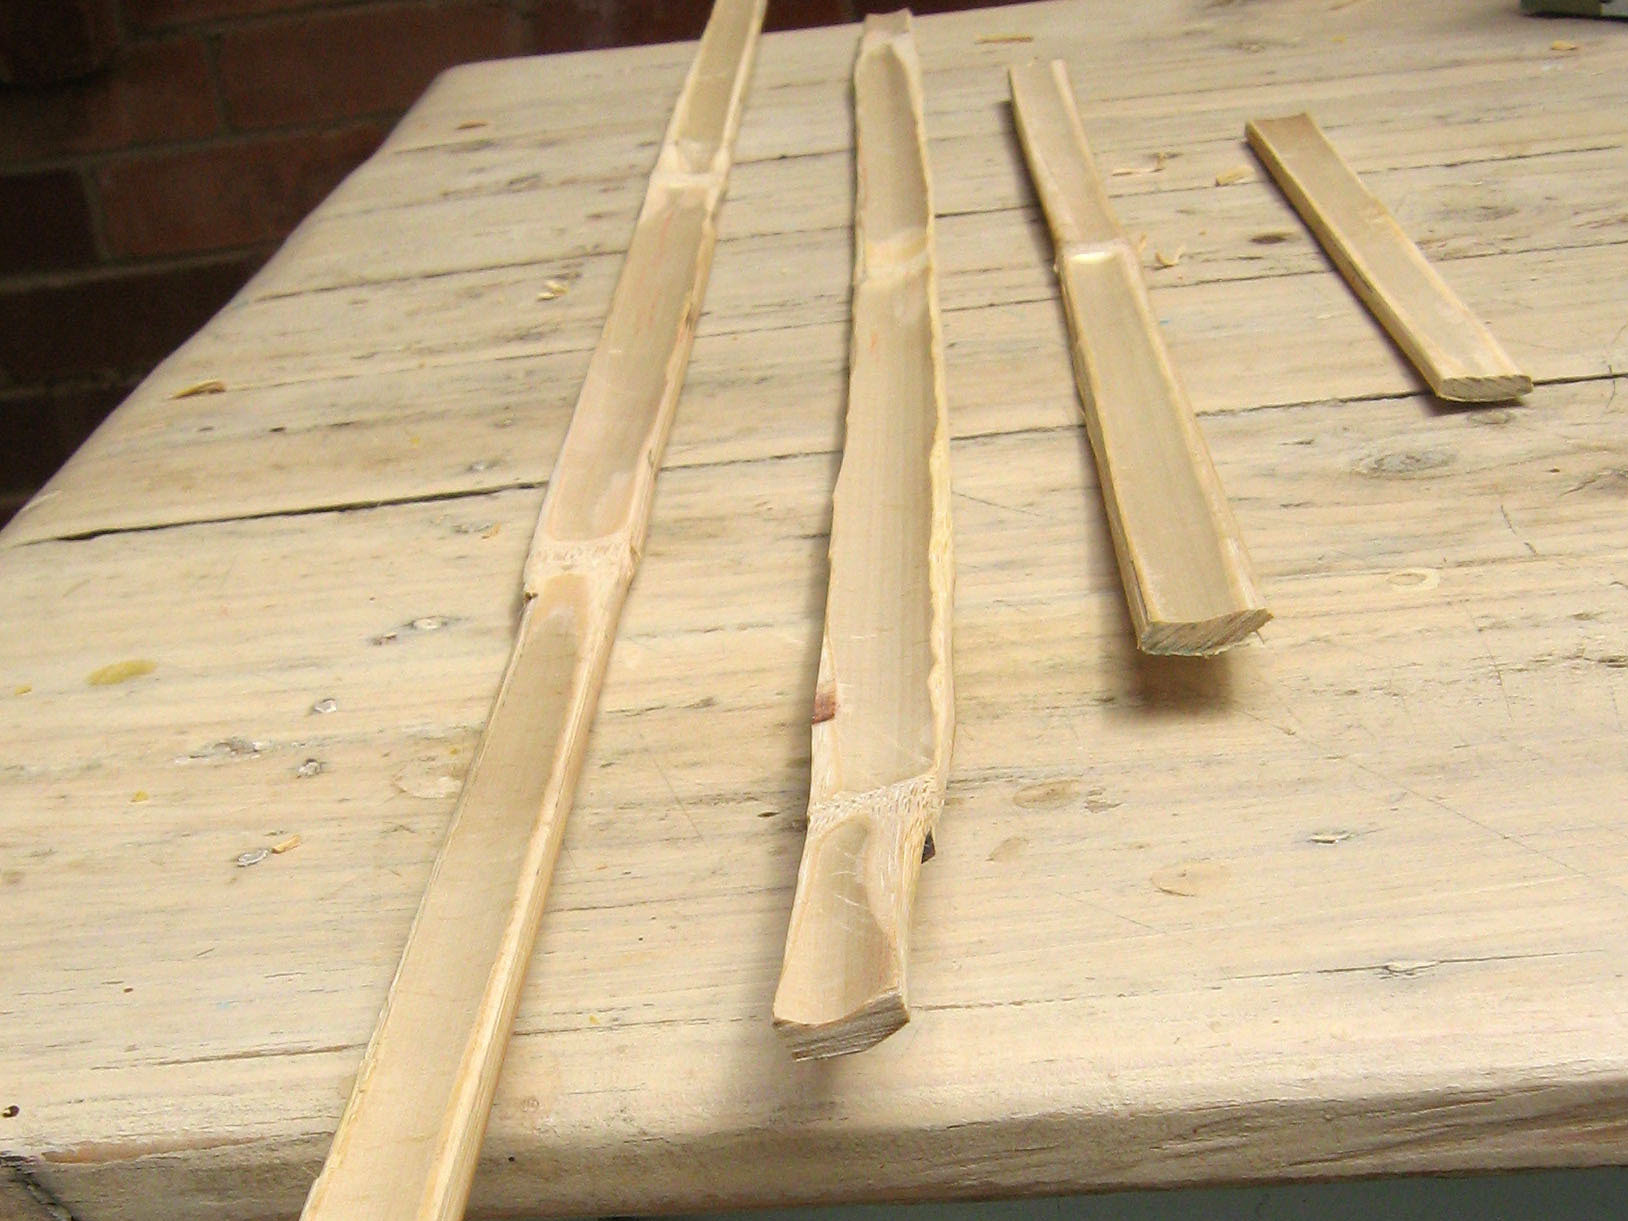
A bundle bow, also called a quick bow, is made from a few straight sticks of varying length that are bound into a bundle. Bundling sticks of different lengths adds stiffness to the center of the bow and allows flexibility toward the limbs.

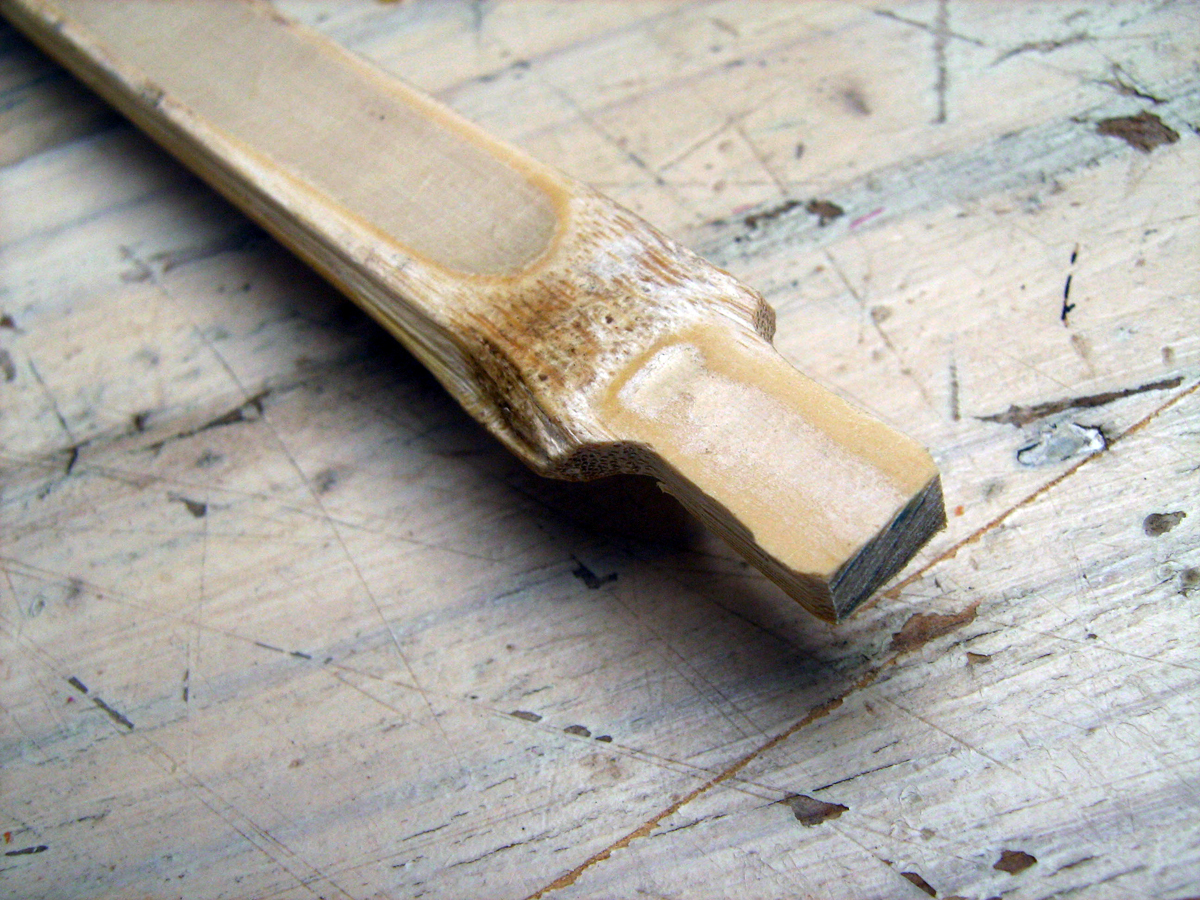
The trick to getting the bow to bend correctly is to make it symmetrical, with tension that gradually tapers off toward the ends. The shortest stick is half the length of the longest one, while the middle sticks extend somewhere in between.

Project Steps

Make the bow: shape the bow’s center, and smooth out the sticks.

Using a small axe, split the bamboo into 1″-wide strips. You’ll need 4 straight, cut, and trimmed sticks in total. From the ground, measure the length of the bamboo against the intended user, mark the spot at the user’s forehead, then cut 1 piece of bamboo to that length, 1 to half that length, and 2 lengths in between. When the 4 are clumped together, the center should be about 1″ square.

Trim the bamboo sticks with the trimming knife, then sand them down with the sander. Make them all as even in thickness and width as you can.

Also sand the internal knobs of the bamboo to make it smooth all over. Sand and whittle a little until the pieces lay flat against each other. Bamboo edges can be sharp, so you may want to wear safety gloves.

Notch the ends, and tie the sticks together.

Use the trimming knife to make the notch at each end of the longest bamboo stick for the string to sit on. By cutting just outside the bamboo knot at each end, you’ll minimize splitting later.

Starting with the 2 longest sticks, lash together each piece of bamboo firmly as you go, using strong twine such as jute, hemp, or linen. Knot firmly using a whip finish knot. Test the symmetry of the bend by flexing the bundled lengths.

Make the arrow rest and handle, make the bowstring, and string the bow.

Wrap a stiff, thick nylon cord around the center section of the bow and use a hidden whip finish knot to make a smooth finish. This does double duty as the arrow rest and the handle; make it slightly bigger than the user’s hand.

Use a nylon or polyester cord to make the bowstring (thin enough to fit the small arrow you’ll make, but not so thin that it will cut small fingers). Tie one end of the string with a hitch knot, then the other end with a loop formed by a bowline or figure-eight loop. Use trial and error to get the length just right.

Fasten the hitch knot over 1 notch and place that end of the bow on the ground. Hold the other end up and bend the bow to slip the loop over the top notch. It’s best to unstring the bow when it’s not in use.

Make the arrow: cut the dowel, and split the fletching.

To measure the correct length of the arrow for the user, ask her or him to draw the bow using an extra-long piece of dowel, and mark the shaft 1″ in front of the spot where the dowel touches the arrow rest. Cut the lengths of dowel (look for those that have a straight grain running parallel with the shaft).

The nock keeps the arrow in place on the string when the bow is drawn. To your hacksaw, attach 2 fine blades together in opposite directions. Clamp the dowel to something so that it’s vertical, and cut a nock to comfortably fit the bowstring. Sharpen the dowel with a pencil sharpener.

Fletchings stabilize the flight of the arrow and are traditionally made from feathers. We used chicken and cockatoo feathers, but turkey feathers are best. Using scissors or a trimming knife, halve the feathers lengthwise down the center of the quill, then trim to about 3″ long.

Each half-feather has a natural cup that imparts spin to the arrow. Use fletches that are cupped in the same direction to provide a slight rotation that improves accuracy.

Attach the fletches, trim, and glue.

Using sticky tape to temporarily hold it in place, attach the first fletch at 90° to the nock. Wrap the cotton thread around the shaft at the top end of the fletch to position it, then attach the second fletch 1/3 of the way around, and the last one 2/3 around.

Check positioning to ensure that the fletches all face the same way and are evenly spaced. Wrap the twine around the shaft, covering the front edges of the fletching. Then tie down the back ends of the fletches in the same way.

Put a few drops of varnish onto the twine to bind it firmly, and trim off any excess bits of twine and feather. You can use contact glue to press down the length of each fletch, but this isn’t necessary.

Make the target and shoot!

Paint a target, the bigger the better, on a piece of cardboard, styrofoam, or a straw bale with paper pinned to it. Hang it and start shooting!

Conclusion

This project first appeared in CRAFT Volume 07, pages 138-141.