This year for Halloween I decided to create a costume that depicts a dream that I had. The imagery was so vivid and lifelike, it seemed the perfect material to devise a fun costume and accessory project from.

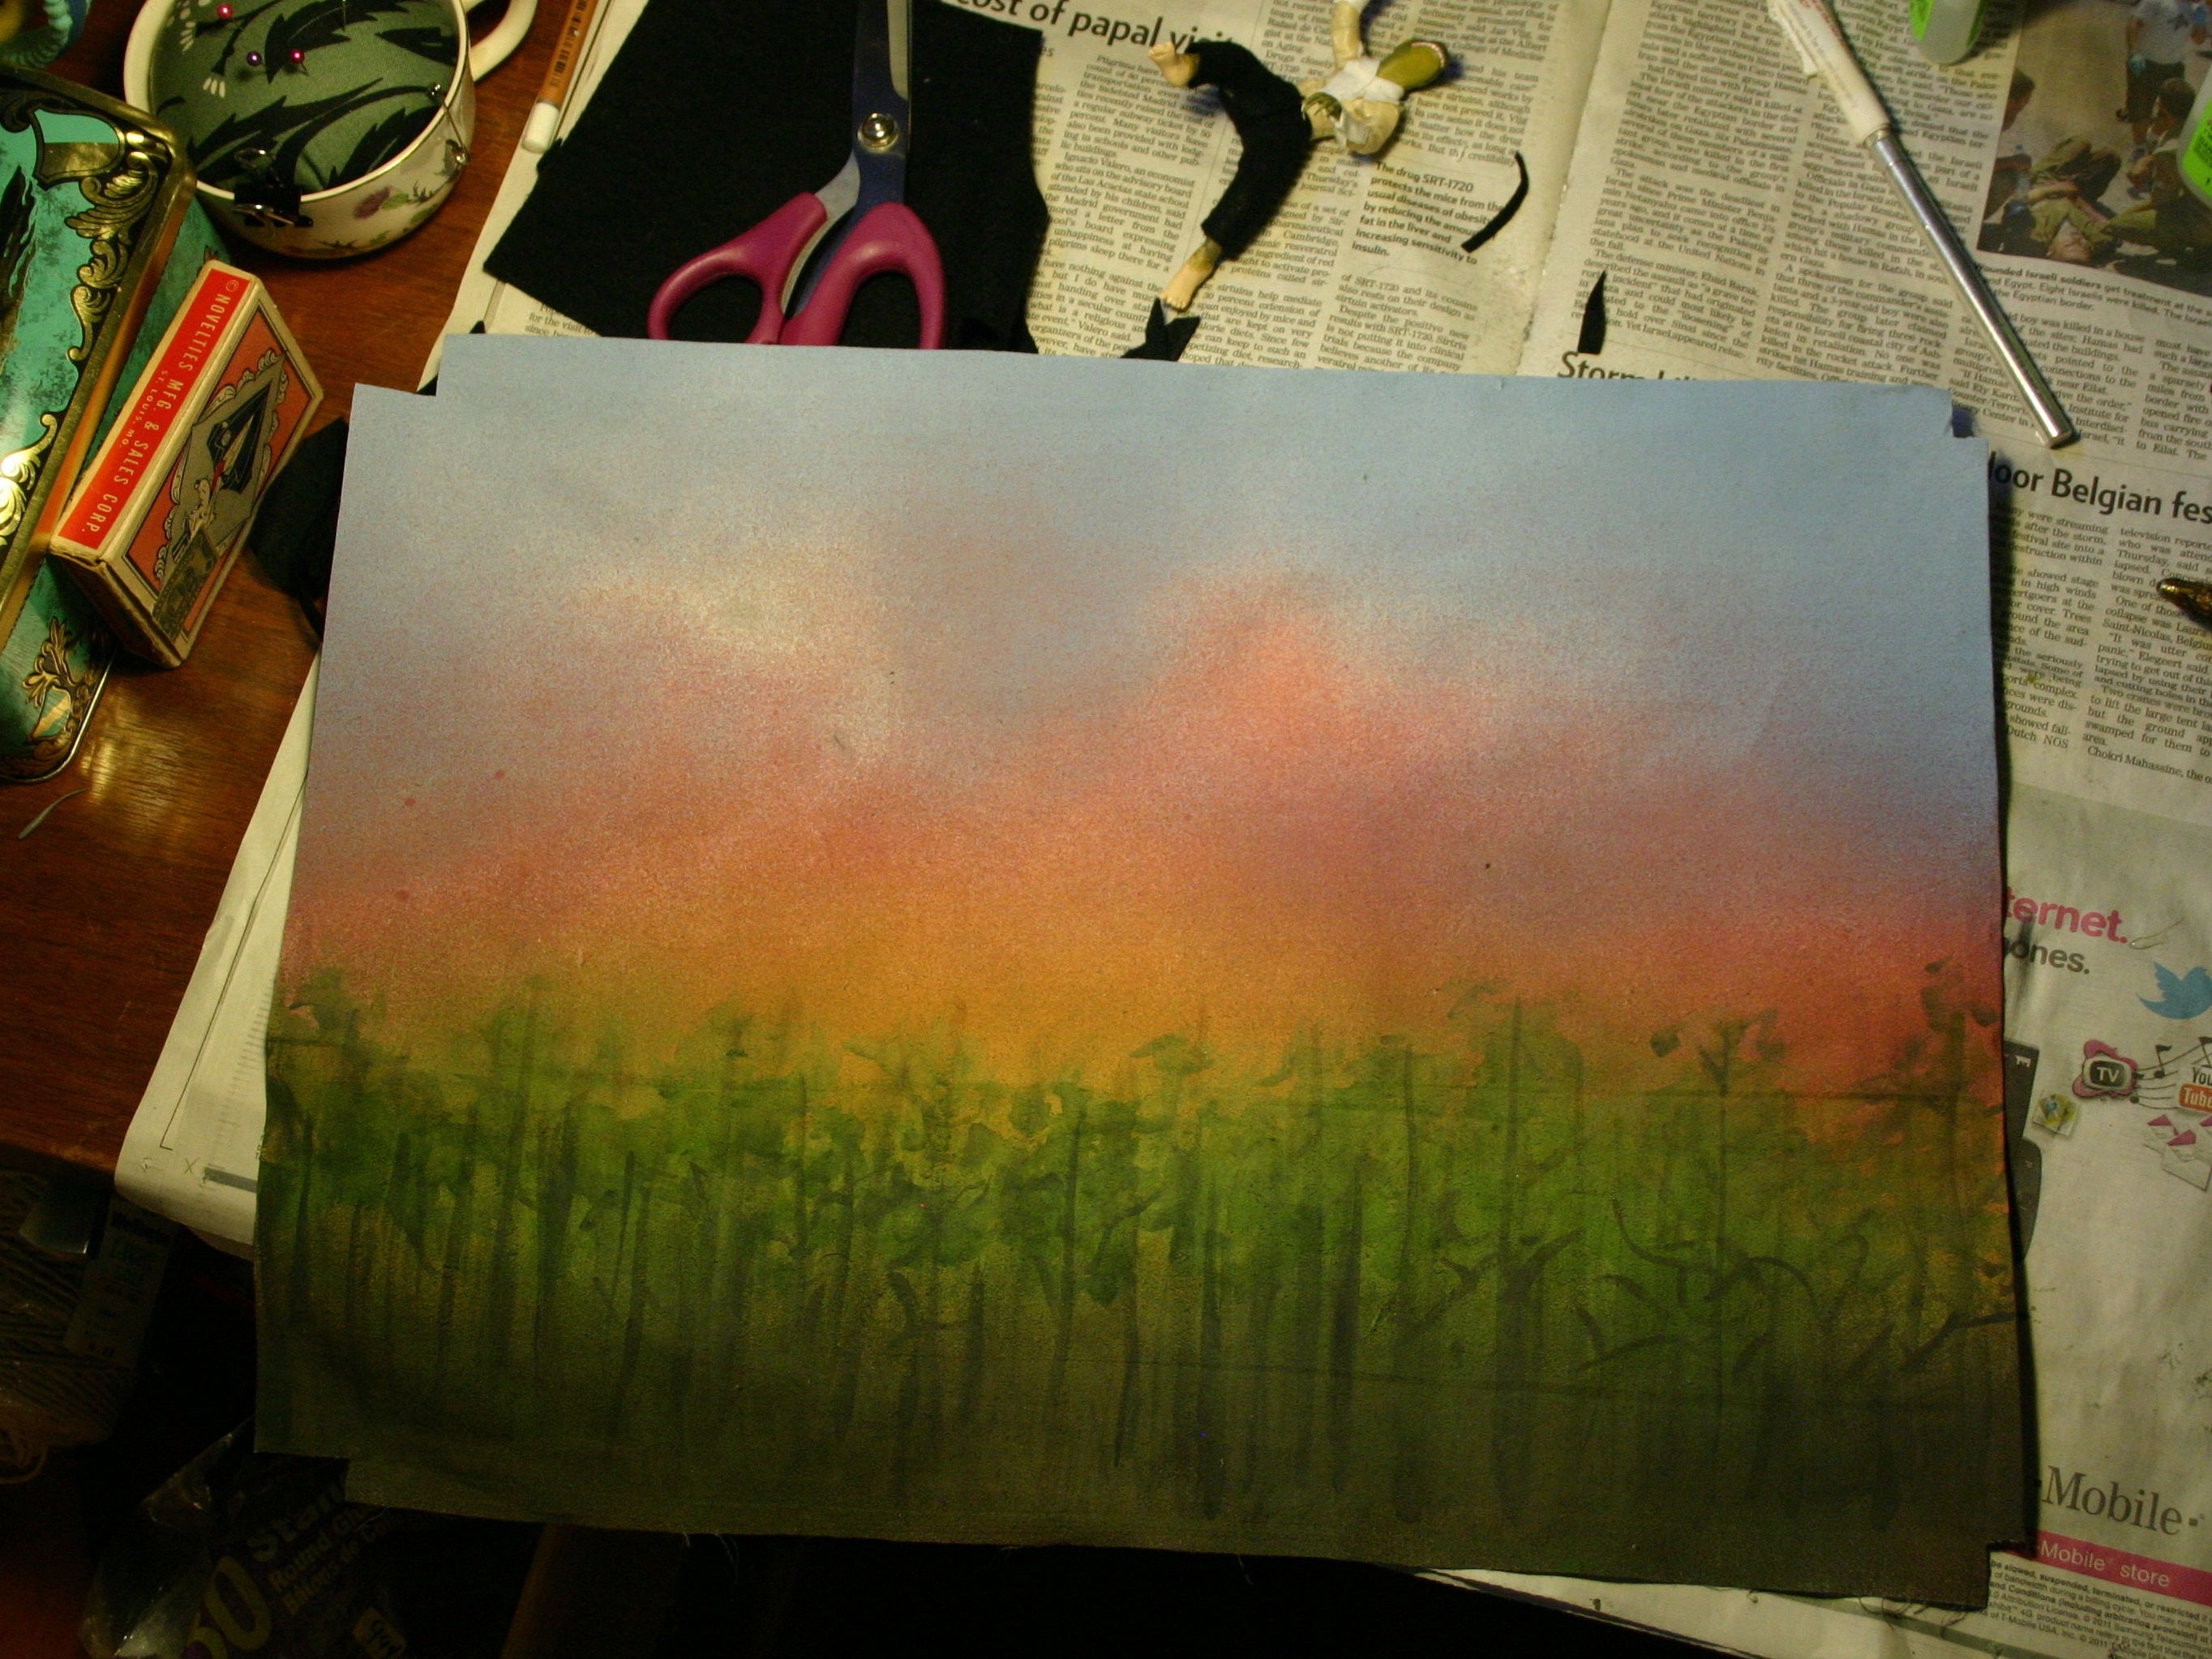
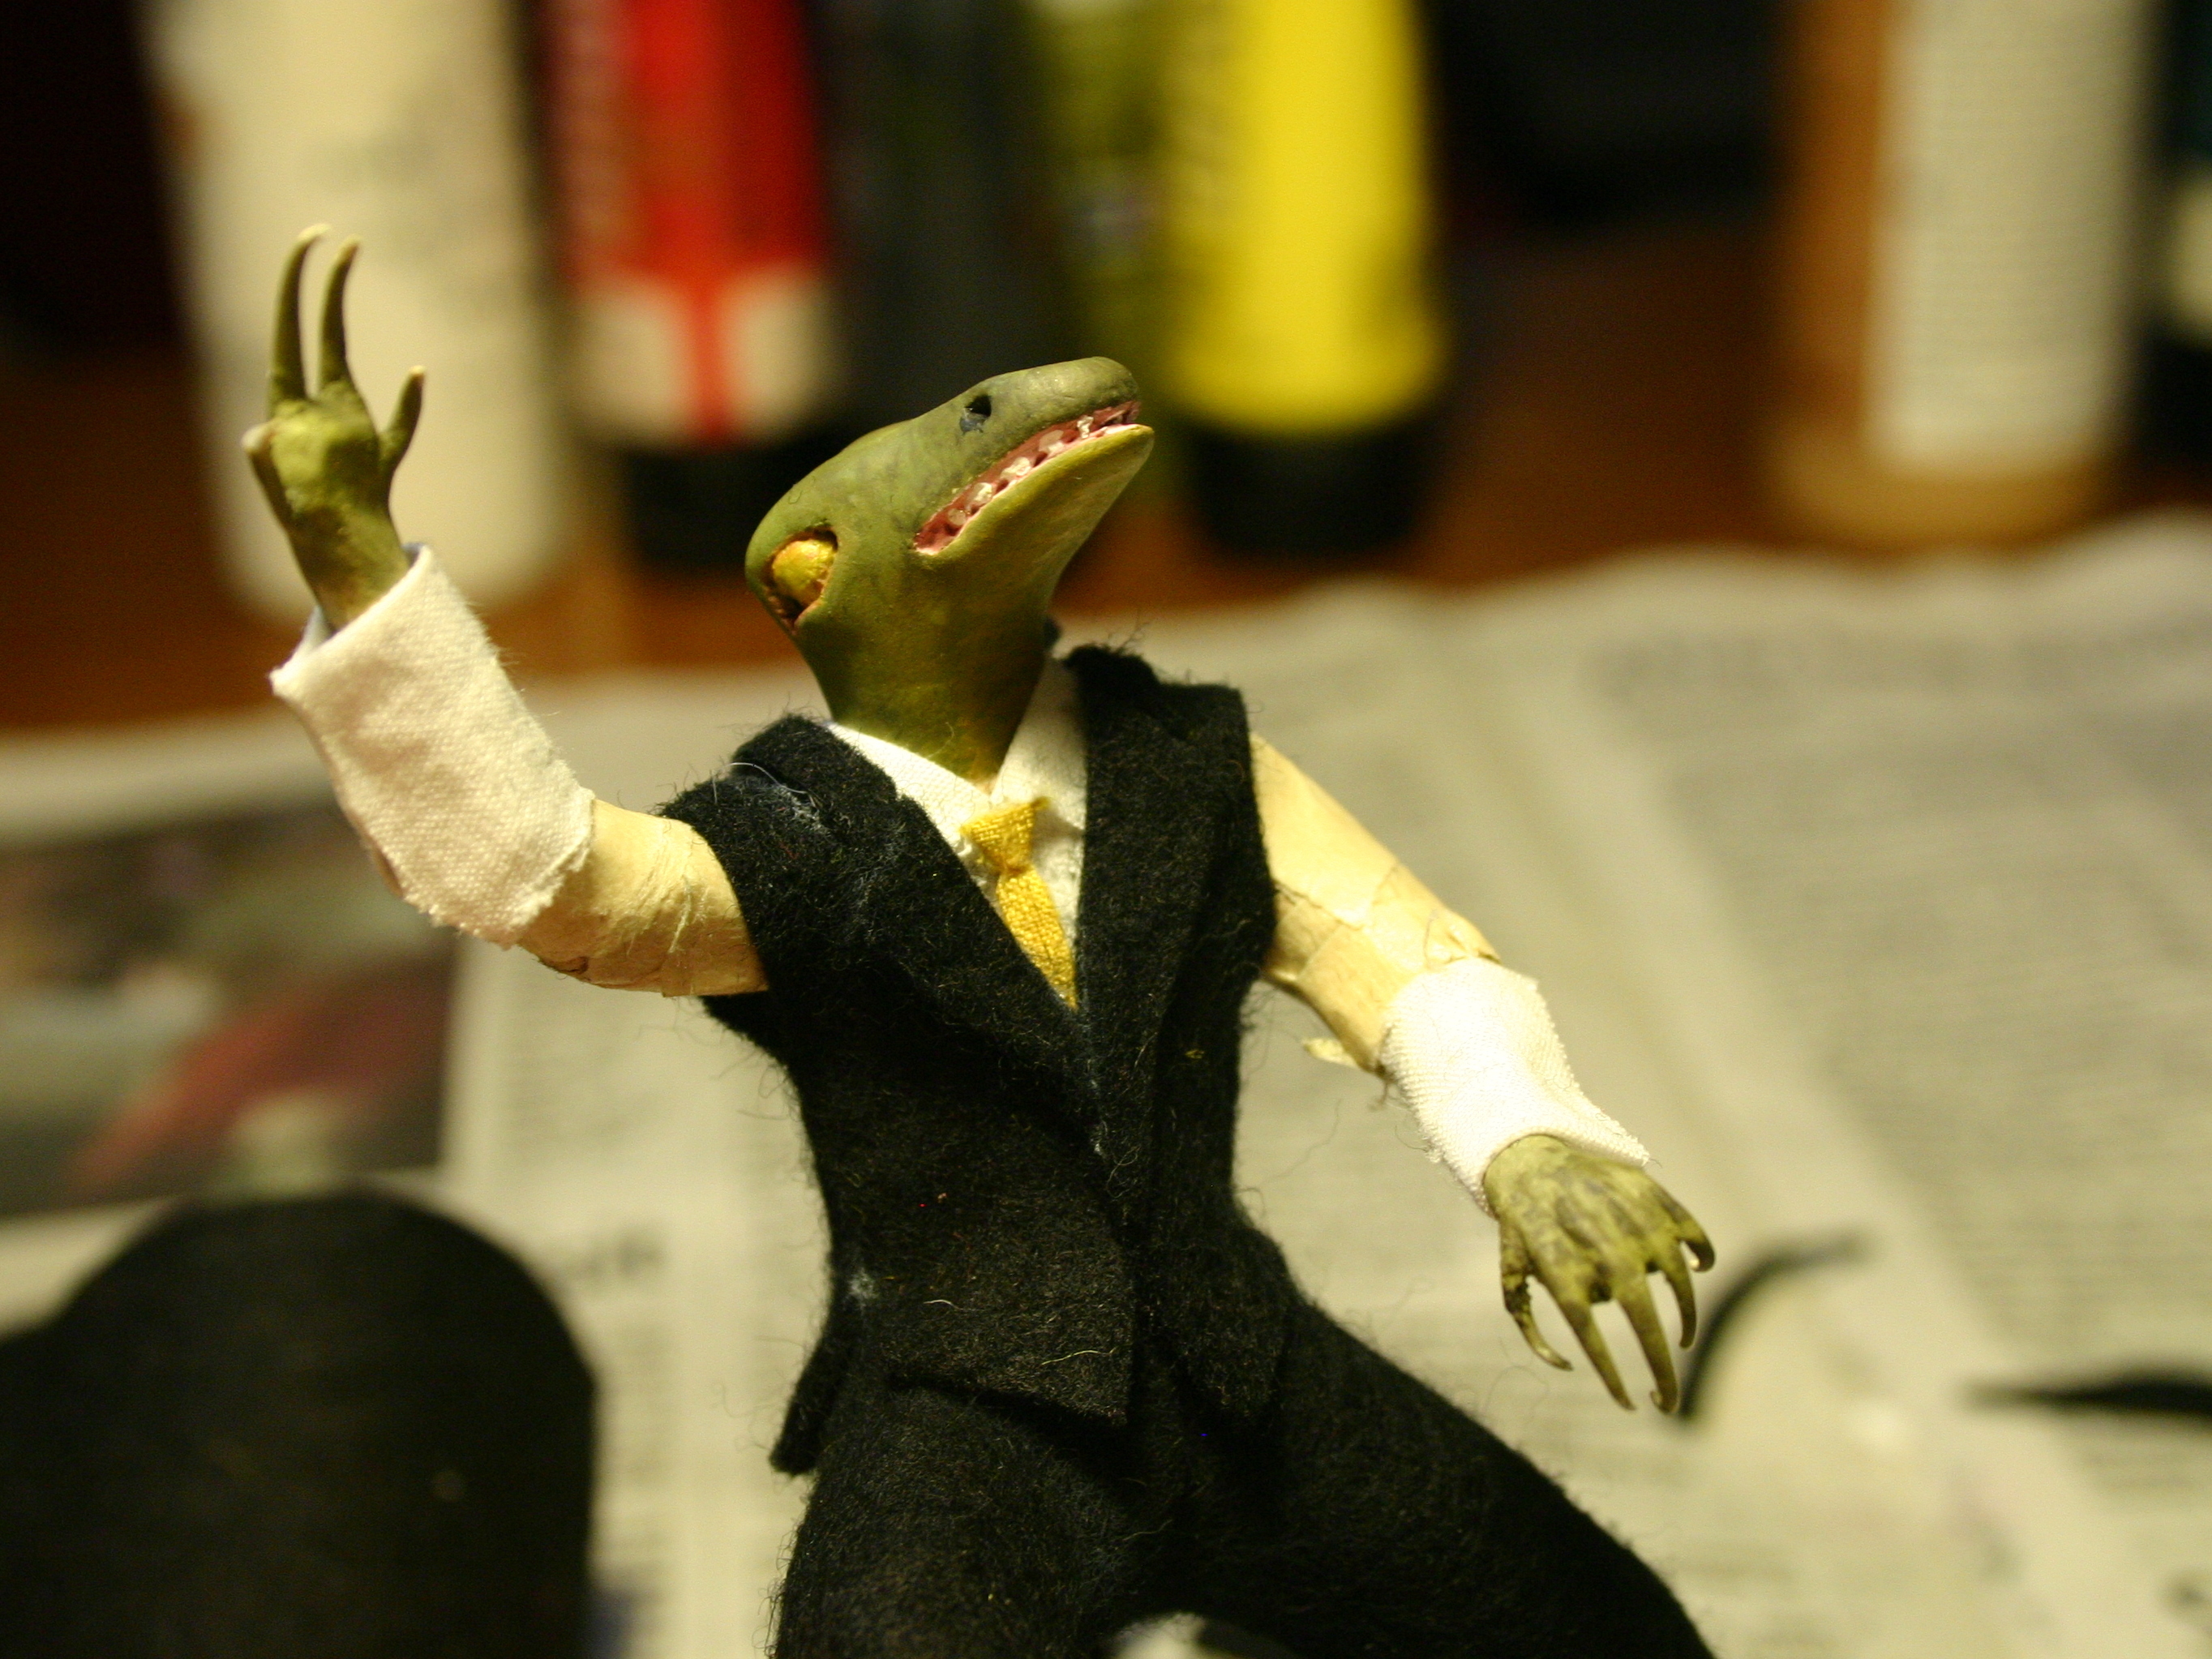
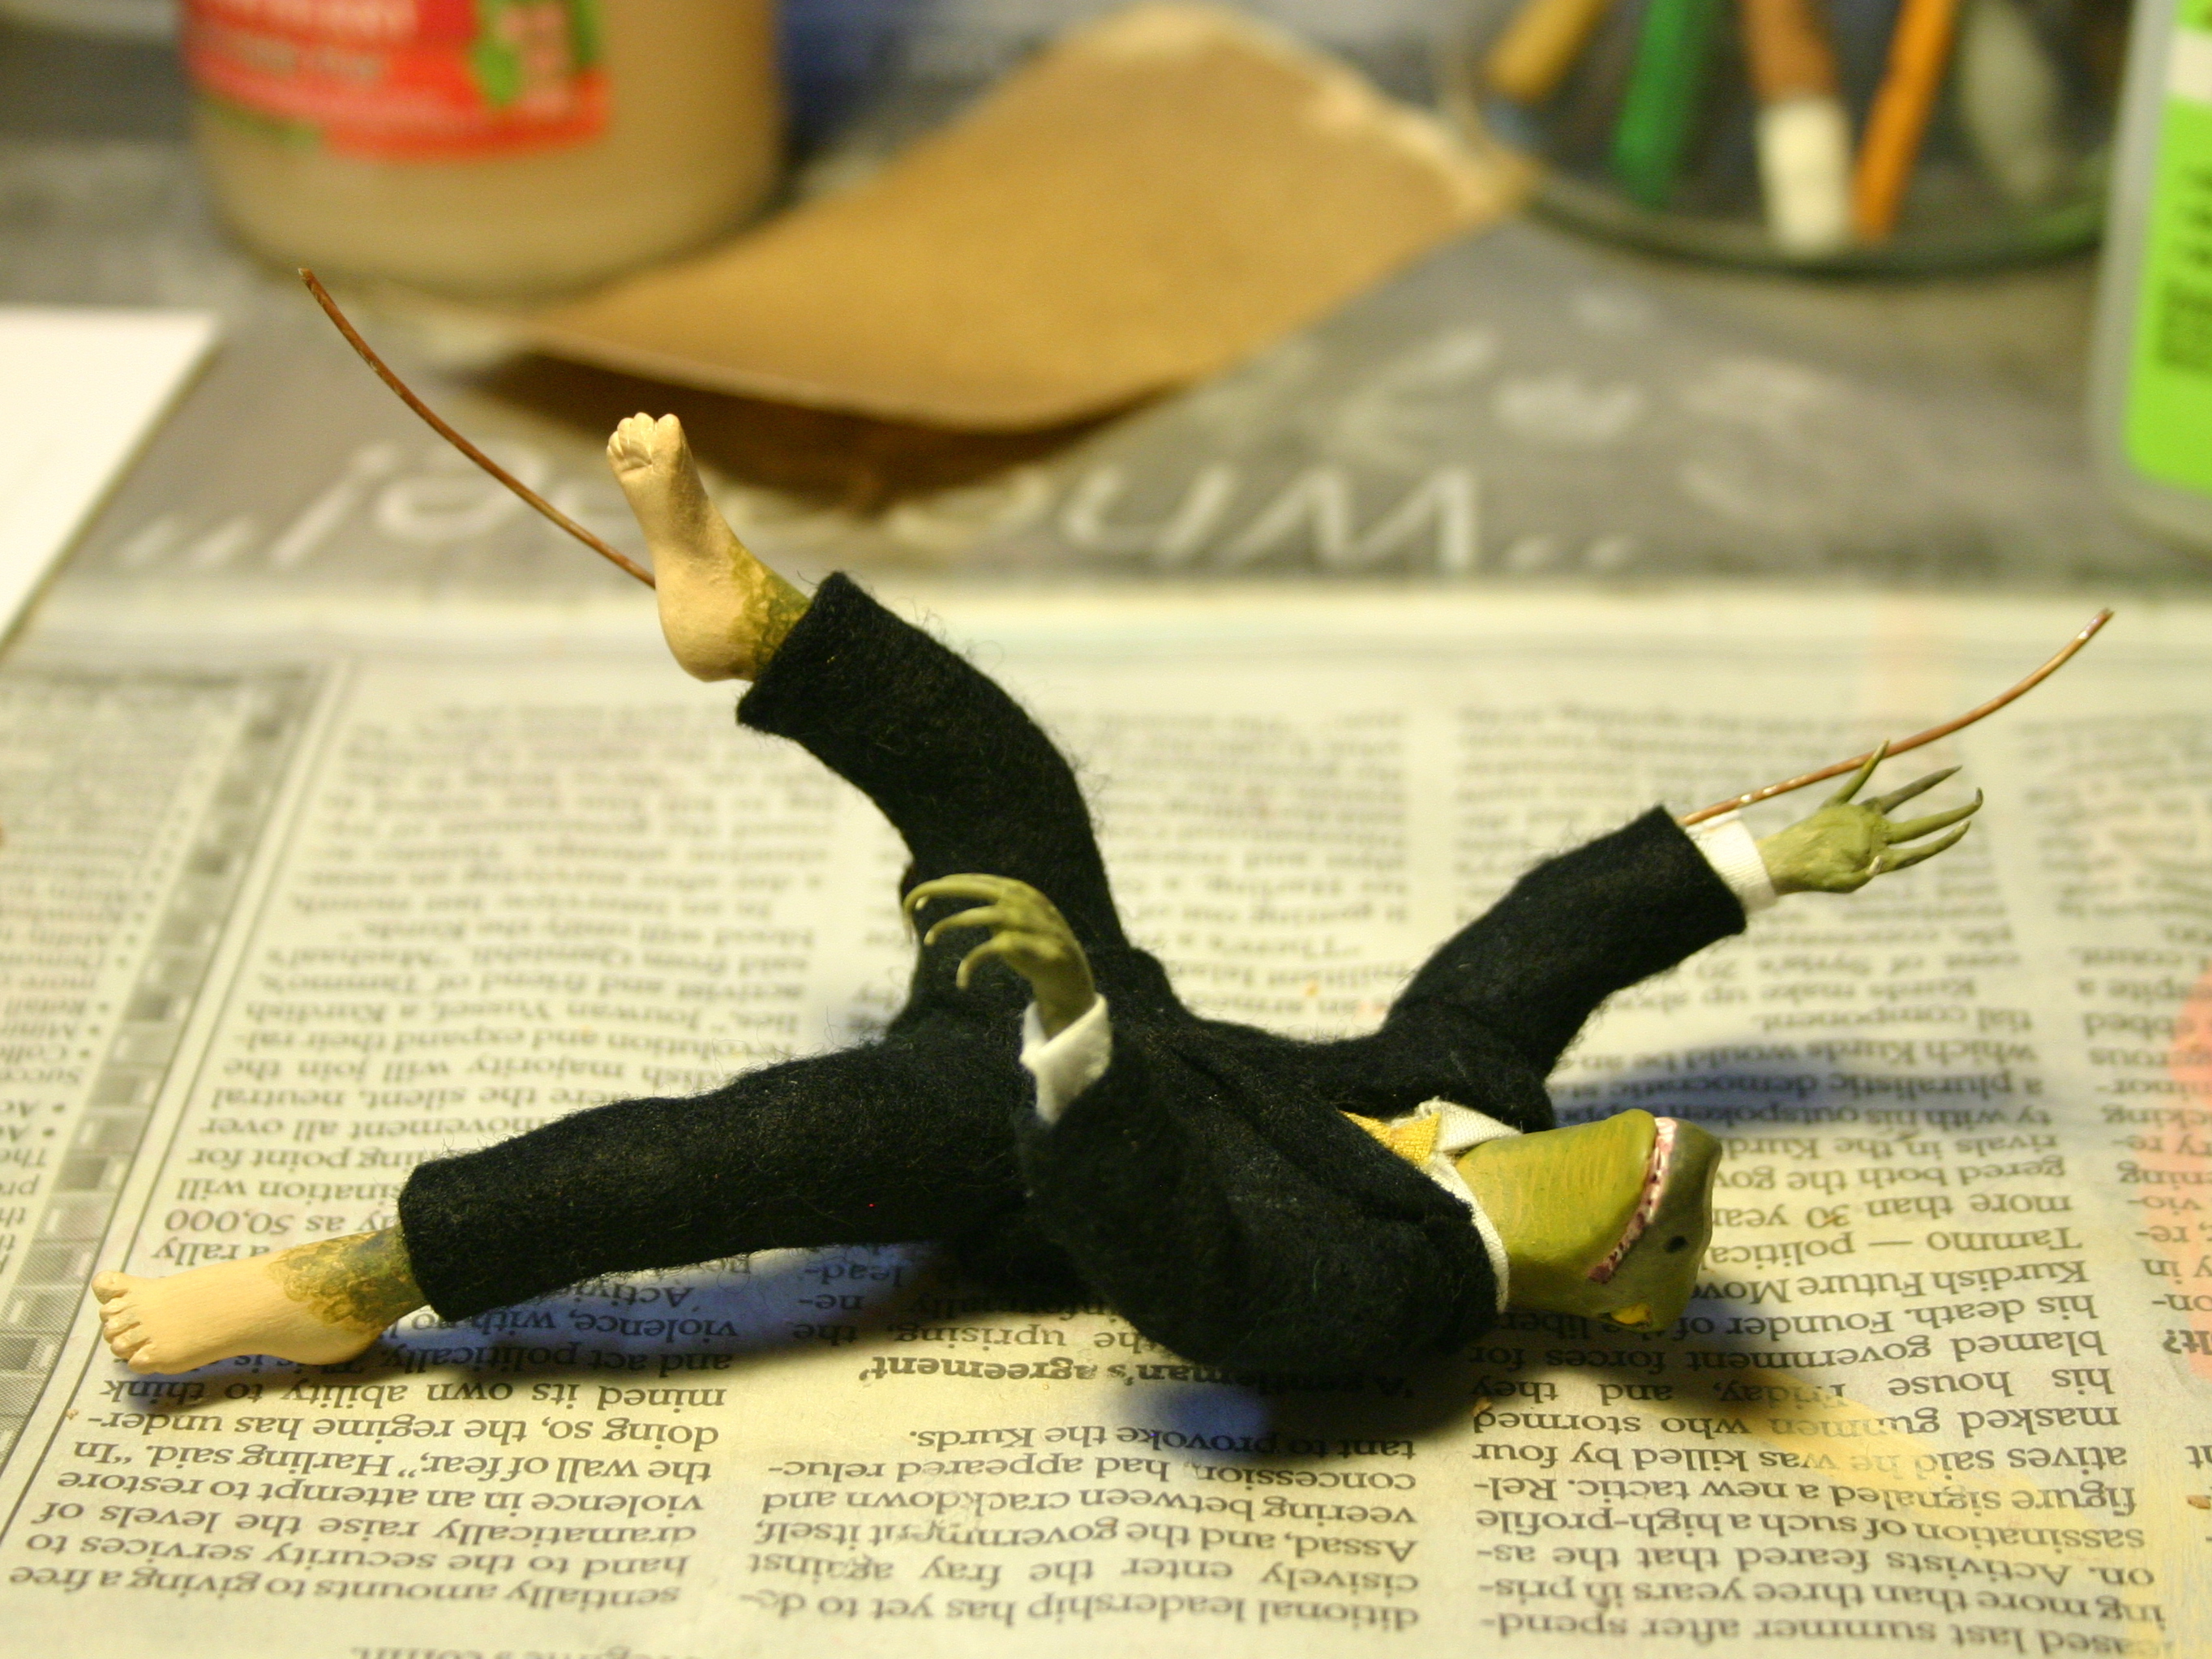
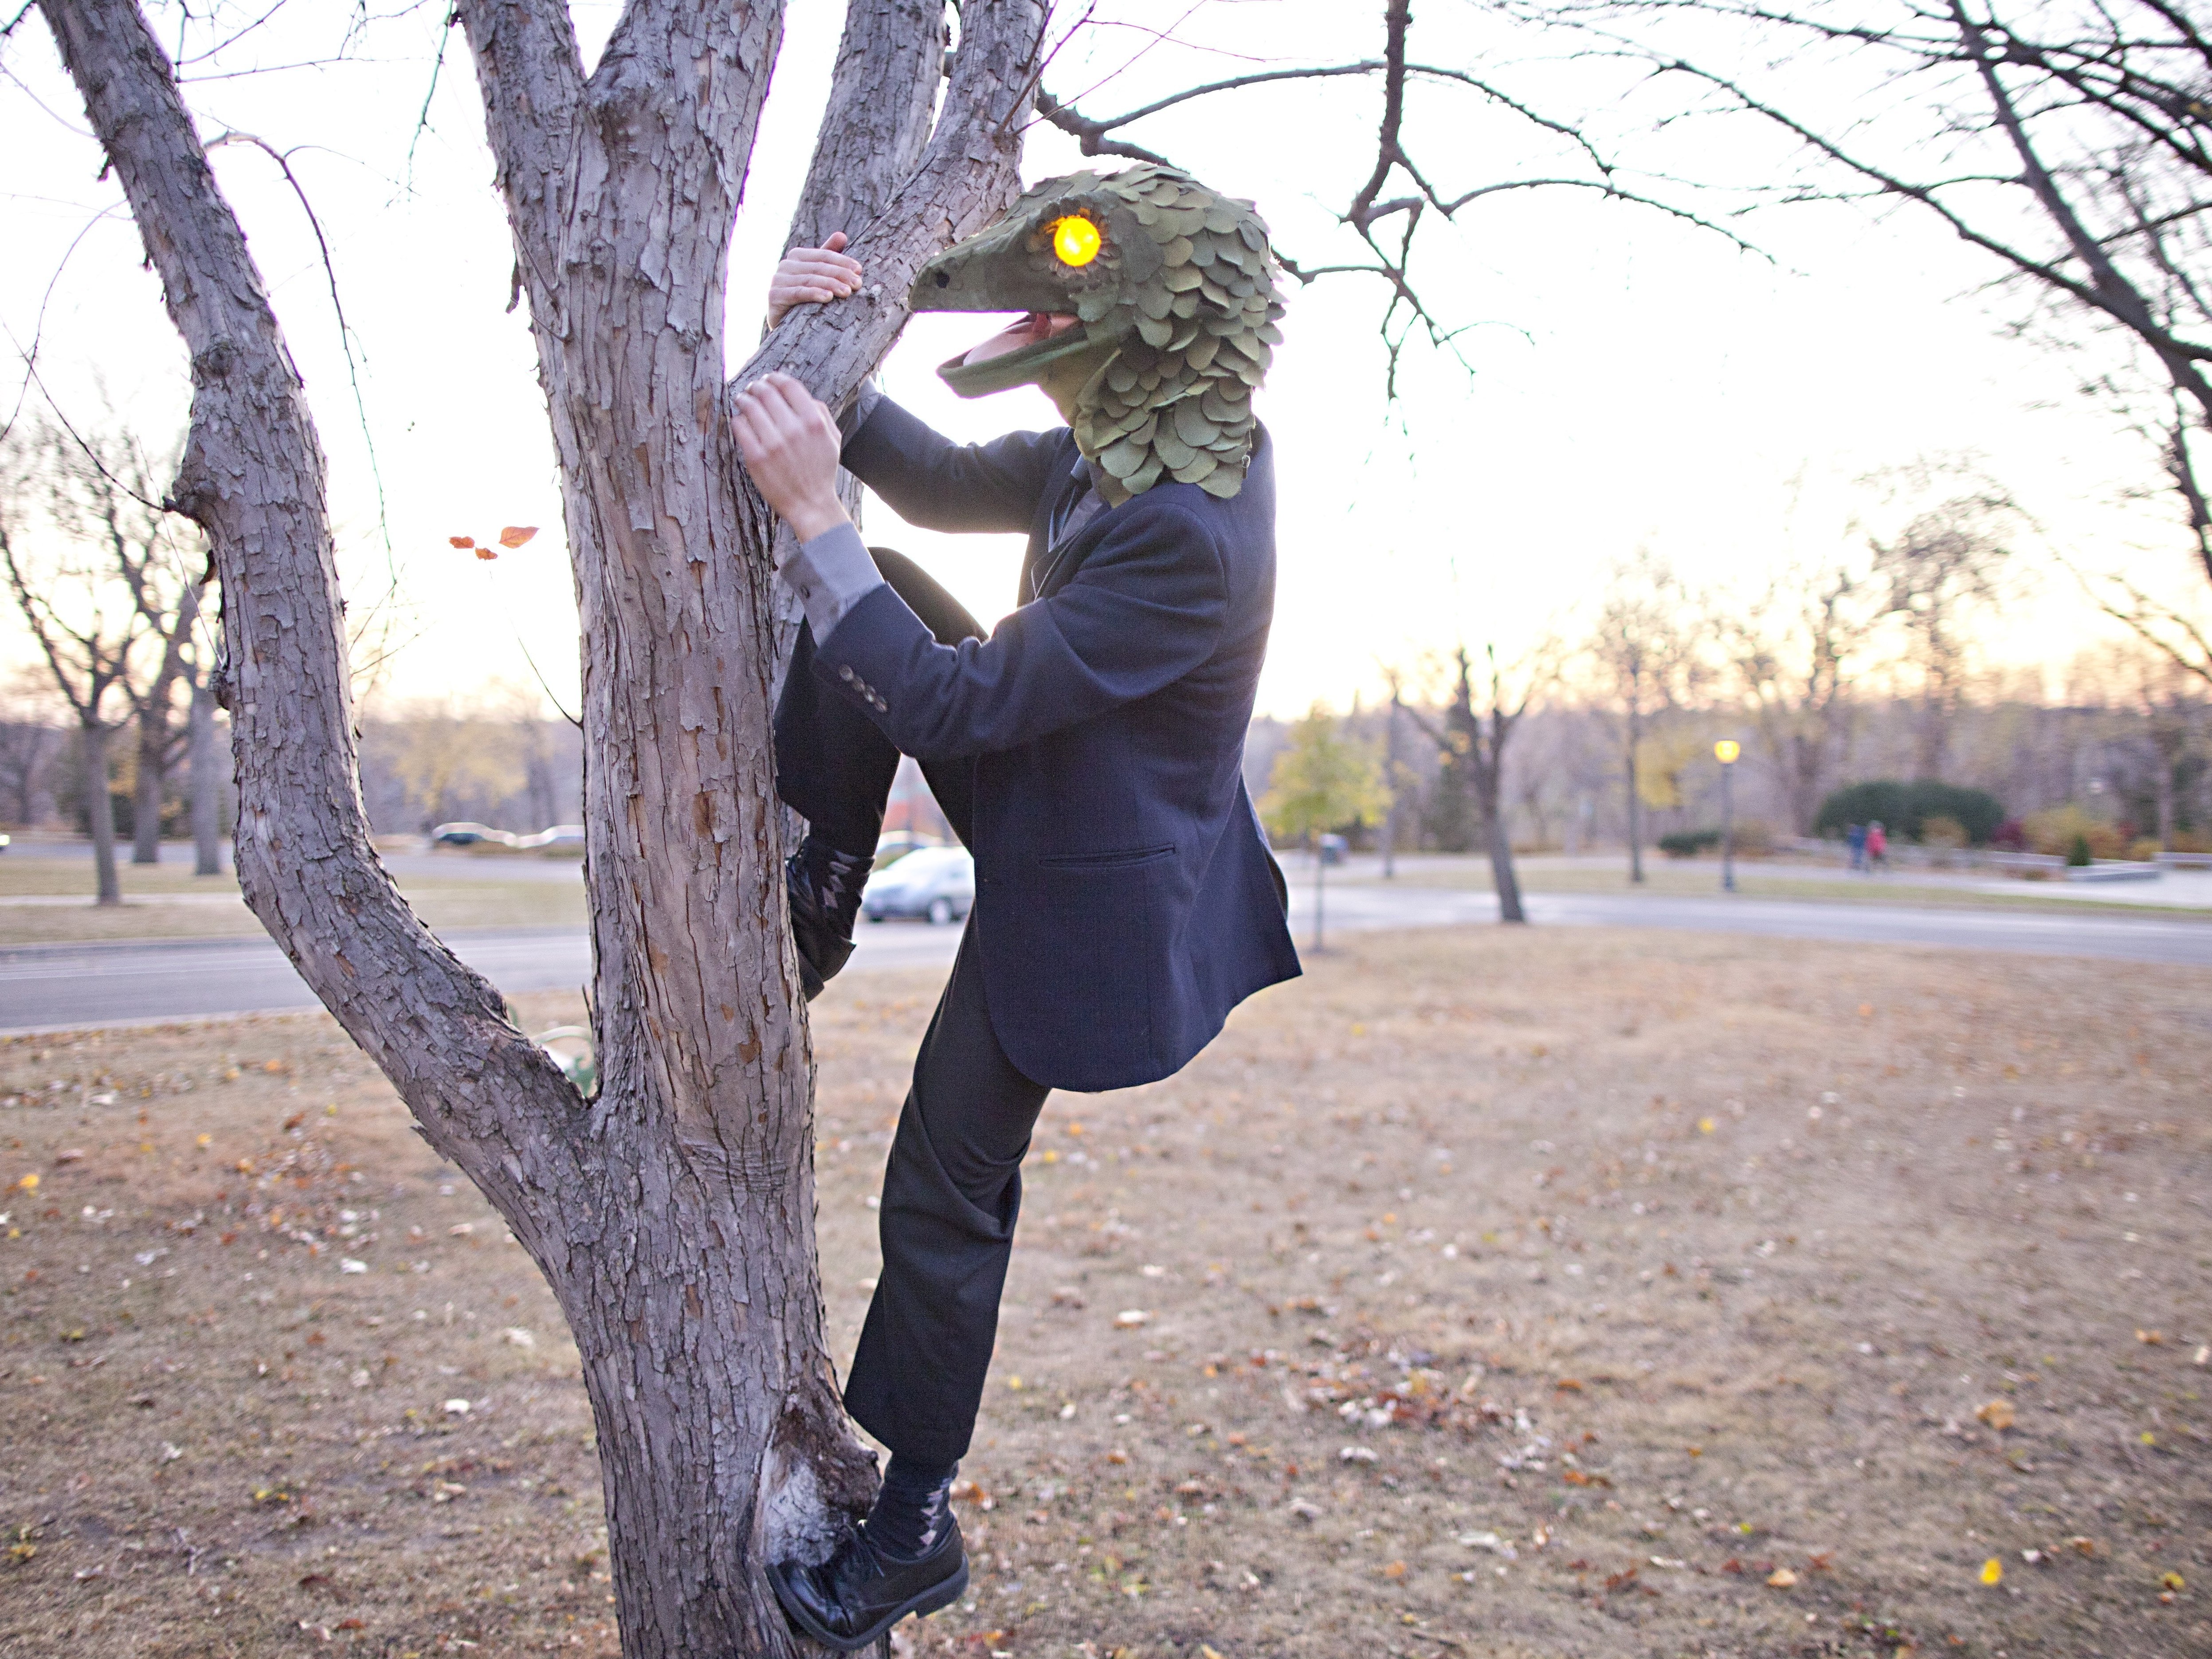
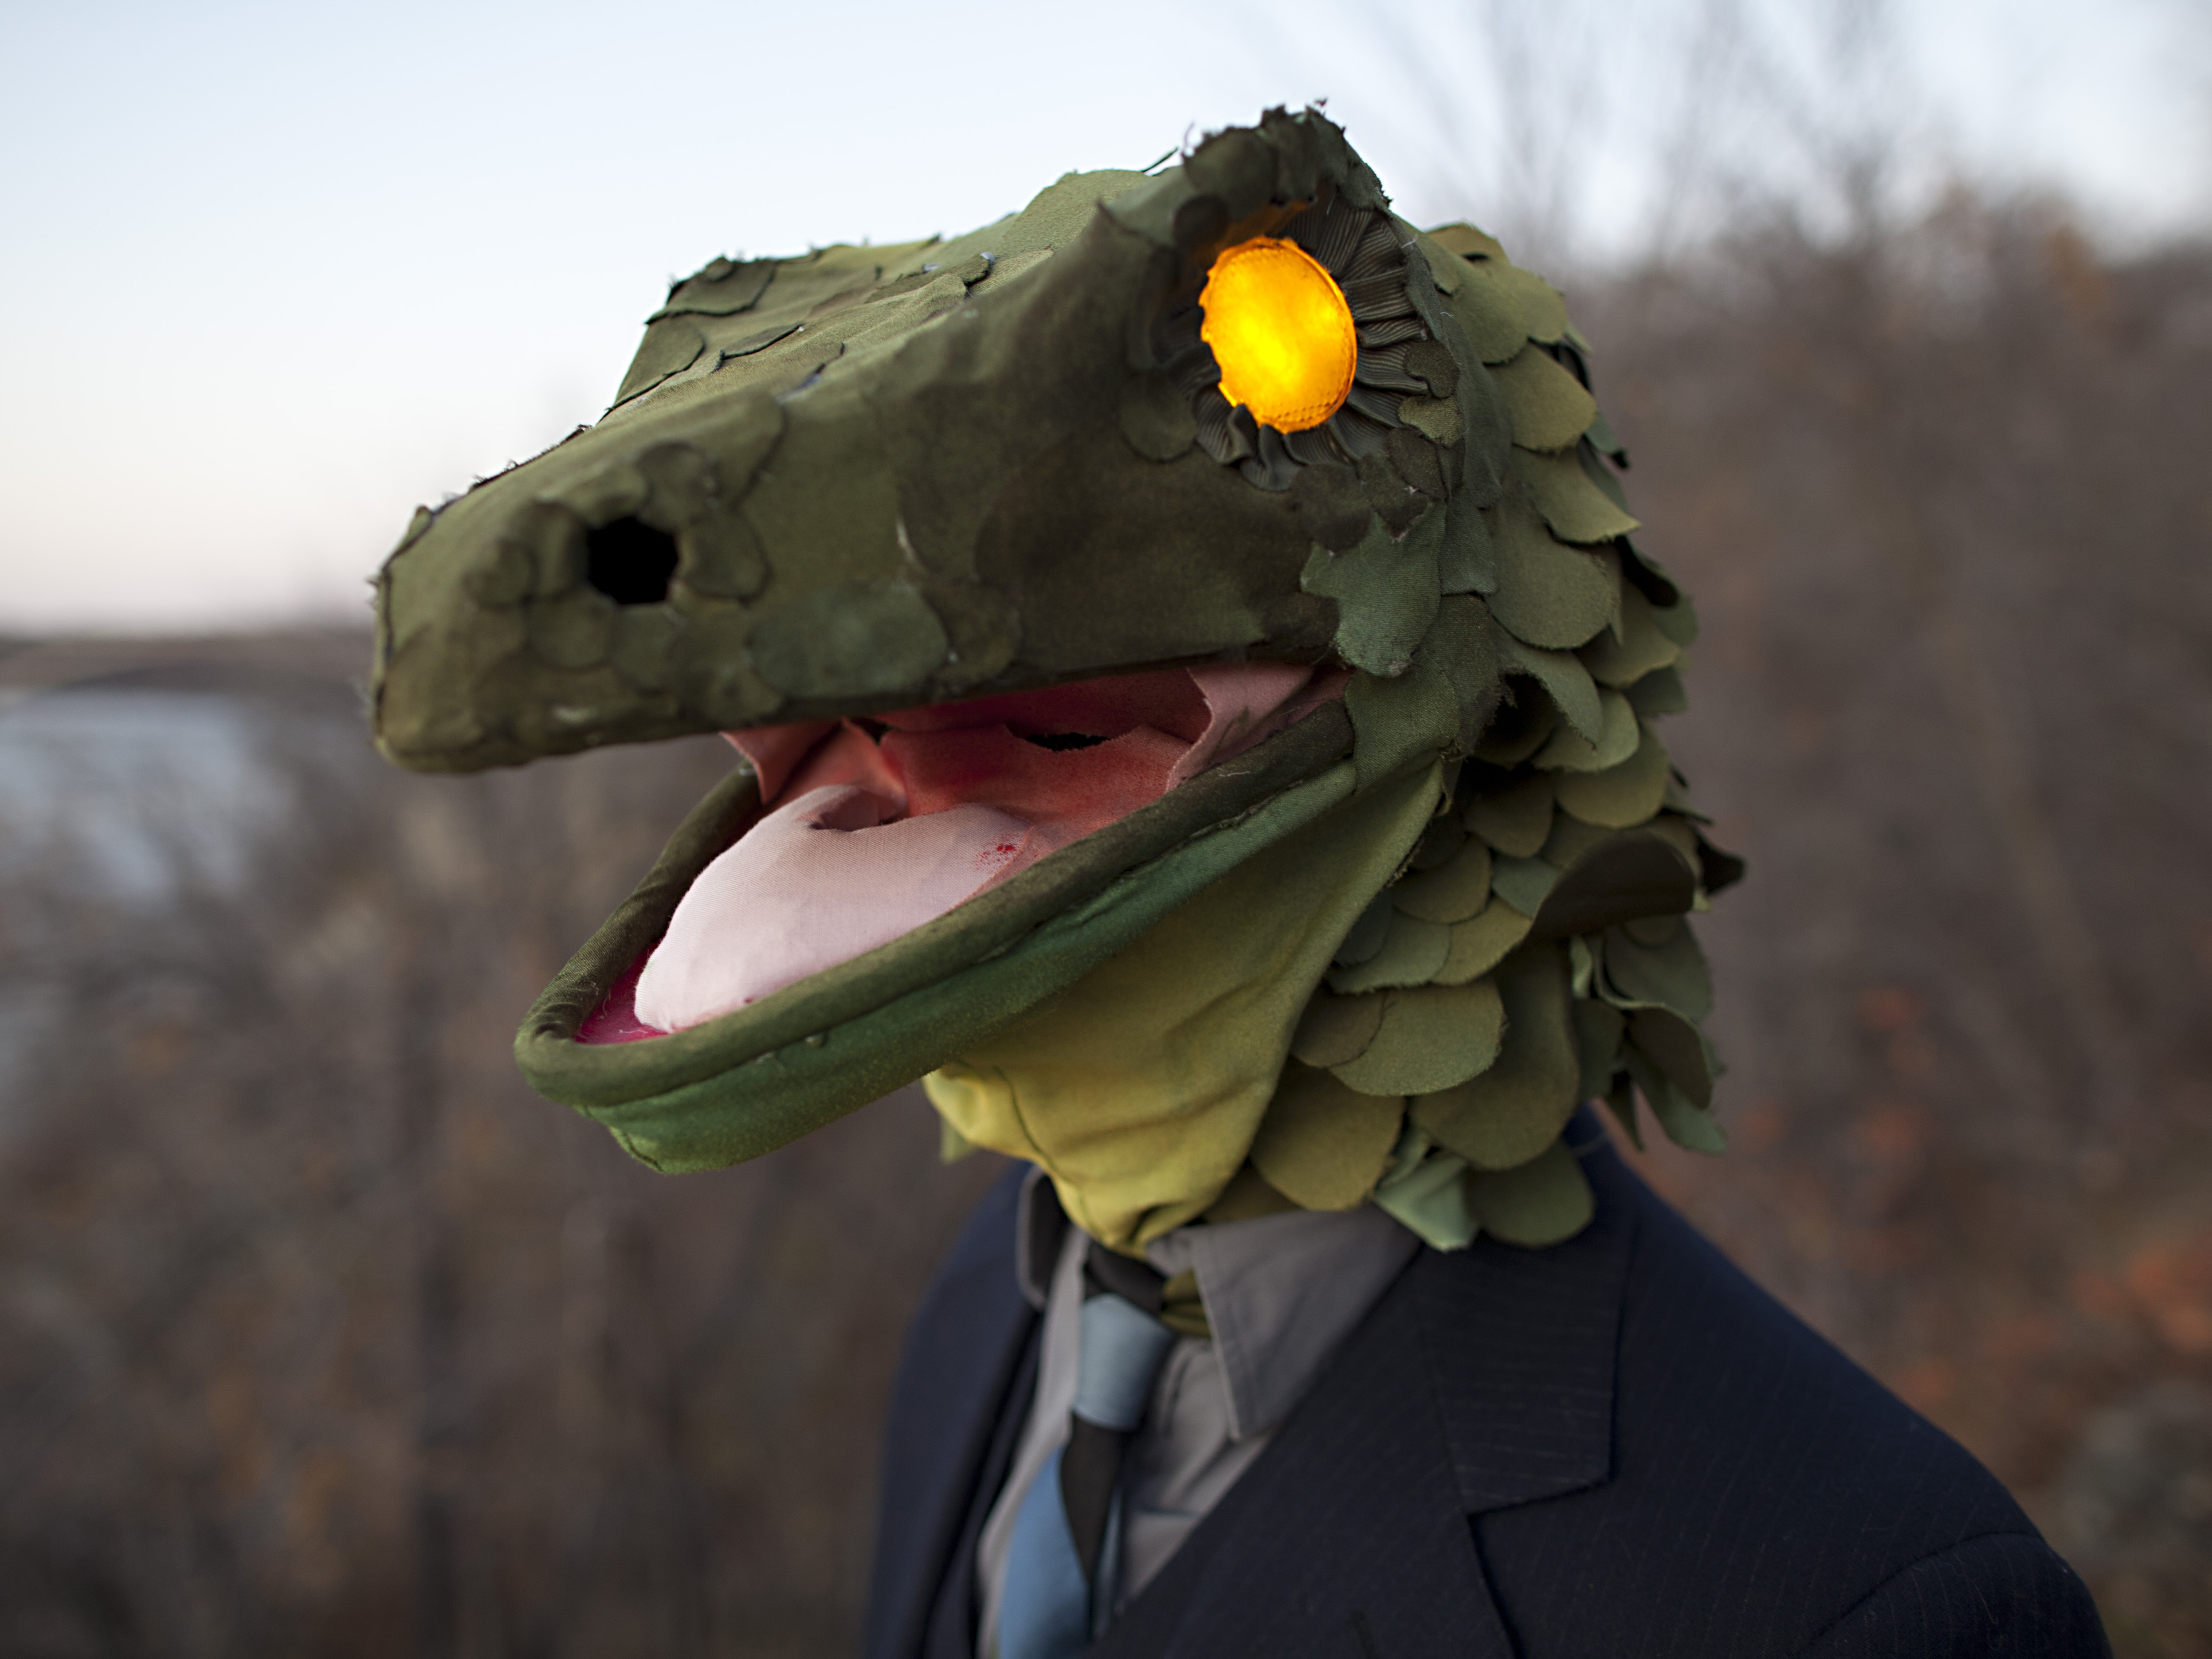
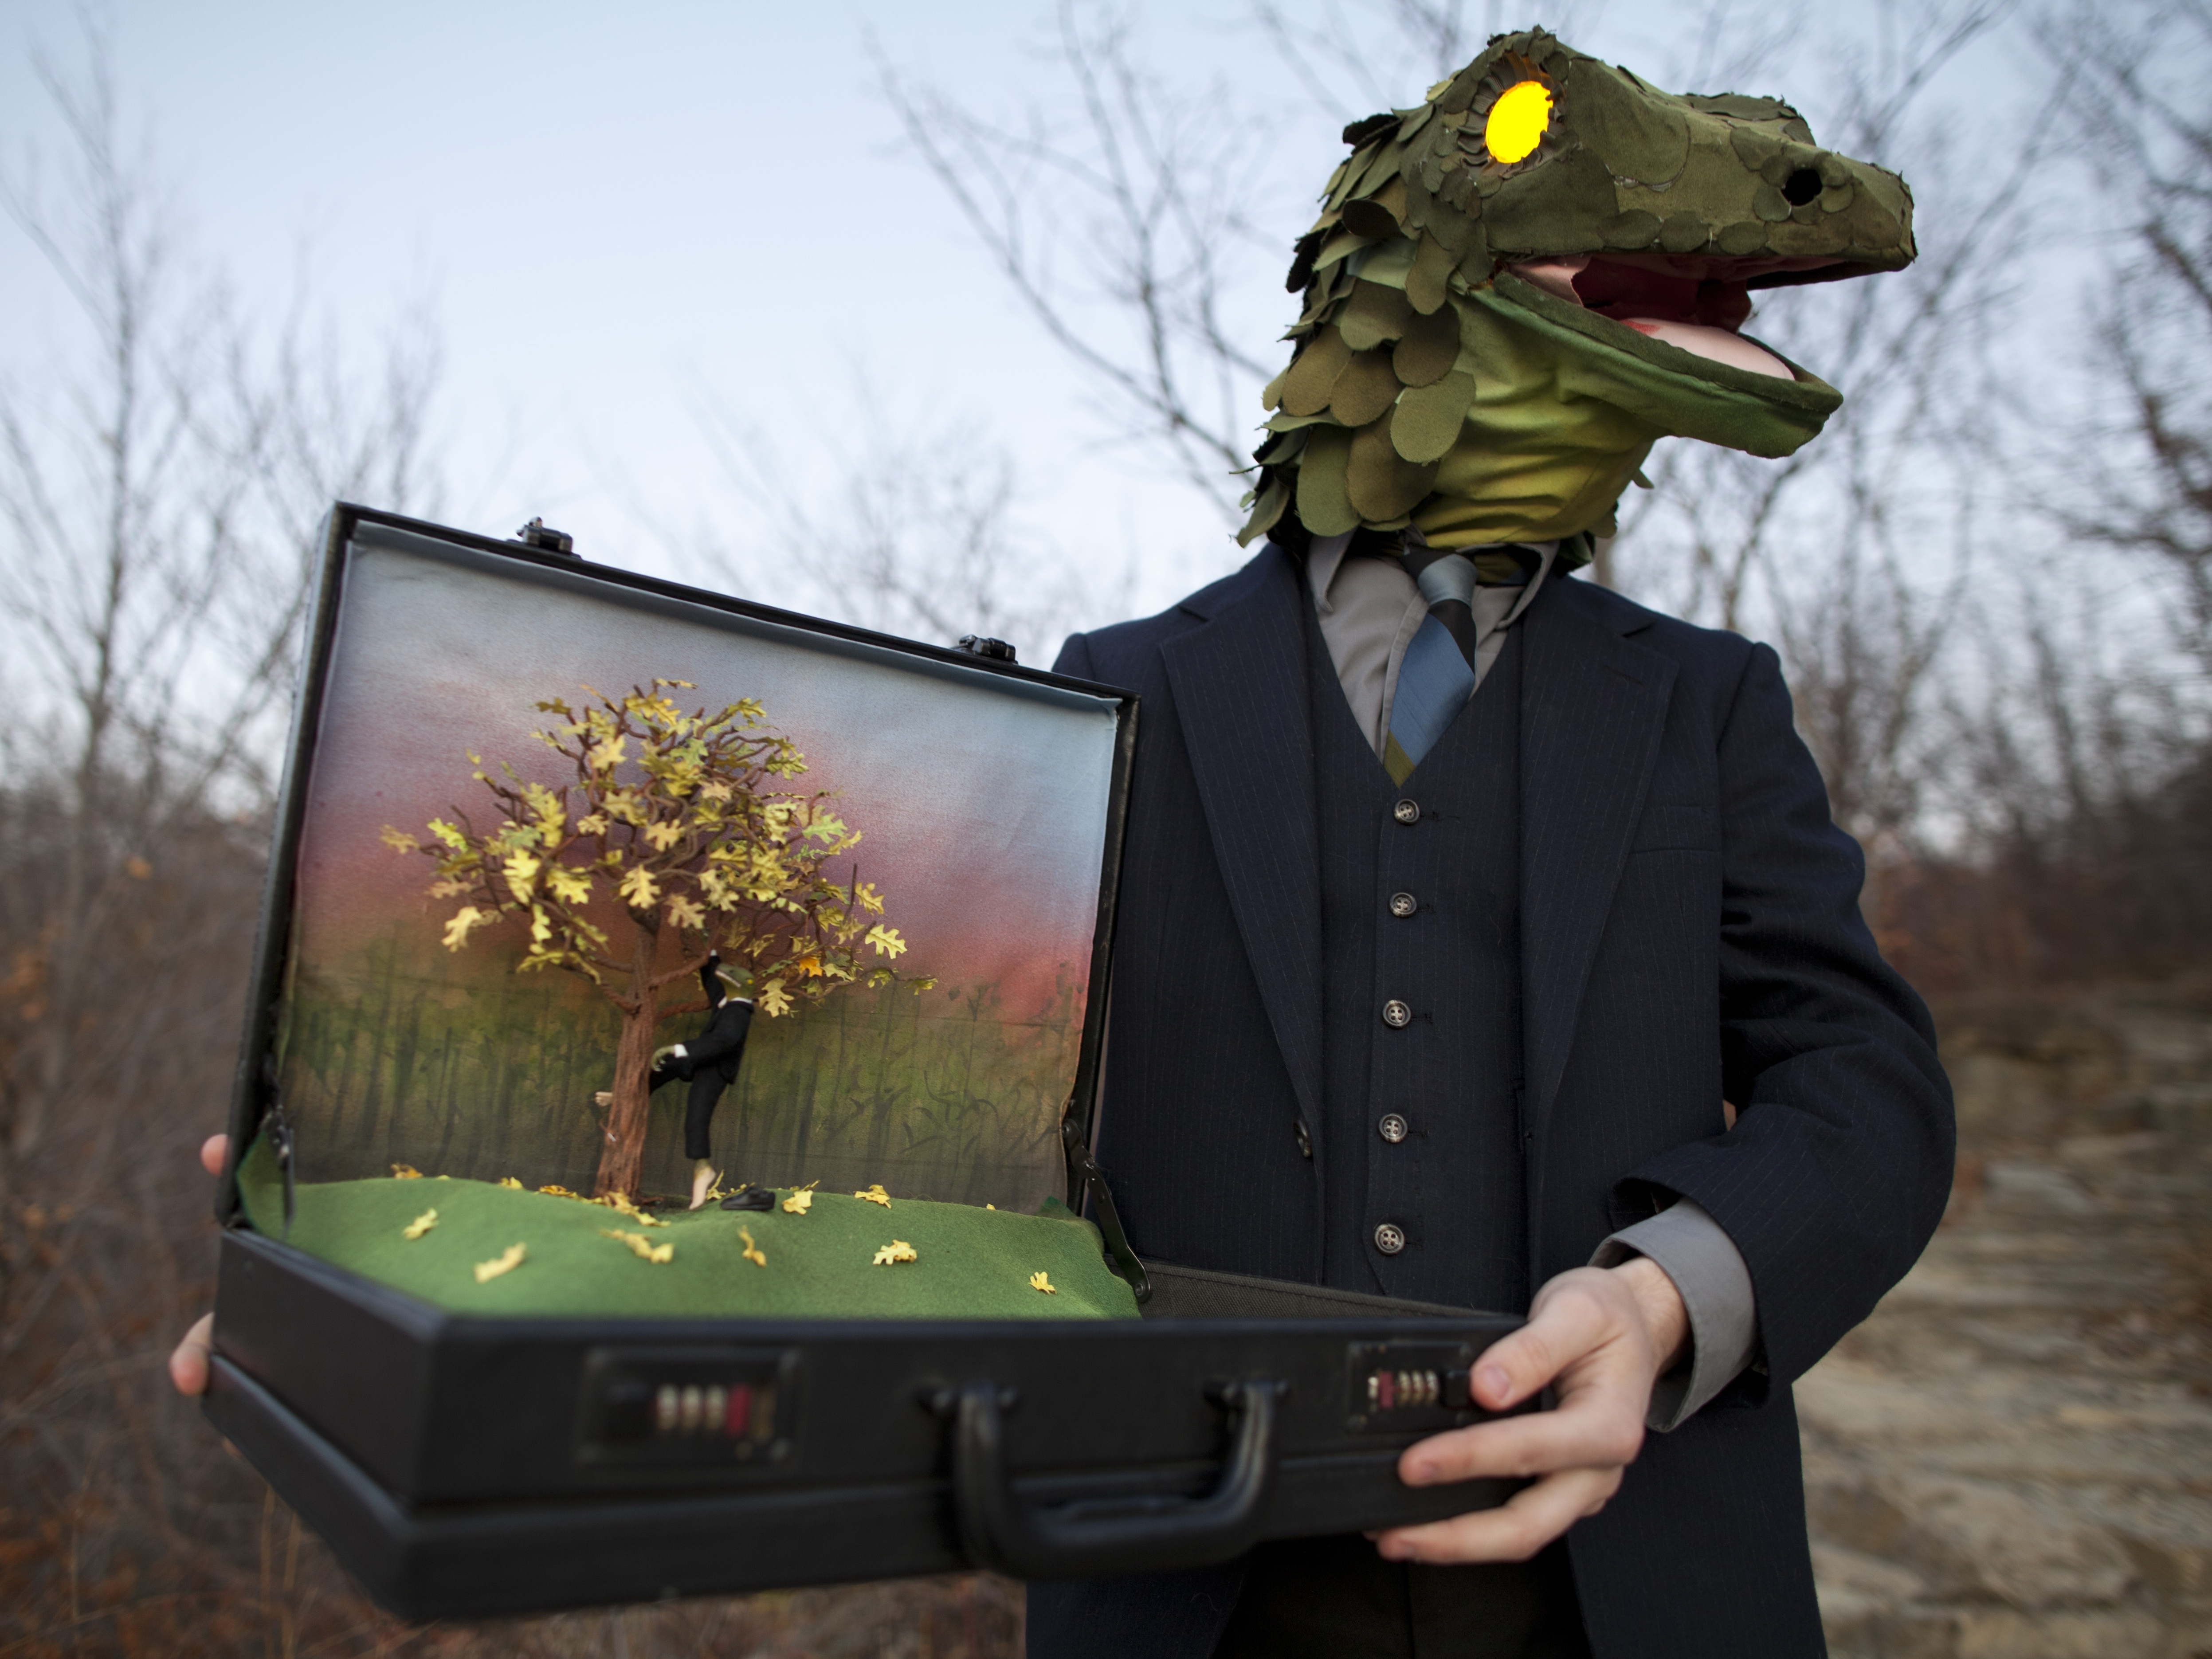
The dream told a story of a professional-looking man being chased by something he could not see (scary, right!?). After he could run no more, he came to the edge of a forest and began to climb a tree to find safety. When he ascended, it was with fluidity and seemed natural. He climbed until he reached a point several feet up and became still, hanging effortlessly on the trunk of the tree. When he turned his head to face his pursuer, his head was that of a lizard, his hands and feet closely following suit in their transformation. As he stared, his big yellow eyes began to glow – he had eluded danger.

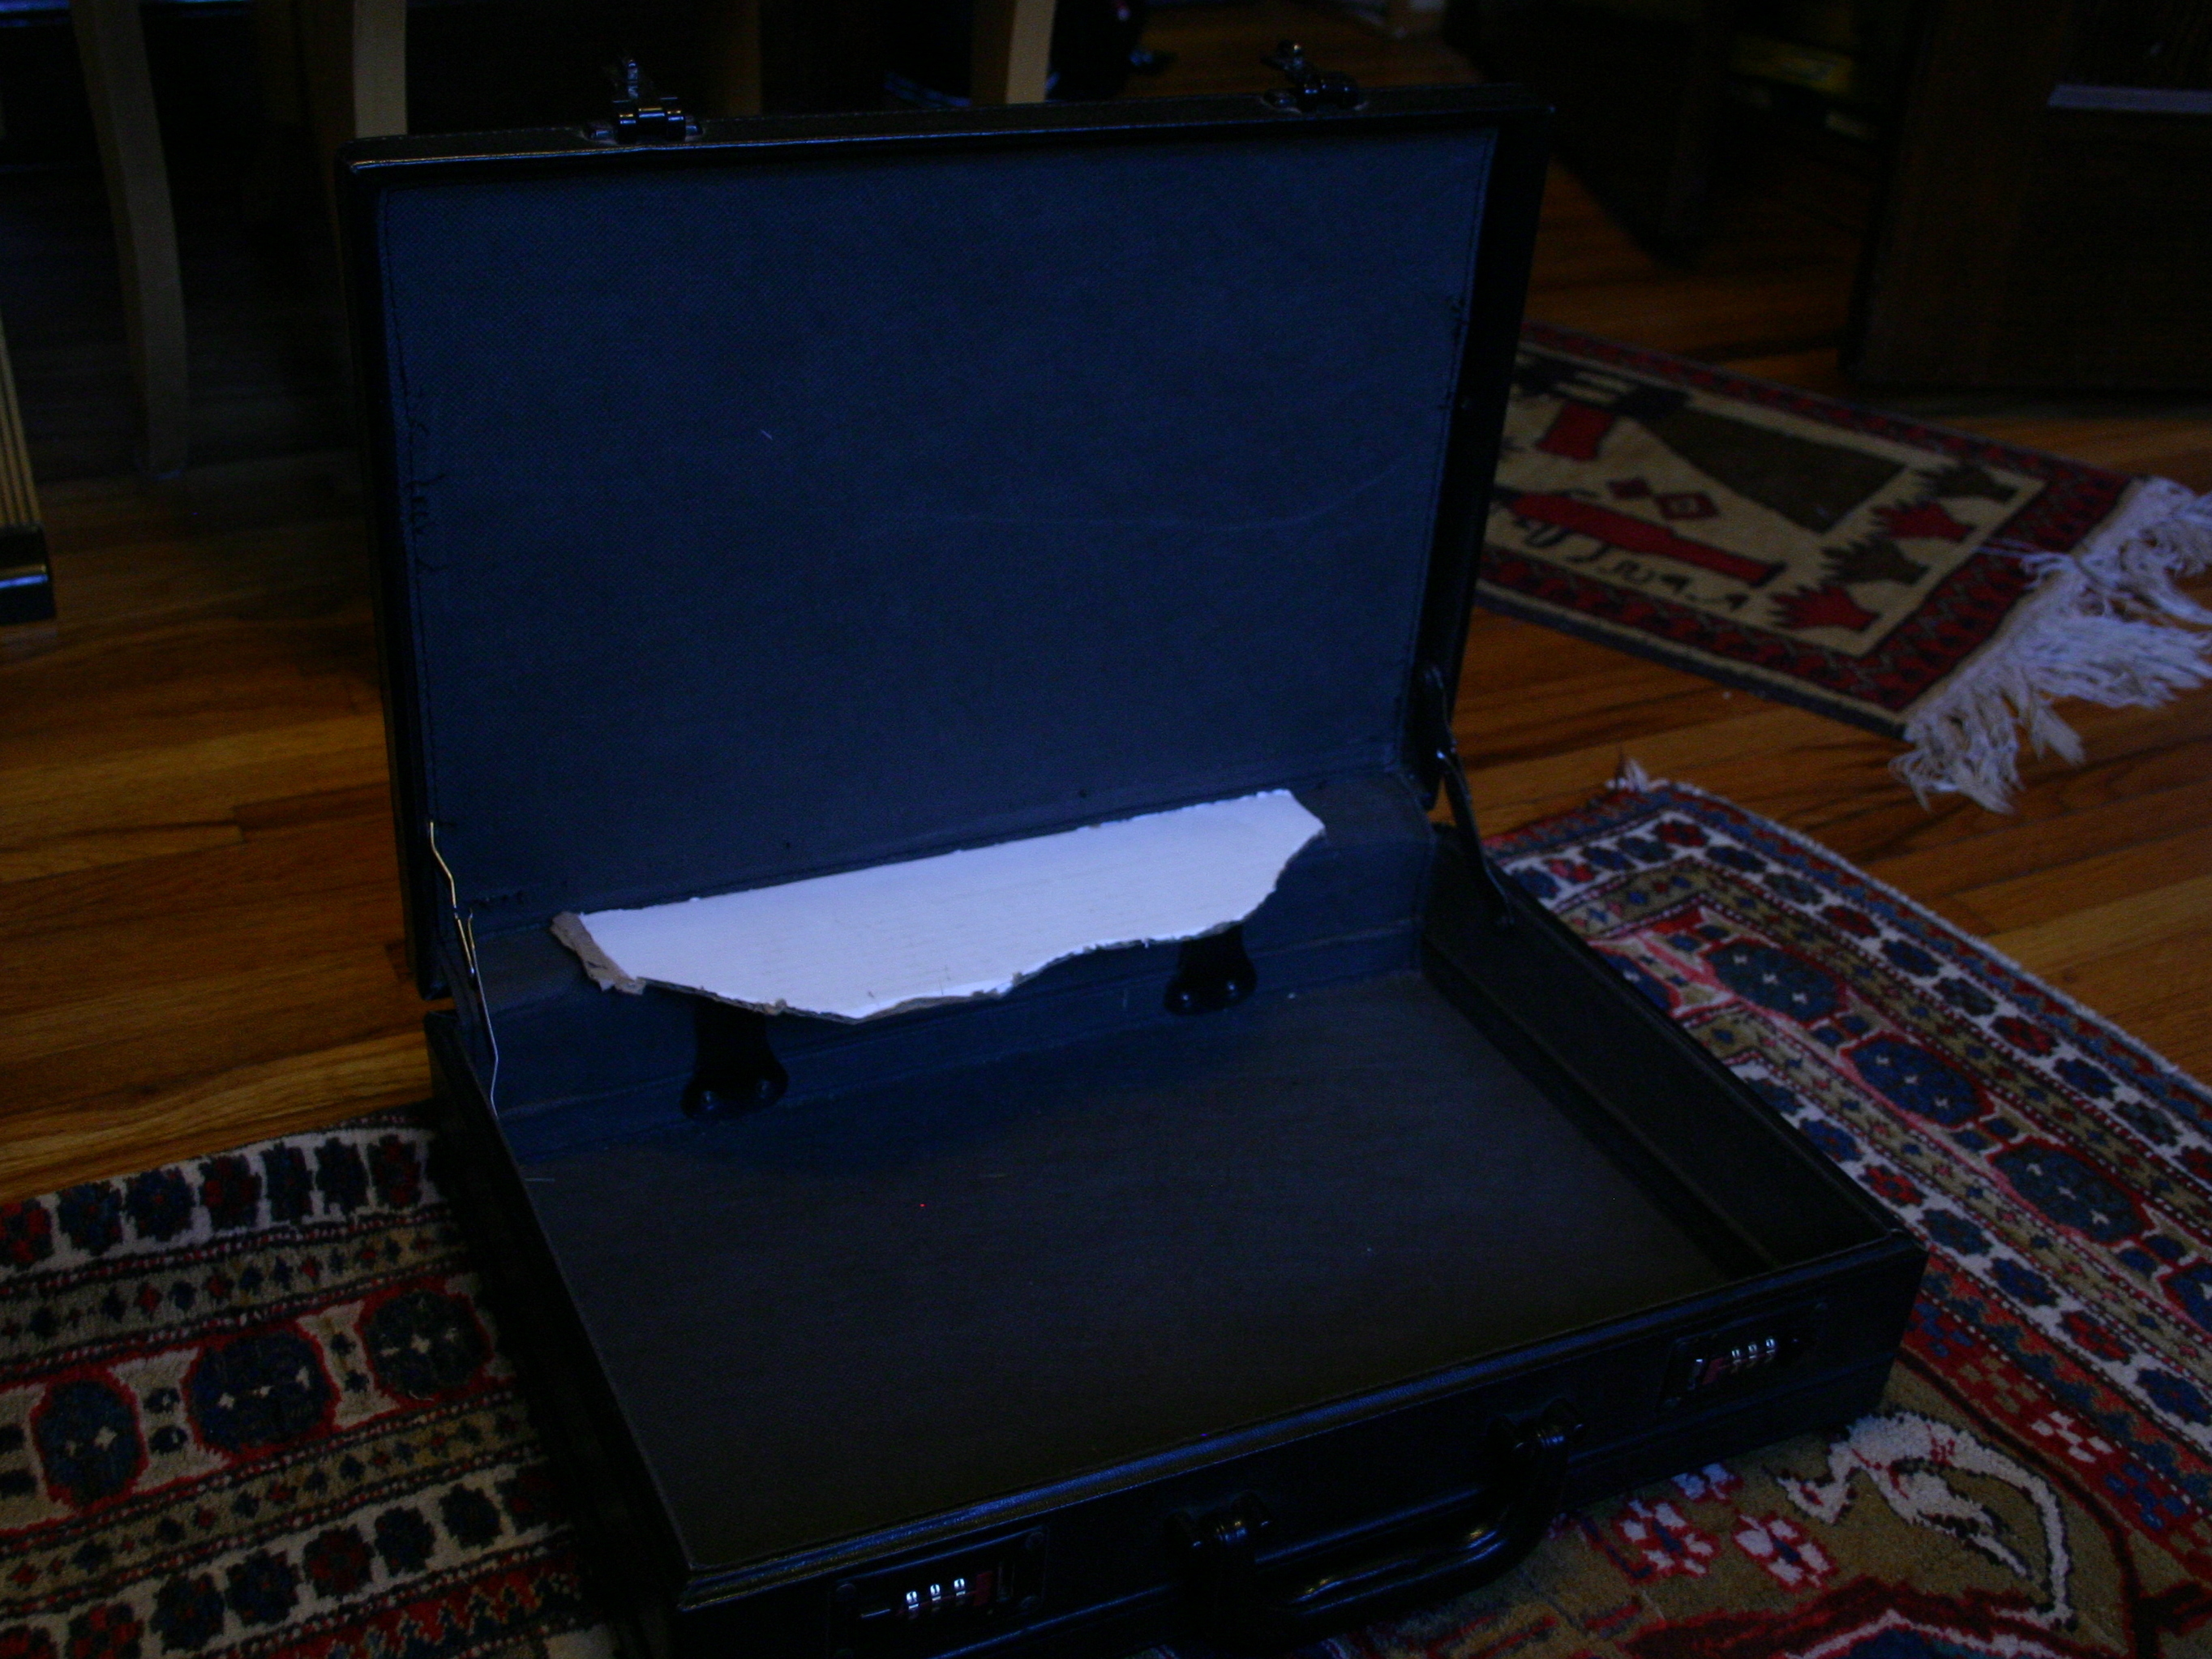
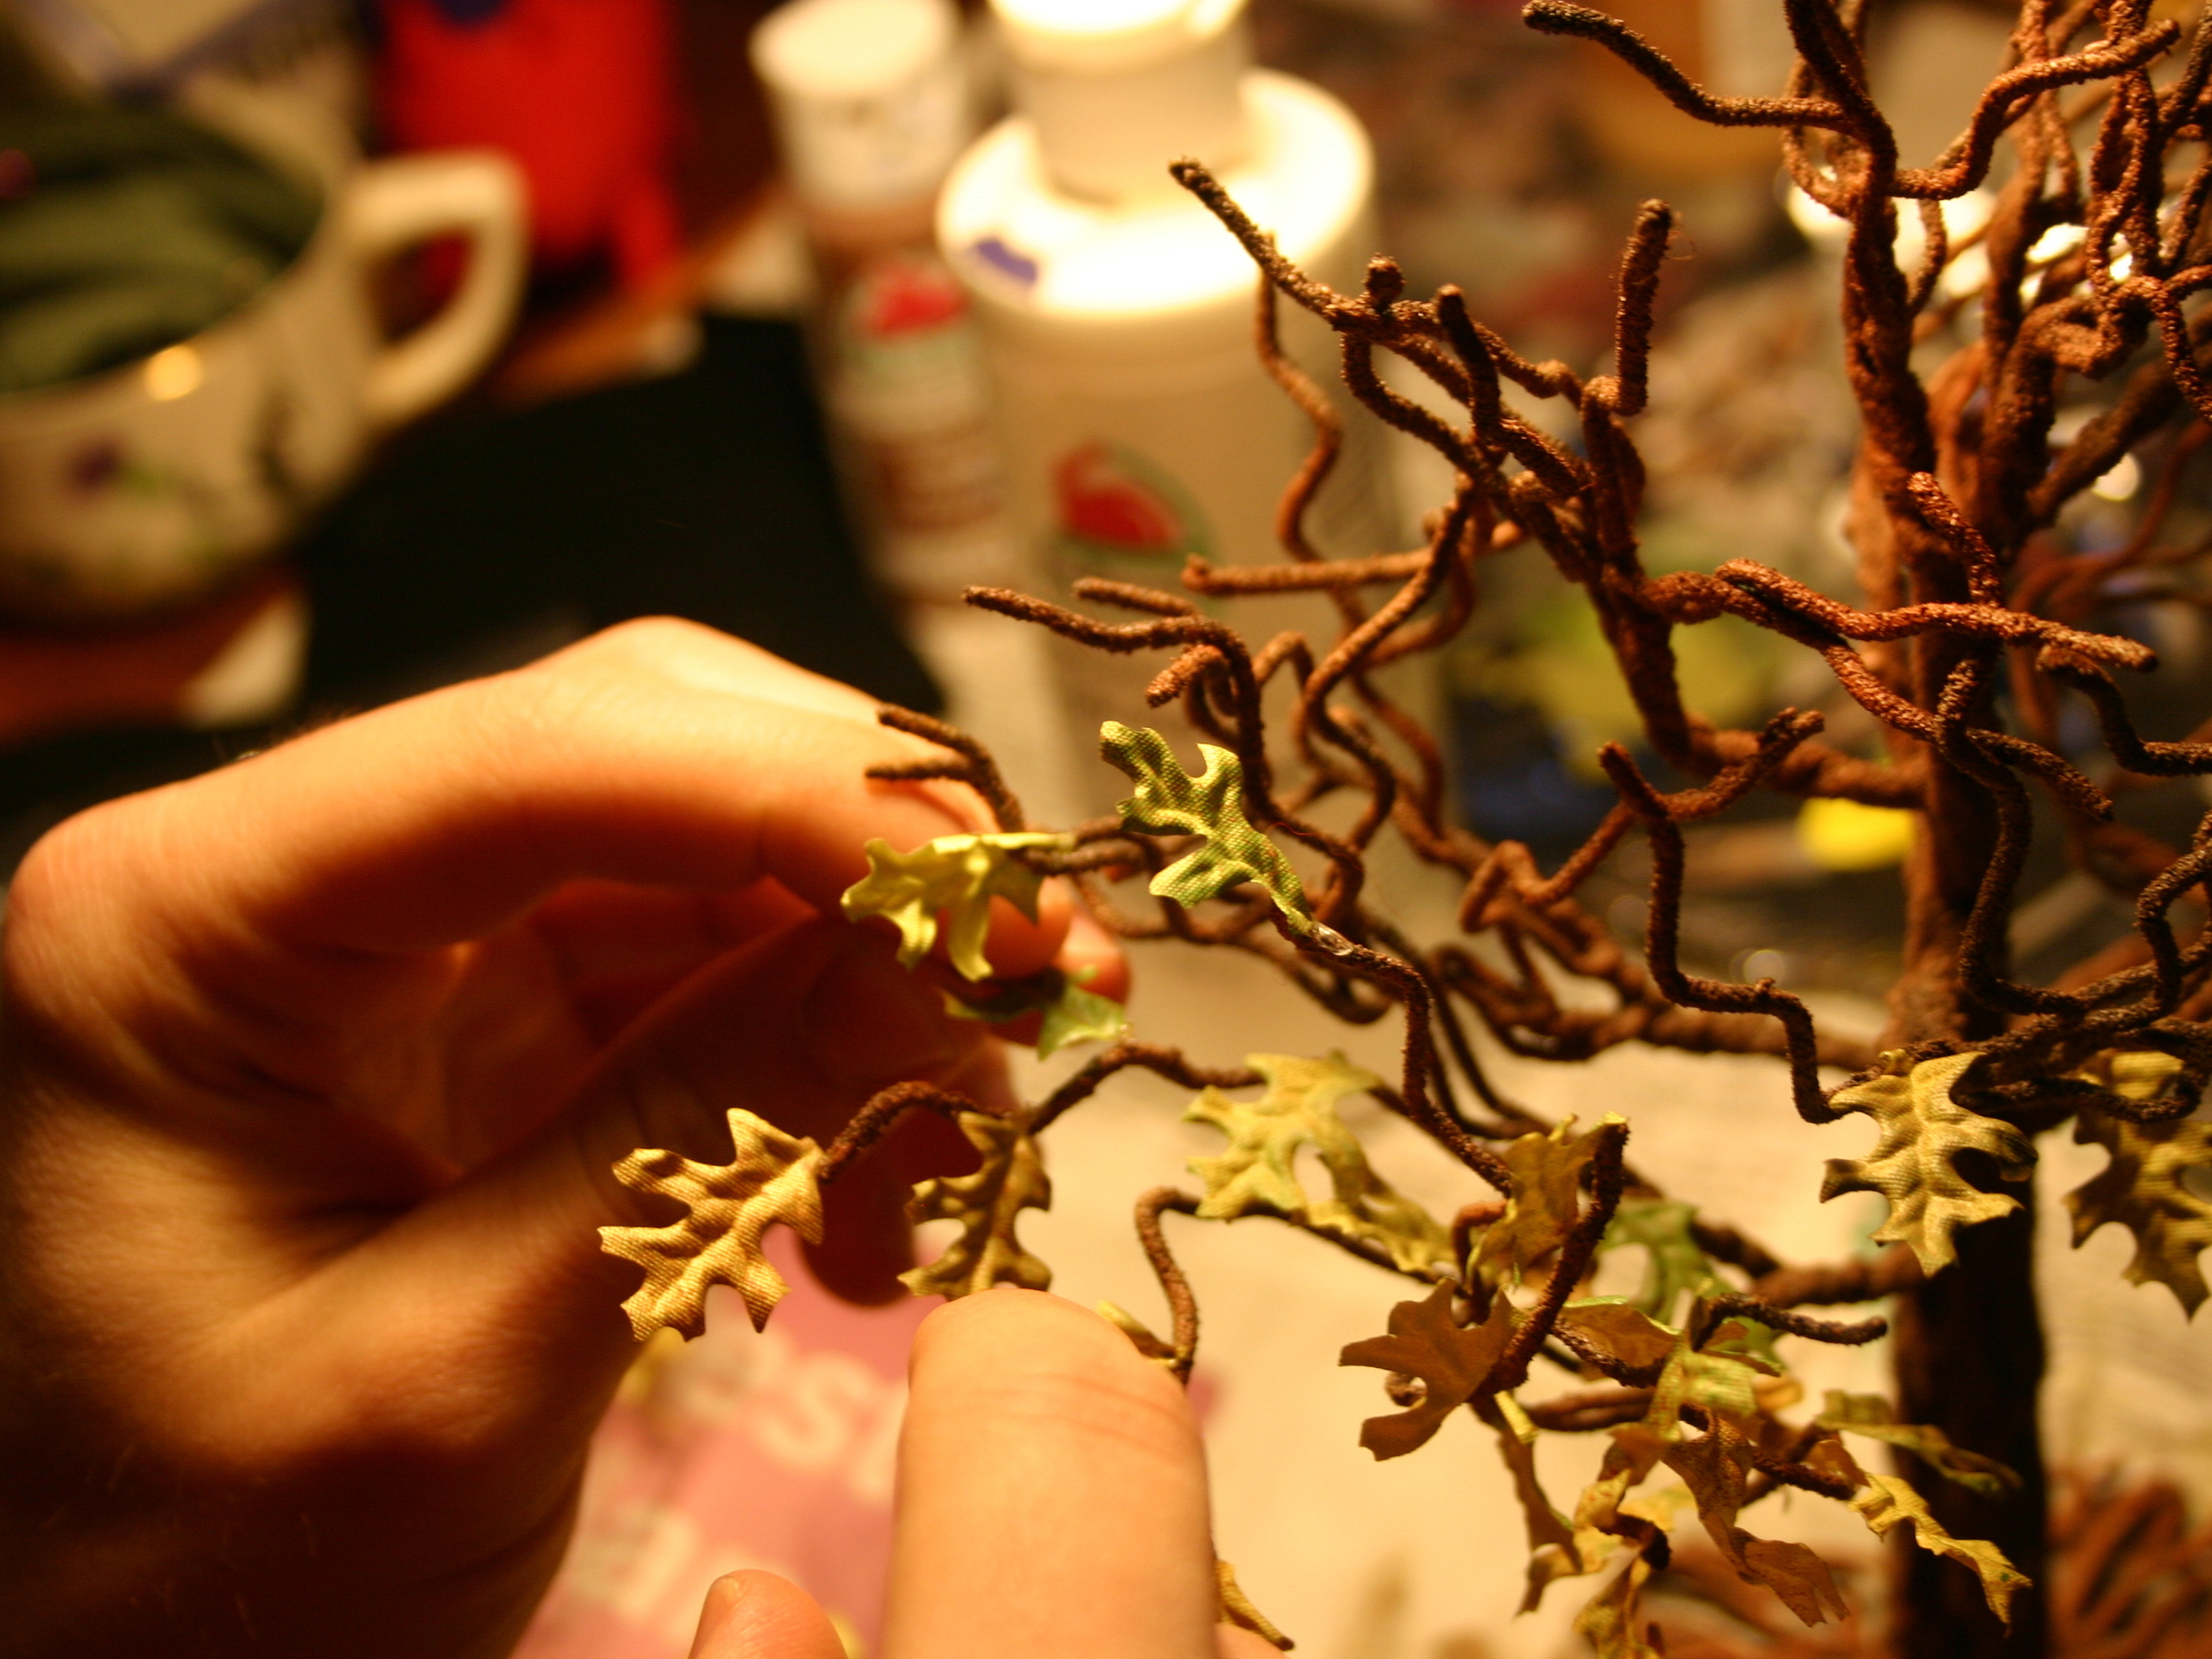
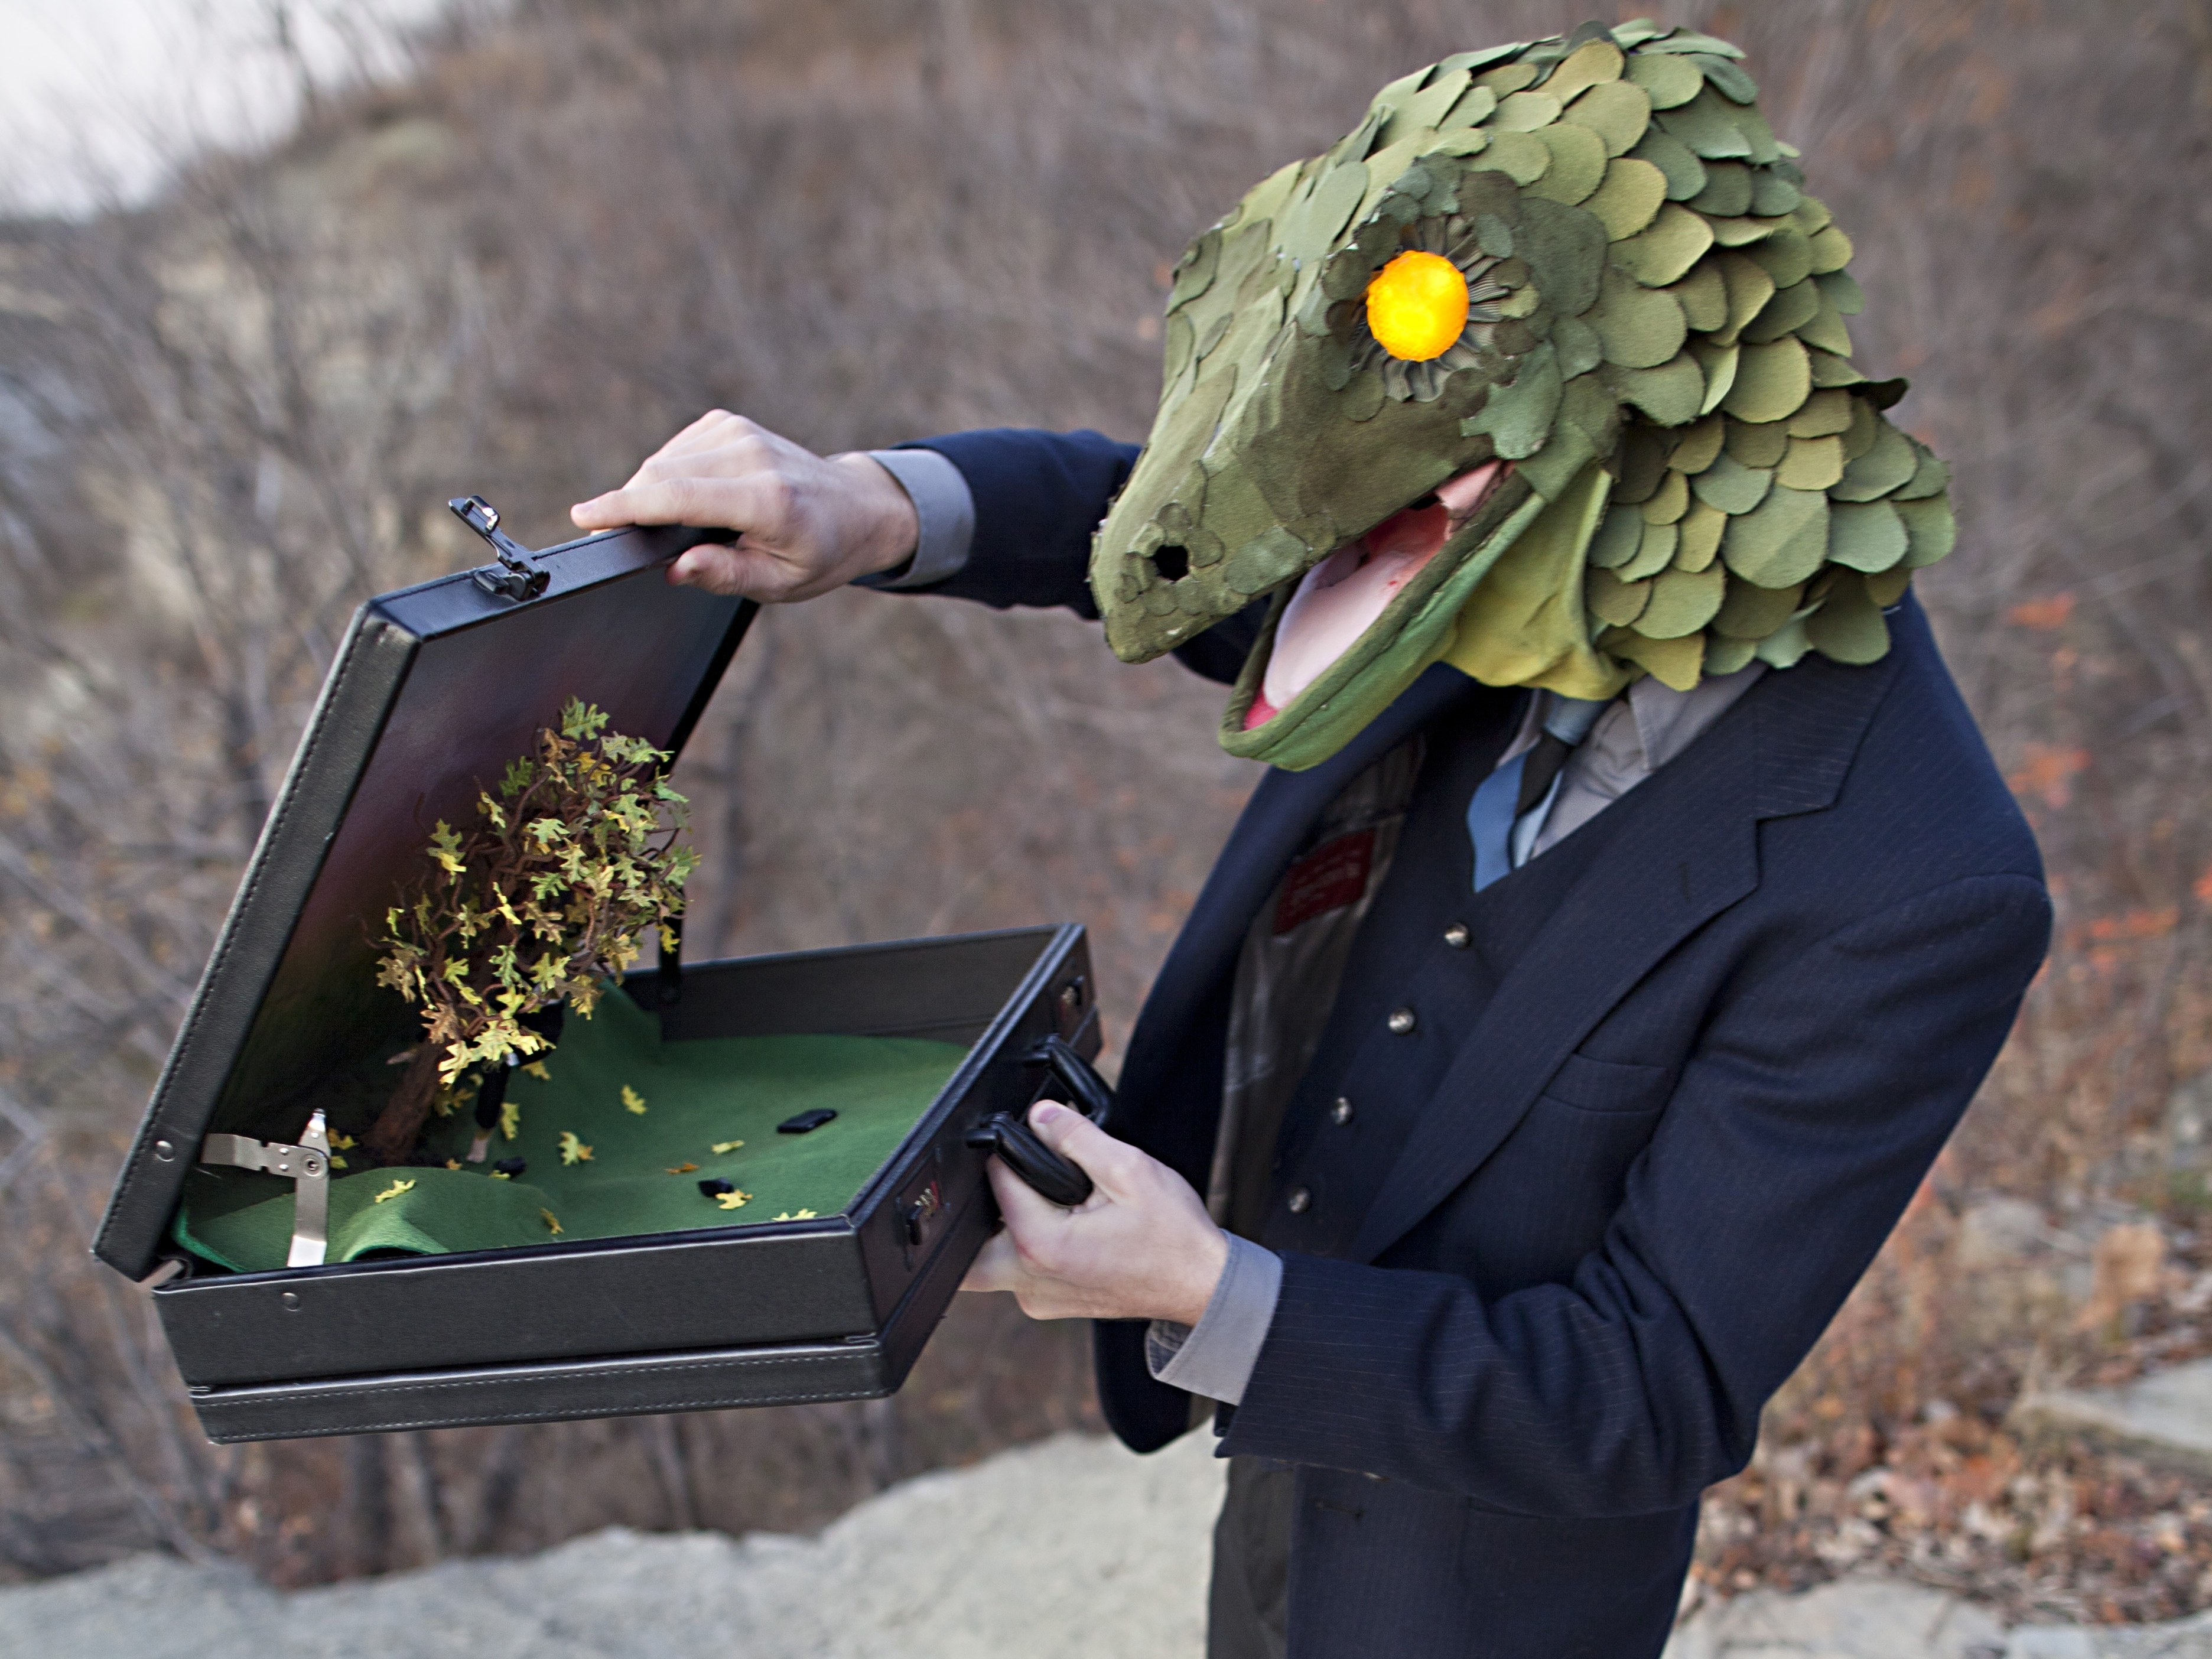
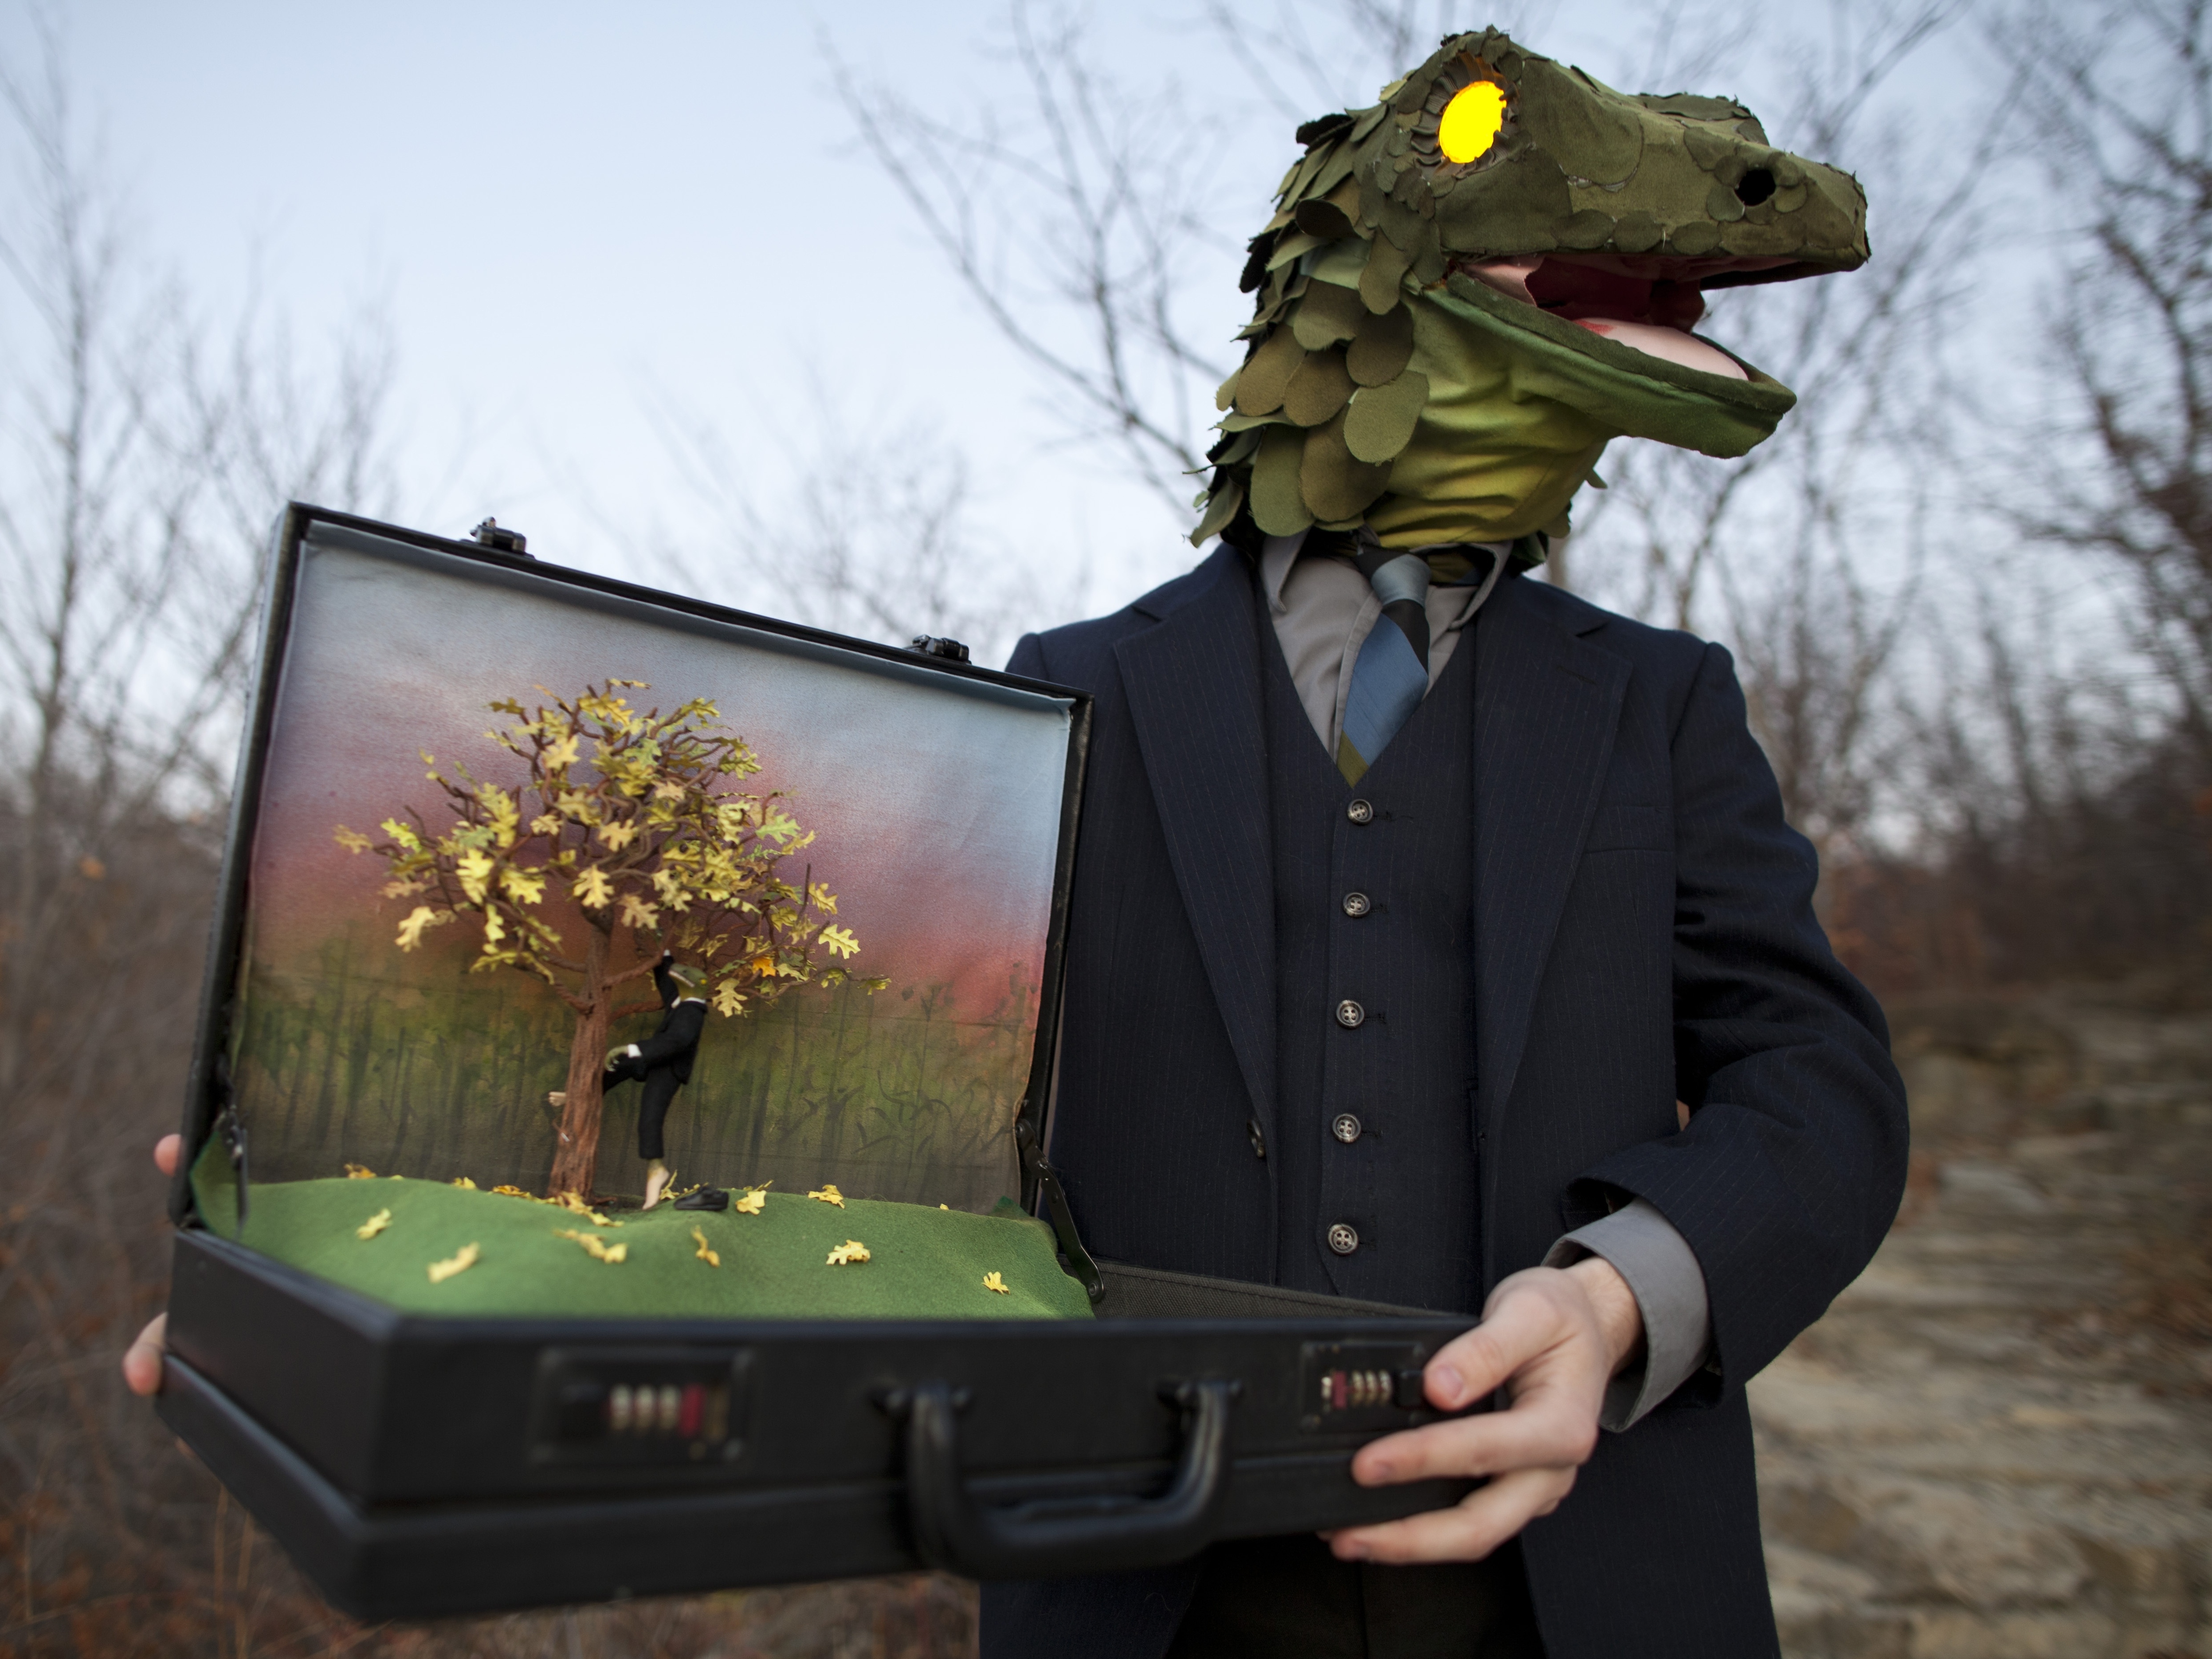
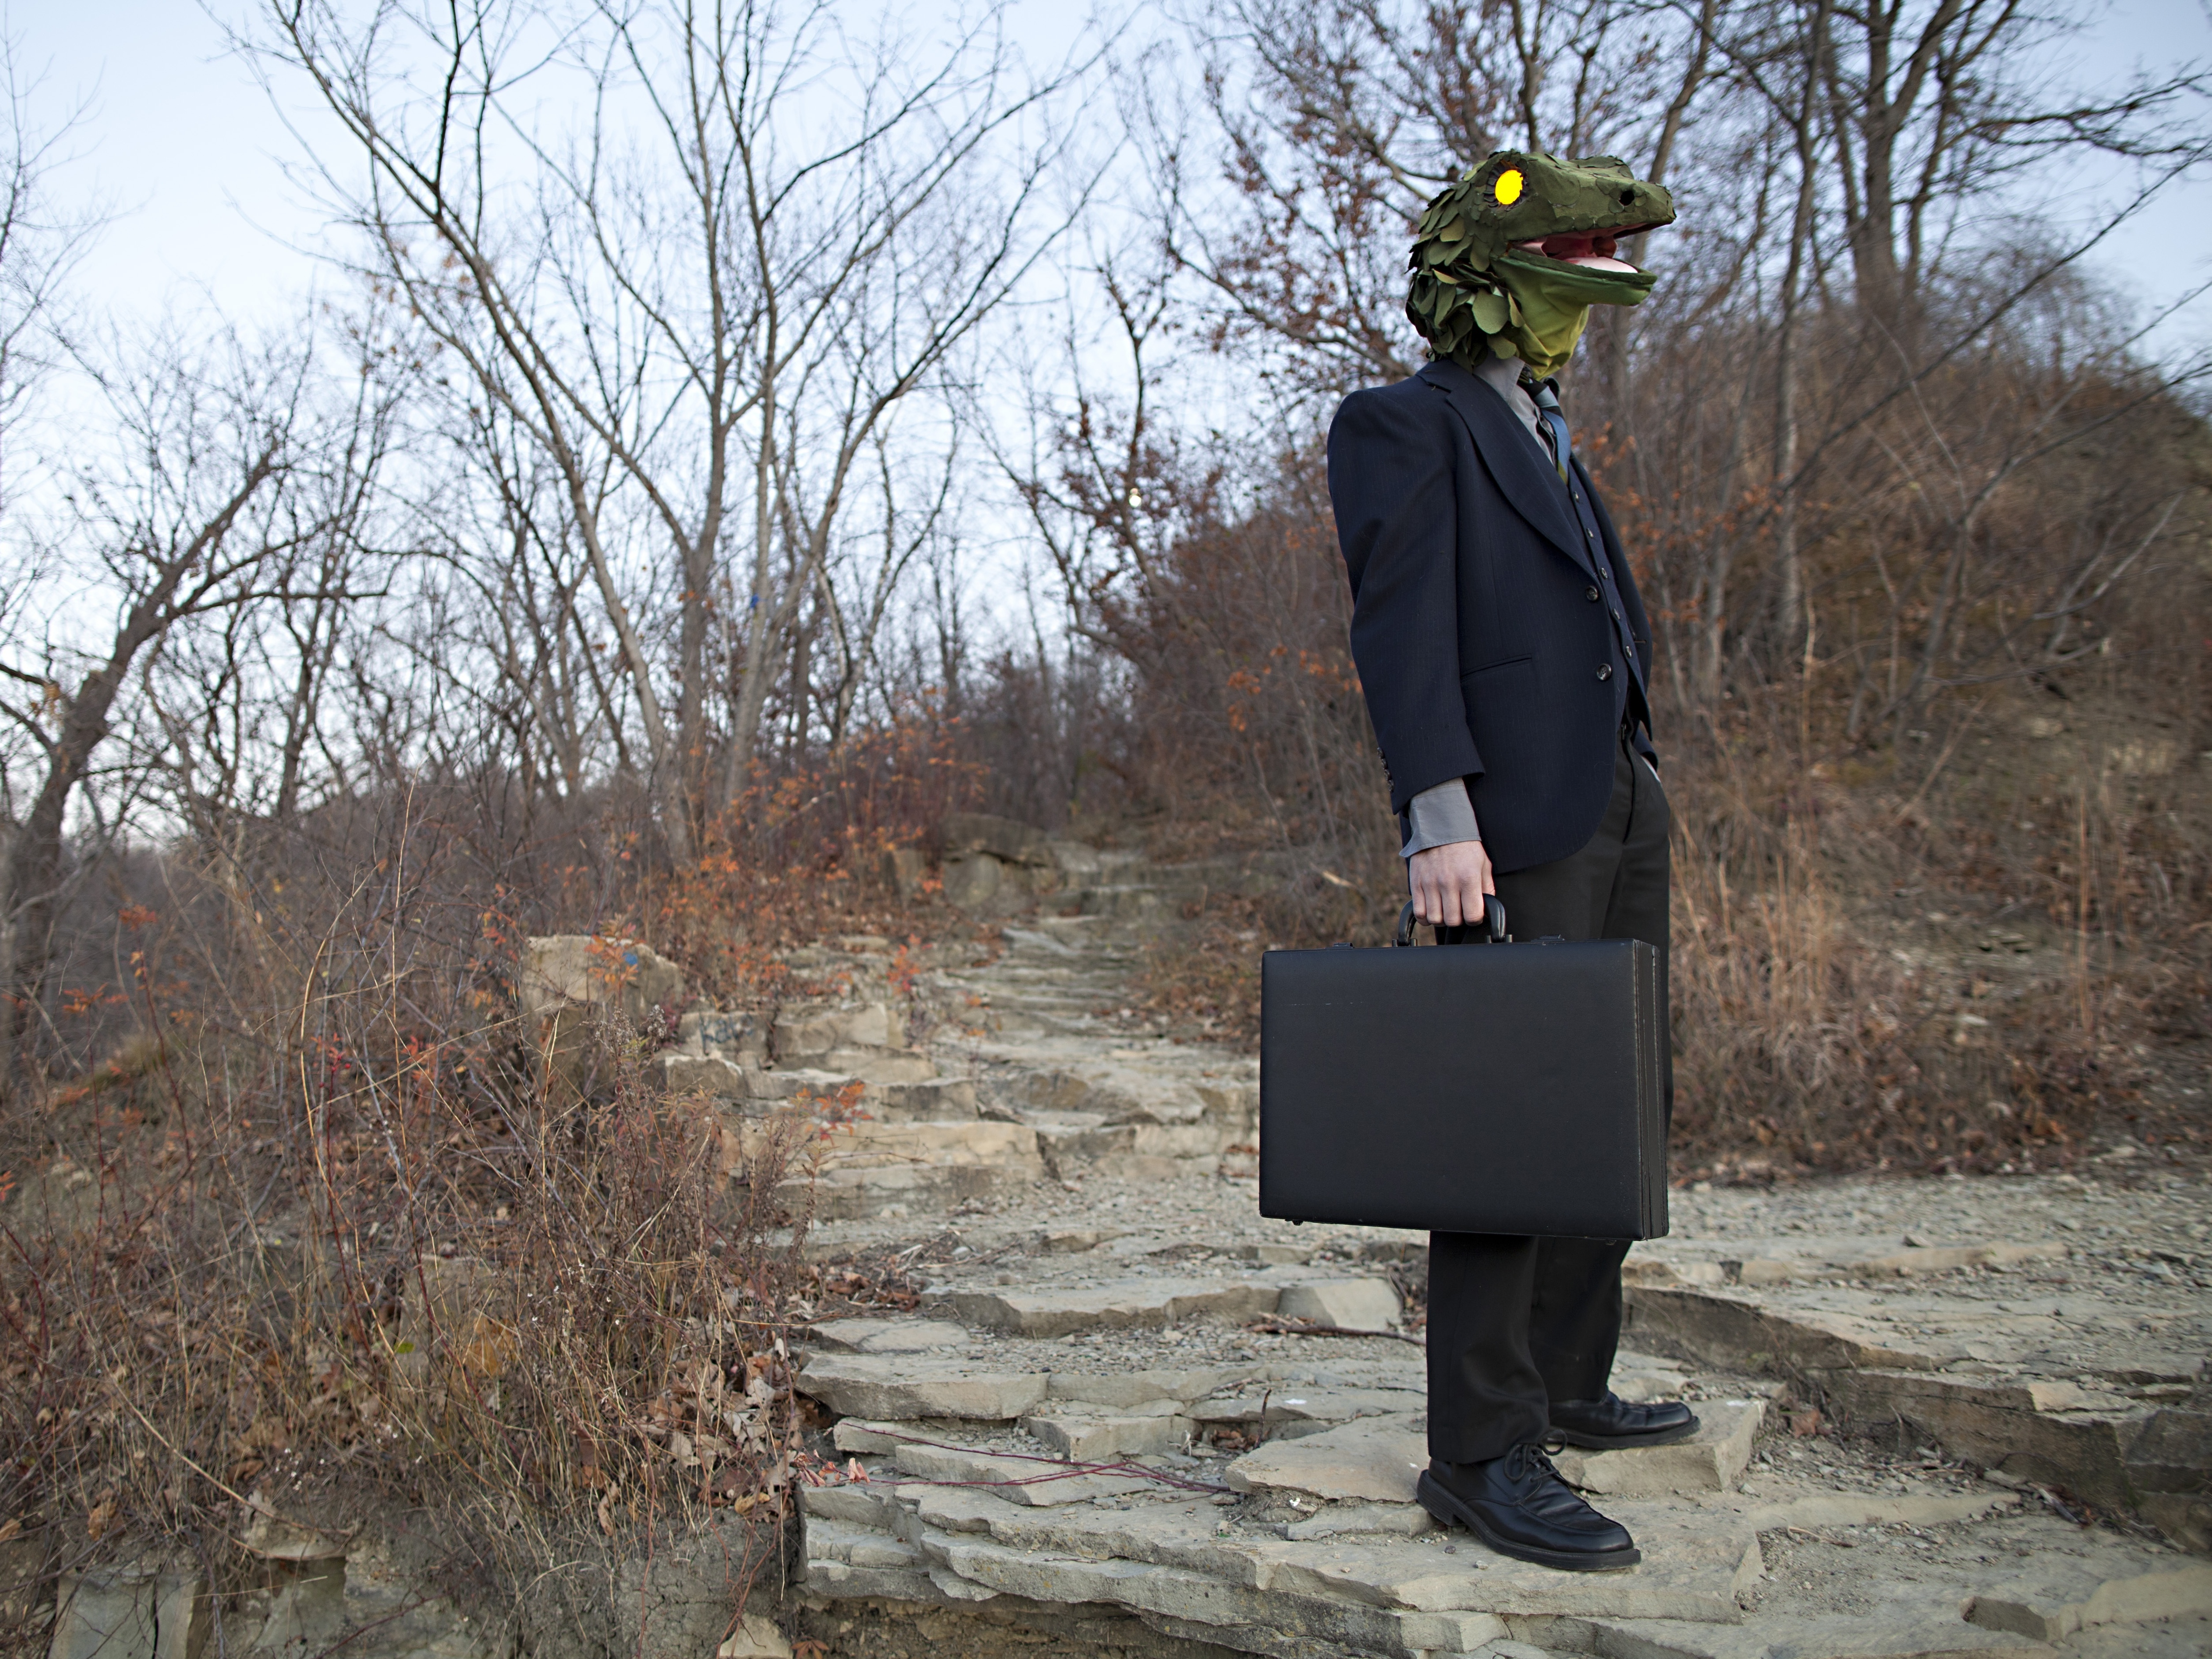
The visual composition of the dream interested me and I decided to make a mask to turn myself into the Business Lizard for Halloween. The mask, though, did not complete the story since people would ask, “Why a business lizard?” So I made the briefcase as an accessory in order to show people just what had happened in my dream and to help them understand the imagery of my costume.

Project Steps

I began with a brief case that I bought at a local thrift shop. These can be made into a great setting for a diorama by removing any pockets or straps on the interior. I also added a piece of cardboard with hot glue to help with the “pop-up” effect when the case is opened.

The background is a piece of white cotton fabric. I spray painted it to create the sky and then painted a forest using acrylic paint.

To make a background look finished, fold the edges in over a little hot glue on the back side before gluing the fabric to the brief case.

Here you can see the case with the background added in. I used hot glue around the edges to fix it in place.

The next thing to do is to create an armature for the character that will live in the scene. I used a piece of wire and formed a rough shape to build around.

Any parts that require small sculptural detail can be molded from a polymer clay such as sculpey. I used a mixture of Super Sculpey and Super Sculper Firm to make the head, hands, feet, shoes, and miniature brief case for my model business lizard.

After baking the sculpey at 325 degrees F for about 14 minutes, it’s time to apply paint. I used acrylic paint to make each of the pieces look as lifelike as possible.

I built, baked, and painted the body parts on the armature and next, the armature is ready to be beefed up. I wrapped newspaper and masking tape around it to fill out the form.

Clothing can be made from fabric scraps or thin craft felt. I glued it in place with ZAP brand super glue. Any spots where the glue shows up on dark fabric can be painted over later.

A real silk tie! I folded this piece of raw silk over some glue to make a colorful, professional accessory.

Here you can also see the fully suited lizard man.

Note that in this photo you can see one of his fingers has broken off. Sculpey is very brittle once baked and should be handled delicately. Not to worry if a problem like this arises – I just glued the finger back on with some Zap-a-gap.

This tree was also found at a thrift store. It was black, so I spray painted it to look more natural. The leaves (from a hobby store) also needed some textural color additions which were achieved in the same way. (It works well to place the leaves face up on piece of wide masking tape. This will keep them from blowing away when you spray them!)

Hot gluing the leaves into the tree was tedious, but look how real the finished product looks!

The grass is a piece of green craft felt that has also been spray painted to look more realistic. I cut a hole to wrap around the tree and then hot glued it into place.

Use dirt! In making any kind of project where a little earth is needed, look no further than your own back yard! Mix a little dirt with Elmer’s glue and a couple drops of water and dab it on to the project with your fingers.

Add a few of your extra leaves to the scenery by gluing them to the grass. It’s also time to throw in those shoes and the miniature brief case that the Business Lizard lost when running across the field.

In order to keep him in the tree, I glued some thin wire inside of the lizard man’s sleeve and pant leg. I painted them brown to keep them from standing out.

After positioning the character this diorama is complete!

The making of the mask was done before I began writing this tutorial, so I will do my best to describe the process verbally:

The base form of the mask is created with a thick wire armature. I used hardware cloth to create a form that fit snugly over my head (padded with some fleece) and built the armature off of that.

Stretching metal window-screen material over the armature softens the curves to make the creature look more organic. This is tied down with thin wire.

Next the eyes must be made and installed. I used the following items: A string of battery powered LEDs from IKEA (one per eye), two round yellow reflectors, cardboard, wax paper, and hot glue.

I took apart the reflectors to get just the yellow plastic. In order to smooth out the faceted inside, I chucked them up in a lathe and cut the texture out with a hand graver (this step may be difficult, but try some creative alternatives!) A couple layers of wax paper on the inside of the reflectors will help soften the lights.

Next, I cut a circle of thin cardboard and cut holes to hold the LEDs in place with the aid of hot glue. This assembly can then be hot glued inside the reflectors and, tada! Light-up eyes!

I set the finished eyes into a wider piece of cardboard that was glued to the inside of the armature.

With the eyes installed, the form can be covered in pieces of fabric to complete the look. I began by adding larger blocks of tailored fabric onto which I could glue the scales. As always, spray paint the fabric to achieve a lush texture.

The scales were cut out individually and then painted before being glued on. A piece of green ribbon was the perfect accent around each eye.

The mouth is kept rigid by a thin cardboard lining. Different colored fabrics are glued on top of that. I wrapped some green fabric around a cotton rope for the bottom lip.

I cut holes in the back of the throat to see with – an important feature. A little cotton batting helps to fill out any fleshy pieces, such as the tongue and chin.

Conclusion

You will need to be creative with materials to make a project like this one. A lot can be done with spray paint and fabric to create a color-textured material for versatile use. Sculpey is also a great modeling tool - it can be used for many different elements in a wide variety of projects. Be carefull though, it's brittle!