Cardboard Bench

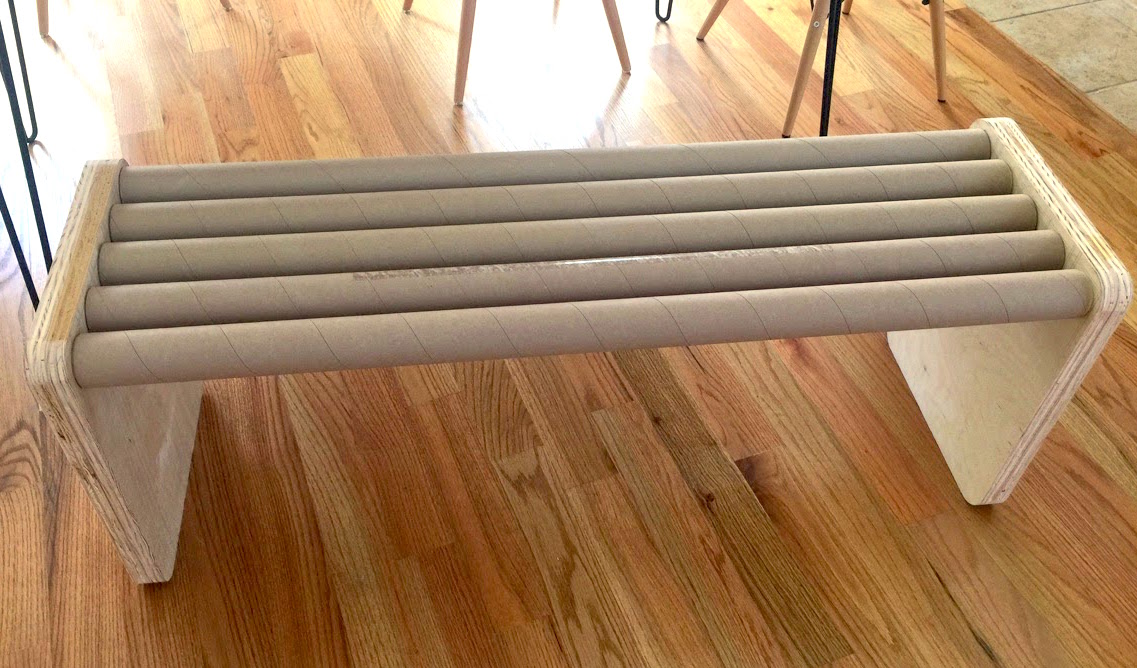
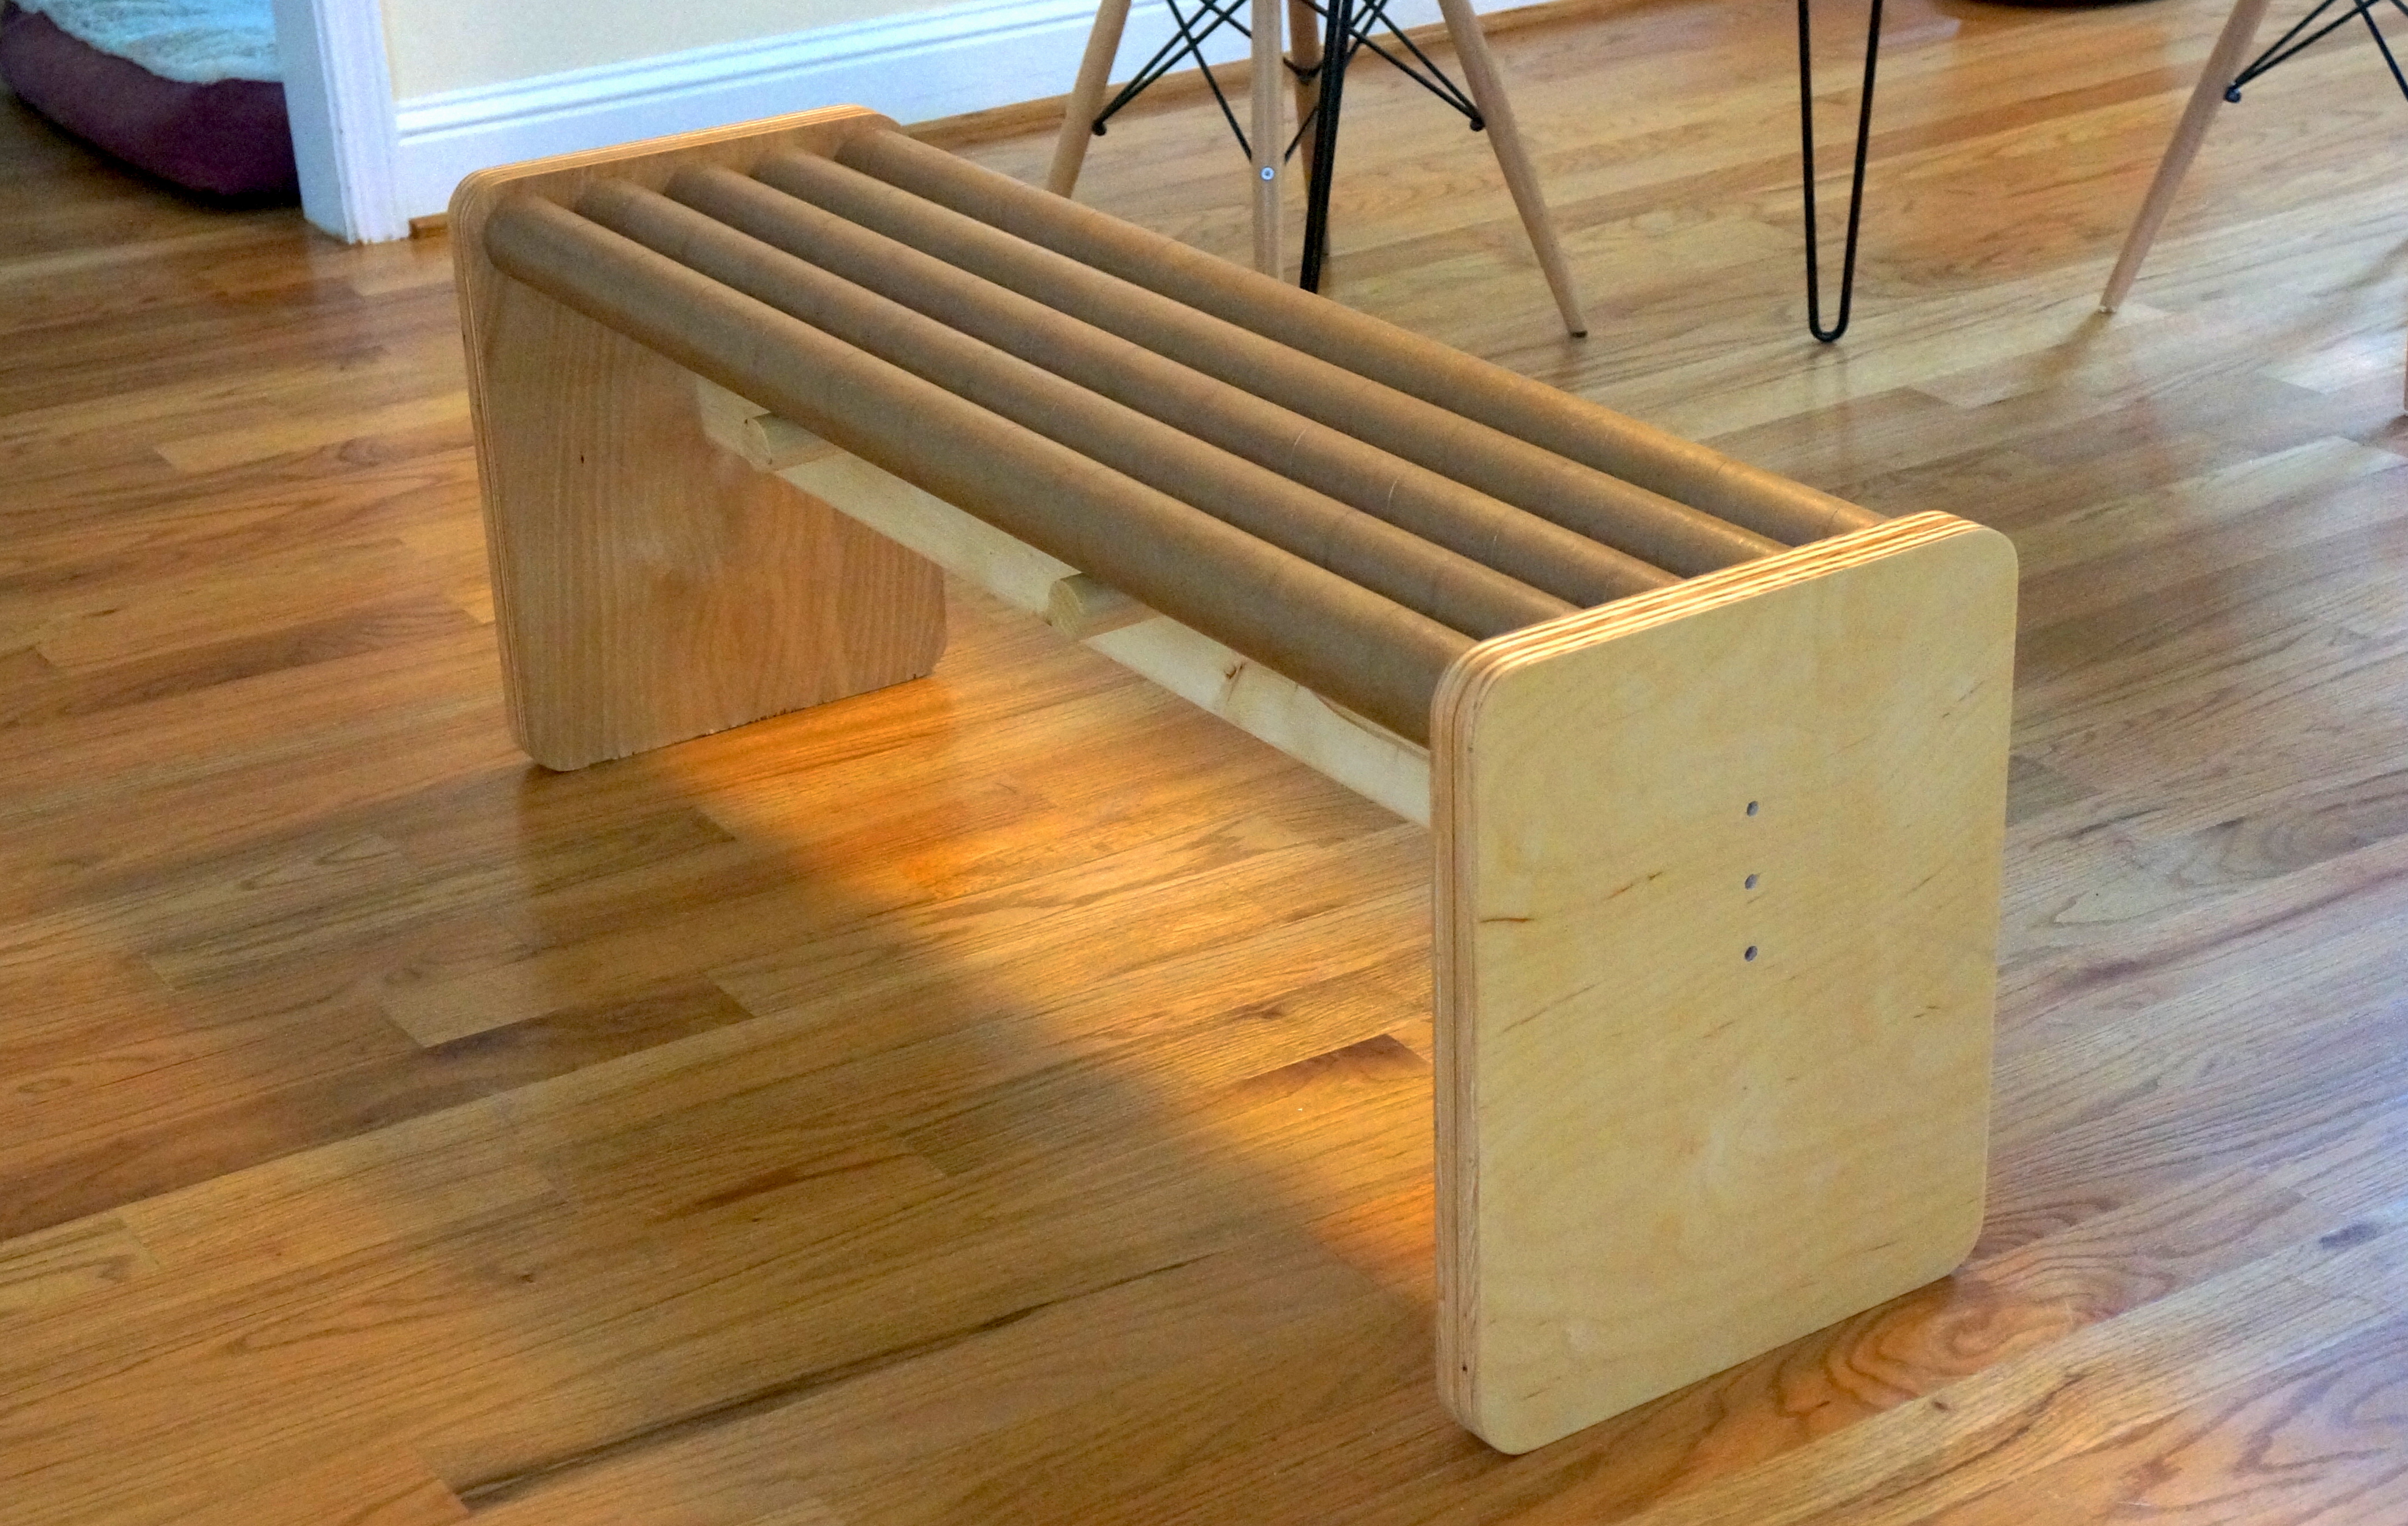
There is a large-format printer at my work that uses 42-inch wide rolls of paper. When the paper’s all used up, the thick cardboard tube at its center is left behind, just begging to be recycled into a project.

I started collecting these paper tubes at the office, not knowing what I would use them for. Normally these are discarded, but I just couldn’t let that happen. We only have four chairs in our dining room so it seemed like a good idea to build a dining room bench from a few of these.

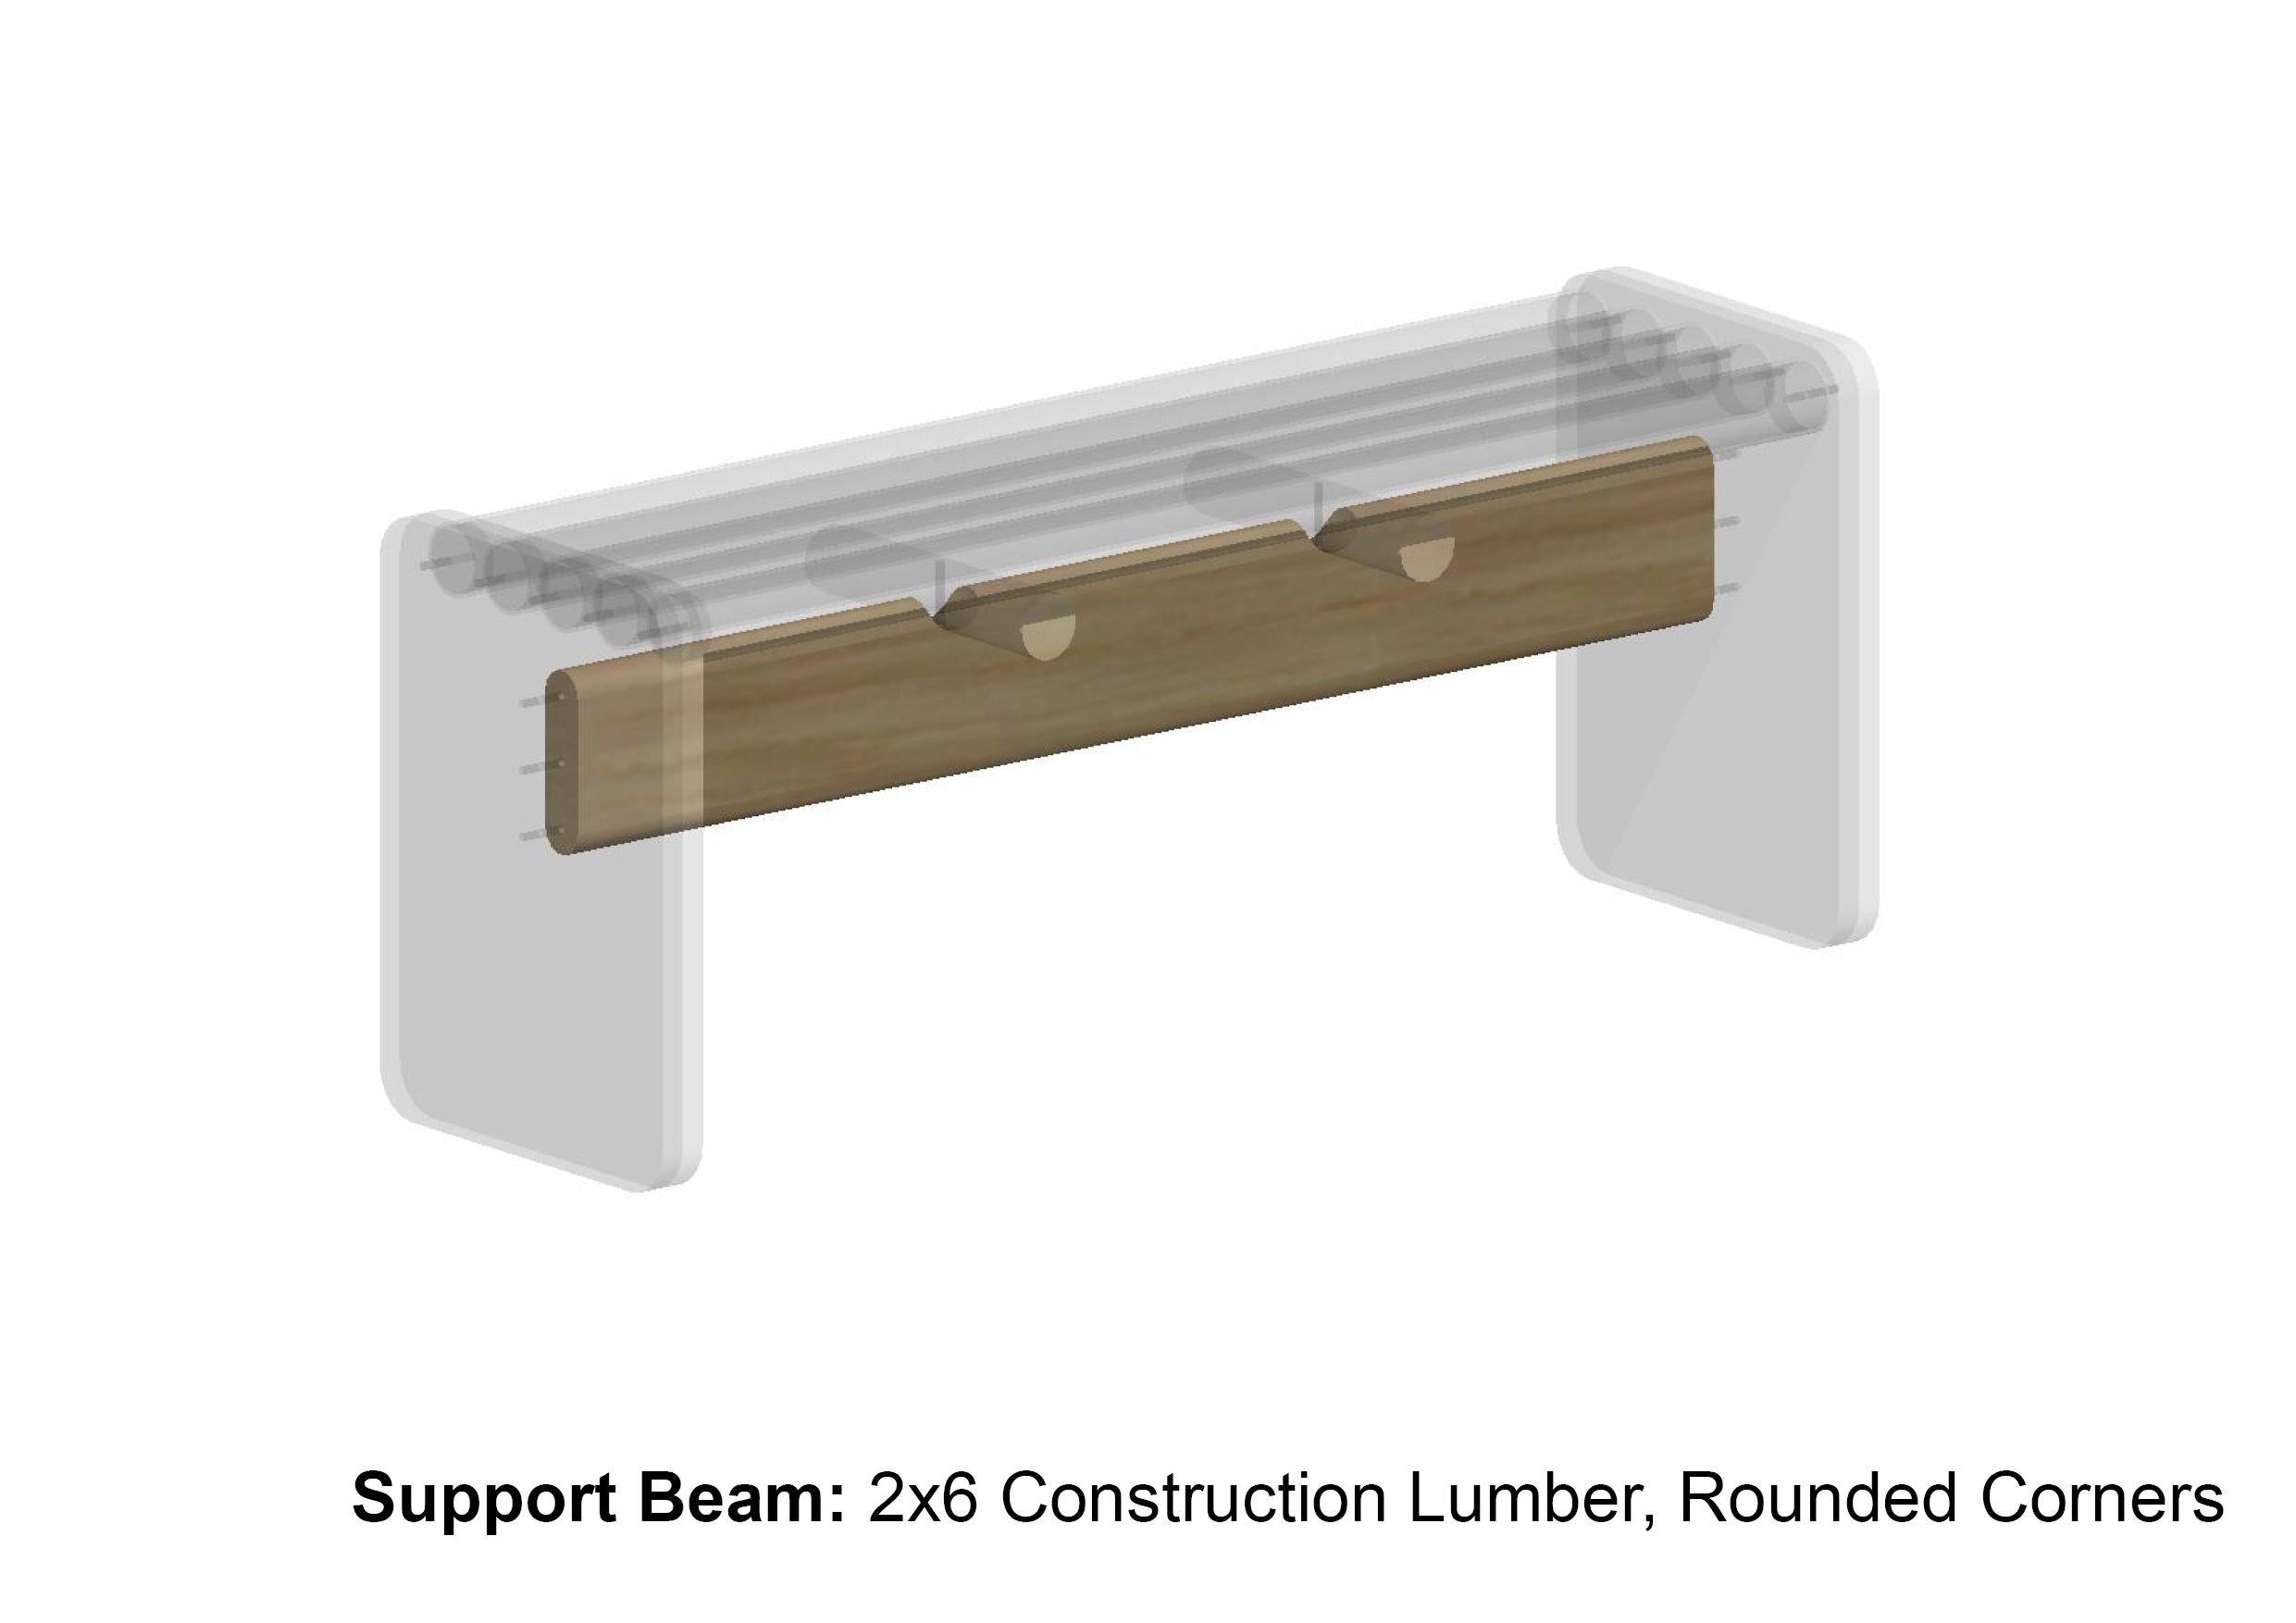
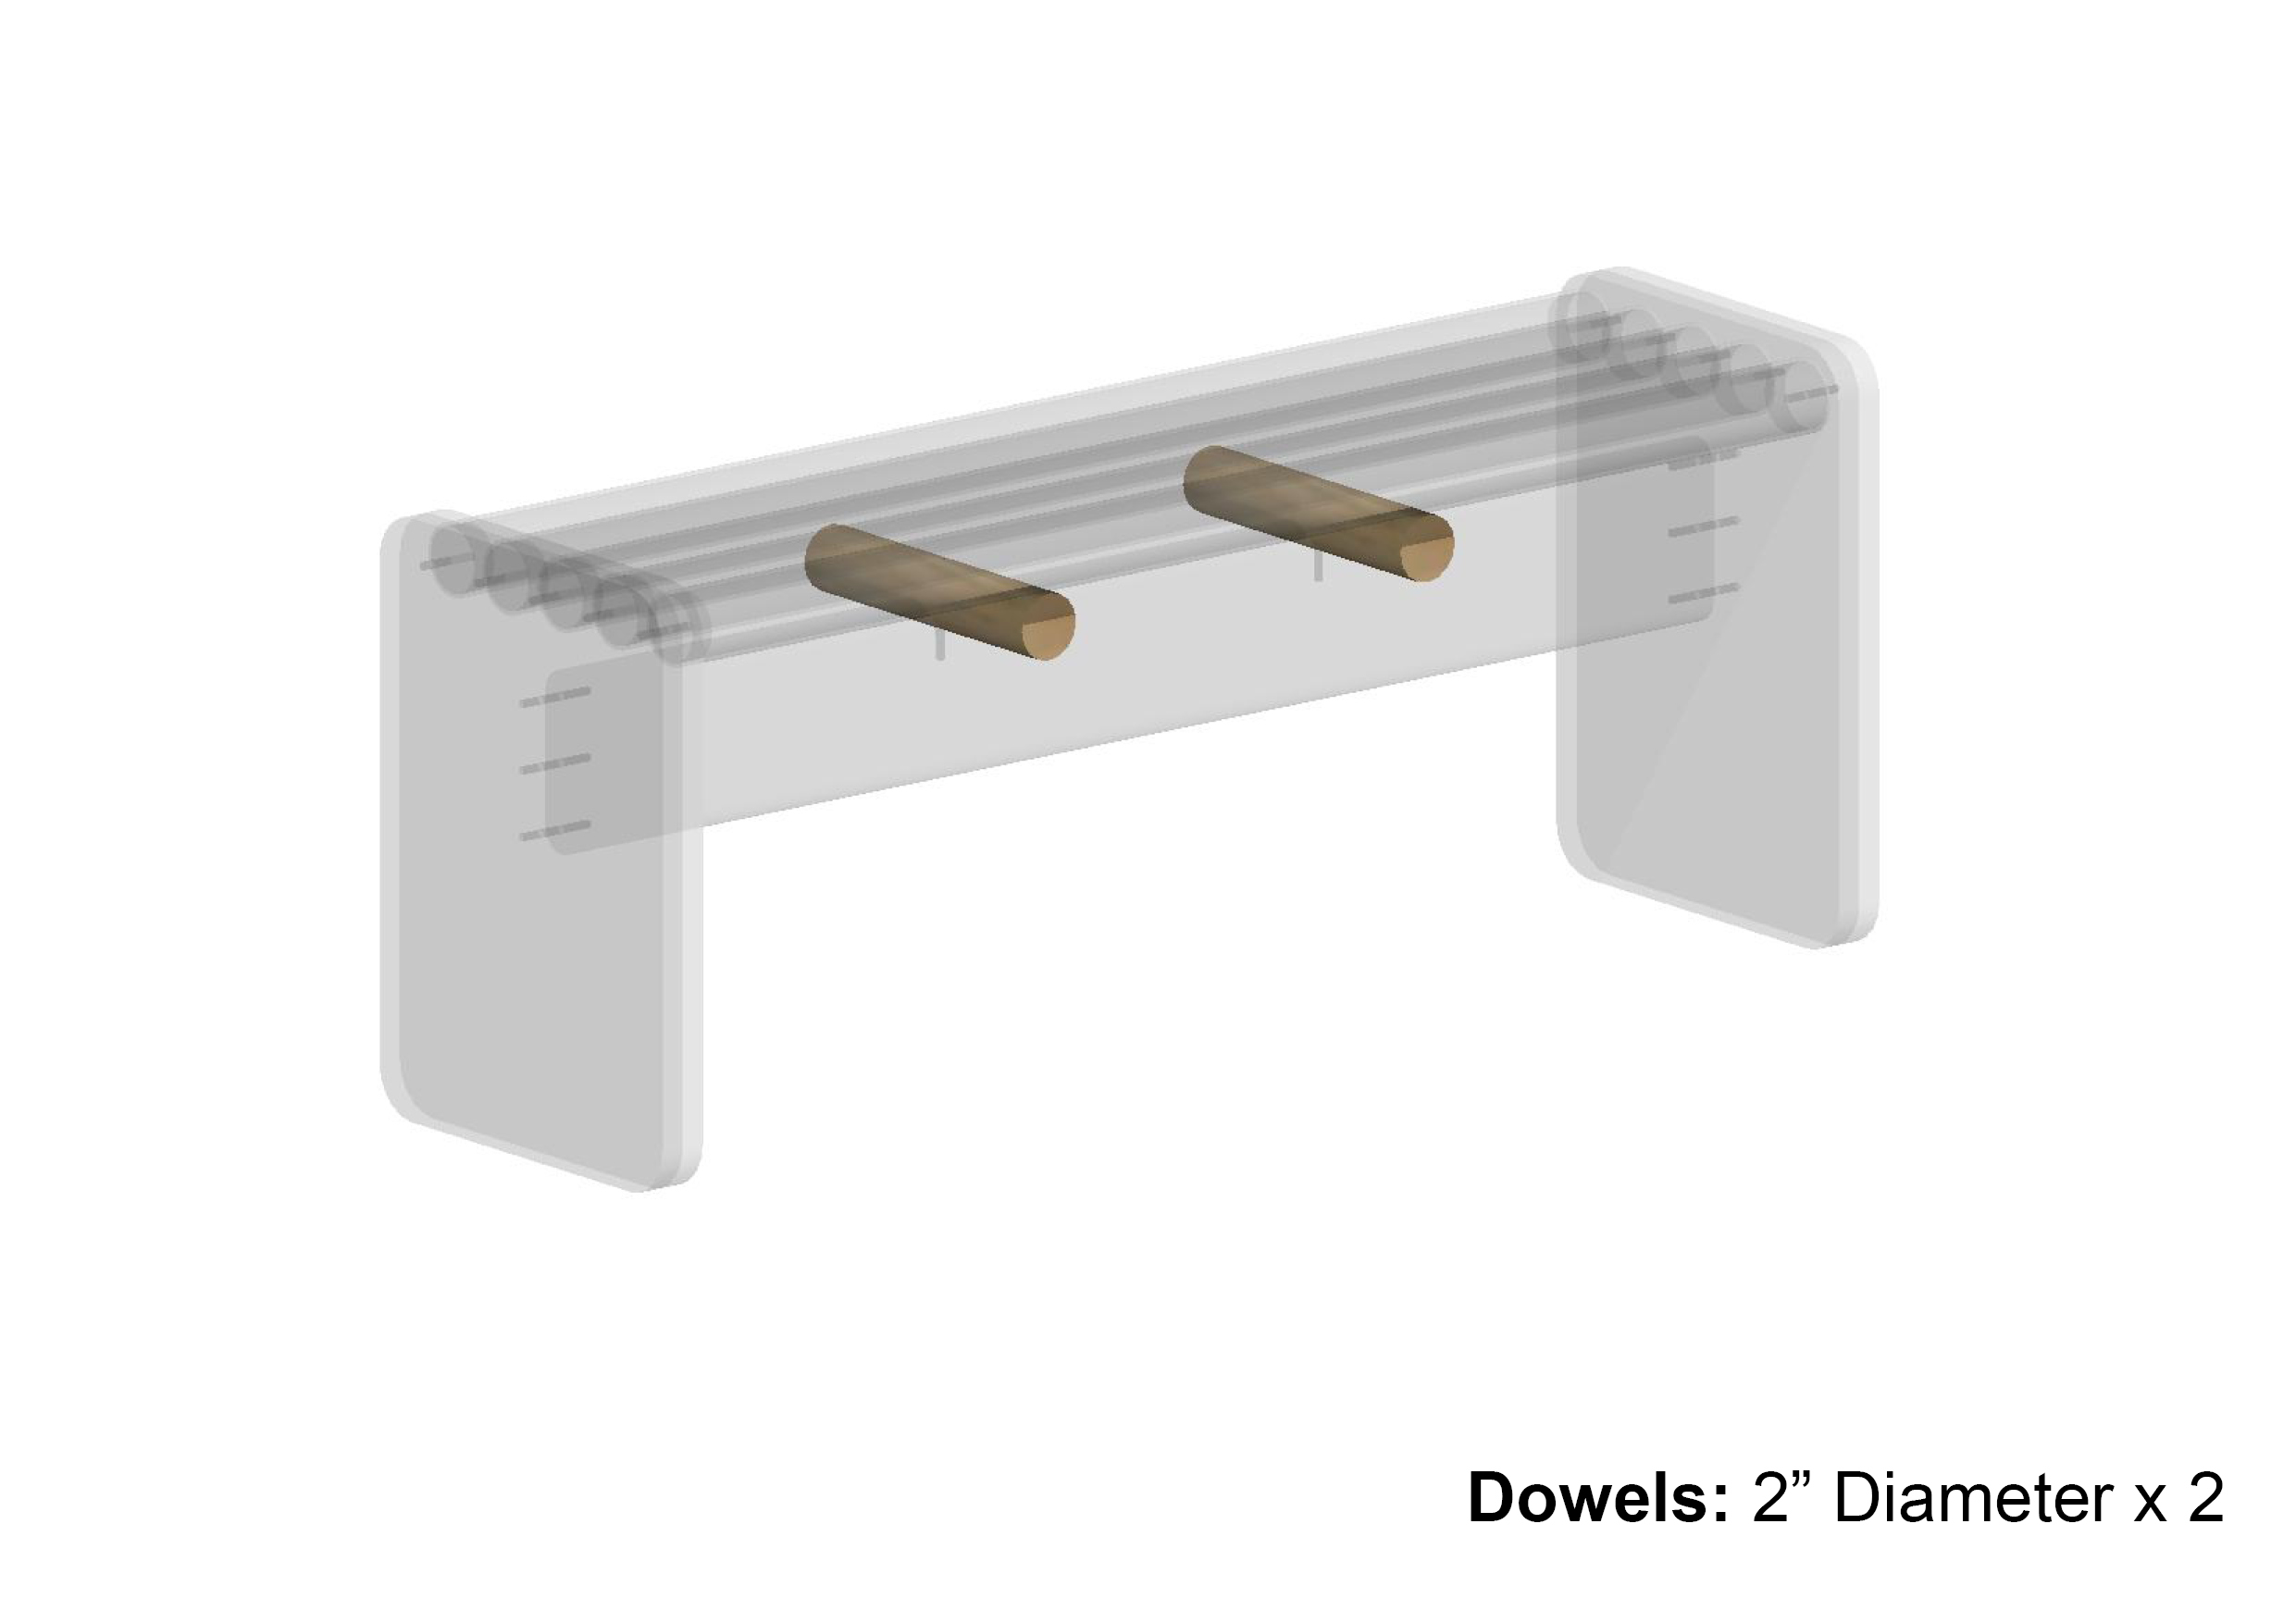
They are exceptionally strong when used vertically but I wanted to use them horizontally for a bench seat. So, I had to make sure that they can carry the weight of 2-3 people at a time. And even though they seem to be strong enough, I added extra support underneath for safety.

Cardboard Tubes Bench Cardboard Tubes Bench Cardboard Tube Bench

Cardboard Bench Measurements

HKPTB11

Project Steps

Cut and form the sides

I cut the sides from some ¾” scrap plywood I had laying around and glued two together to form each of the thick sides.

Cut 10 circular supports for the tubes

I then cut 10 circular pieces from the plywood to match the inside diameter of the tubes. With these pressed into the sides of the tubes I could suspend them between the two sides. Wood and paper expand differently with moisture so I didn’t want to have a fixed joint between them. This way the tubes are just floating, allowing them expand and contract freely.

I did a quick test to see how it looks when put together before I made the support beam.

Construct the support beam

The support beam gives the bench some extra strength. It is made from a 1″×6″ board that I flattened and rounded using a hand plane. I attached the support beam to the sides using six screws, making sure that the frame is very sturdy.

After putting the whole thing together I worried that over time the tubes might start sagging and eventually break in the middle. To avoid this, I decided to add the two dowels to stop the tubes from flexing beyond a certain point.

I actually left a little bit of a gap between the underside of the tubes and the top of the dowels so that they are only there to stop the tubes from flexing too much with weight. This will prevent them from sagging over time and provide a safety mechanism, dividing the span into 3.

Finishing and assembling

After sanding from 80 to 200 grit, I finished the entire bench, including the paper tubes, with three coats of wipe-on Polyurethane with light sanding between each coat.

We have been using the bench for about 8 months now with up to three people sitting on it at times and it’s been holding up just fine. Although the dowels don’t seem like they are about to fail any time soon, I would recommend using a better joint to mount them to the support beam. Half lap joint might work best. Or better yet, why don’t you come up with an entirely different way?