


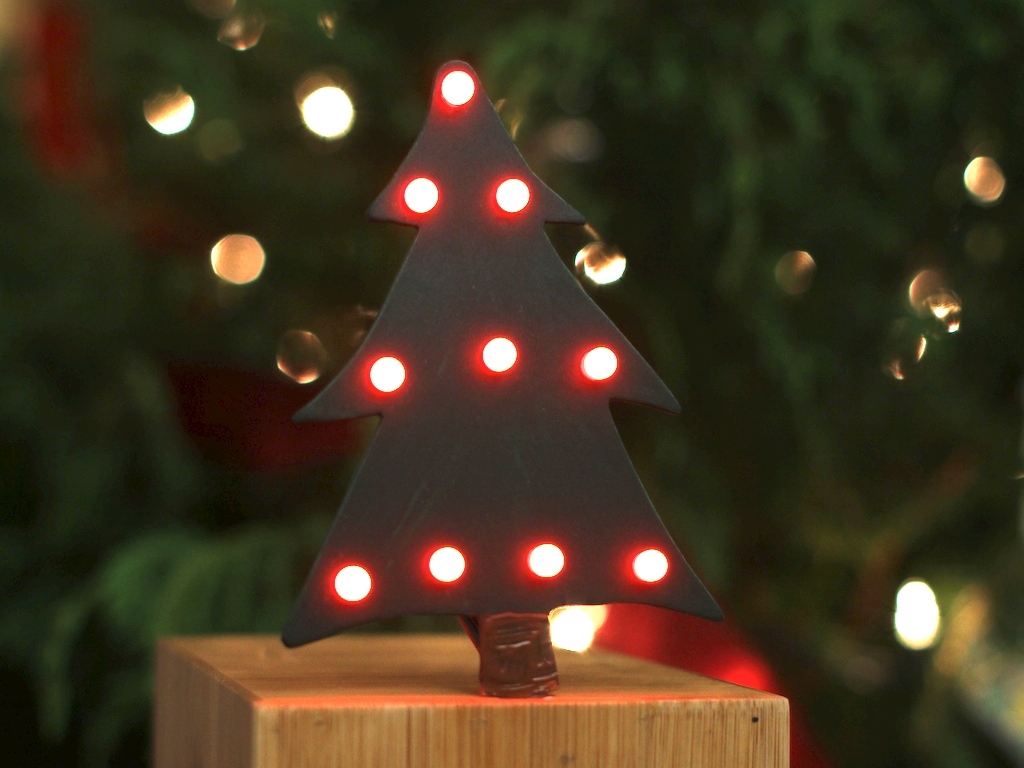
This tree is nothing more than 10 RGB (red/green/blue) LEDs connected in parallel to an Arduino with an Ethernet Shield running a modified version of the cheerlights sketch.
Projects from Make: Magazine
Cheerlights Desktop Christmas Tree
This little tree uses an Arduino with an Ethernet Shield to track the Cheerlights channel on ThingSpeak. Cheerlights allows lights around the world to be controlled in unison via Twitter. Check out http://www.cheerlights.com for more information.
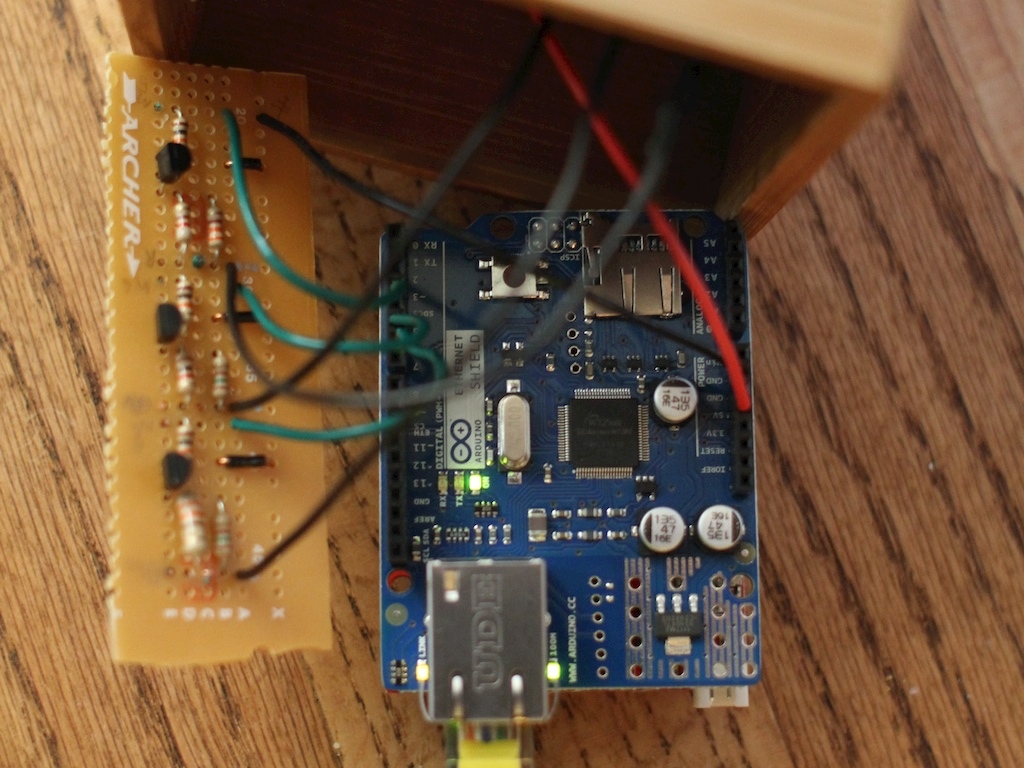
While I was waiting for my shipment of RGB LEDs to arrive, I went ahead and did a test run with the Arduino and a single LED. Then, wanting to make sure I didn’t overload the Arduino’s outputs, I whipped up a little board with NPN transistors to take the load off. Turns out I probably didn’t need it, but left it in anyway. Astute readers will notice that I have 3 extra resistors. Turns out that the LED with which I did my original testing (acquired at Radio Shack) needed different resistor values than the twenty I got from Sparkfun.
Good instructions for connecting an RGB LED to an Arduino can be found at http://www.instructables.com/id/RGB-LED-…
I downloaded the code from https://github.com/iobridge/CheerLights/… and replaced the GE Color Effects code bits with code from the aforementioned Instructables article to drive RGB LEDs. I had to invert the color values (replace 255 with 0 and vice versa) to reflect the wiring.
My final code can be found at https://github.com/BabyWrassler/Desktop-…
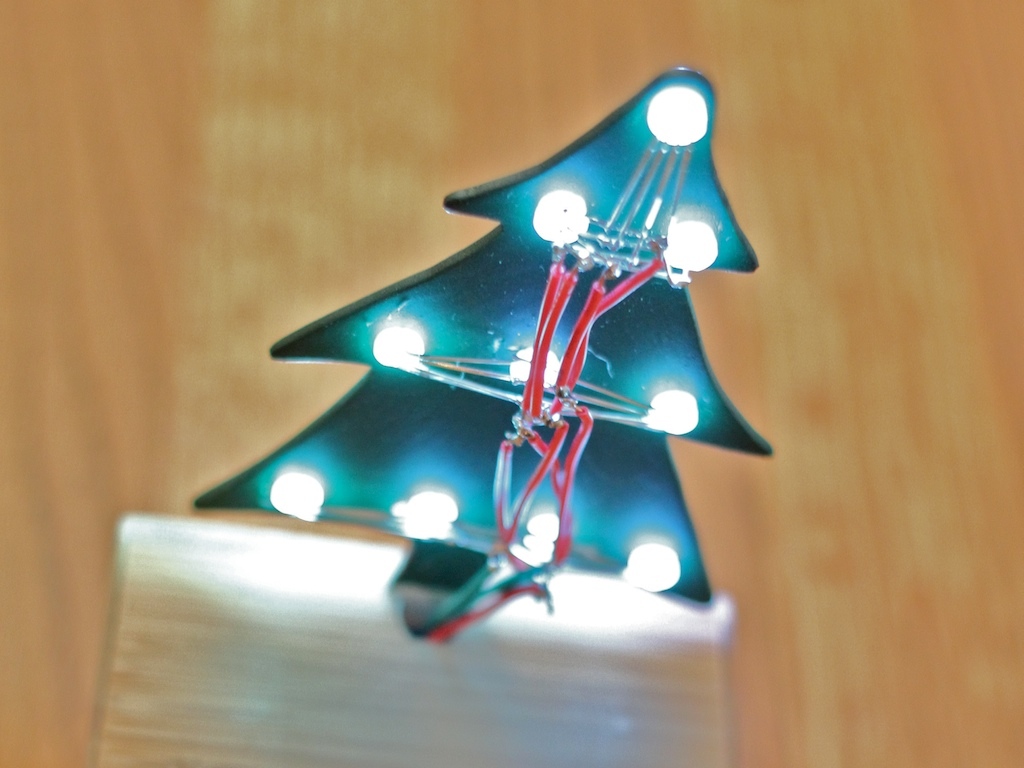
After testing the LEDs on the breadboard, I soldered ’em up into a tree. I thought this would be the hardest part, but it wasn’t so tricky.
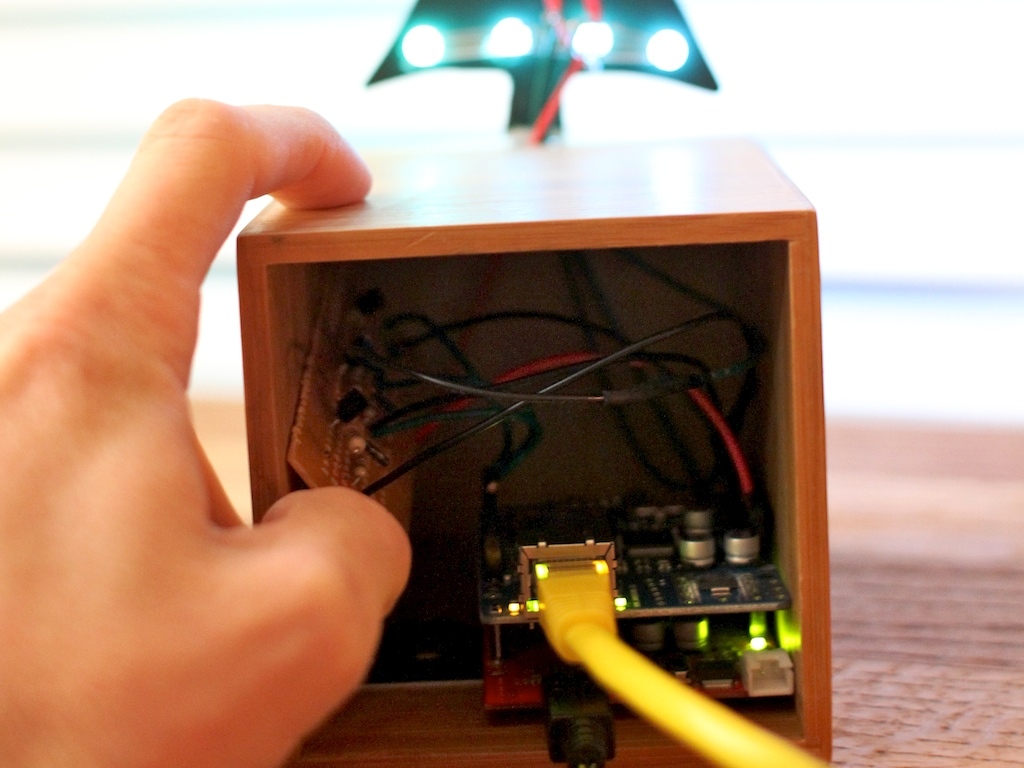
With the tree mounted to the box (a bamboo kitchen utensil holder), I connected the Arduino setup.

Dialing in each color is what actually took the longest, staring into bright lights and trying to conjure a perfect white.


