


If you’ve ever wanted to fulfill your dream of becoming a cyborg, now is your chance. In this tutorial we’ll teach you how to create a prosthetic piece that you can attach to your face for an interesting and fun look.
If you’ve ever wanted to fulfill your dream of becoming a cyborg, now is your chance. In this tutorial we’ll teach you how to create a prosthetic piece that you can attach to your face for an interesting and fun look.


Draw out the desired design on heavy-weight cardstock or thin polystyrene. Make sure the design can be small enough to wrap around your cheek.
Cut out the design using a utility knife or scissors.
Cut out pieces of polystyrene to create interesting structural designs.


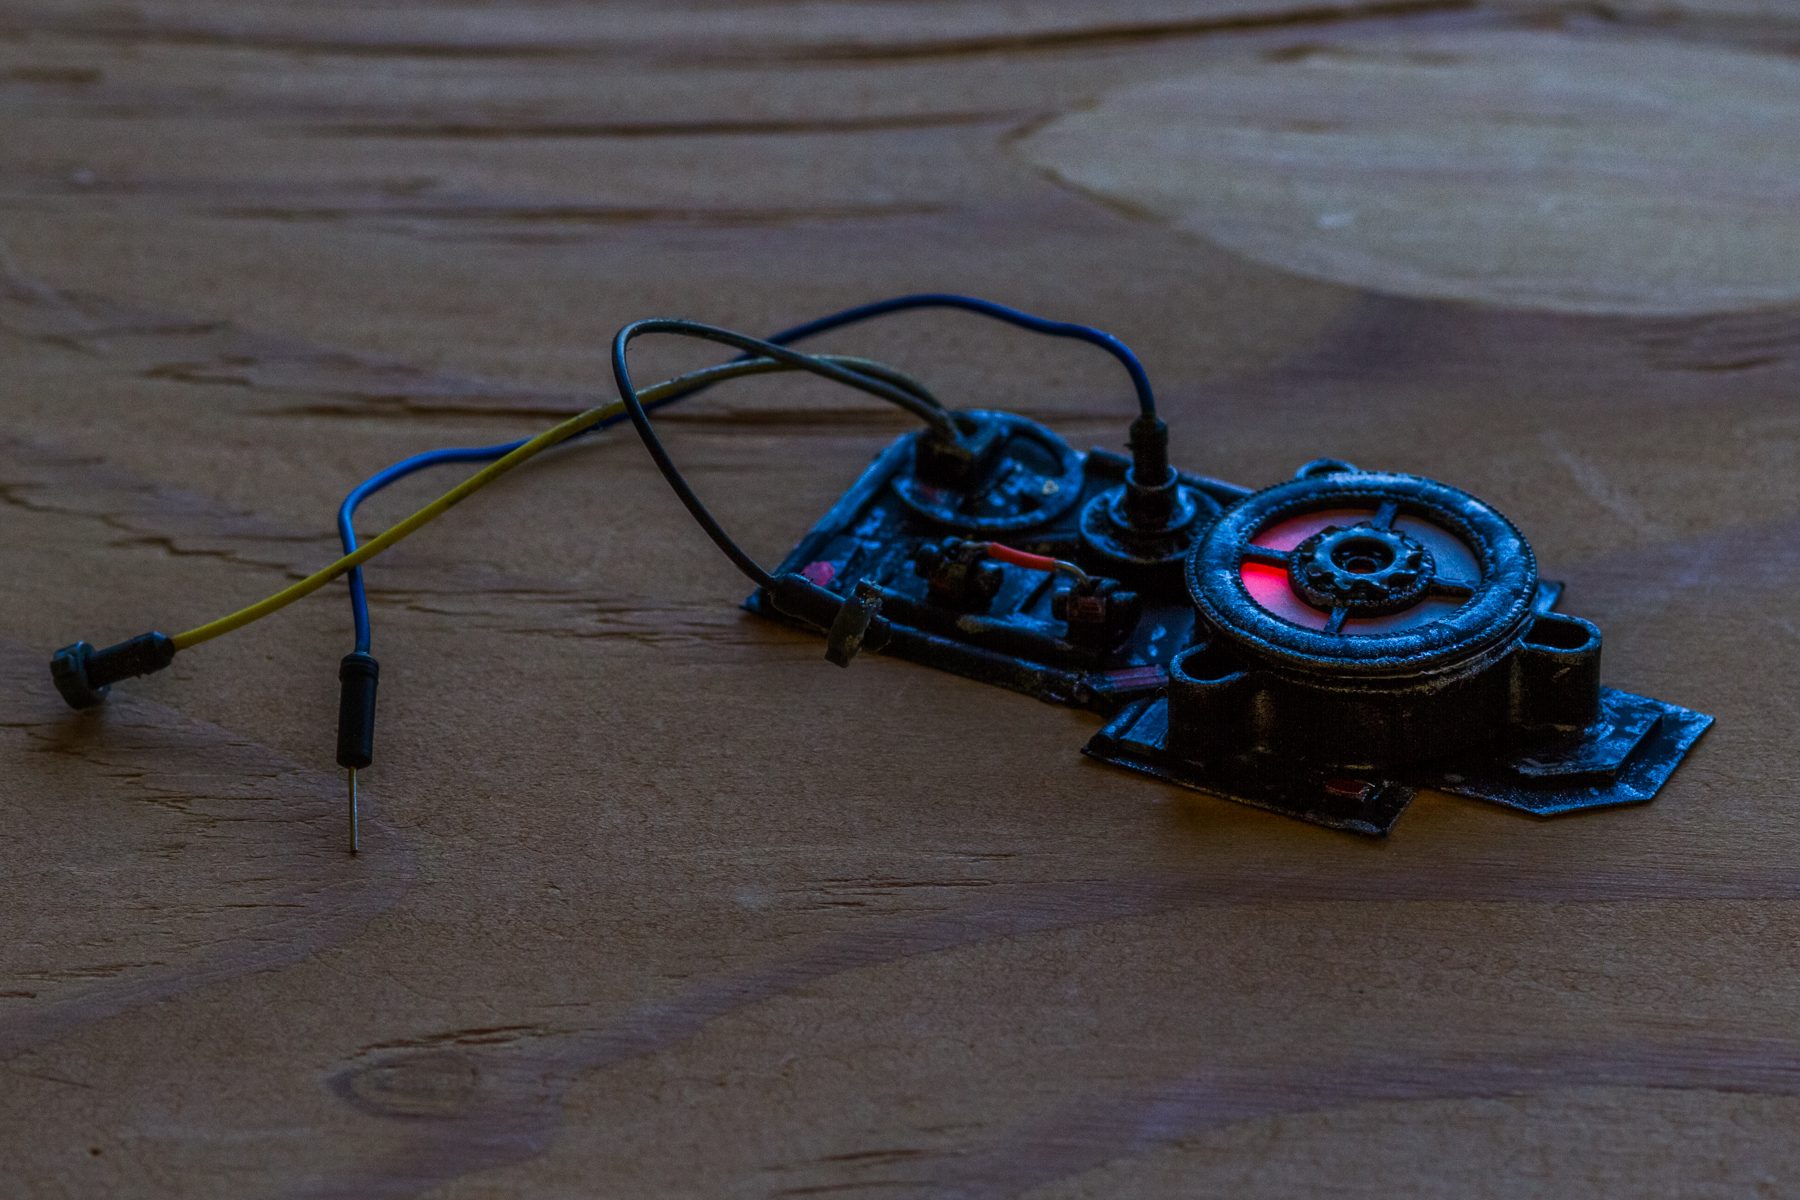
Scrounge around the house or your local hardware store for interesting pieces to add character to your face piece. Attach them with super glue. If you’re interested in adding an LED to the piece, make sure you find an object large enough to hold an LED and a battery.
Paint the piece your desired base color and let it dry.
If you want the piece to look weathered, use the “dry brush effect” to add silver paint to the edges.


Add some stickers or labels (optional). We used a sticker set from a Gundam kit, but you can create your own designs using a vinyl cutter or your own Mod Podge creation.
Add some jumper cables. These will later attach to your face to complete the cyborg look.


If desired, grab a small battery and an LED. Attach the LED to the battery (making sure the long lead of the LED is on the positive side of the battery).
Attach some parchment paper to the back of your lid.
Attach the lid to your face piece and enjoy your upgrade.


