YouTube player

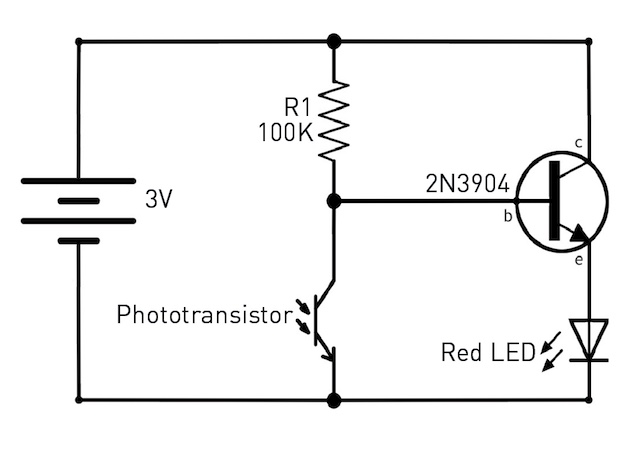
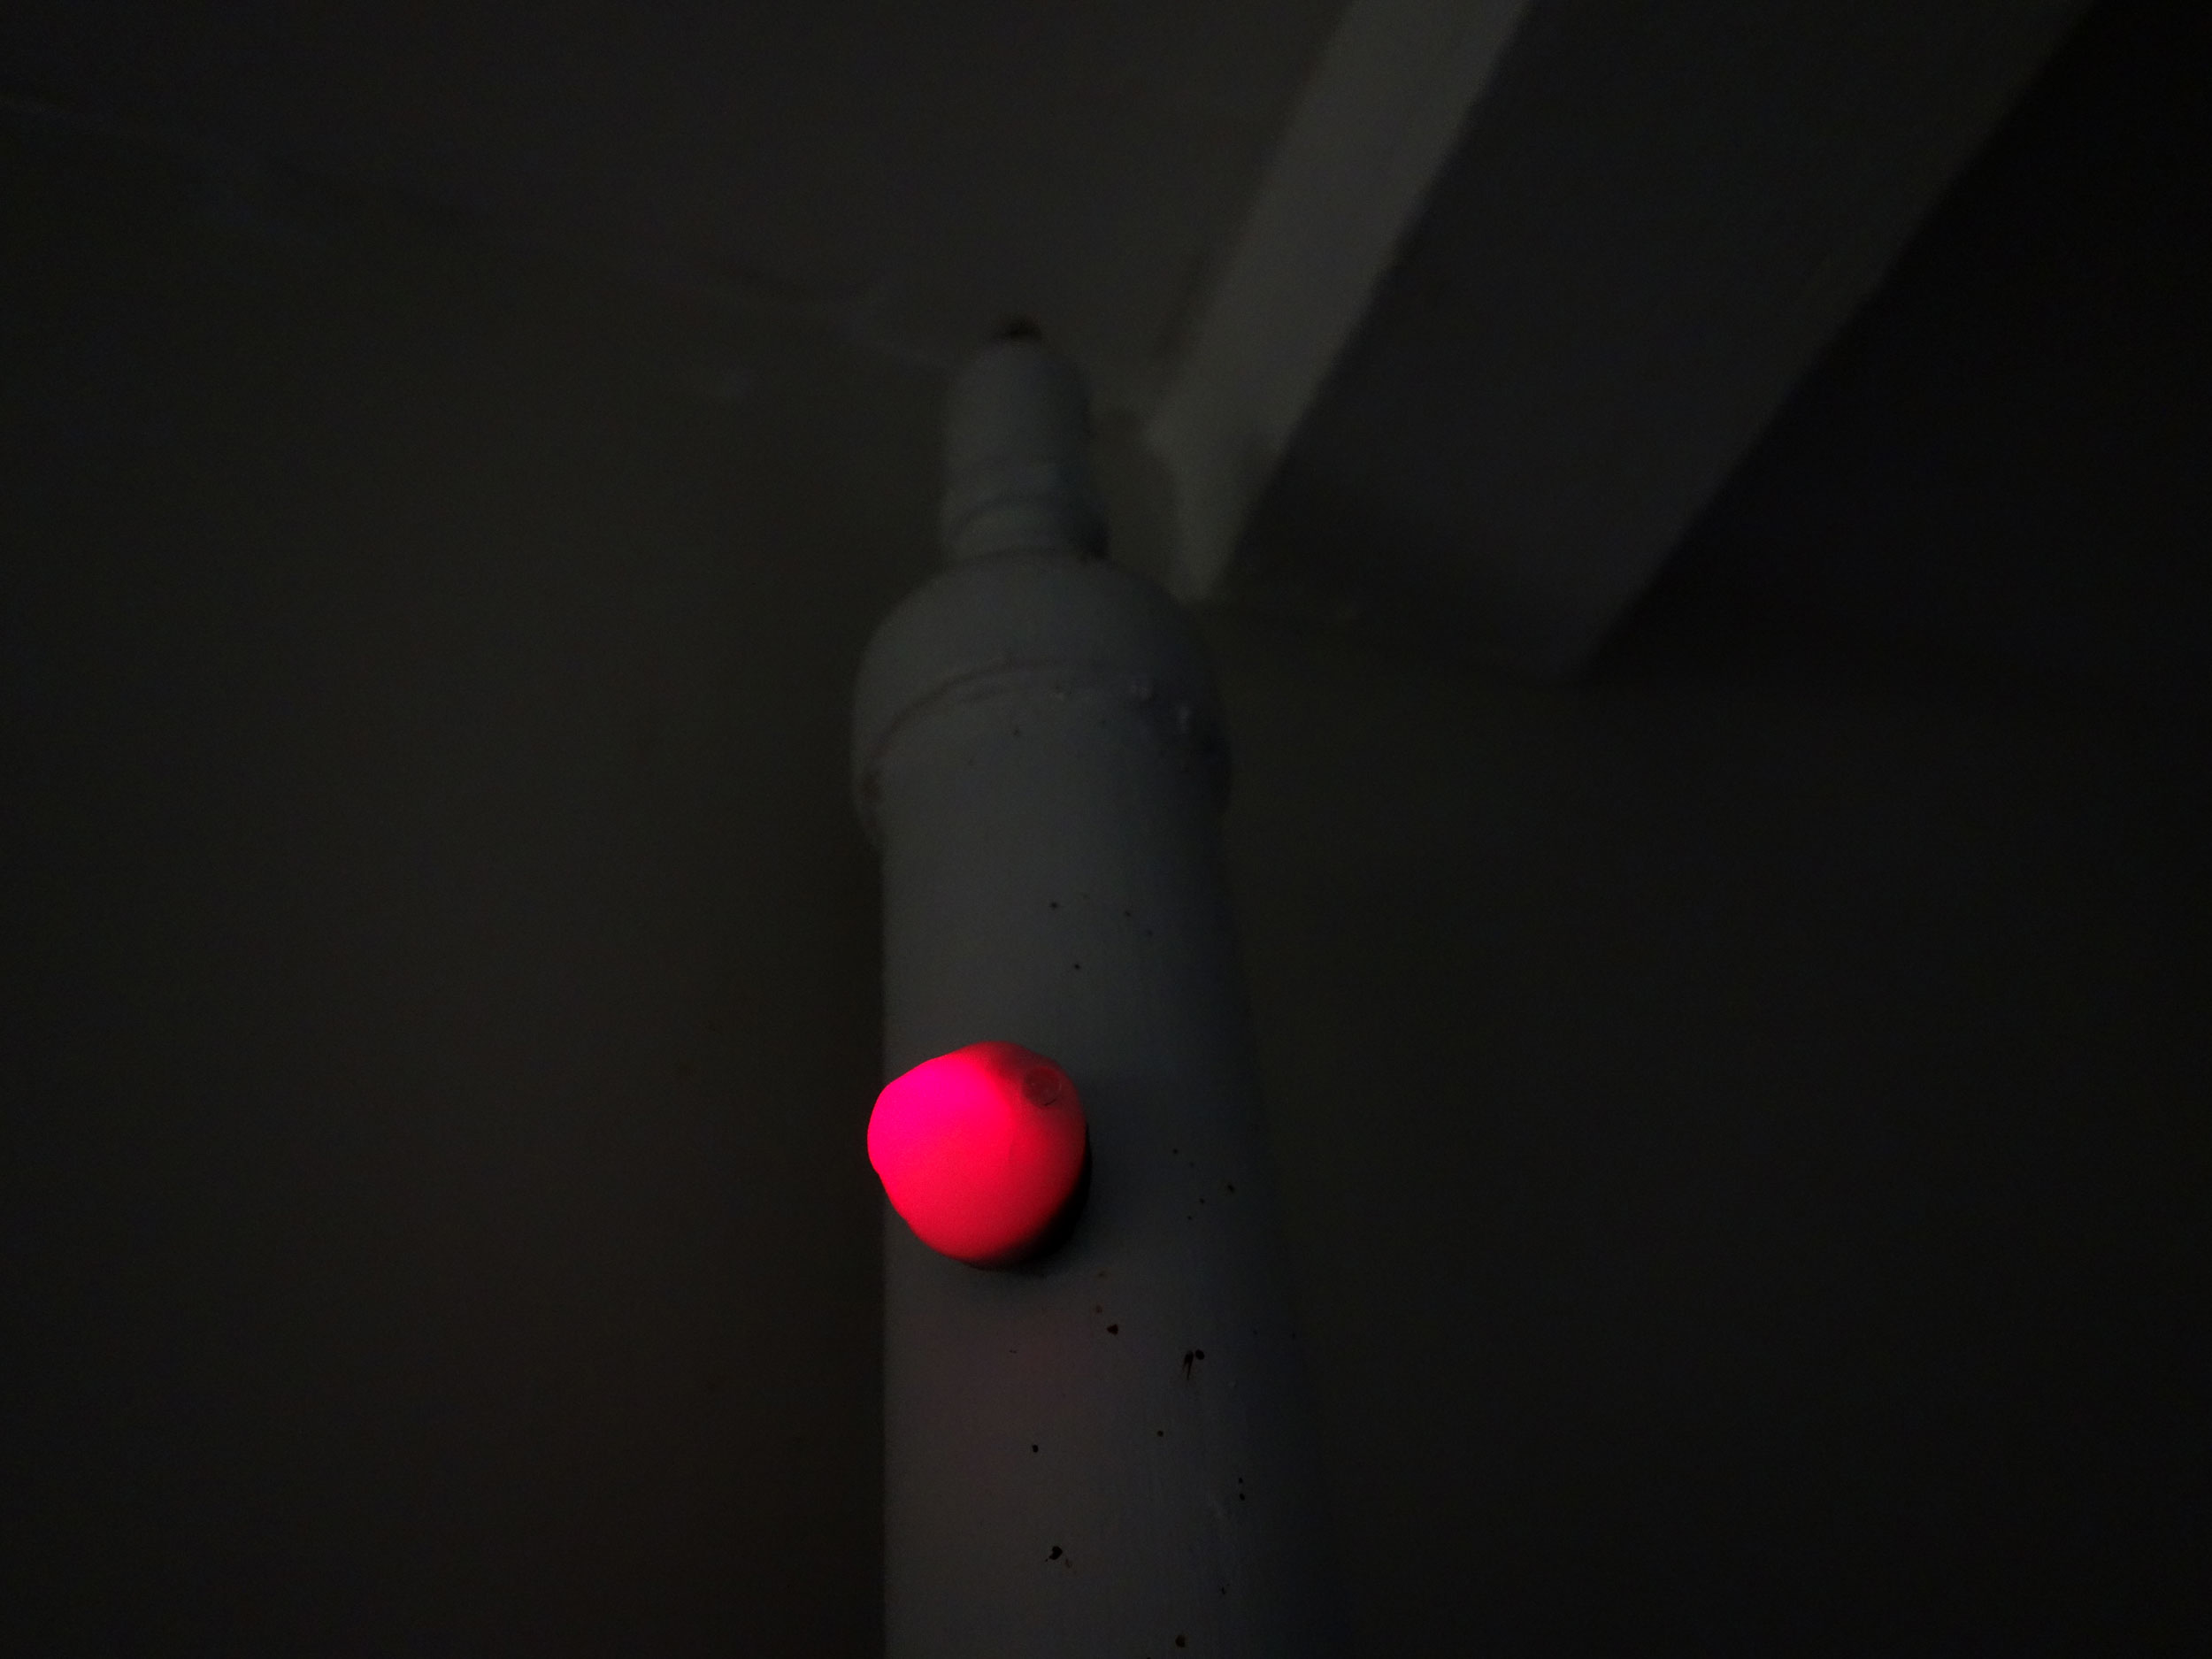
Much like outdoor and garden lights, the Dark-Detecting LED Throwie circuit switches on an LED when ambient light levels dip below a certain threshold. The big difference is the number of components: just five — a battery, phototransistor, resistor, LED, and transistor.
Dark detecting LED schematic

In this circuit, the transistor and LED are effectively switched off when photons (particles of light) hit the phototransistor. When few or no photons hit the phototransistor, current freely passes through the transistor’s collector-emitter junction, lighting up the LED.

DarkDetectingLEDsFinal-2
Photos: Hep Svadja

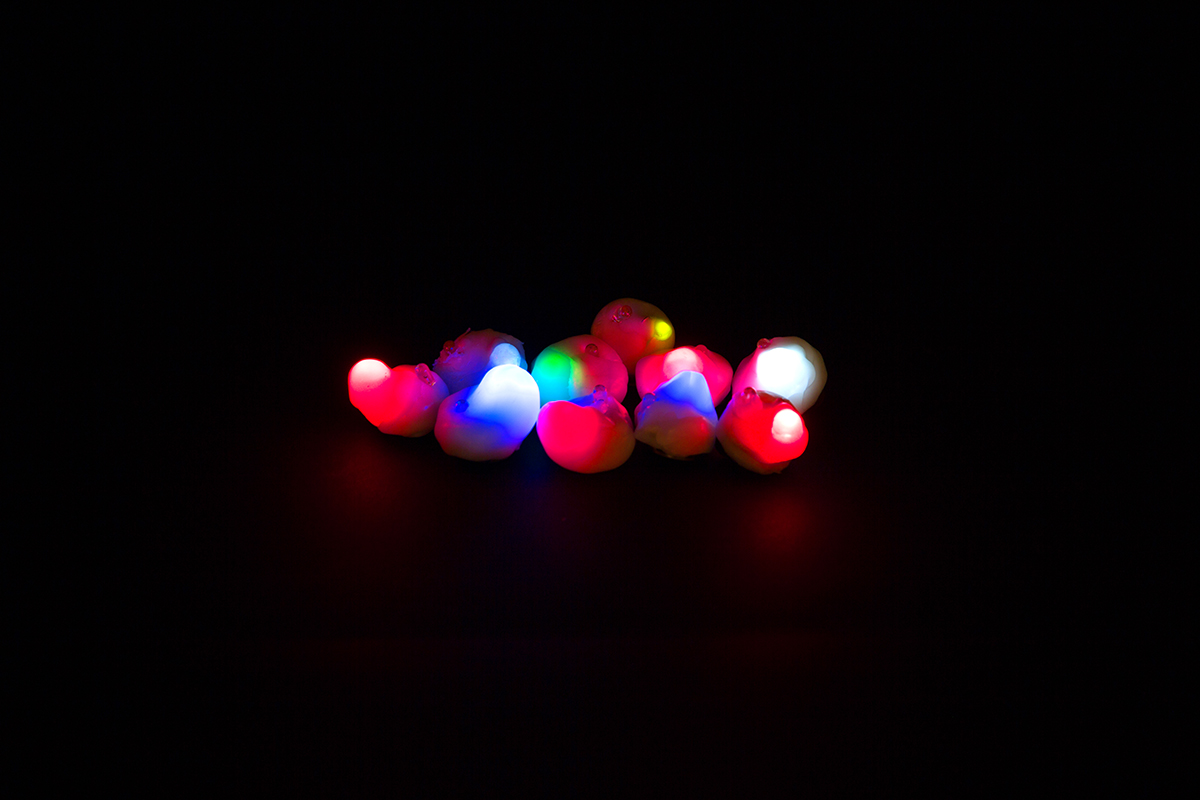
This is a great project for beginners due to the small number of required components. For more experienced Makers, I recommend playing around with different LEDs and resistor values to add some variety.

For instance, you could choose a directional red LED in a clear package or a diffused one in a colored package. However, due to the differences in forward voltage (and other specifications) required by different types of LEDs, you’ll need to experiment with different resistor values if you stray from our prescribed list of project materials. You can’t simply replace the red LED with a blue or white one, but spend some time reading up on LEDs and Ohm’s law and you’ll be experimenting in no time!

Also, I recommend you first prototype on a breadboard to ensure your components operate properly. Plus doing so takes only a few minutes of time.

Project Steps

Load and solder components

Begin with a standard through-hole circuit board design. We found that a small, round perf board comfortably contains all the components and fits a CR2032 battery holder perfectly. It also allows you to cleverly connect to the battery holder without any additional wiring.

Use a pair of helping hands to hold the PCB in place while you insert each of the components and solder them together using the schematic as your guide.

After soldering, trim the excess leads, except the outermost lead from the resistor (connected to the transistorʼs collector) and the negative leads from the phototransistor and LED. Bend these remaining leads through the nearest mounting hole (the larger holes) on the PCB.

Add the battery

Place the PCB on top of the battery holder. The leads from the PCB and the battery holder’s connectors should match up just enough for you to patiently solder them together, with positive connected to the resistor lead and negative to the leads from the LED and phototransistor.

With everything soldered together, trim any excess leads and insert a CR2032 battery in the holder and voila, you have a Dark-Detecting LED circuit!

Prepare the thermoplastic

Now for some fun! I wasn’t satisfied with the circuit simply living on a PCB, and wanted to encase it in something. I’ve been looking for an excuse to work with thermoplastic pellets, which turn soft and pliable in hot water and harden when cool. This was the perfect opportunity to experiment with the material.

All you do is pour boiling water over the pellets (ideally in a glass or metal container with a handle) and let them turn transparent, which takes around 15 seconds.

CAUTION: Most consumer brands of thermoplastic pellets are safe to handle, but under no circumstance should you ingest them! I used a metal cup for my experiment, and just to be safe I now reserve that cup for this and other projects in my workshop.

Encase the circuit

When the pellets become clear, scoop them out with a spoon. They will immediately bond together and form a putty-like substance. Hot water will sometimes find its way into an air pocket, but otherwise the material is safe to mold with your hands. I dolloped it onto the PCB, and then began to shape it with my fingers.

Leave the phototransistor exposed, so it will still see light during the day. When the material completely dries it will harden and become mostly opaque white.

Add the magnet

Finally, super-glue a magnet to the battery holder. Now toss your new Dark-Detecting LED Throwie at something metallic. It will wait all day and then light up at night!

Going further

The Dark-Detecting LED is a fun and simple circuit, but can easily be upgraded to the next level.

One obvious challenge is to ask yourself: “How do I operate this circuit using a white or blue LED?” These typically have a higher forward voltage than red LEDs, and will require some different components to activate the circuit. Or try connecting the circuit to a small solar panel and rechargeable power supply, so the batteries juice up during the day! Experiment and have fun.