


We will be using freely available tools like Google SketchUp to design and finally fabricate a chassis for a robot.
Projects from Make: Magazine
Designing a Robot Chassis
Use Google SketchUp to design and fabricate a chassis for your robot.
Use Google SketchUp to design and fabricate a chassis for your robot.
We will be using freely available tools like Google SketchUp to design and finally fabricate a chassis for a robot.
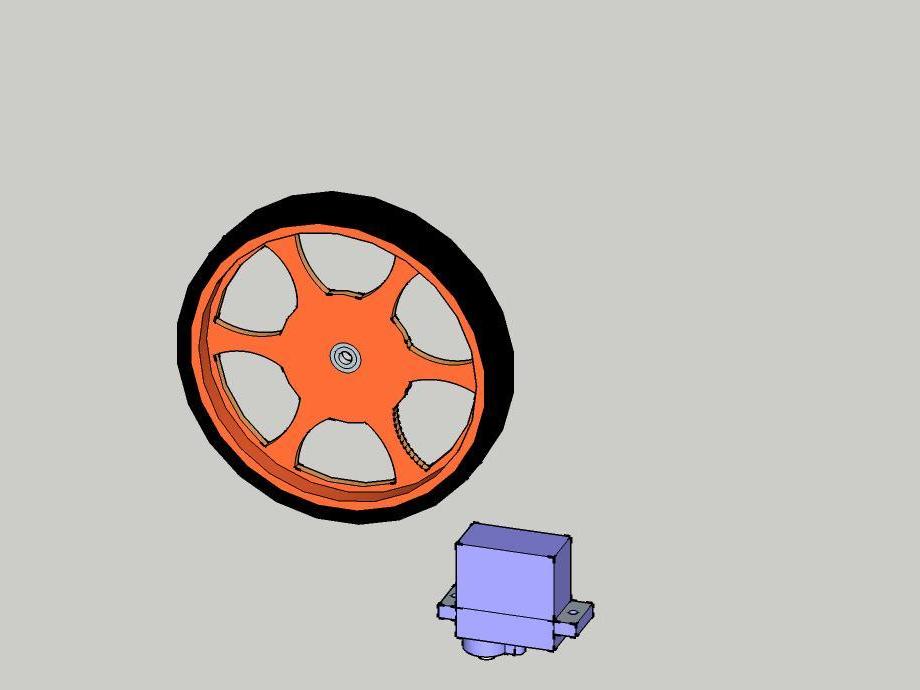
Use a a scale or, preferably, a vernier caliper to measure the parts you already have, then recreate them in SketchUp.
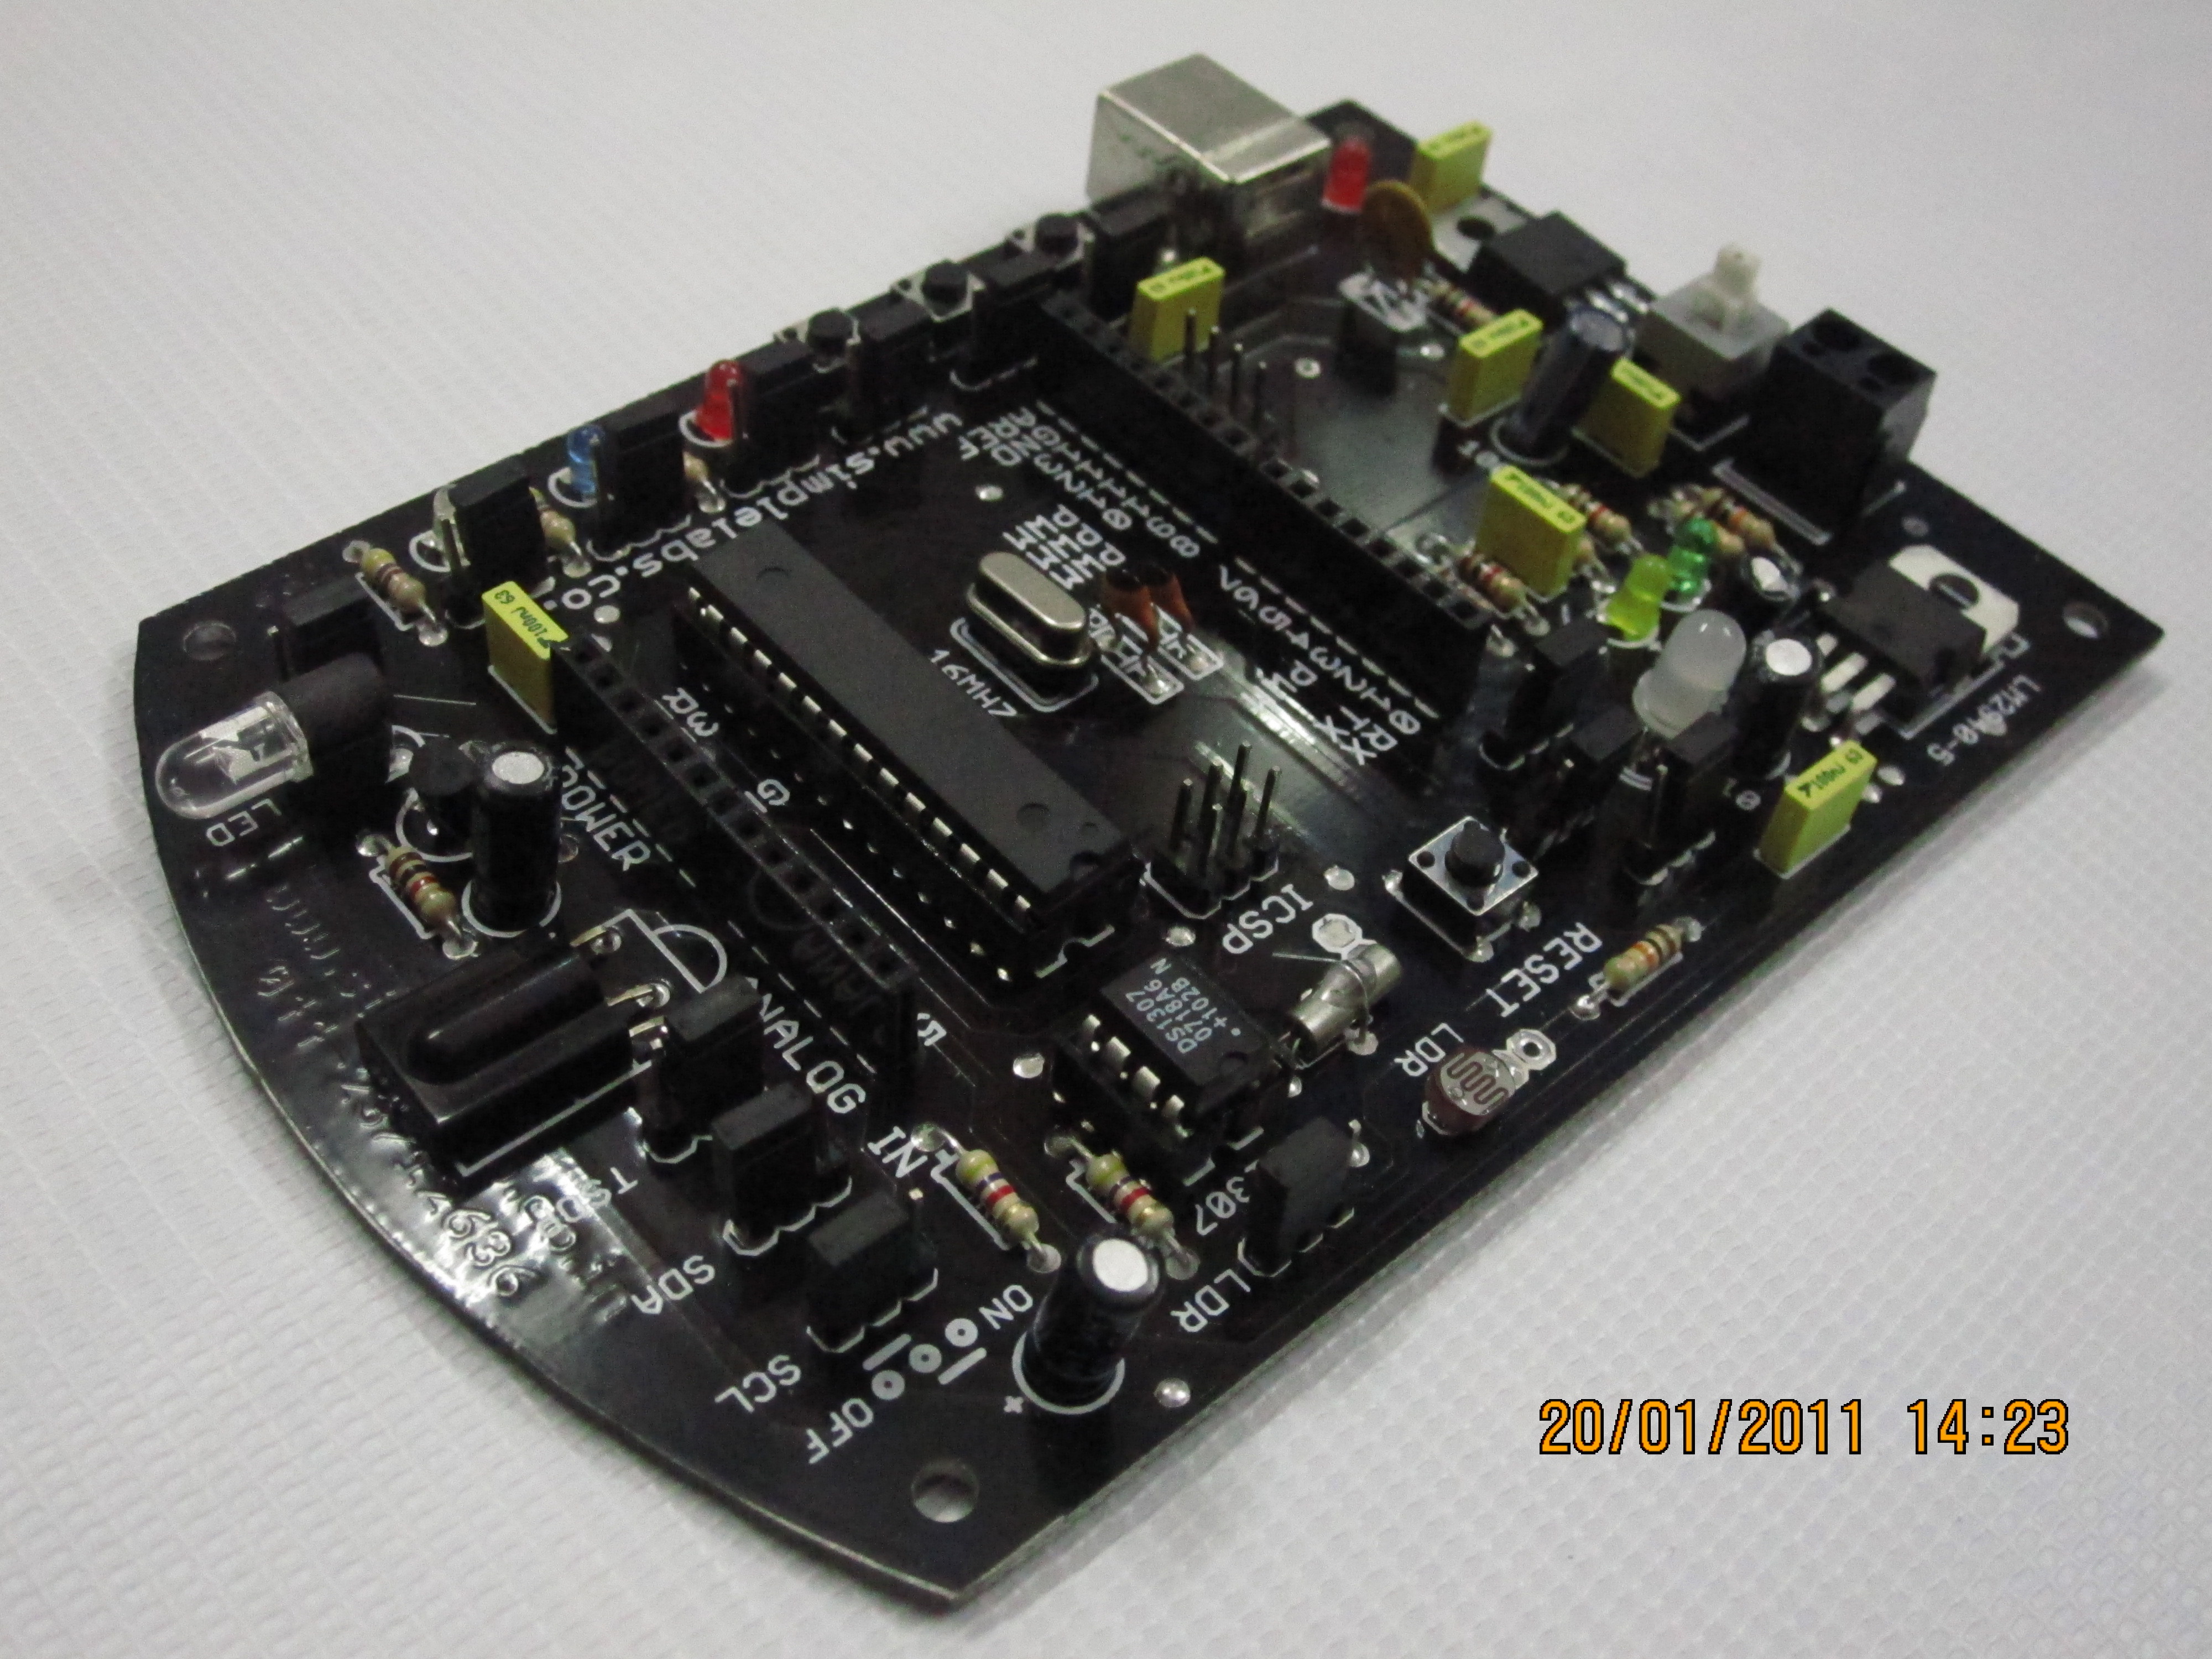
I used an Arduino clone (induinoX).
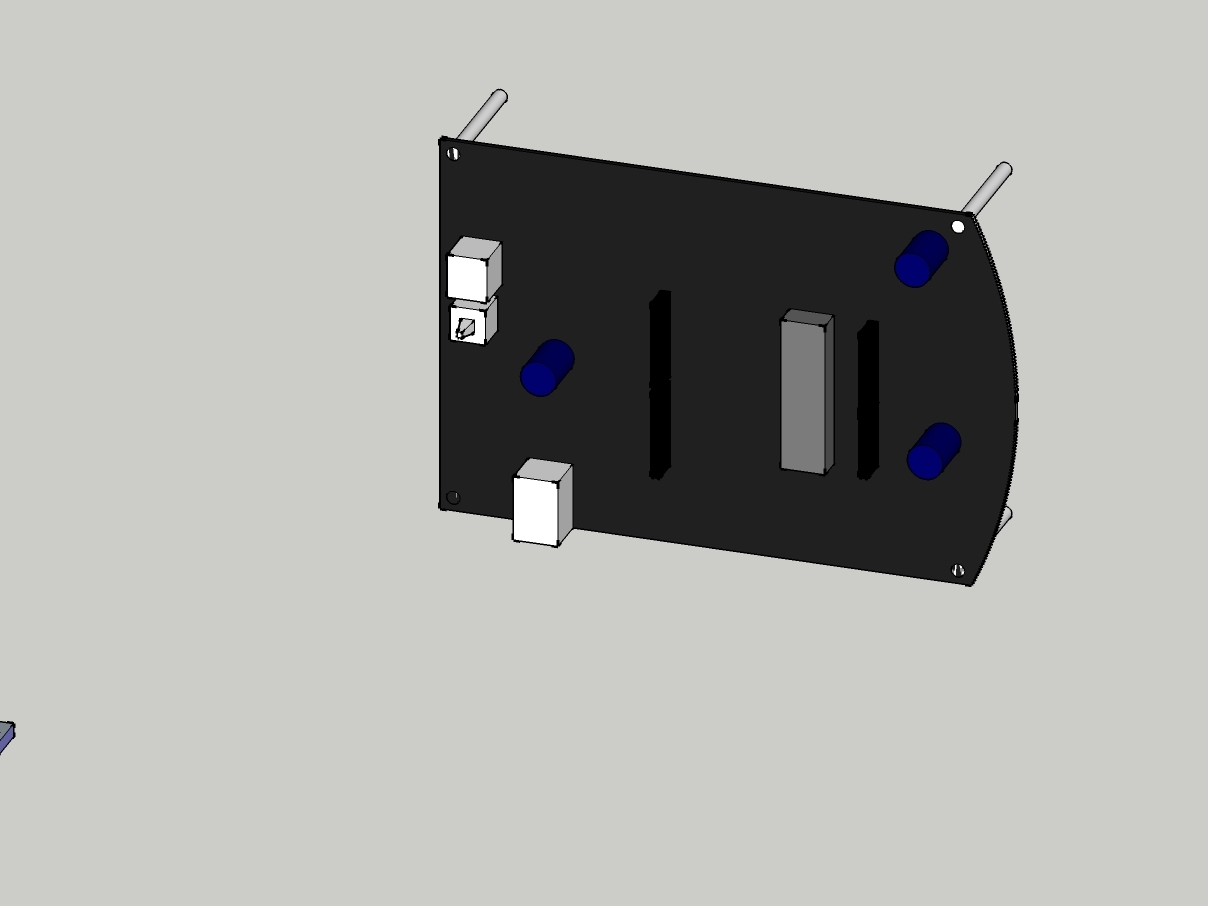
When creating the board in SketchUp create only the big parts that stick out to save time.
Create the chassis in the shape you prefer.
You can create slots by subtracting the slot’s shape from the chassis.
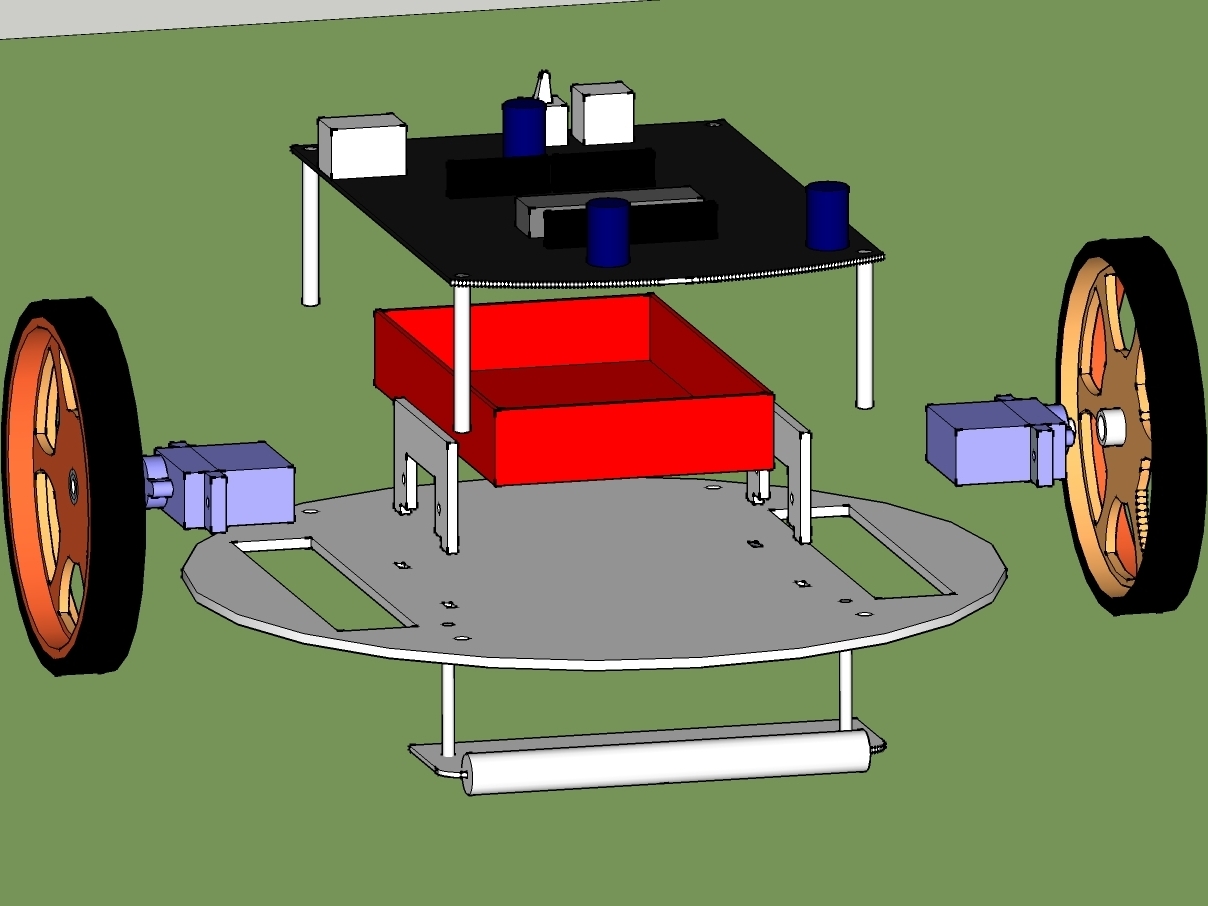
Assemble the parts in Google SketchUp.
See if all the parts fit together.
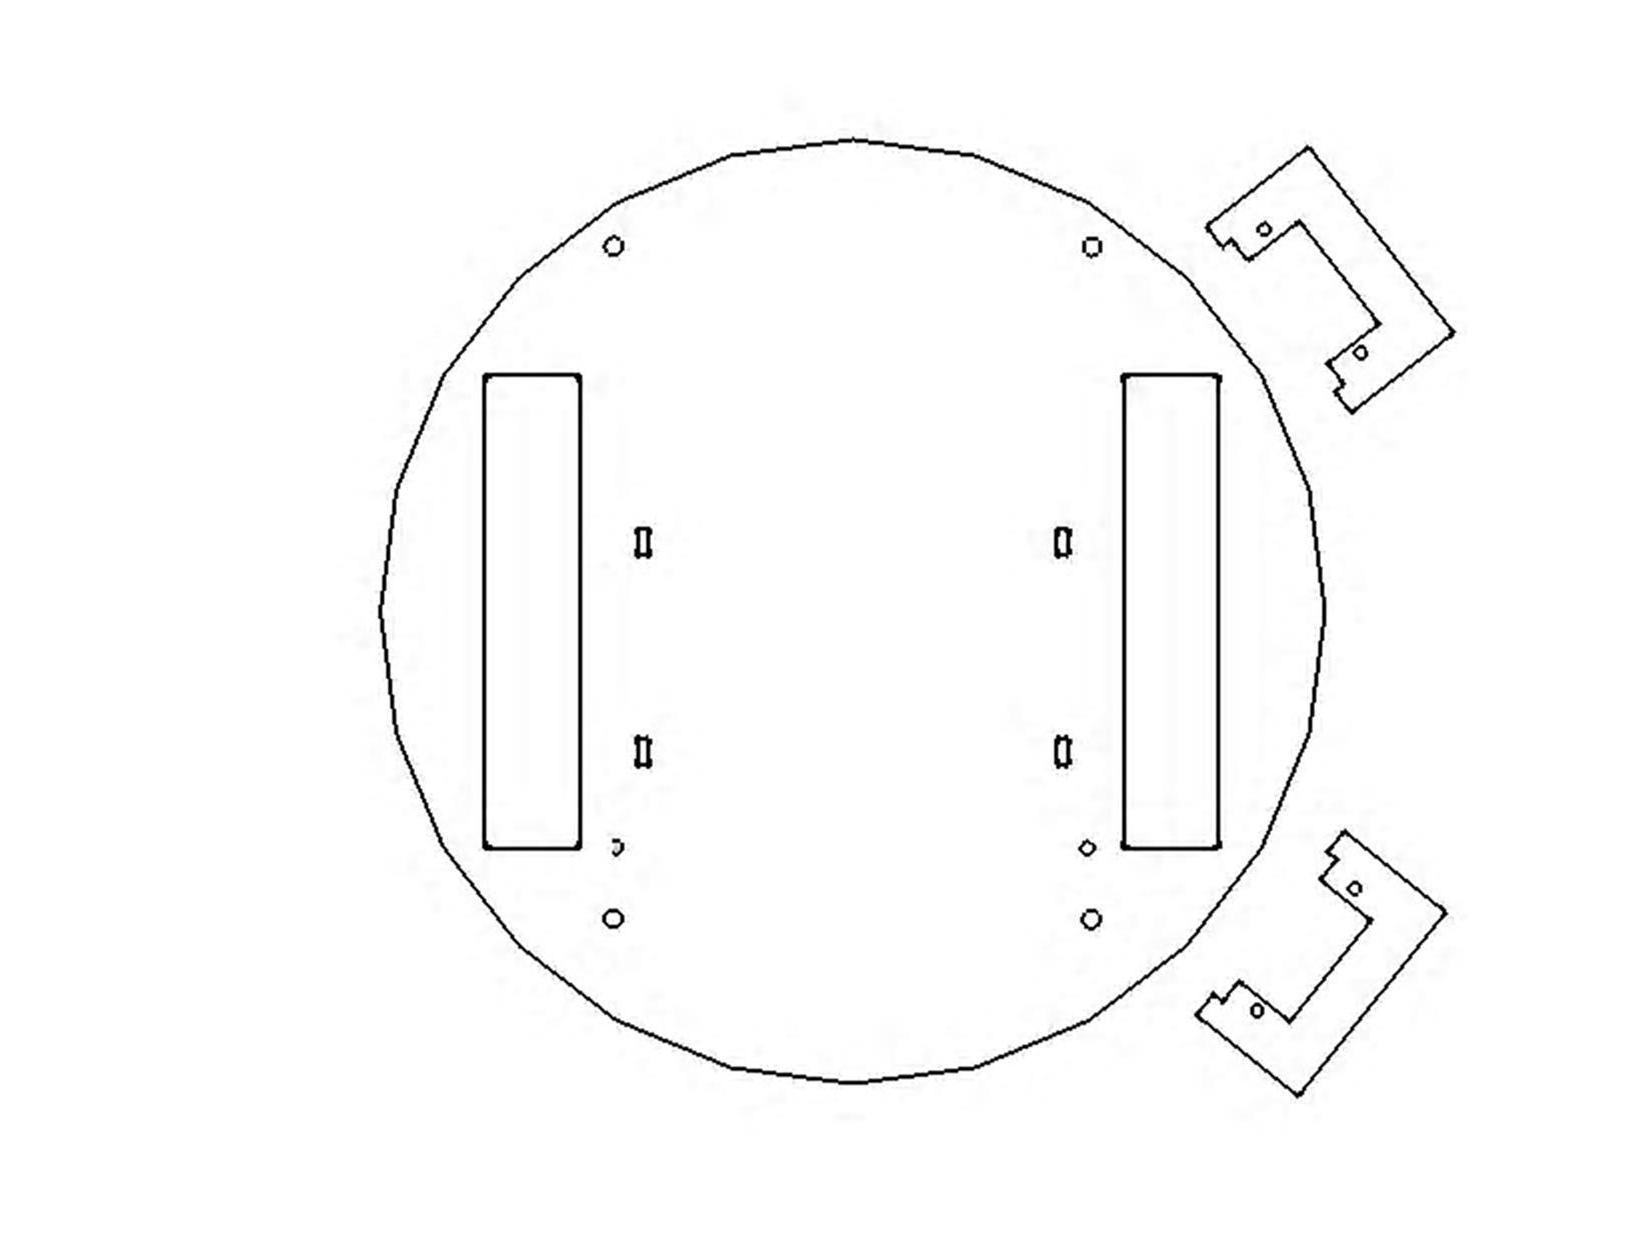
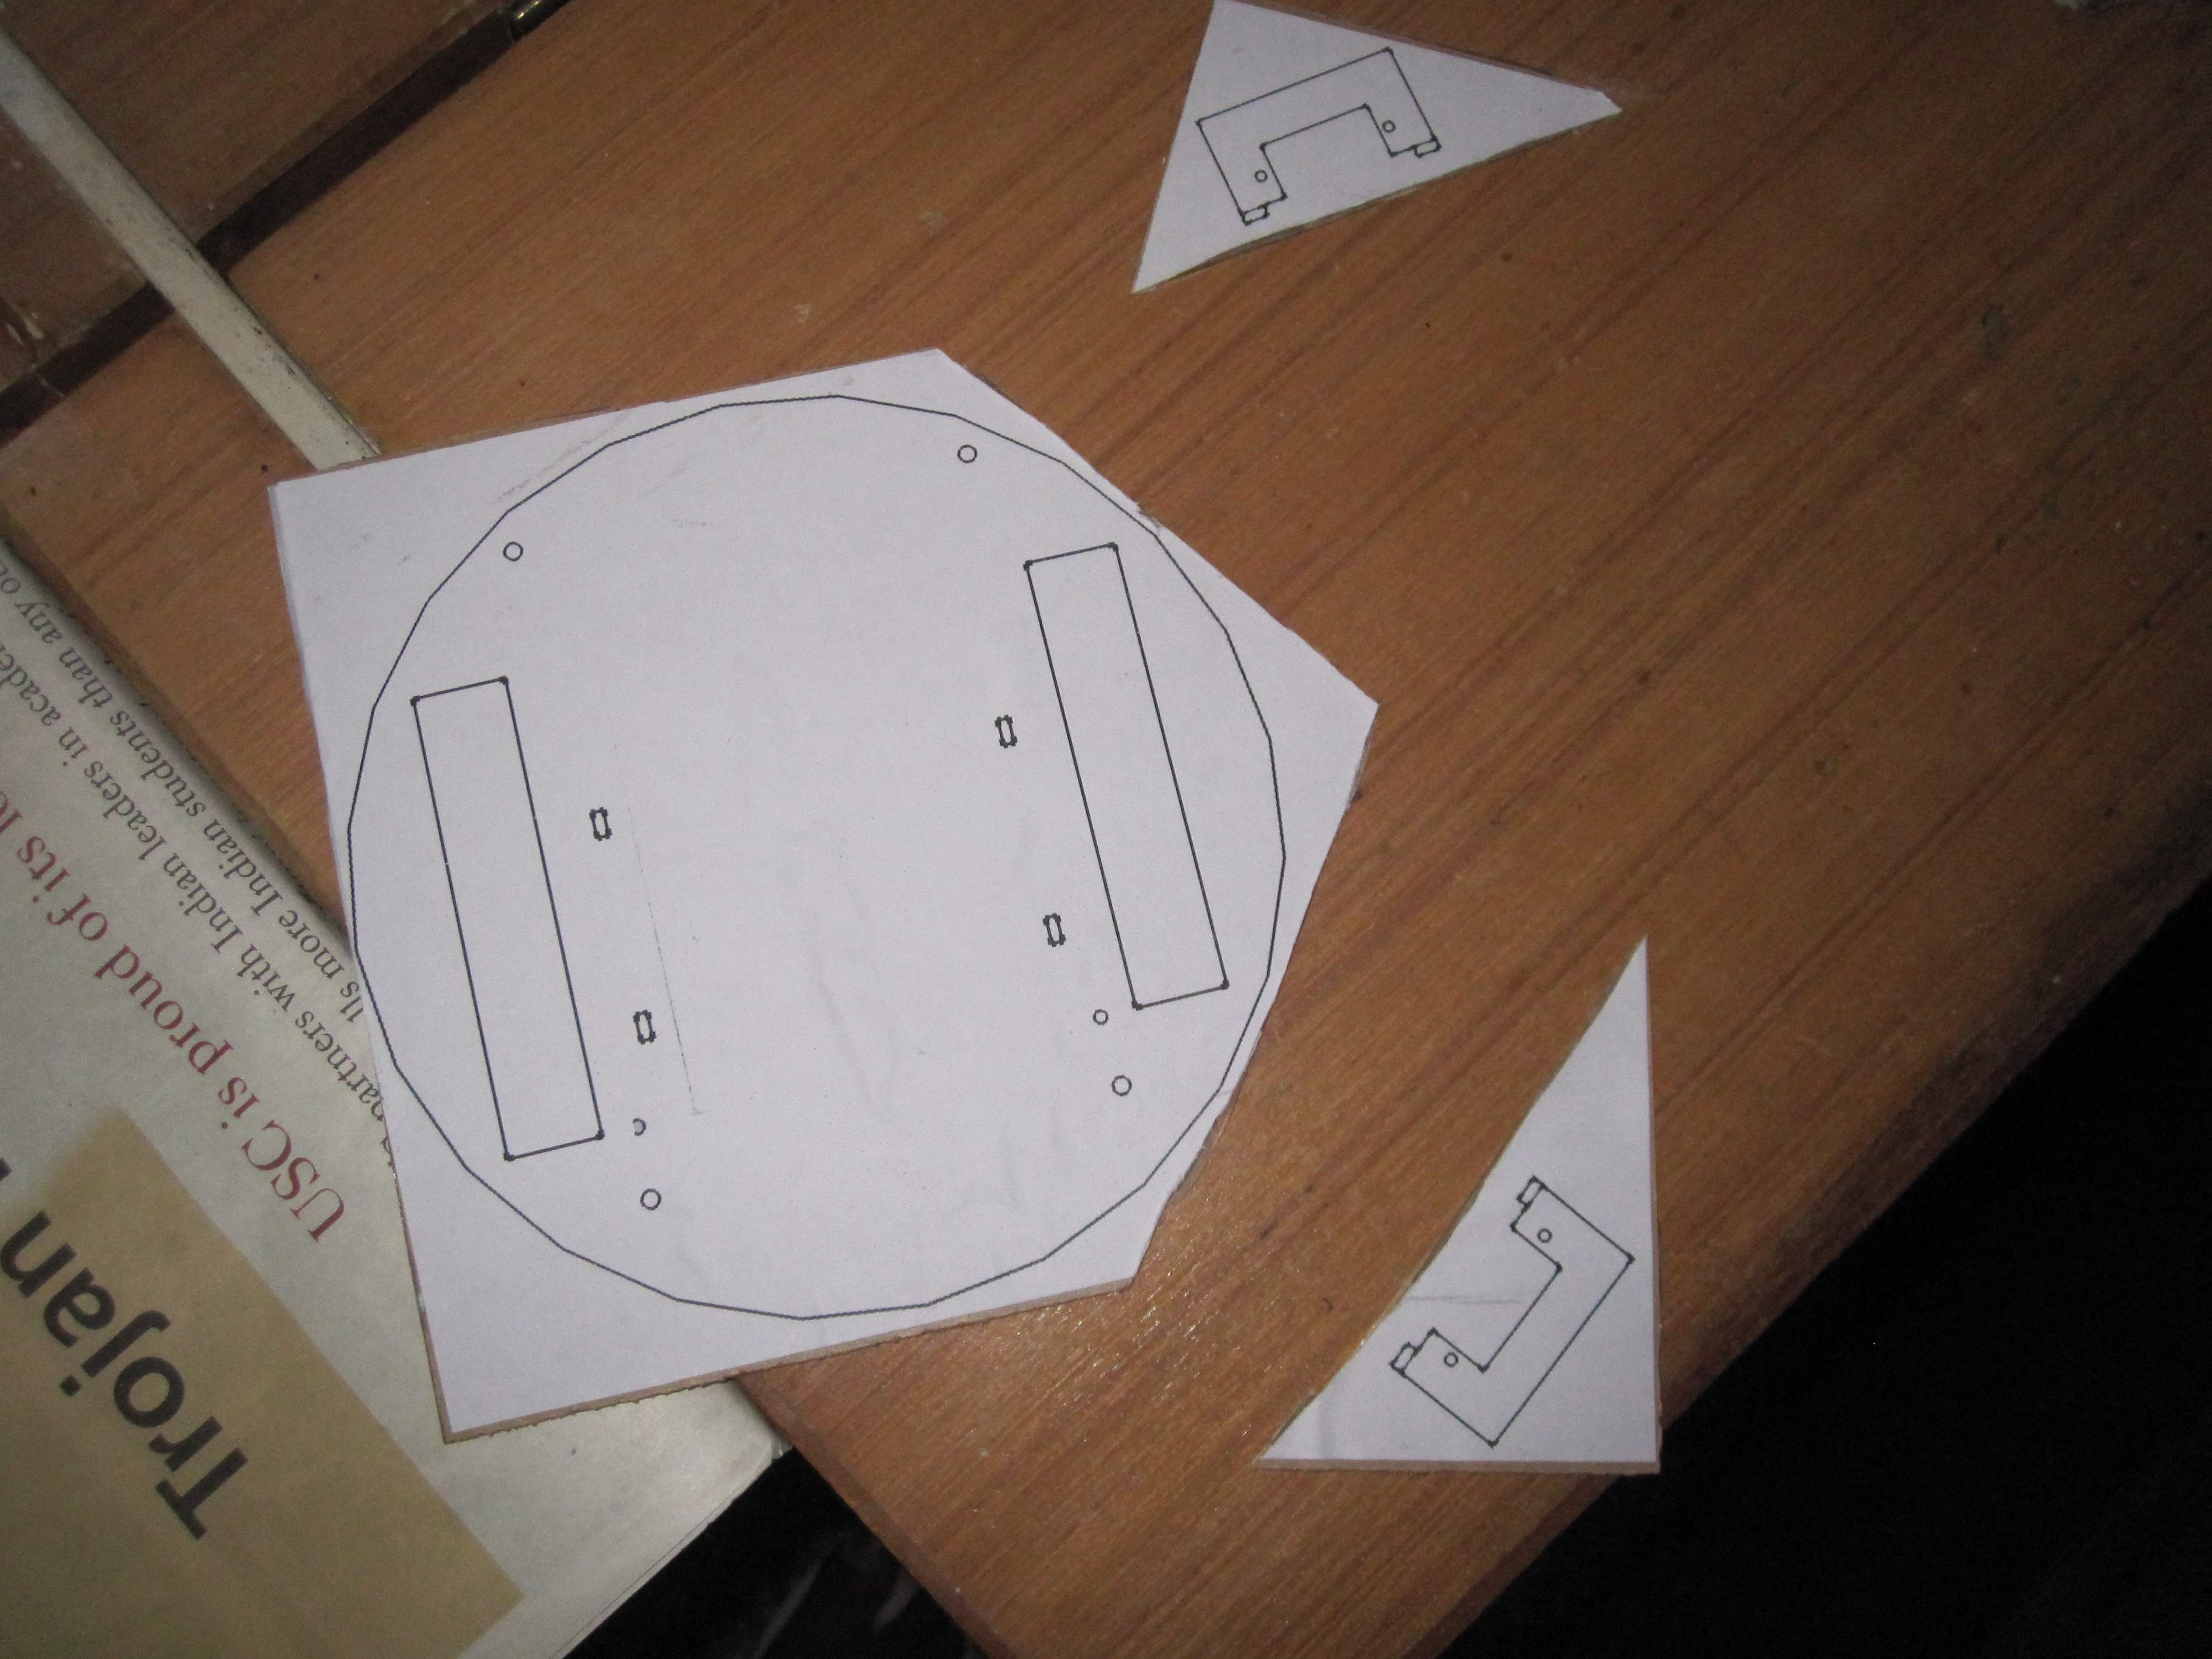
Print the outline of the parts for the chassis.
Use the option that keeps the size of the printout to the actual size.
Check the measurements after printing to be double-sure.


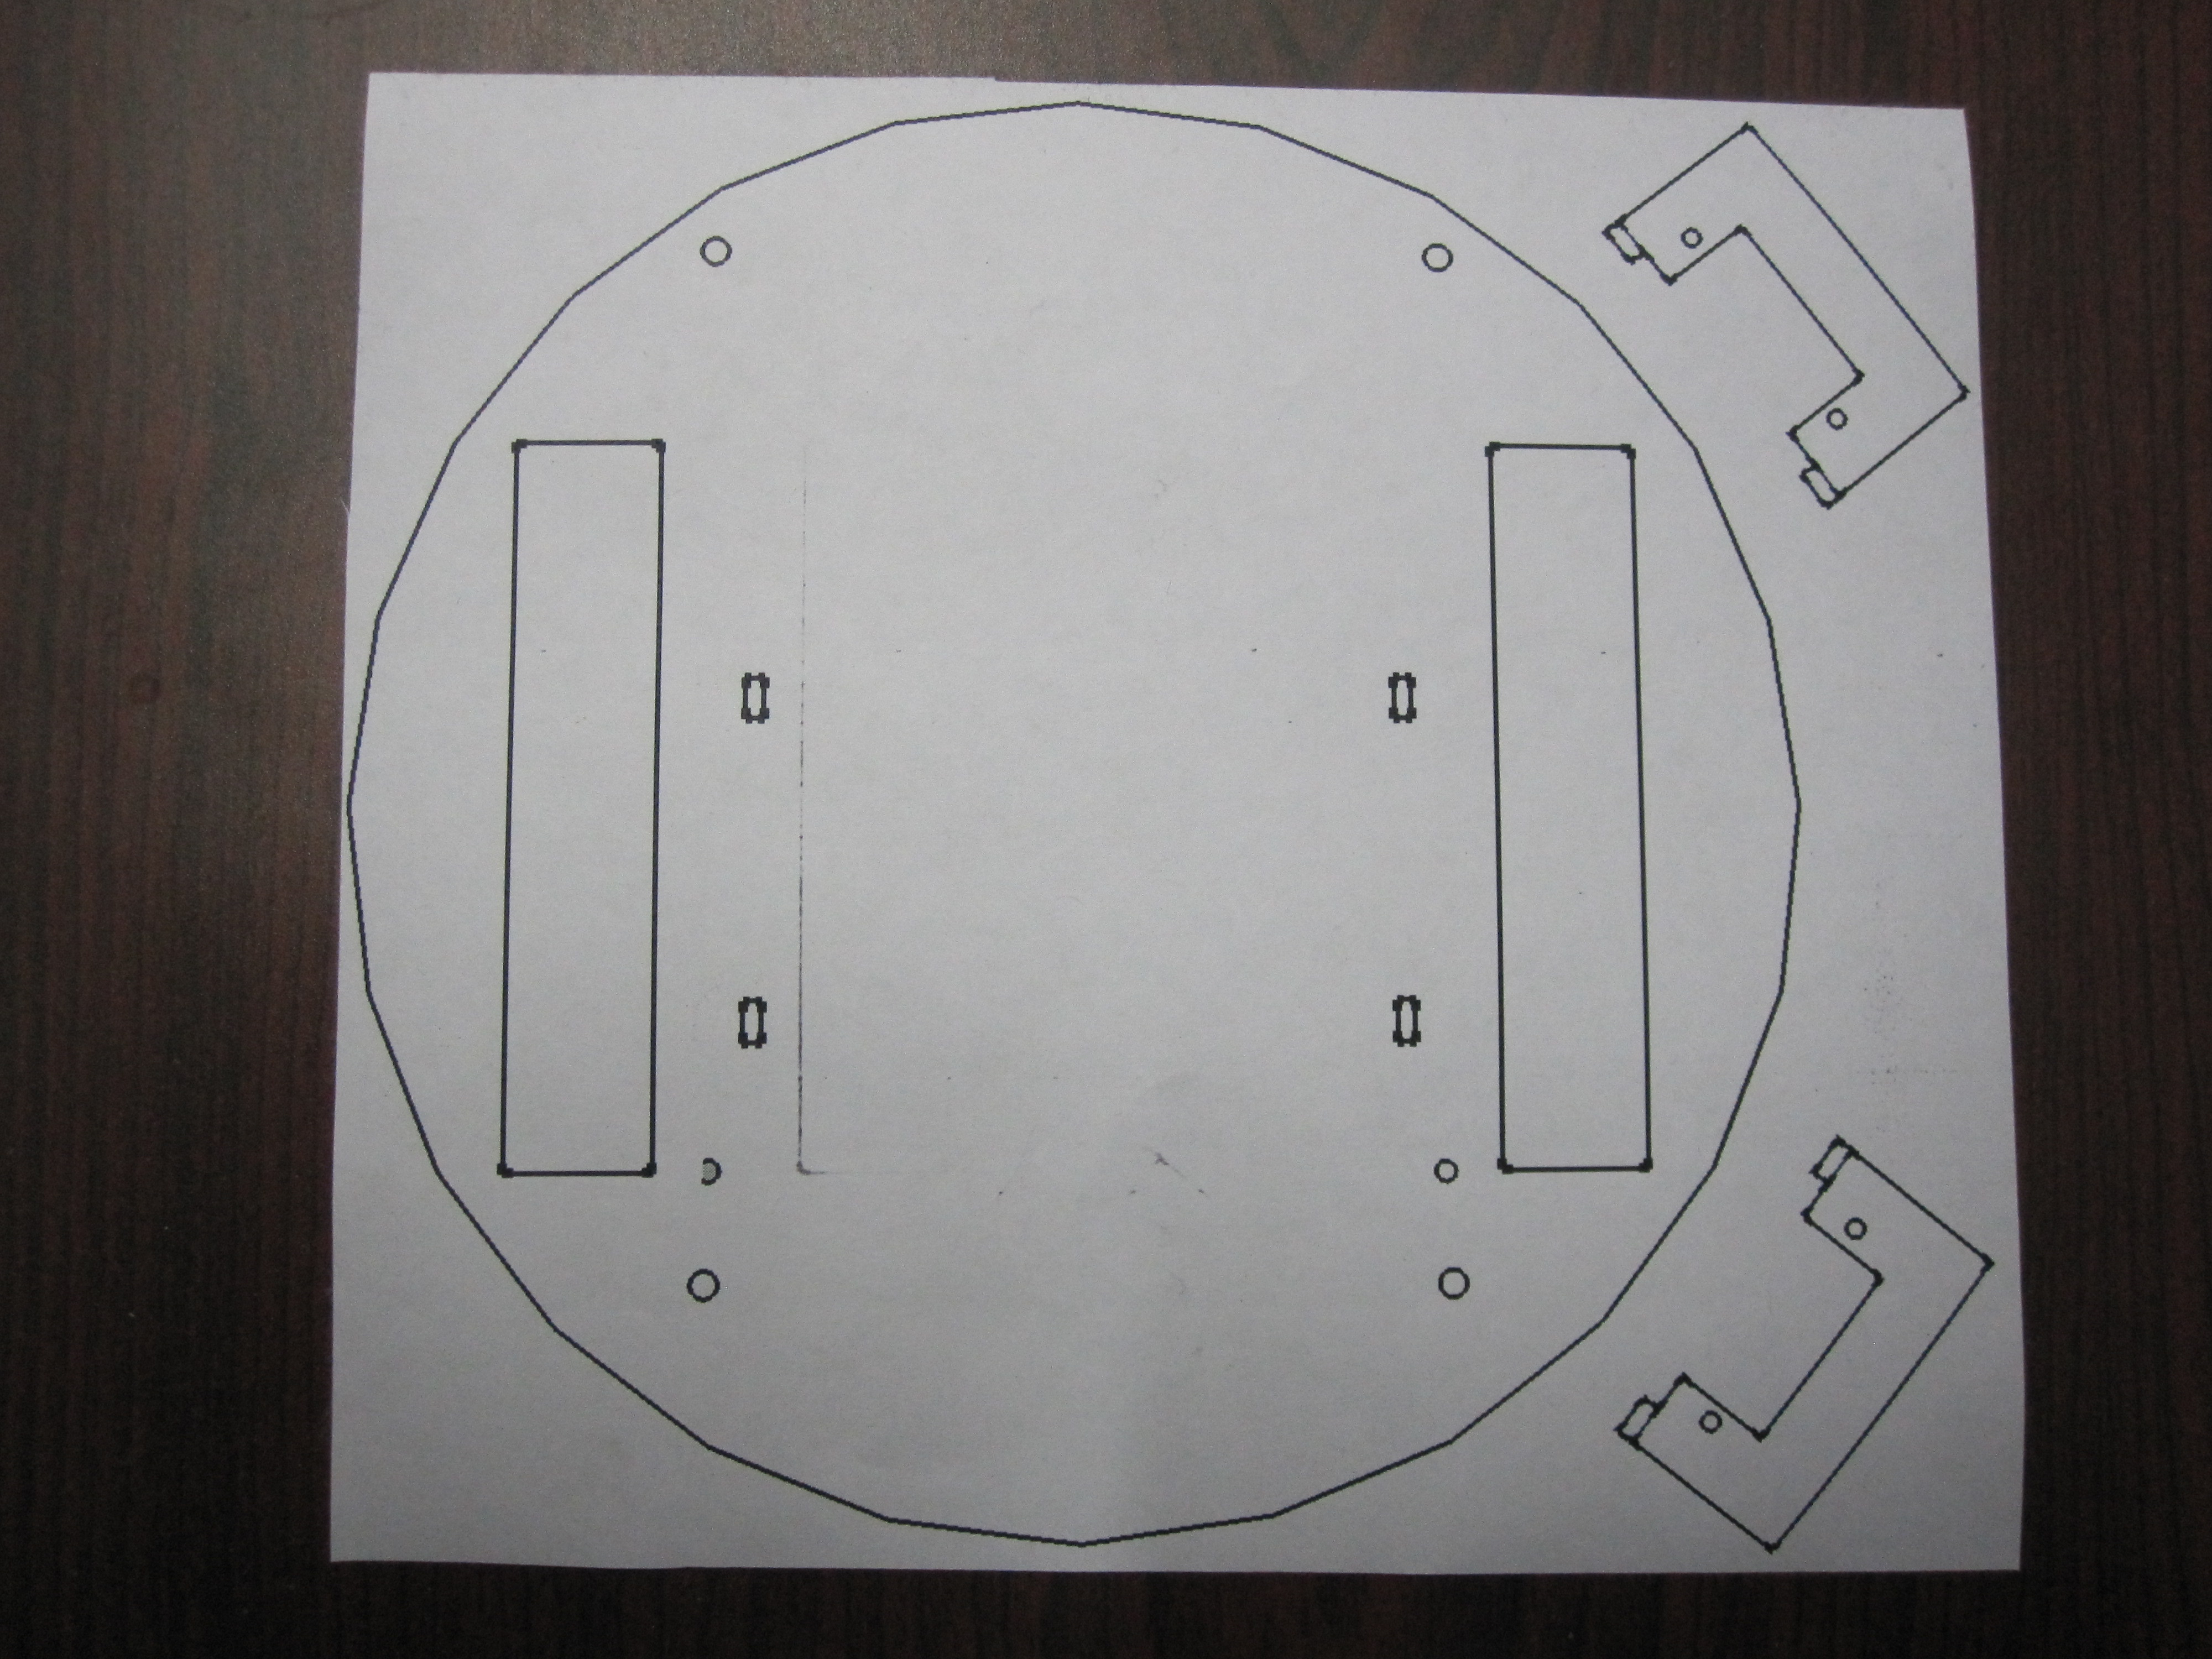
Paste the printout on the material you want to cut the chassis from.
I used 2mm acrylic sheet.
Take care when pasting the printout that there are no creases in it.
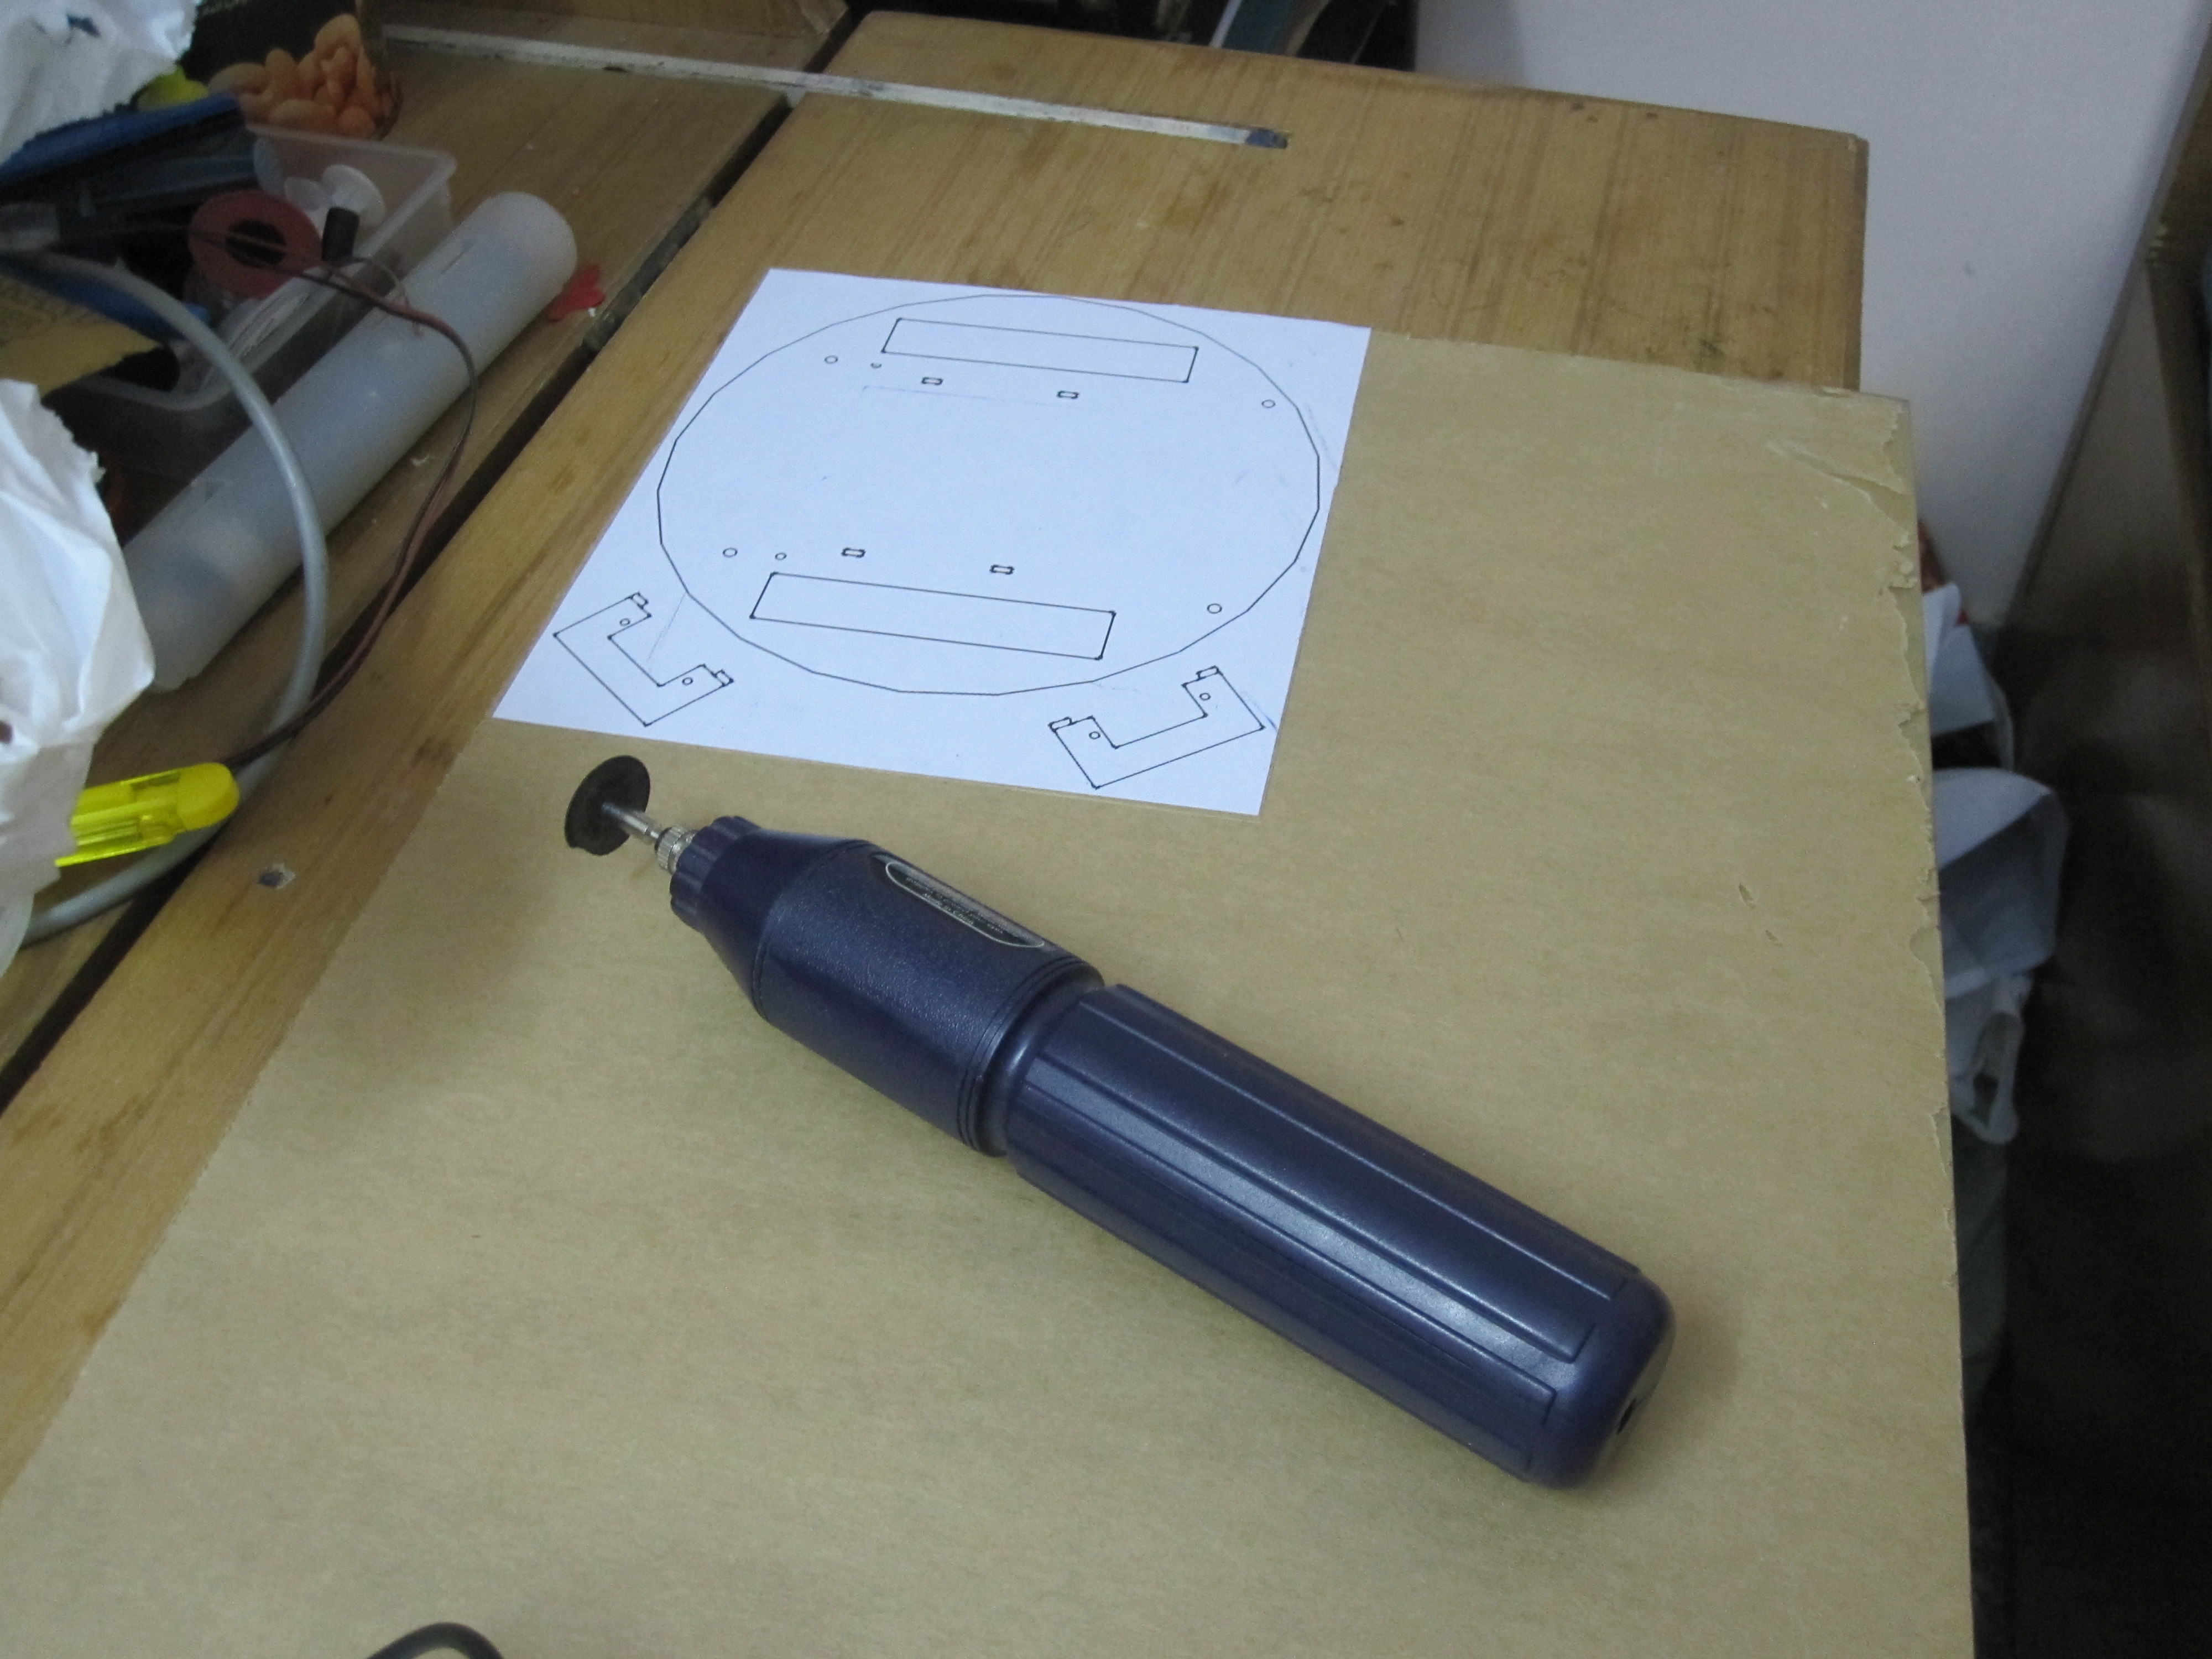
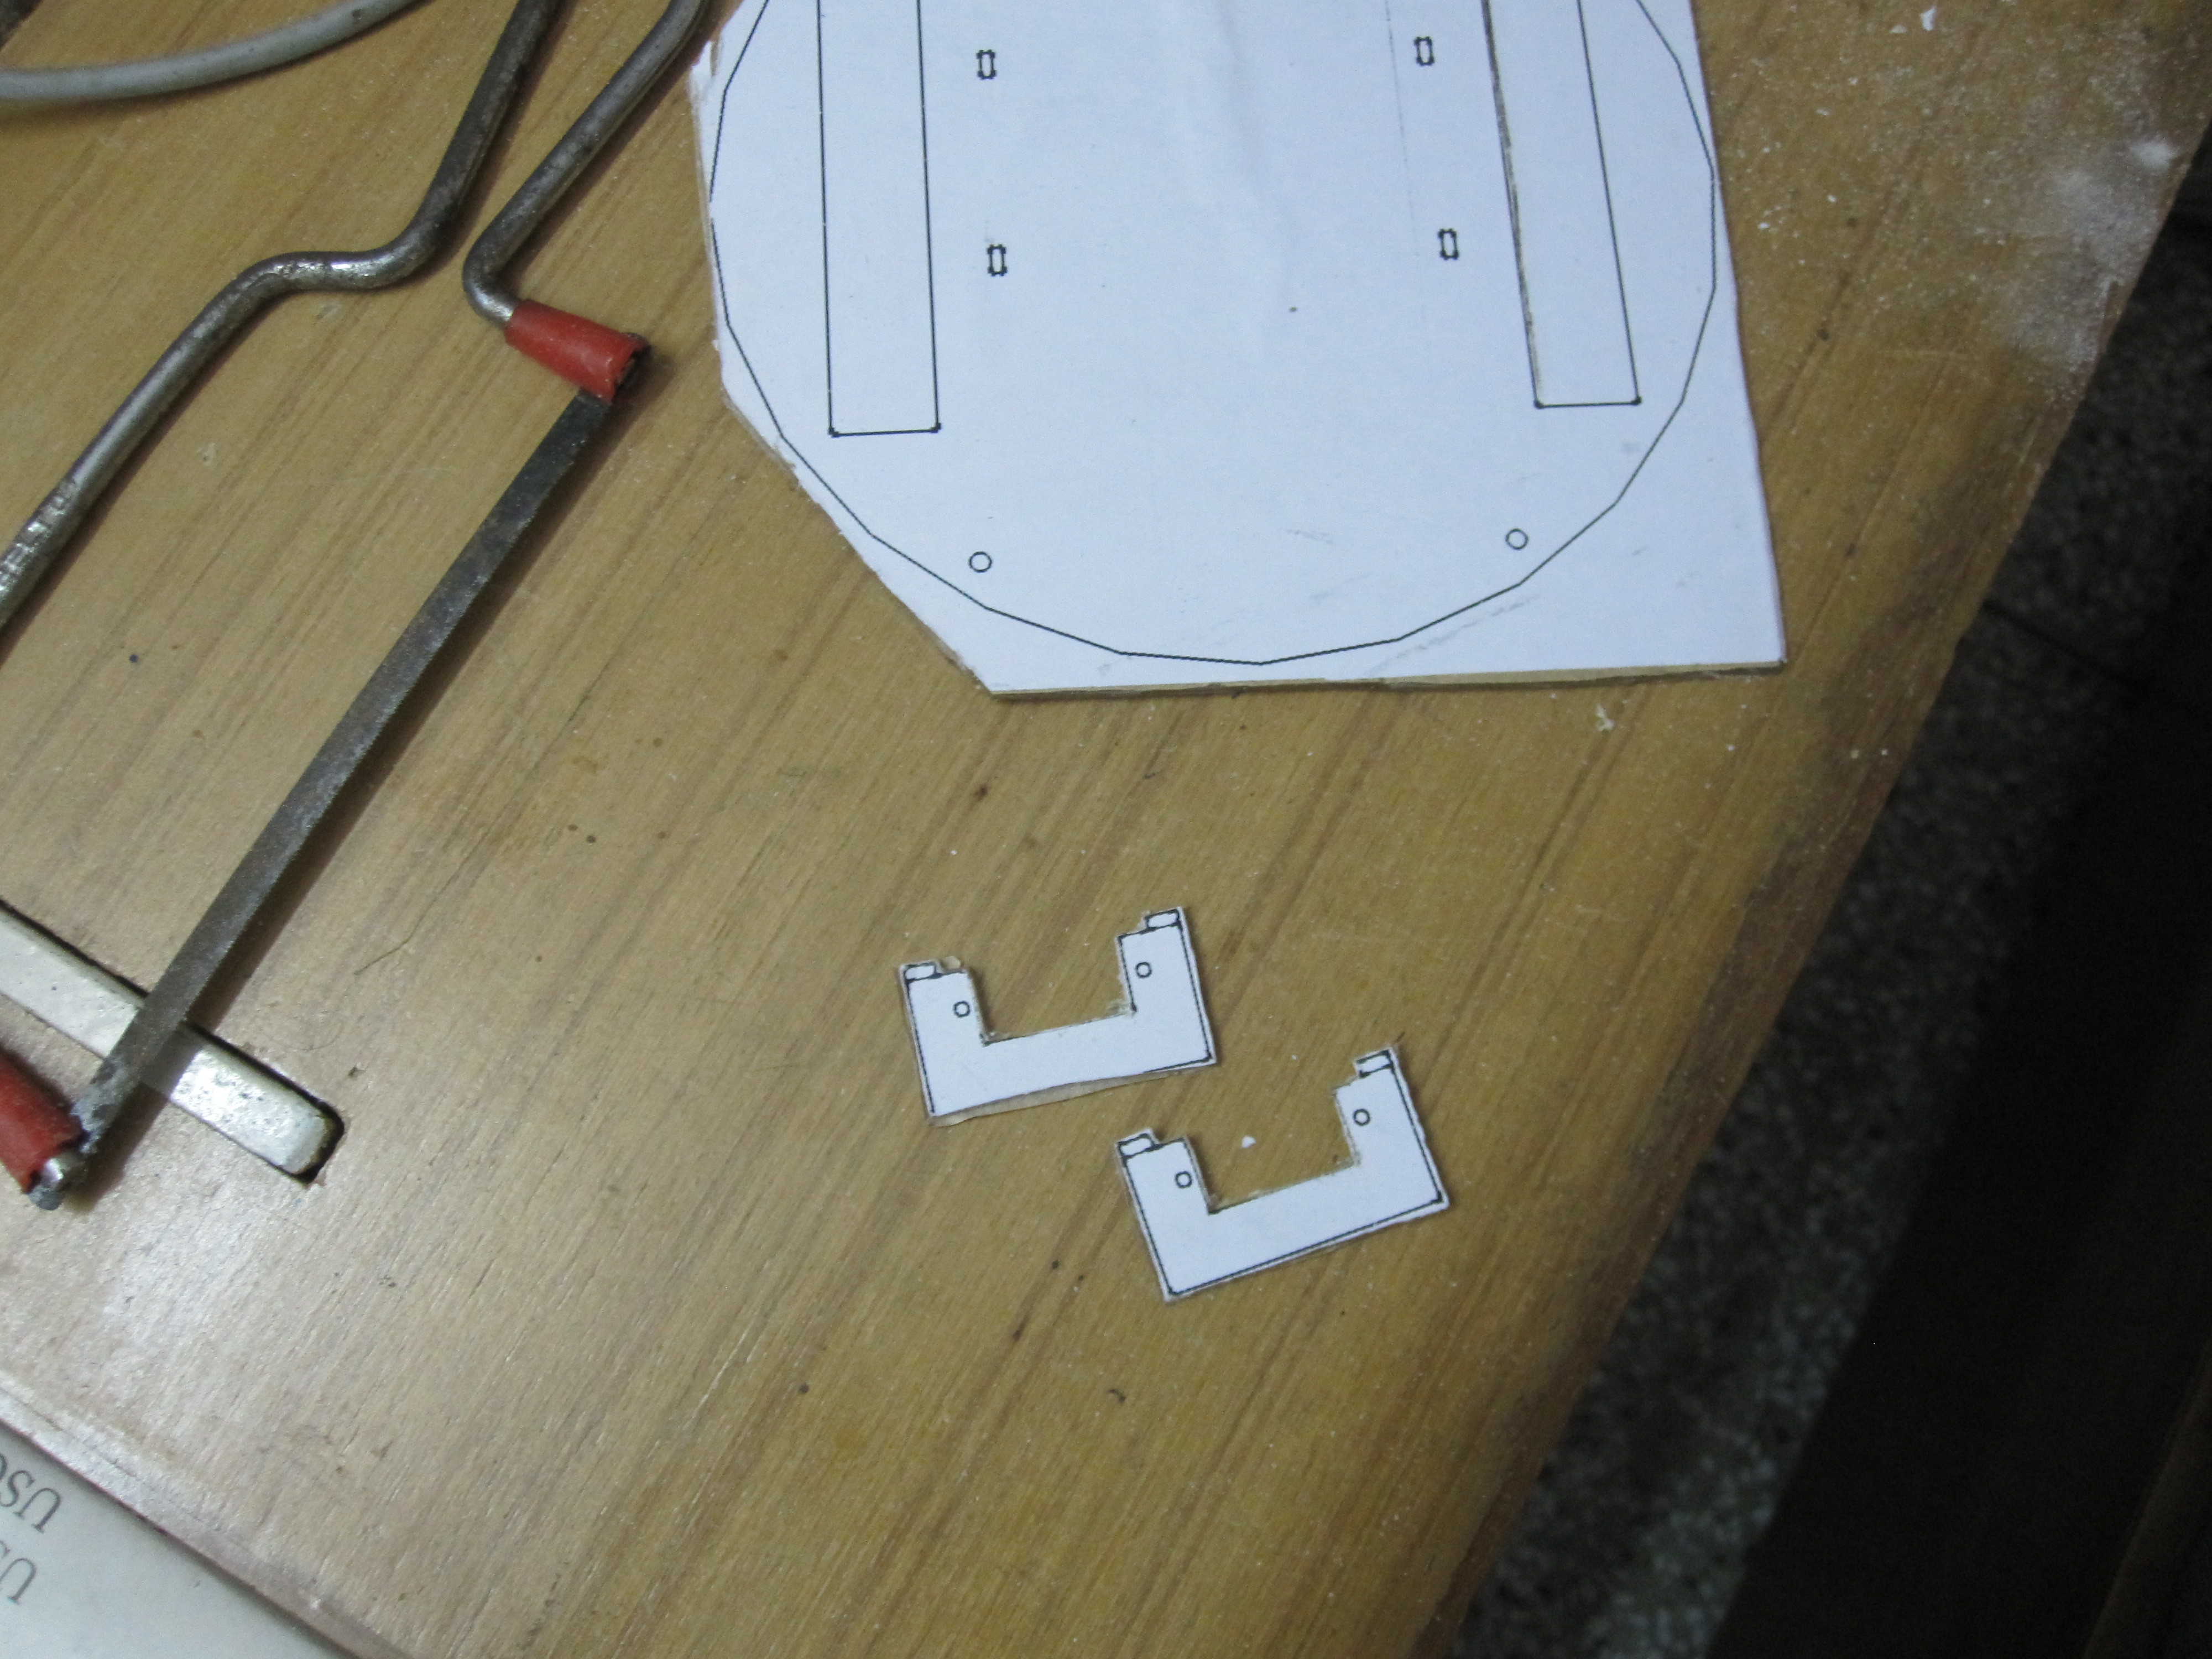
Use a rotary tool or a hacksaw to cut out your shapes.


Use super glue to stick the parts together.
I made the parts like jigsaw pieces so they meshed together to give more strength.
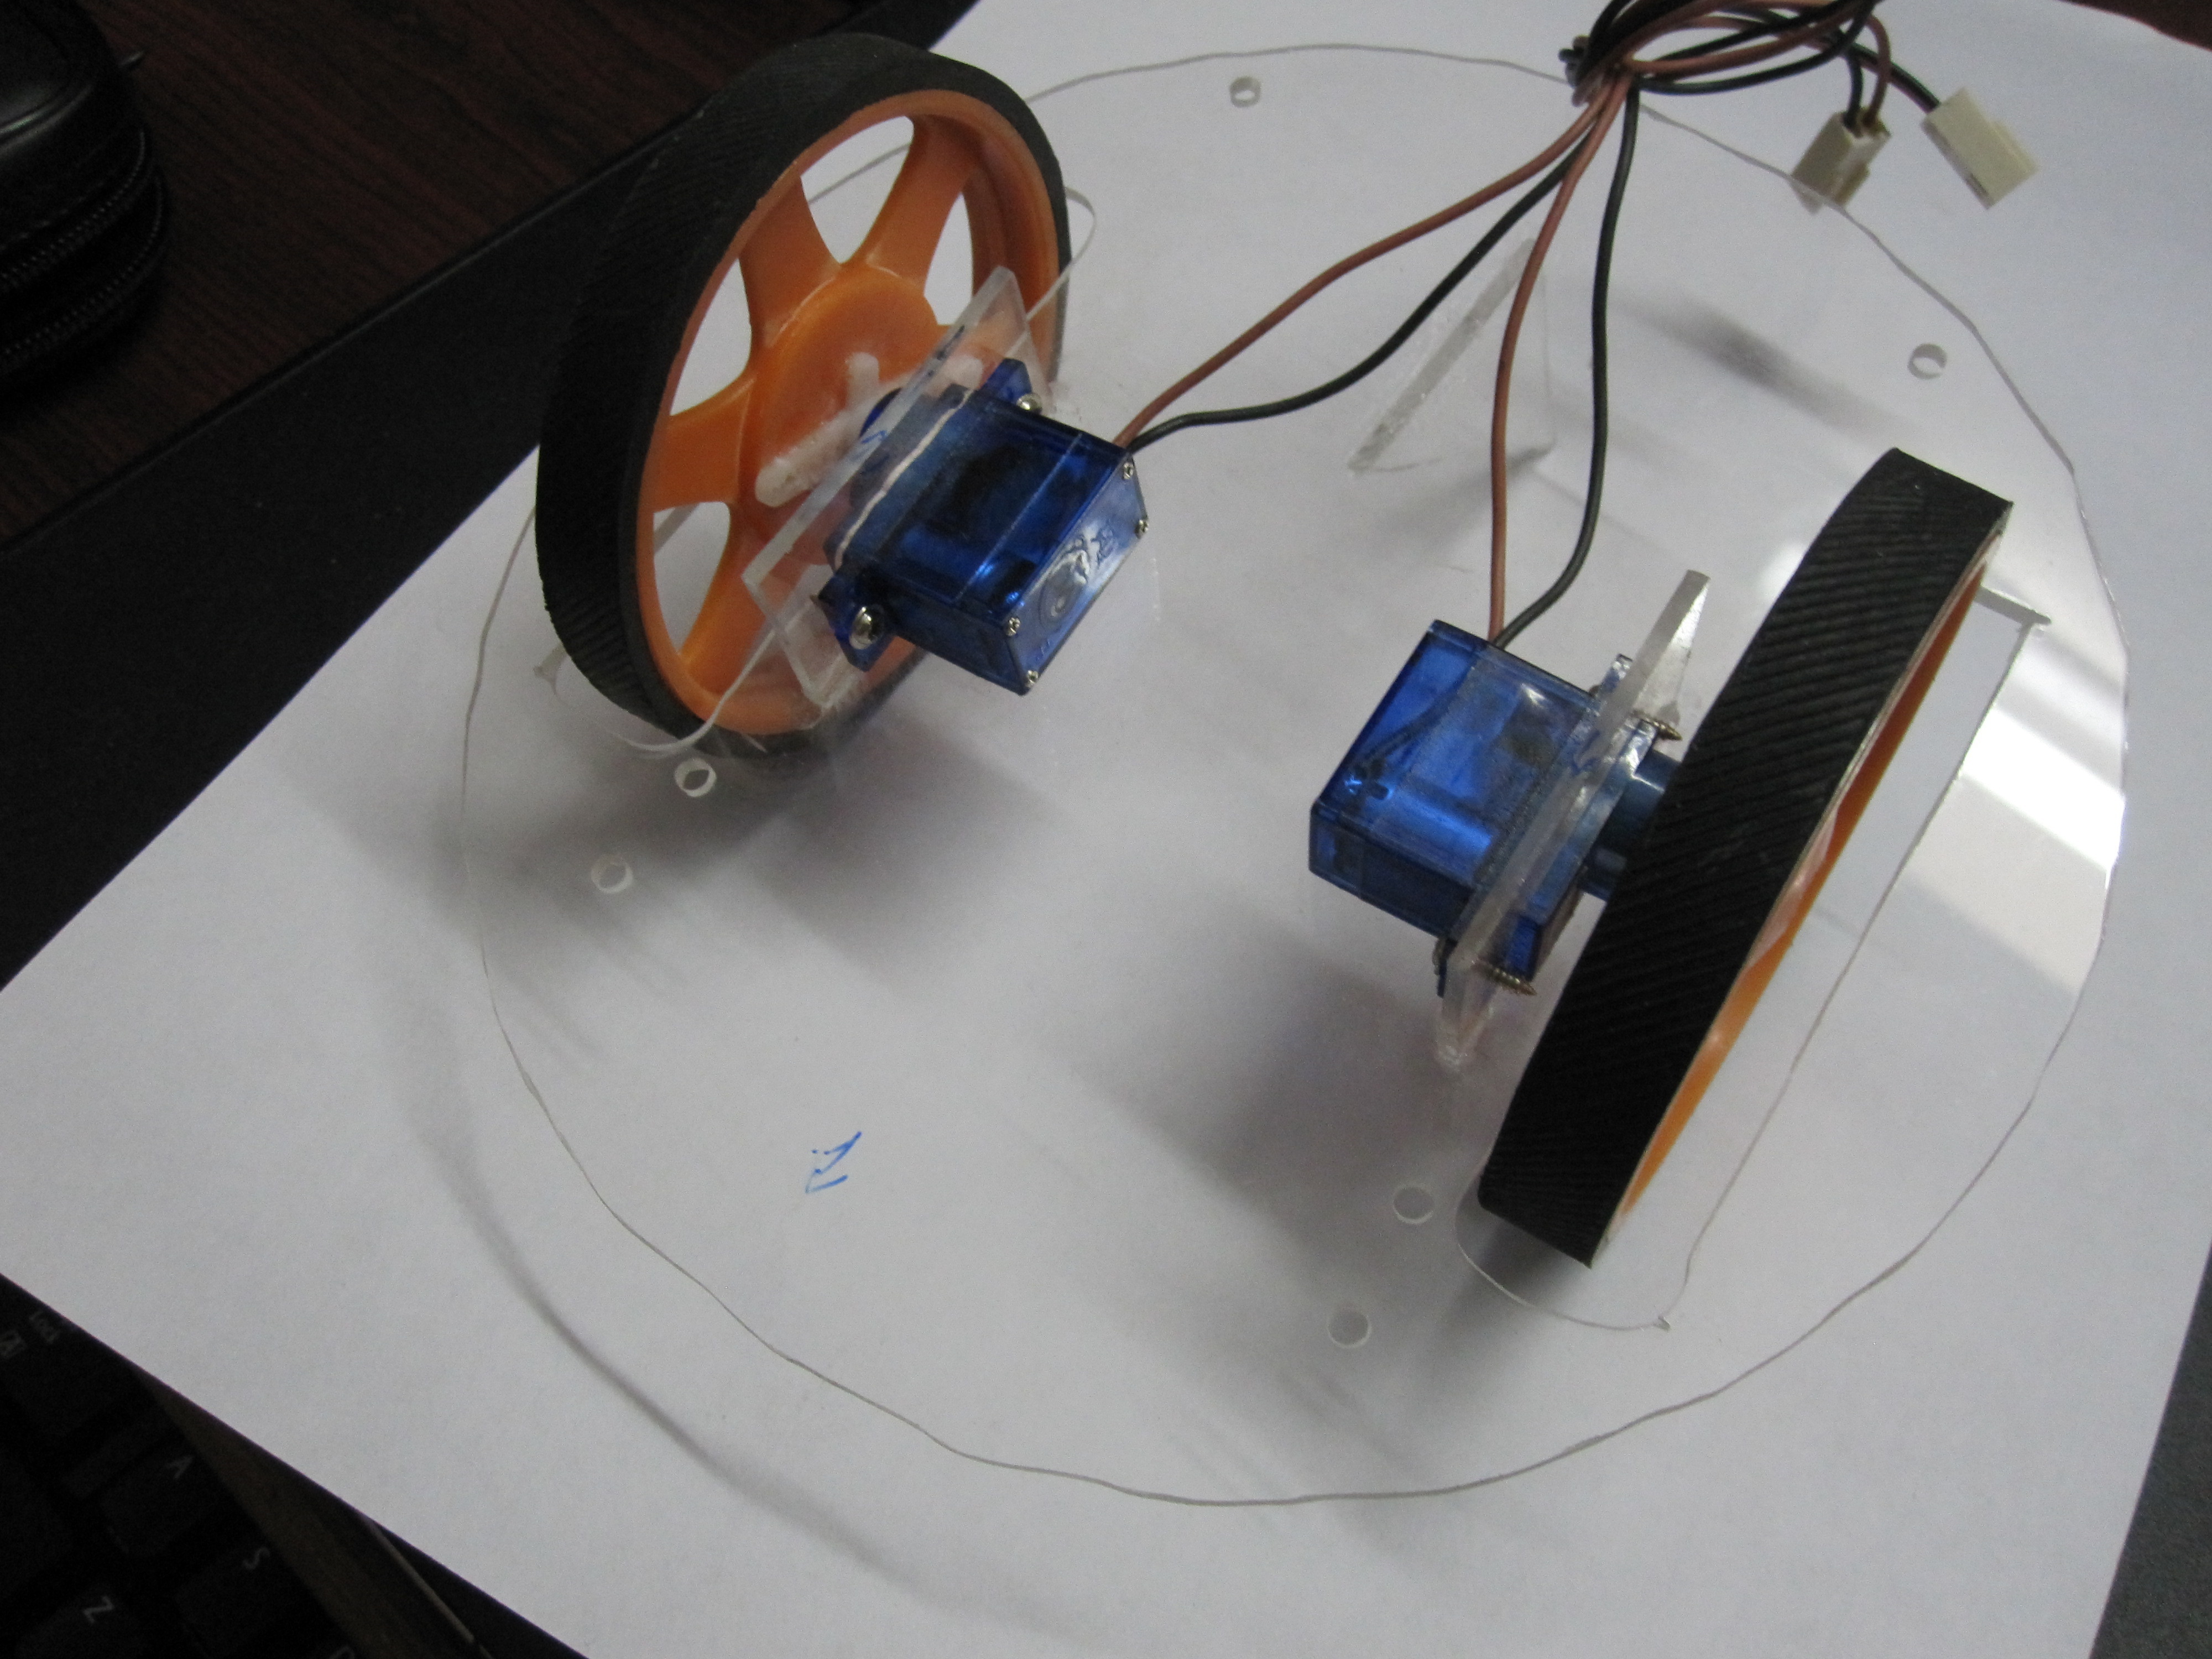
Screw in the other parts like motors, caster wheels, etc.
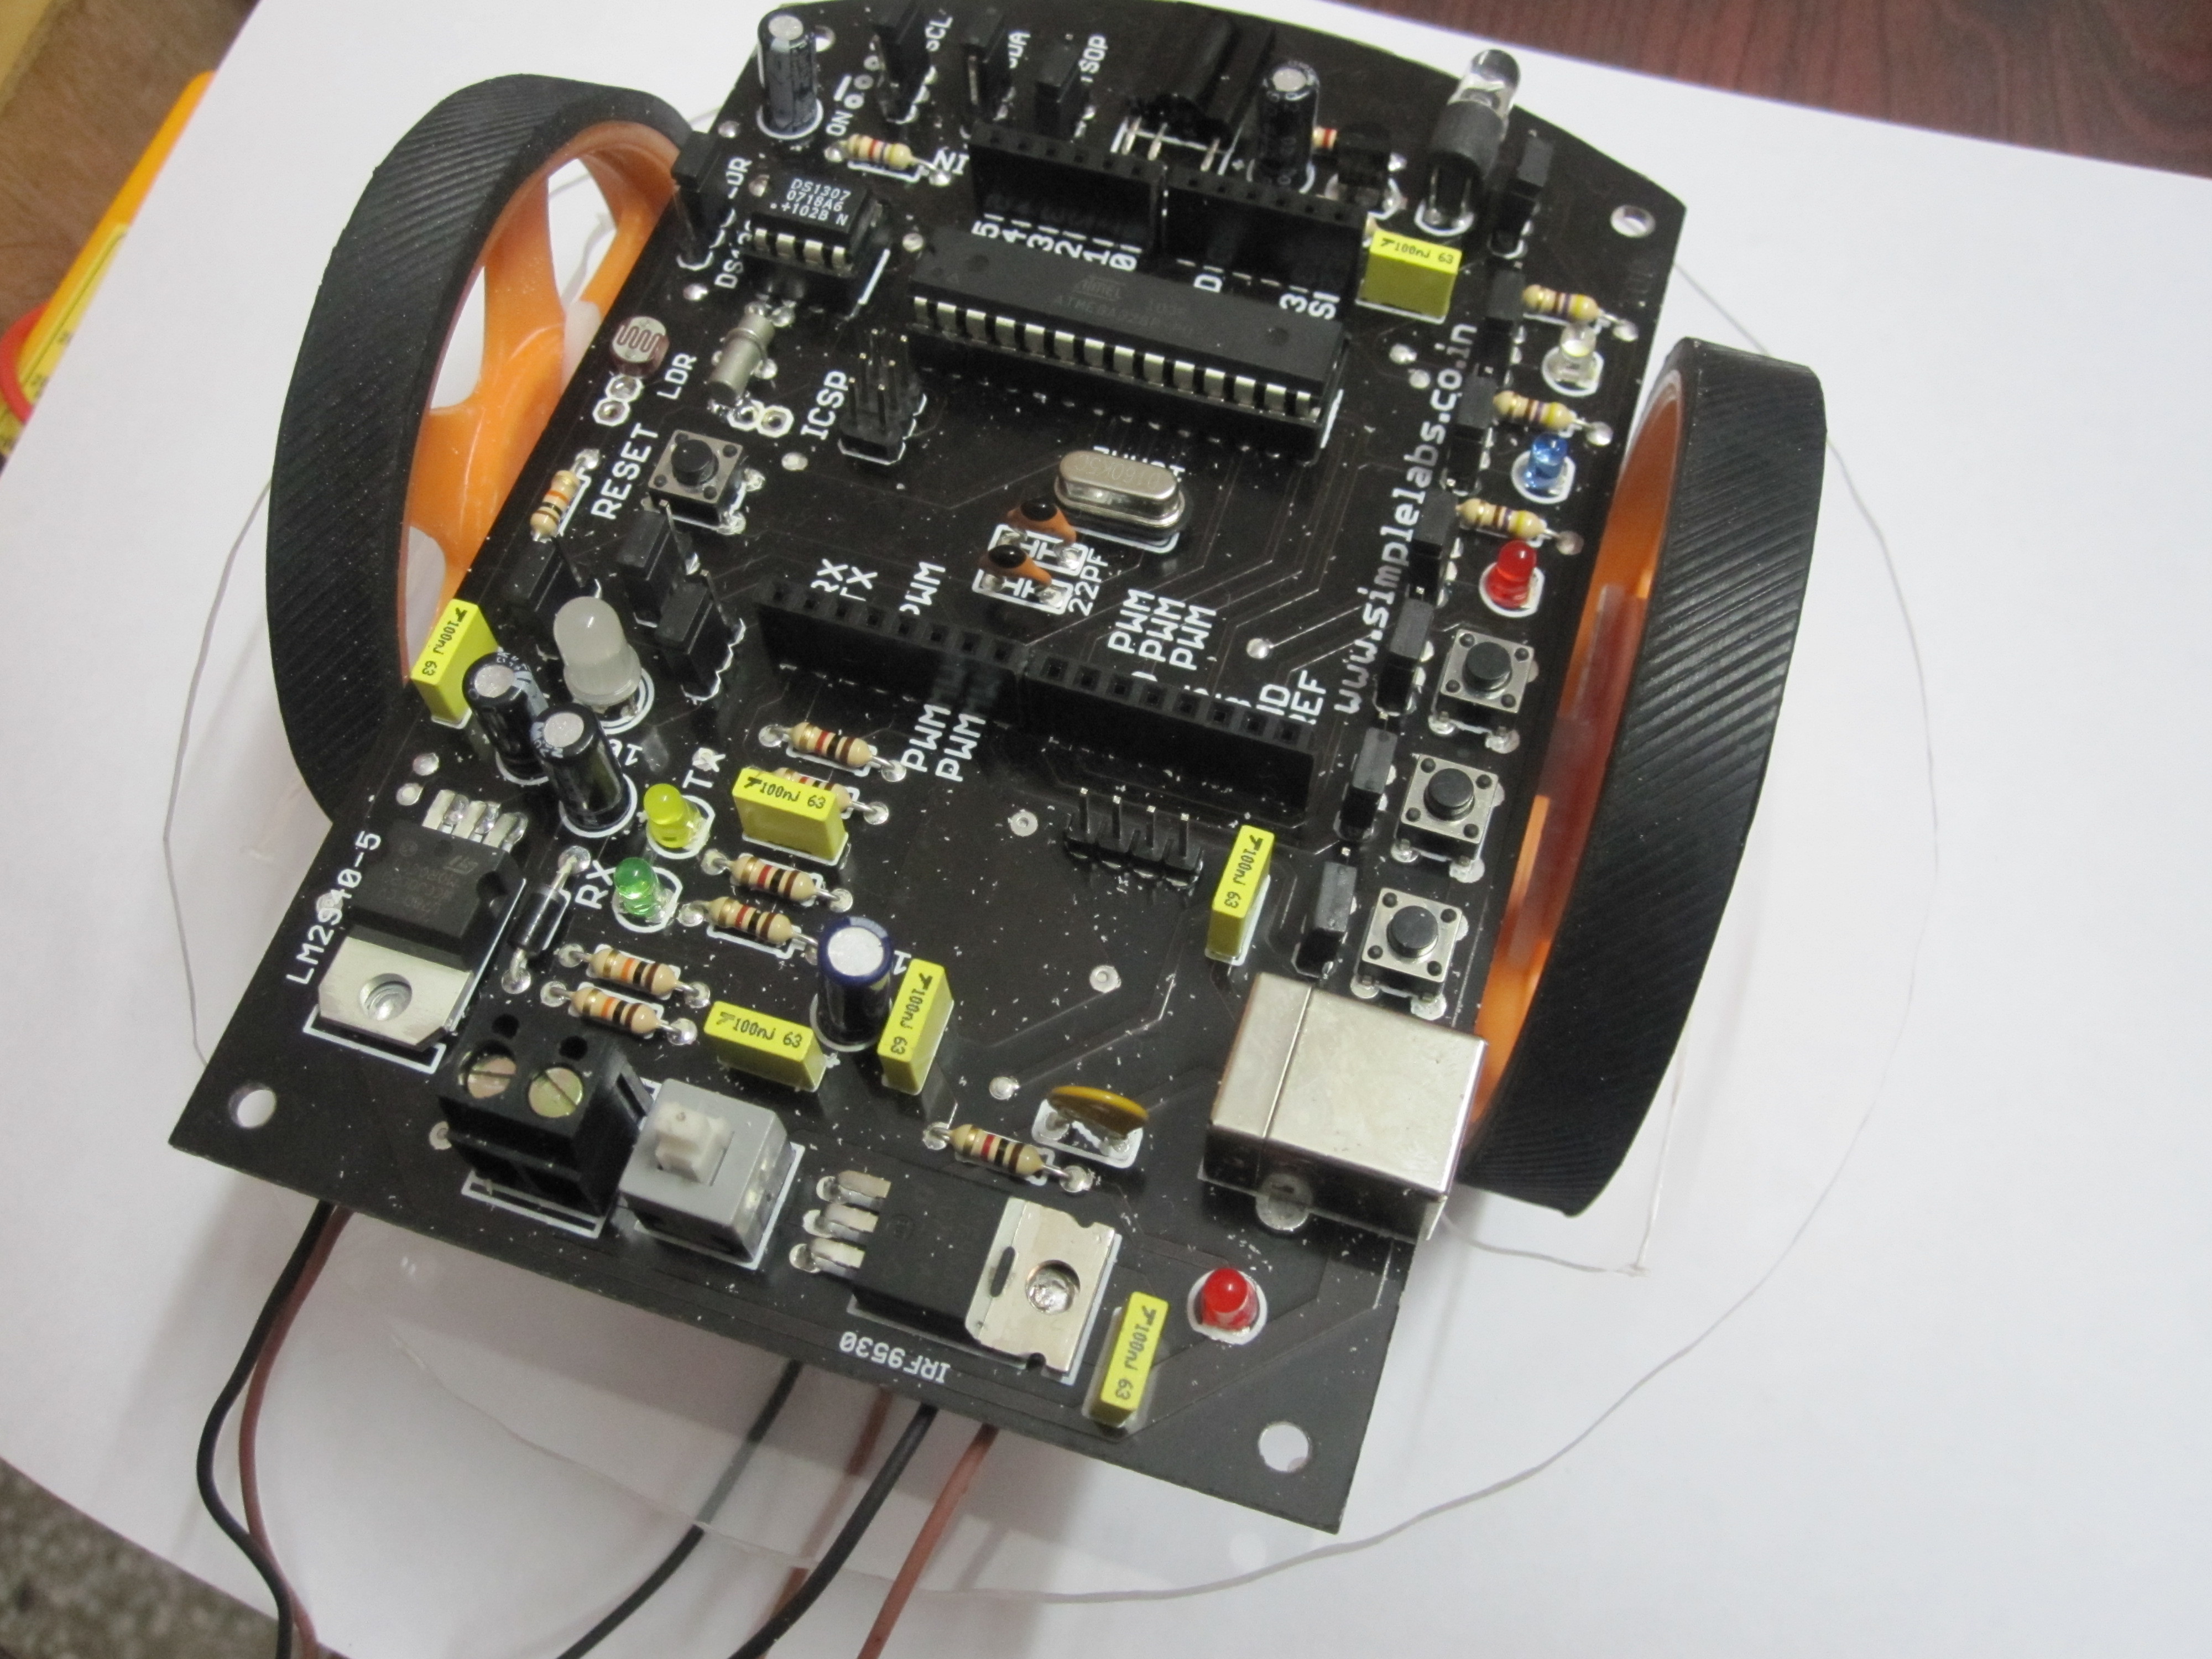
Finished chassis with the InduinoX board.


