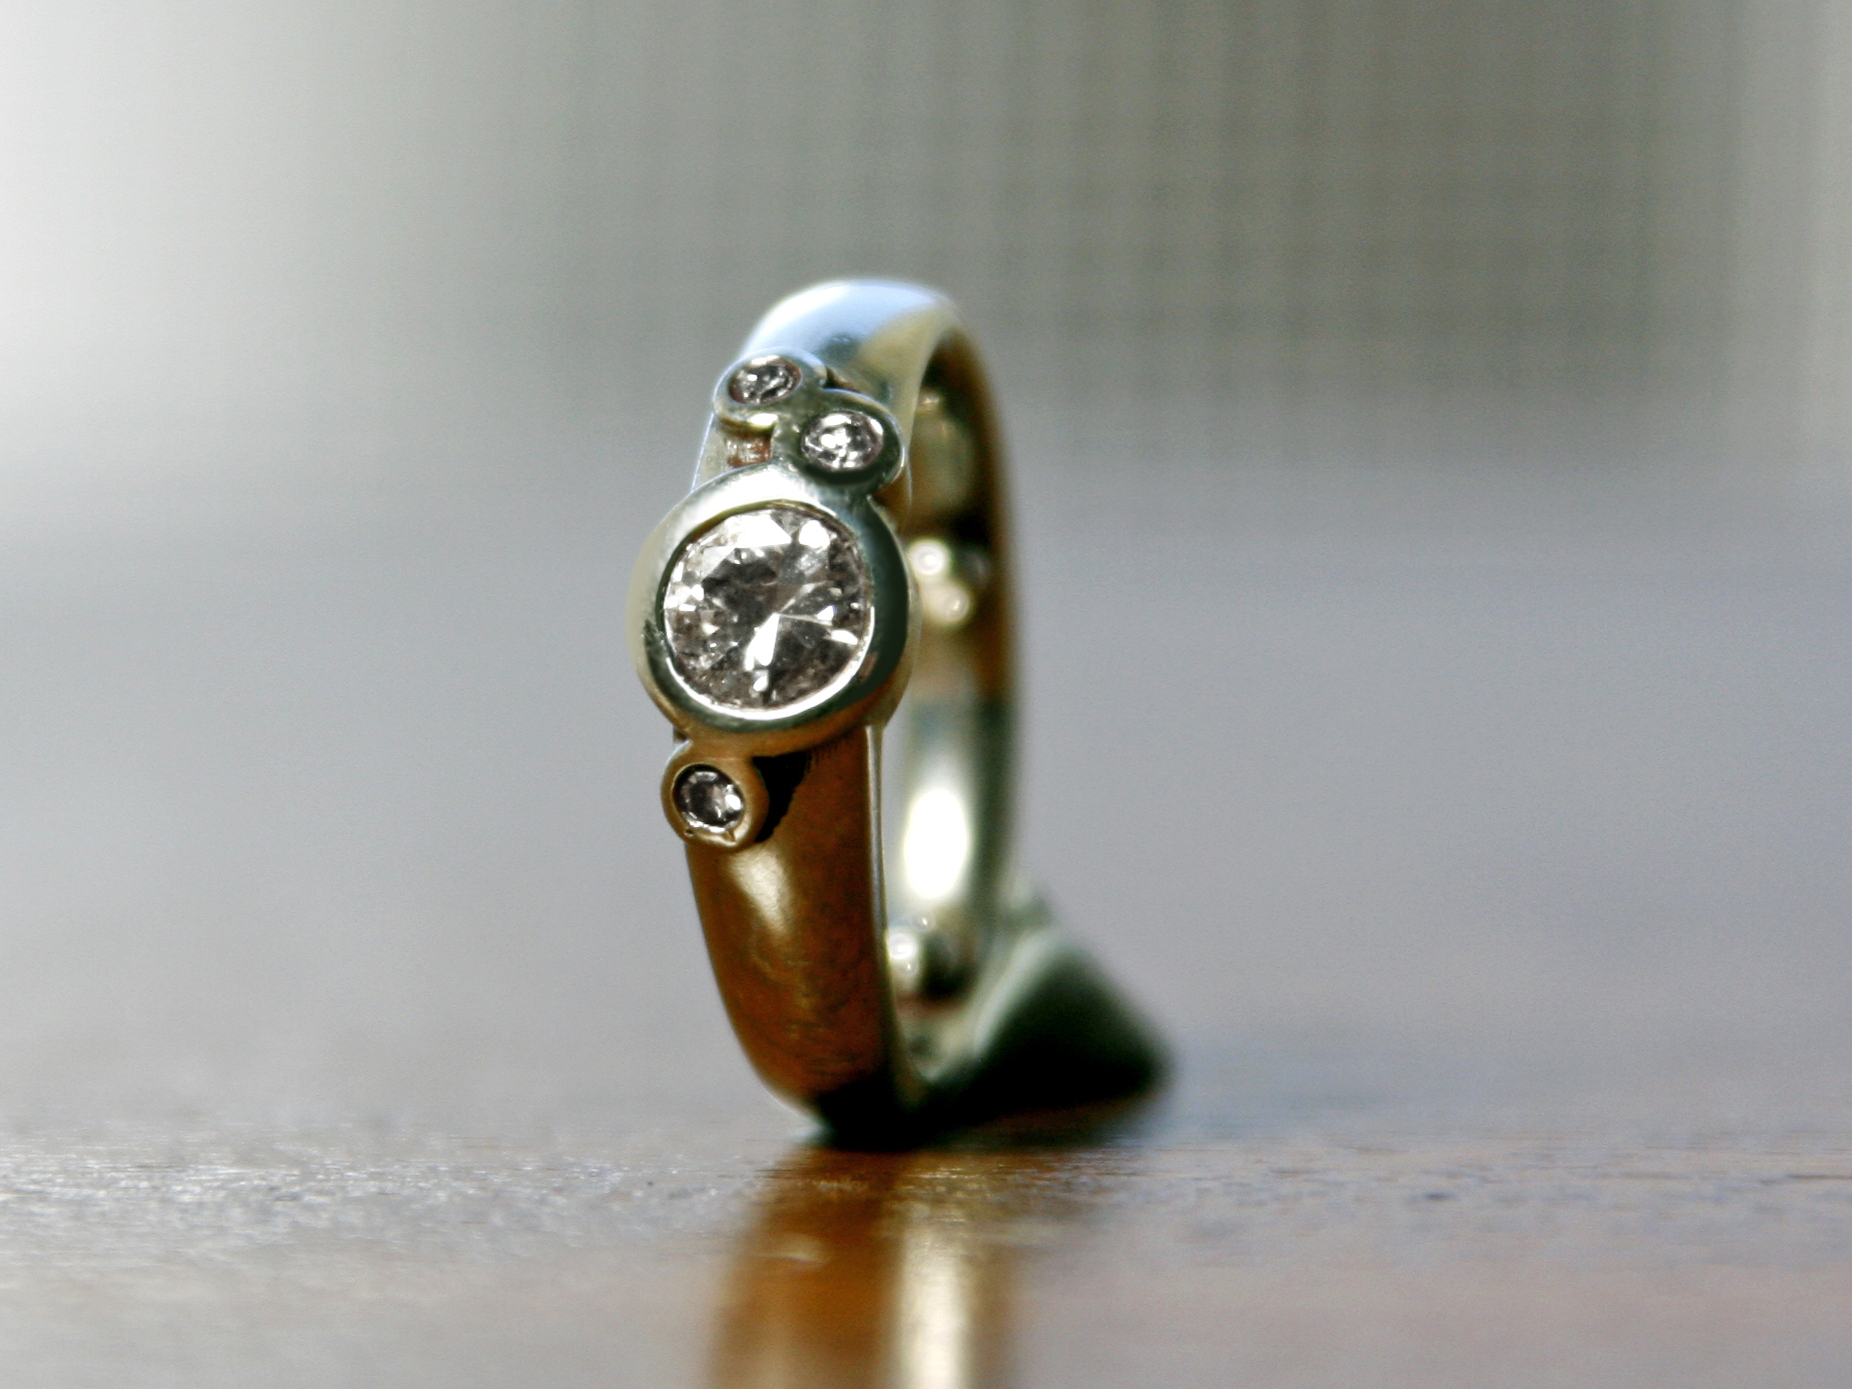
After giving my wife a handmade plastic faux-diamond engagement ring, I decided I’d better get serious and come up with more permanent wedding rings. The polycarbonate ring was funny, but even made out of an engineering plastic, there was no way it would last.
We scoured the vintage jewelry shops, and then the dreaded mall stores, until we finally decided that the only way to get exactly what we wanted was to design the rings ourselves. And like any self-respecting industrial designer, I’m prone to believing that I can design and make anything.
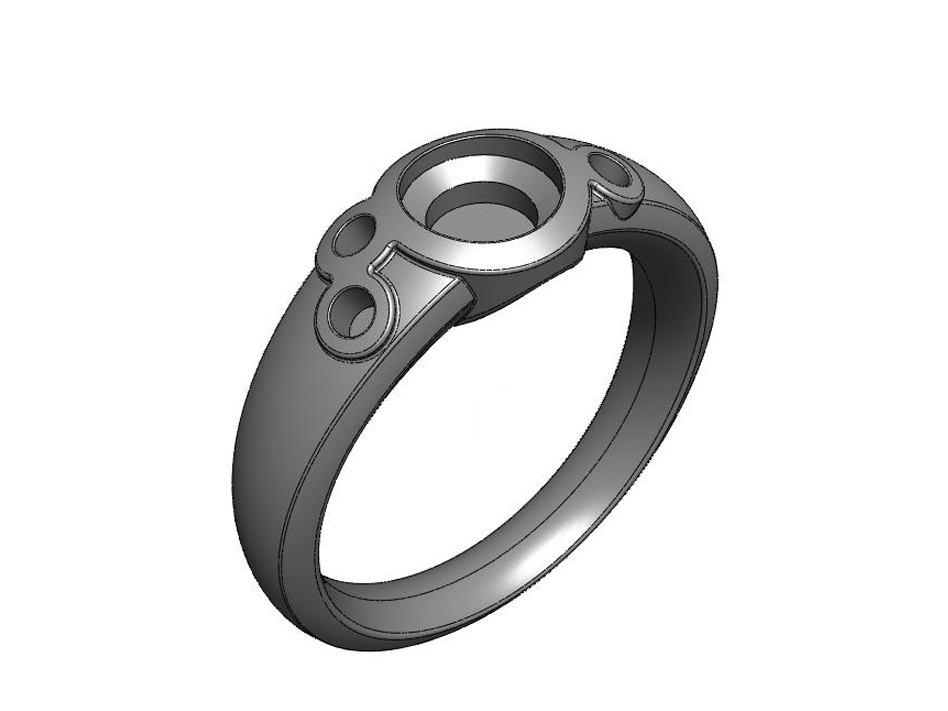
Luckily for me, the making part turned out to be easy — I simply sent my CAD design to a 3D wax printing house, then sent the wax prints to a jewelry foundry and got back platinum rings.
If you’re into highly detailed, complex forms you’ll probably need some experience using sophisticated software, but for simpler shapes you can even use the free Google SketchUp. There are many CAD platforms out there, some of them specifically for jewelry design. I chose SolidWorks because it’s what I use every day.
Each metal has a different shrinkage rate, so the last operation you do in the CAD process should be to scale the design to account for shrinkage. The casting house you choose may use a custom-formulated metal, so ask them what the shrinkage will be.
Once the design is done and scaled, output it to whatever file format your 3D printing house needs. Typically this is an STL file, but not always. The printing house will let you know what they need.
Then wait for the 3D wax prints to show up in the mail. Choose a place with a machine that’s designed specifically for direct lost wax casting. I wasted a bunch of money having the designs printed in a plastic material that I was told could be burned out of the investment (the mold) directly.
This may work for some metals, but for platinum it produced unusable parts with air bubbles. In the end, I went with a high-precision wax printer designed specifically for jewelry casting.
If you’re a hobbyist jewelry maker, you may be able to cast the rings yourself. Not having a metal foundry in my closet, I chose Platina Casting in New York to cast them in platinum.
You’ll pay for a little bit of extra material in the form of a sprue attached to the design. This is where the molten metal enters the mold cavity. The caster will cut the sprue as close as possible, but a bit will remain that will contribute to the total weight. The sprue will be sanded off during the finishing process.
Or have a professional jeweler do it for you. Since I was having stones set, I chose the latter. Stone setting is a complex task better left to the professionals.
For my final file output, I filled in the area where the stones would be except for a small hole to locate the center. This step was recommended by the jeweler who did the stone setting.
Stone setters have special tools to create the correct hole shape for each specific stone. Trying to predict these shapes before shrinkage is risky and could leave you with not enough material. Better to leave some extra for the setter to work with.
Inside sharp corners are almost impossible to polish. Even the small raised areas around the holes in my ring had this problem. Making separate parts that can be soldered together after polishing, or even adding small fillets to inside corners, can help.
Conclusion
Alternatives
Of course, creating a simpler design and not setting stones will save time and money and will allow you to do more of the work yourself. Also keep in mind that precious metals are very expensive and currently rising in cost on a daily basis.
Most jewelry foundries use silver to test designs before wasting expensive gold or platinum, and silver can be very affordable as the final material. Alternately, try titanium, copper, or bronze if you really want something unique.
Our websites use cookies to improve your browsing experience. Some of these are essential for the basic functionalities of our websites. In addition, we use third-party cookies to help us analyze and understand usage. These will be stored in your browser only with your consent and you have the option to opt-out. Your choice here will be recorded for all Make.co Websites.
Allow Non-Necessary Cookies
Escape to an island of imagination + innovation as Maker Faire Bay Area returns for its 15th iteration!
Buy Tickets today! SAVE 15% and lock-in your preferred date(s).