IMG_8039

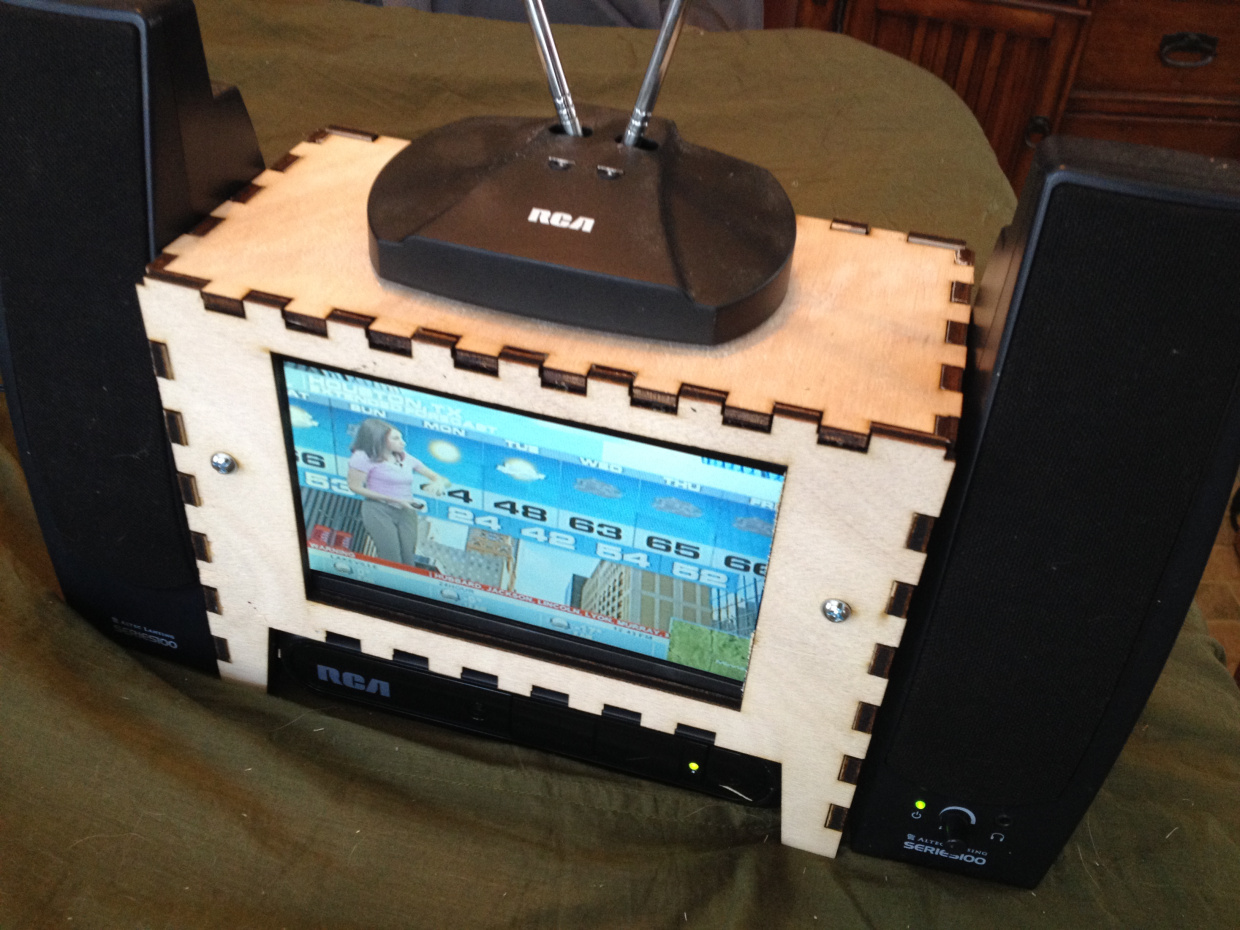
In this project I’m going to show you how to make a DIY television with the ability to display broadcast TV programs. It will also play movies with the help of a Raspberry Pi microcontroller serving as media center!

But first, a handy parts list:

Parts List

  • TV with dual AV inputs. I used a 7″ NTSC/PAL TFT display from Adafruit, P/N 947.
  • Male-Male RCA cable(s) or adapters such as Adafruit P/N 951.
  • PC speakers. Any set of powered speakers with a 3.5mm plug will work.
  • A digital-analog converter box. I used an RCA DTA809 that I had lying around. It’s one of those boxes they sold when they stopped broadcasting analog TV signals. It works great for our purposes as well.
  • An RCA female to 3.5mm female adapter, such as C&E P/N 30S1-01260.
  • Any old antenna. I used an el-cheapo RCA antenna, Radio Shack SKU# ANT111.

RasPi Media Center

  • A Raspberry Pi with power supply.
  • Another RCA M-M cable or adapter.
  • A USB mouse.
  • A flash drive with media files on it.
  • A headphone splitter, dual male and single female, such as Startech UPC# 065030843836.

Project Steps

Laser-Cut the Enclosure

Let’s begin by downloading the enclosure files from Thingiverse and cutting them out with a laser cutter.

Don’t have access to a laser cutter? Just design your own enclosure or simply stack the components on top of each other.

I used 5mm plywood (3/16 in. or 1/4 in. may be substituted for 5mm), about $10 for a 2×4 panel at your favorite lumberyard. If you use something thinner or thicker, you may run into trouble with the teeth not meshing cleanly. Be sure to make the length of the teeth the same as the thickness of the material.

At this point you may want to spray paint the panels!

Add the TV to the Front Panel

The TV gets tensioned to the front panel (the one with the TV-shaped hole in the front!) Use the flat piece of wood with the two holes, then gently tighten a couple of #8 screws. I used 3-inchers, but obviously they’re way too big.

Add the Sides

Dab some glue on the teeth and stick the side panels on, keeping the flat side toward the bottom. The flat tensioner is the exact same width as the space between the two sides.

Add the Back--But Don't Glue!

Slide the back panel on, but don’t glue it in place. That’s how we will access the inside.

Add the Top and Bottom

The top and bottom should pop into place. Remember not to glue the back panel so you can get it off!

Put the Converter Underneath the Enclosure

Isn’t it cute? It looks like a wee VCR.

Of course, if you’re using a different model of converter than I did, be sure to change the dimensions of the enclosure before you cut it out.

Connect the Antenna

Plug in the antenna to the back of the converter.

Connect the Speakers to the Converter's RCA Ports

Depending on your speakers, you may need a 3.5mm female to RCA male adaptor. I only had a RCA female so I had to add RCA male-male cables on. You know how it is.

Now, plug the RCA male leads into the appropriate ports in the back of the converter.

Connect the TV

Connect the TV’s wall wart to the black connector. Connect a RCA cable from one of the yellow plugs sticking out of the back (AV1 and AV2) and then to the yellow port in the back of the converter box.

Go Watch Some TV!

You’re done! Celebrate with a bowl of pretzels and a heapin’ helpin’ of broadcast TV.

And yet, something is missing — that spare AV cable is crying out to be used. Let’s connect a Raspberry Pi and use it as a media station to play movies and tunes.

Configure Your RasPi

RaspMC is a media center image for your RasPi. All you have to burn the image to a SD card and boot up the Pi.

Plug in the SD card, a power supply, an AV cable leading to the TV, and a 3.5mm cable connecting to the speakers with the help of the headphone splitter I mentioned in the parts list.

You’ll also need a memory stick plugged into one of the USB ports, and a USB mouse in the other so you can navigate through your files.