The kit contains the electronic parts required to make a drum kit. This includes the circuit board, resistors, diodes and pins. You supply the Arduino and the material to make the actual drum pads. Below you will find easy instructions for making traditional-looking drum pads, but you could also stick the piezo elements (the parts that sense the hits on the drum) to many different surfaces. Imagine playing your desk, lamp and telephone!

Project Steps

Build the circuit.

Remove the paper from the resistors and the diodes.

Bend all of the resistors and diodes like the photo.

Only use your fingers to bend the leads against the part’s body. If you use a tool or a table top you may crack the part.

Push all of the resistors and diodes into the PCB, in the spaces marked R1 to R6 and D1 to D6. All of the resistors and all of the diodes are the same.

NOTE: The black band on the diode must be oriented to the side with the white band on the PCB printing (down when the text is readable, see left).

Resistors may go either way.

Flip the board over and heat up your soldering iron. You may want to tape the parts onto the board, so they don’t fall out when you flip it.

I prefer to tape the leads rather then bending them. When you bend them you could cause a short circuit, if you aren’t careful.

Solder all the leads.

Using wire snips, trim all of the leads so that they don’t stick out too much.

WEAR SAFETY GLASSES!

Push the male pins through the PCB from the bottom and hold them there with some tape.

Solder them in place from the top.

Your mini Arduino Drum Kit shield is now ready.

To connect your drum pads to the Drum Kit PCB see step 16 in the making pads section below.

Build the drum pads.

Building a drum pad in essentially just putting together a sandwich of layers with a sensor in the middle of it. The top layers protect the sensor from damage and reduce the amount of noise from the drum stick hitting the sensor. The middle layer is a piece of metal that helps transmit the shock from the stick into the piezo sensor. The bottom layers help keep the drum pad from rattling on the table and also give it a solid base to mount it to something.

The drum pads shown here were all assembled onto one piece of 1/4” plywood and the pads were made small so that it could be used as a desktop model. You may build yours much bigger, with individual pads. You could even get extra piezos and experiment with different constructions.

Draw circles the on the metal sheet. You choose the size.

Cut out the circles that you drew on the metal sheet with the tin sips.

Wear safety glasses and gloves!

Repeat for all of the drum pads. Careful; some of the edges may be sharp.

Rough up the center of each disk on one side. This is were you will glue the piezo sensor.

Mix equal parts of epoxy on a scrap of something. Mix well, and don’t get dirt into the glue, because you will want the piezo to be glued down perfectly flat.

(Hot glue also works, but it is harder to get flat.)

Apply a thin amount of glue to the rough area on the metal.

Press the piezo into the glue with the wires and light-colored side up.

Put these aside until the glue is hard.

Make lengths of wire to connect the drum kit to the piezos.

It is best to use two colors, because it is important that the red and black wires of the piezo go to the correct places on the drum kit.

To make soldering the wires to the piezos easier, tin the wires. To tin the wires, hold your soldering iron on the wire for a moment then melt solder onto the end of the wire so that it is shiny and silvery.

Do the same for the red and black wires connected to the piezos.

Solder one wire at a time. Place the tinned end next to the tinned end of the wire from the piezo and heat them with the soldering iron. The solder should easily melt and stick the wires together.

Hold the joint still until the solder is cold, for a good connection.

The joint between the wire and the piezo is quite weak. To strengthen it I recommend using heat-shrink tubing. You may also use electrical tape or hot glue.

Using the same diameter circle that you used in Step 4 draw circles onto the bottom foam and the mouse pad.

Using a pair of scissors, cut out the circles that you just drew.

Using spray glue, coat one side of the base foam. Then place it, glue side down, onto the surface where you would like to build your drum pad. Press.

Decide how you would like to route your wire before you complete this step. It will be harder to move the wires afterwards.

Using the same technique as in Step 8, apply glue to the bottom of the metal plate (the side with the piezo) and glue it on top of the foam.

Now glue the mouse pads on top of the metal plates.

At the bottom edge of the Drum Kit PCB, there is space to connect six drum pads. Each drum pad should go to one of the sets of solder pads, with the wire from the red lead of the piezo to the “+” solder pad and the black wire from the piezo to the other.

NOTE: Polarity is important. Connect only wire from the red wire of piezo to a “+” solder pad.

To connect the drum pads to the Drum Kit, you have some choices.

1. Wire the pads directly, and solder the wires to the Drum Kit PCB for a permanent connection. (Easiest and most solid, but hard to change set-up later.)

2. Use a combination of male and female headers soldered both to the end of your wires and the Drum Kit PCB so that you can disconnect the pads and move them about. (Convenient but may shake off if it is in a location that receives vibrations from the drum pads.)

3. Solder to RCA jacks and use other RCA jacks at the drum pad end, with an RCA cable between them.

Use the Drum Kit Kit with an Arduino.

Download, install and test the Serial MIDI Converter software with your Arduino. (Testing it here will help so you will know that the MIDI interface is working.)

NOTE for people wanting to use a hardware MIDI interface: If you have a hardware-based MIDI shield, you could also use it with the Drum Kit Kit. Follow the directions that came with it. Most often, you will simply use the TX serial pin of the Arduino and connect it to the point where the shield gets the serial data to send out over the MIDI cable. You may also have to change the baud rate in the sketch.

Connect the Drum Kit to your Arduino. The solder pads where the drum pads’ wires connect will hang off the bottom edge of the Arduino and the six pins on the Drum Kit will fit into the six analog pin holes on the Arduino, with the two other pins fitting into the two ground pin holes.

Download the Drum Kit Kit Arduino sketch.

Compile and upload the sketch to your Arduino.

Start the Serial MIDI Converter software, choose the serial port that your Arduino is using and the virtual MIDI ports that you set up earlier.

Start your music software and hit some drums!

Tune your drum kit.

The most common change the you will probably do to your Arduino Drum Kit sketch is change the musical note associated with each pad. You may want a particular pad to be a snare drum and another to be a cymbal, etc.; you decide.

The other type of tuning has to do with getting the best playing performance out of your configuration of drum pads. Since you will be making your own drum pads, some people will use harder foam than others, some people will place their pads closer together than others and in other cases the type or length of wire used to connect the pads will affect the way the drum kit plays. Here is an explanation of the different areas where you can tune your drum kit:

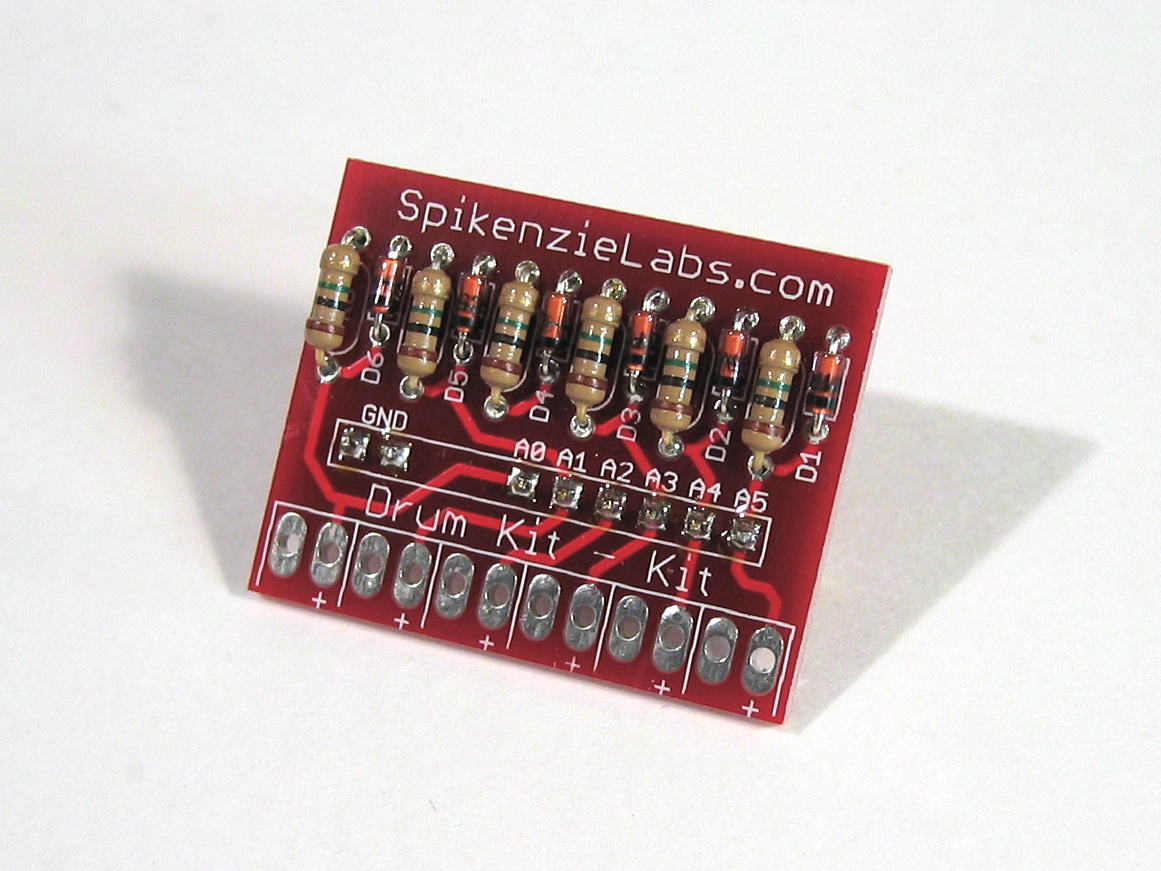
PadNote: These are the MIDI notes that will be played when a drum pad is triggered. They range from 0 to 127, where middle C is the number 60. Do not use a value above 127.

PadCutOff: The Arduino reads analog values as a number from 0 to 1023. When you hit a drum pad the piezo creates a voltage spike and ripple. We are reading the value of this voltage spike. The PadCutOff is the minimum value of this spike that we will accept as a drum hit. You can set it higher or lower. Lower will make more false triggers, but easier to make drum hits if your pads are thick. Higher will require you to hit the pads harder to make them sound, but you will get fewer false triggers from hitting a nearby pad if they are on the same surface.

MaxPlayTime: This is a delay based on the speed with which the Arduino executes the main program loop. This delay is intended to keep the kit from sounding multiple hits for one drum hit, since the Arduino is fast enough to read the same voltage spike a few times. If you are getting two or more hits when you hit the drum only once, increase this number. If there is too large a delay when you play a drum roll, then decrease this number.

midichannel: This is simply the MIDI channel that will be sending the MIDI messages.

VelocityFlag: This is a true-or-false setting. “Velocity” is a value that represents how hard you hit the drum pad. A higher velocity will produce a louder drum sound. If you want the drum pads to produce a louder sound when you hit them harder, set this flag to true; otherwise, set it to false.

Conclusion

This project was featured in the MAKE School's Out! special issue.