


If you’re an insomniac, falling asleep is only half the battle. Staying asleep can be difficult, too.
Arizona sleep specialist Vincent X. Grbach believes that if you wake up in the middle of the night, any source of white light can cause the brain to think that a new day has begun. This means that if you look at a video screen during the small hours, or turn on the lights to go to the bathroom, you may find yourself feeling wide awake no matter how tired you really are.
Ideally, you need red lighting to keep you in a drowsy state.
This made us wonder if there’s such a thing as a red night light. The answer is, yes and no. Some are available that cycle through a rainbow of colors, and can be stopped at one of your choice. But these tend to be quite bright, and even a red light shouldn’t be brighter than necessary. We wanted one with adjustable intensity — and since we couldn’t find it, we decided to build it ourselves.
The easiest and most economical strategy was to adapt an off-the-shelf model. At Walmart, Target, and Lowe’s, you can find white LED night lights that automatically switch themselves on when the surroundings are dim, and cost as little as $10 for a package of four.
Although these products look identical externally, some contain a surface-mount LED, while others use a through-hole LED with its leads enclosed in a plastic barrel. We’ll show you how to modify either type.
First, an important warning. Do not plug the light into the wall when it is disassembled. No matter how careful you are, please don’t test your modified light until you have put it back together.
Figure A shows a light with its transparent cover detached, revealing a surface-mount LED (the little yellow square). Turn the body of the light around, and you’ll find a screw between its two prongs. Remove the screw, and the front section of the body comes off.


Polarity is shown with + and – symbols on either side of the LED. Make a red mark on the body of the light to remind you which side is positive, then snip the wires to remove the little LED board.
What if you have the type of light that uses a through-hole LED? You can disassemble it in the same way, although you’ll find that the LED is enclosed in a separate plastic barrel (Figure E). There are no + or – signs, but the LED has a flat spot on its round plastic body to identify the negative side. Make a mark to remind you of the polarity, then snip the wires, as shown in Figure F.


The next steps are the same for both types of night light. You’ll need a generic red LED such as the Lite-On LTL4HMEPADS, which is typically happy with 2.1V forward voltage and 20mA forward current. Because white LEDs require a higher voltage, the night lights that we tested supply about 3.2V. However, we found that a red LED will pull the voltage down to almost exactly 2V while drawing 12mA, which is ideal.
Insulation is important, because a circuit failure inside the night light can result in house current getting to places where it shouldn’t go. Protect the leads of the LED with heat-shrink tubing or with pieces of insulation stripped from 18-gauge wire (Figure G).

You have two options for circuits to dim the light. Figure H shows a potentiometer used as a series resistance, while in Figure I the potentiometer works as a voltage divider. Because the effective internal resistance of an LED varies with the current, a series resistance won’t provide as much visual variation at the dim end of the scale. Therefore, we used the voltage-divider circuit.


Our potentiometer was a 5K Bourns 3006P-1-502LF. Attach the LED to it, as in Figure K. Curling the ends of the wires around the pins of the potentiometer with needle-nose pliers will make them easier to solder in place.


Finally, enclose the trimmer and its exposed leads in large-diameter heat-shrink tubing (Figure L) or electrical tape, and then reassemble the light (Figure M).


After you put it back together and plug it in, cover the photoresistor with your finger, and a red glow should appear when you adjust the screw on the trimmer. Now you can brighten or dim the LED to your personal taste.

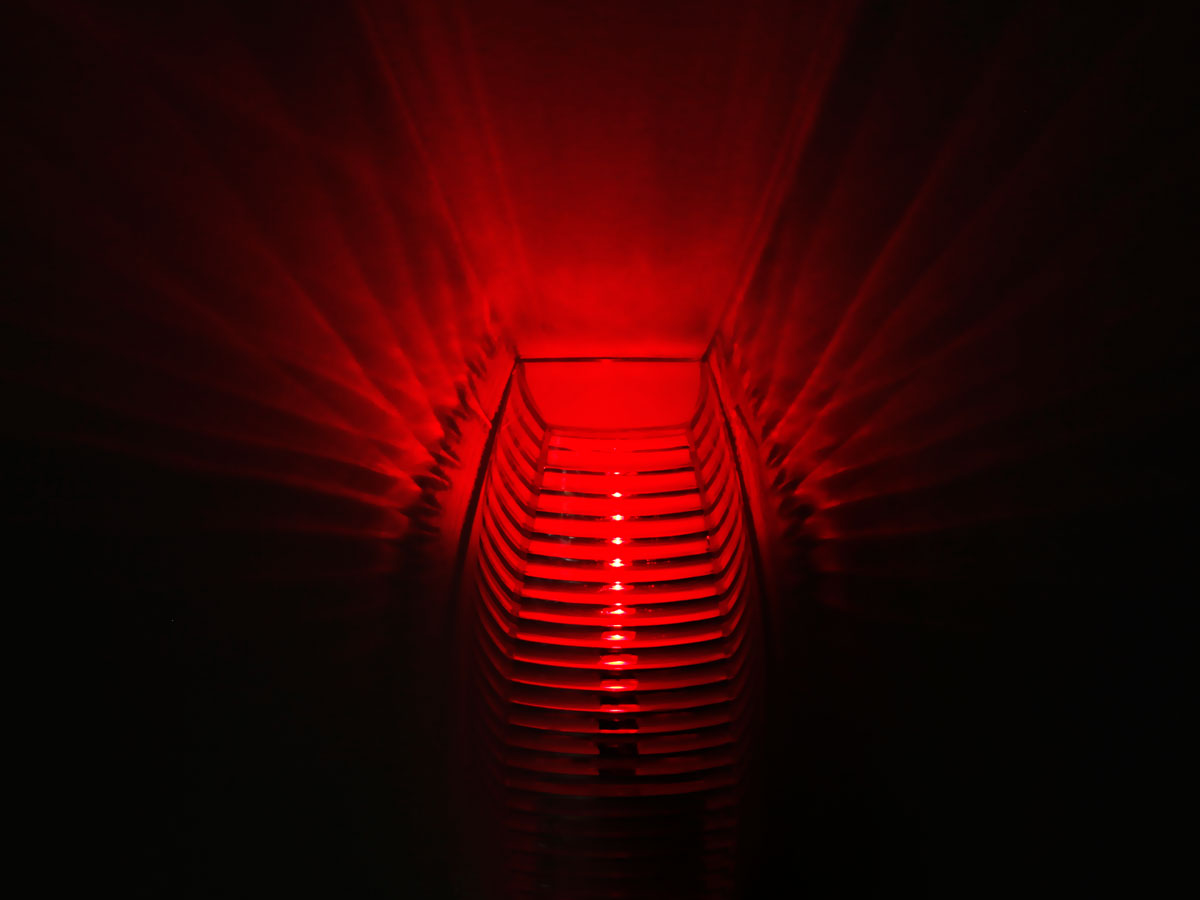
Those who are careful, patient, and have steady hands may be able to build a trimmer neatly into the plastic shell, and even add a little hole to allow external access to the trimmer’s adjustment screw. Another option, if you want a softer, more restful glow, is to replace the ribbed lens of the night light with a section of transparent plastic tube, sanded on the inside to make it translucent.
Whichever way you package it, you’ll be able to fine-tune your light so that its red glow is just bright enough for you to see your way around, keeping you in your desired drowsy state. And if your brain reacts at all to the soft radiance, maybe it will think of it as being sunset rather than sunrise.


