[youtube:https://youtu.be/k5YnOfPl_sA]

Many people keep a supply of candles and flashlights on hand for when the power goes out. But you still have to find your way around in the dark to get them. In situations like this, it might be helpful to have some kind of emergency lighting system that would automatically turn on when the power goes out.

So in this project, I am going to show you how to build a DIY emergency lighting system that will do just that.

Project Steps

The Circuit

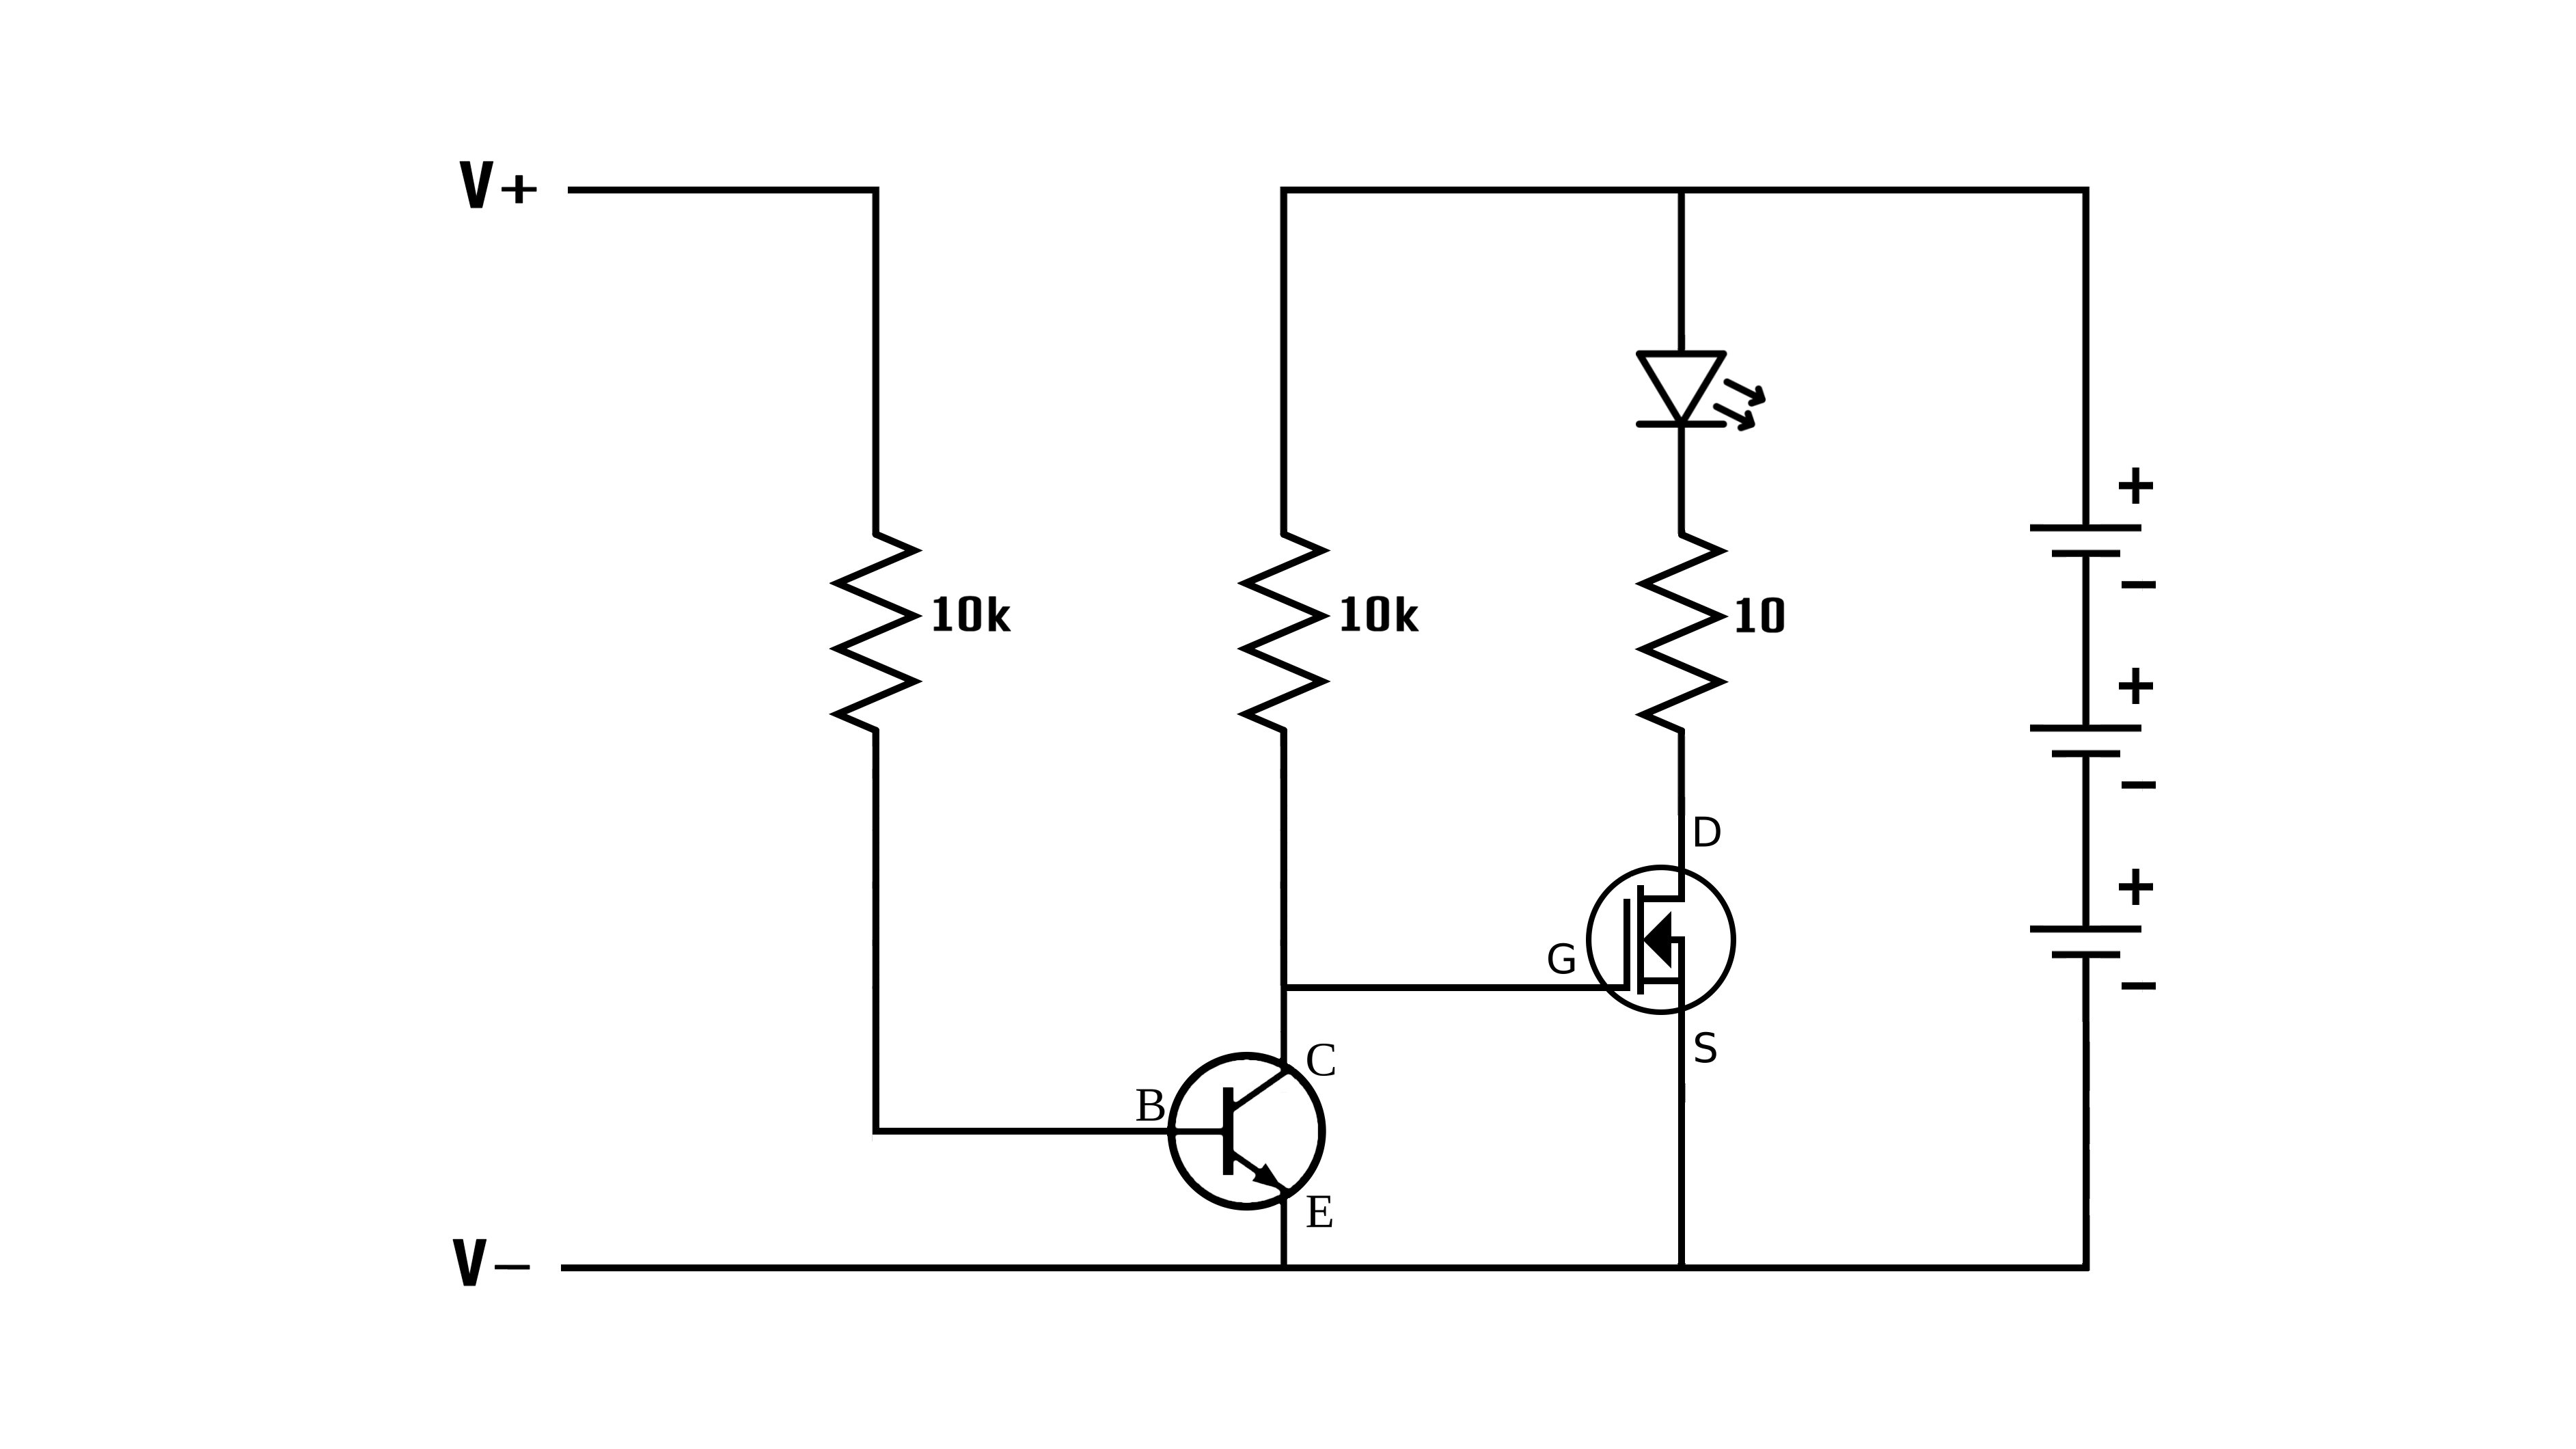
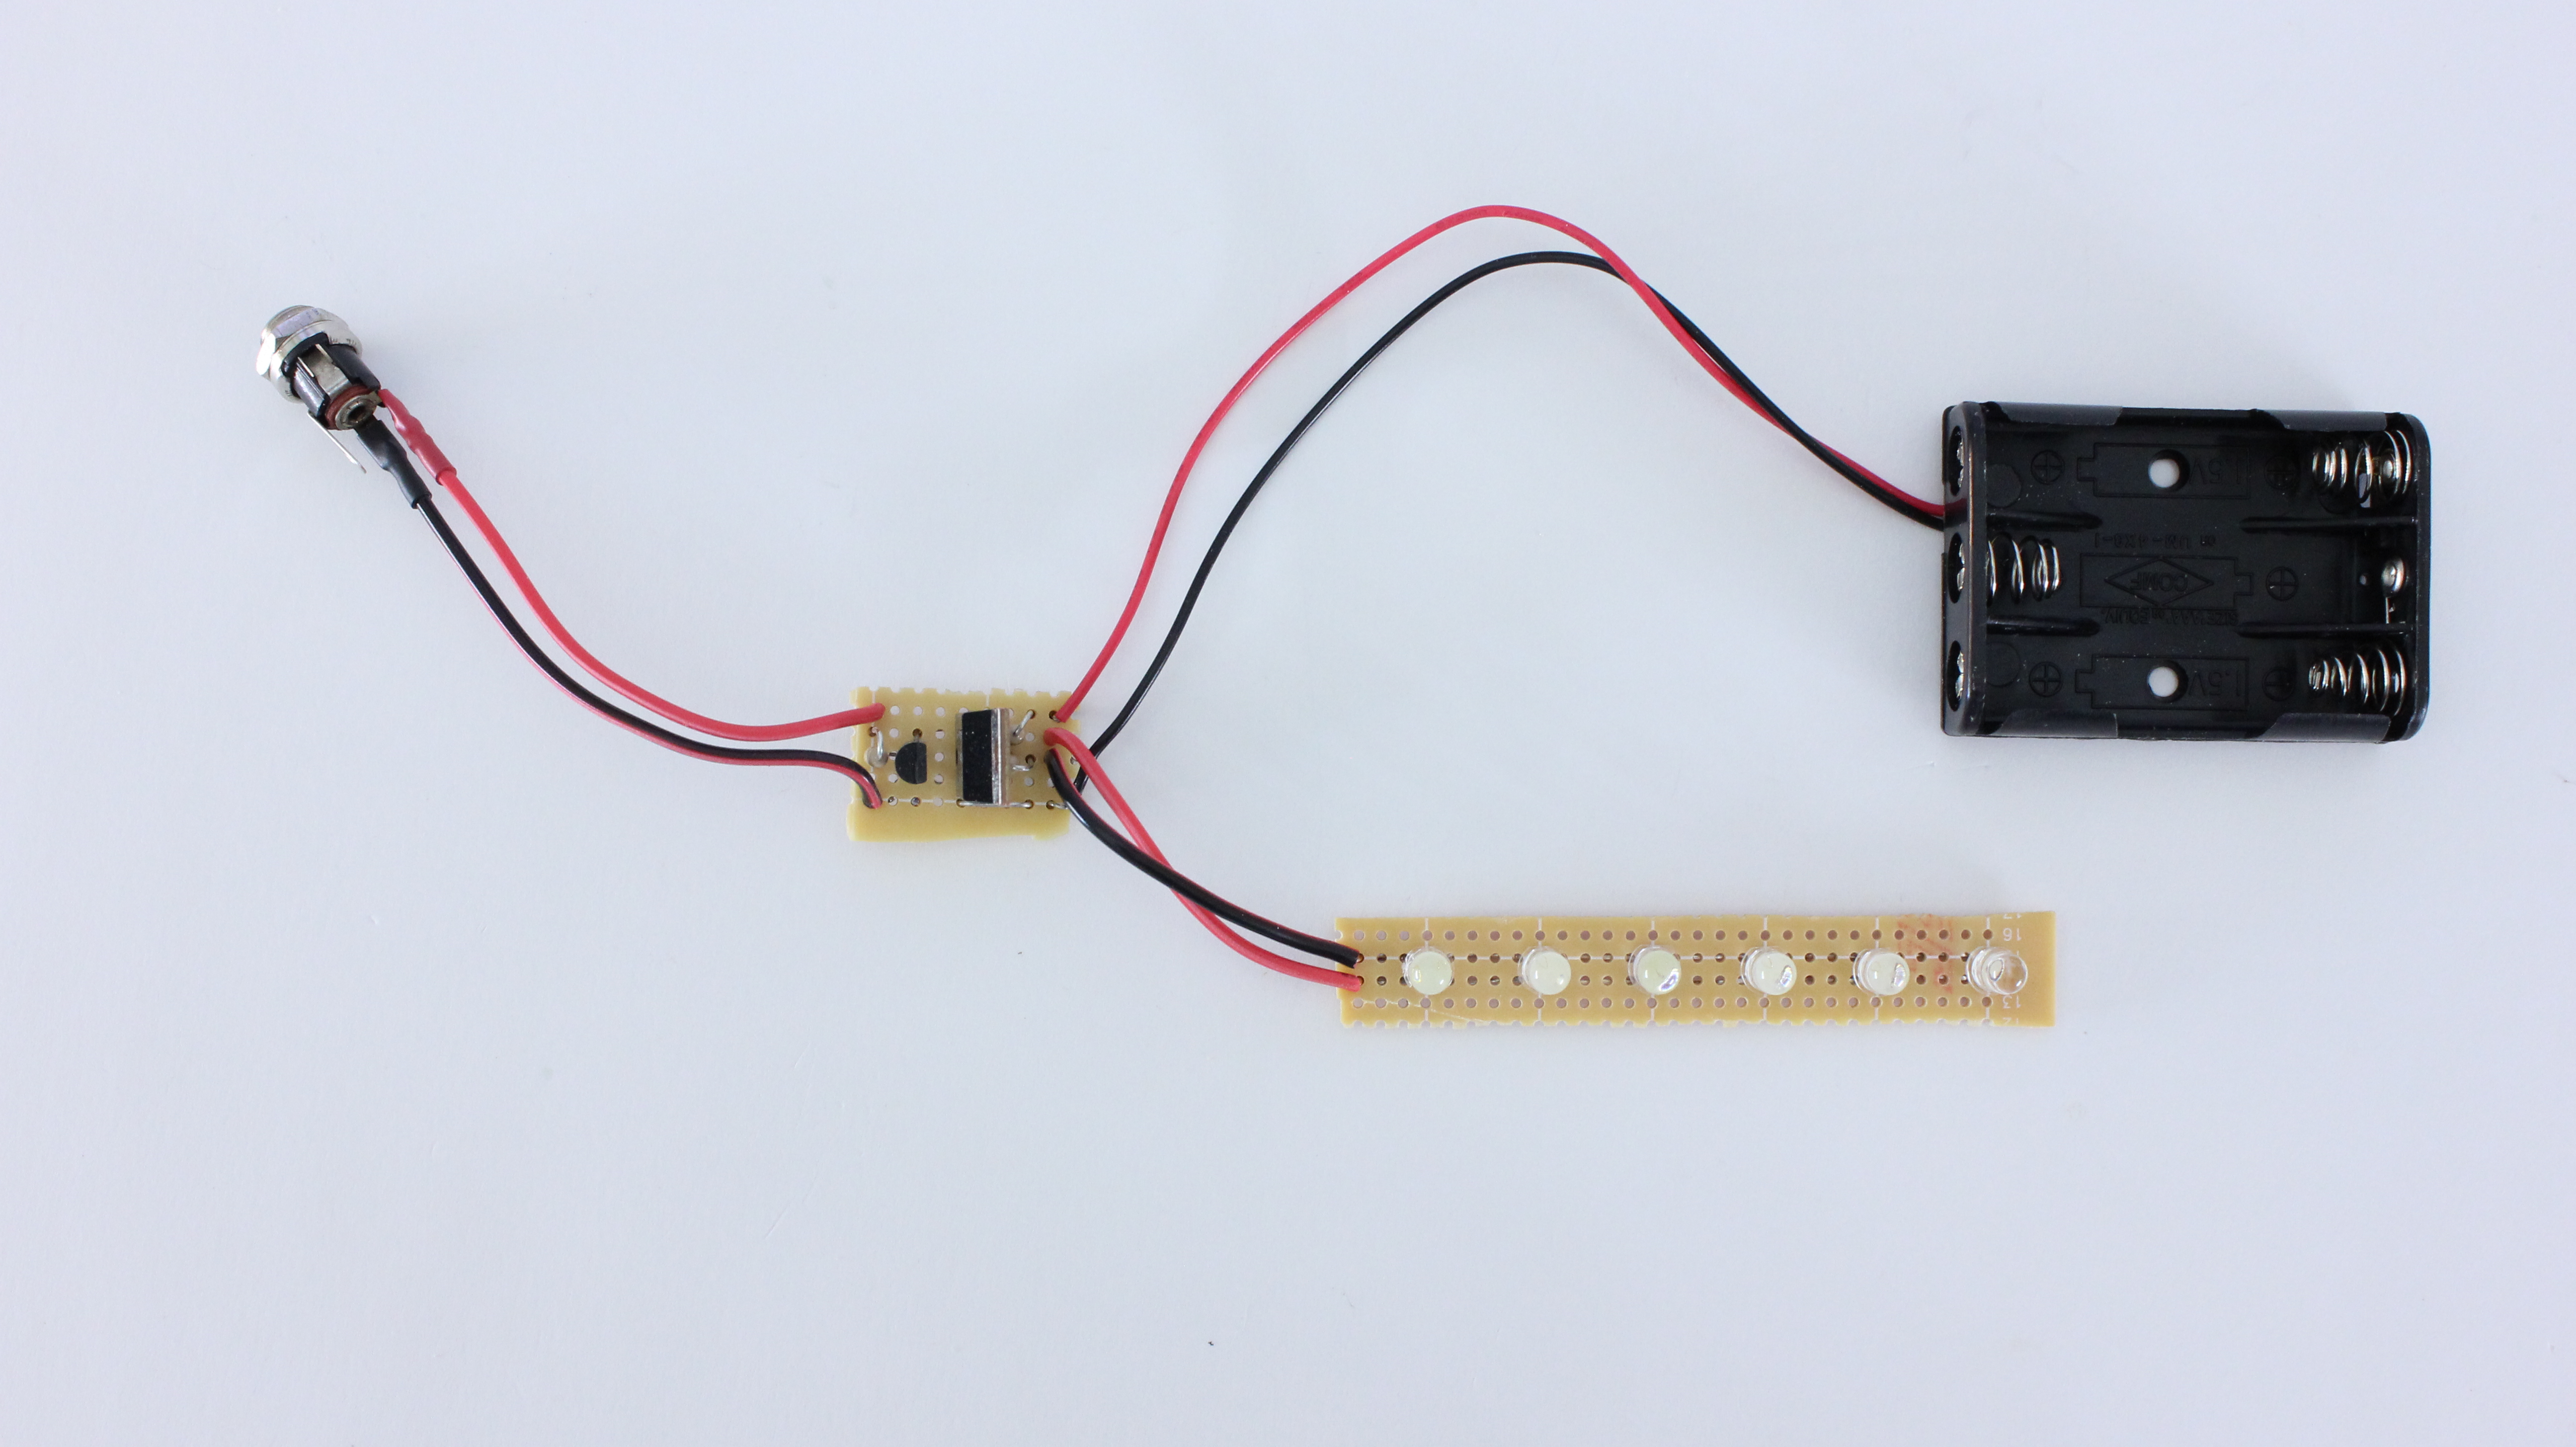
Here is a quick overview of the circuit that I designed for this project and how it works.

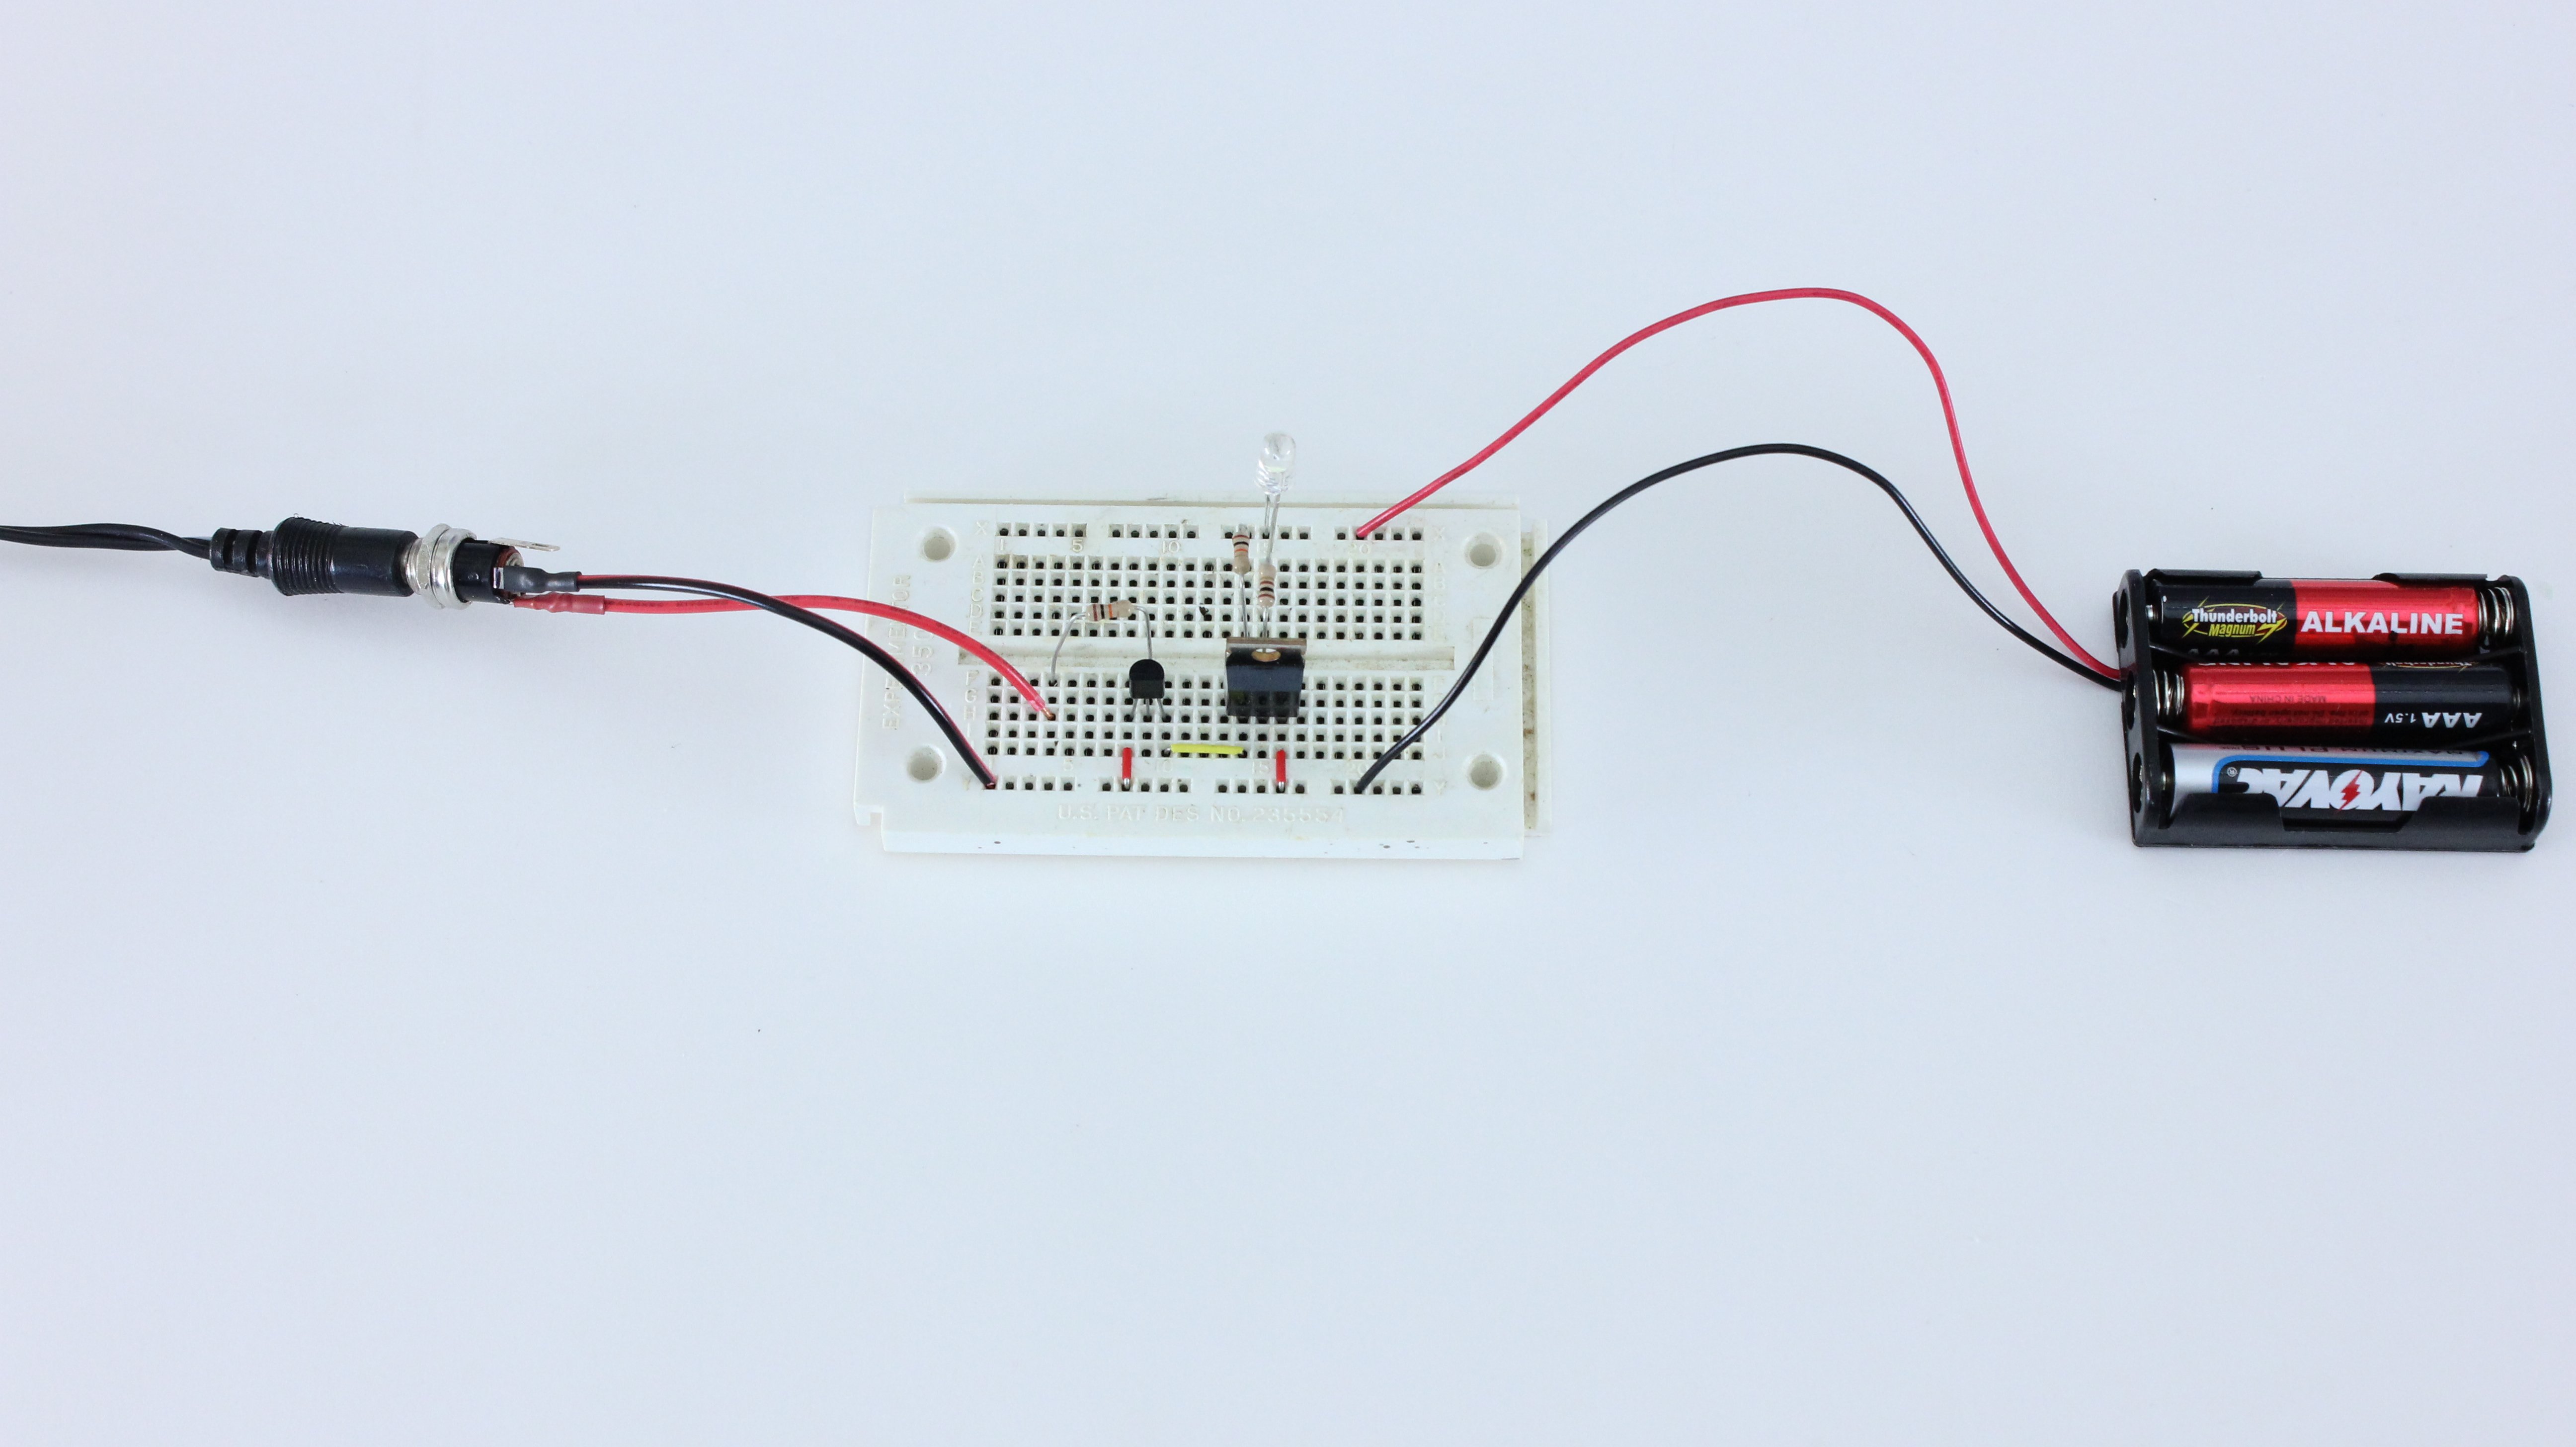
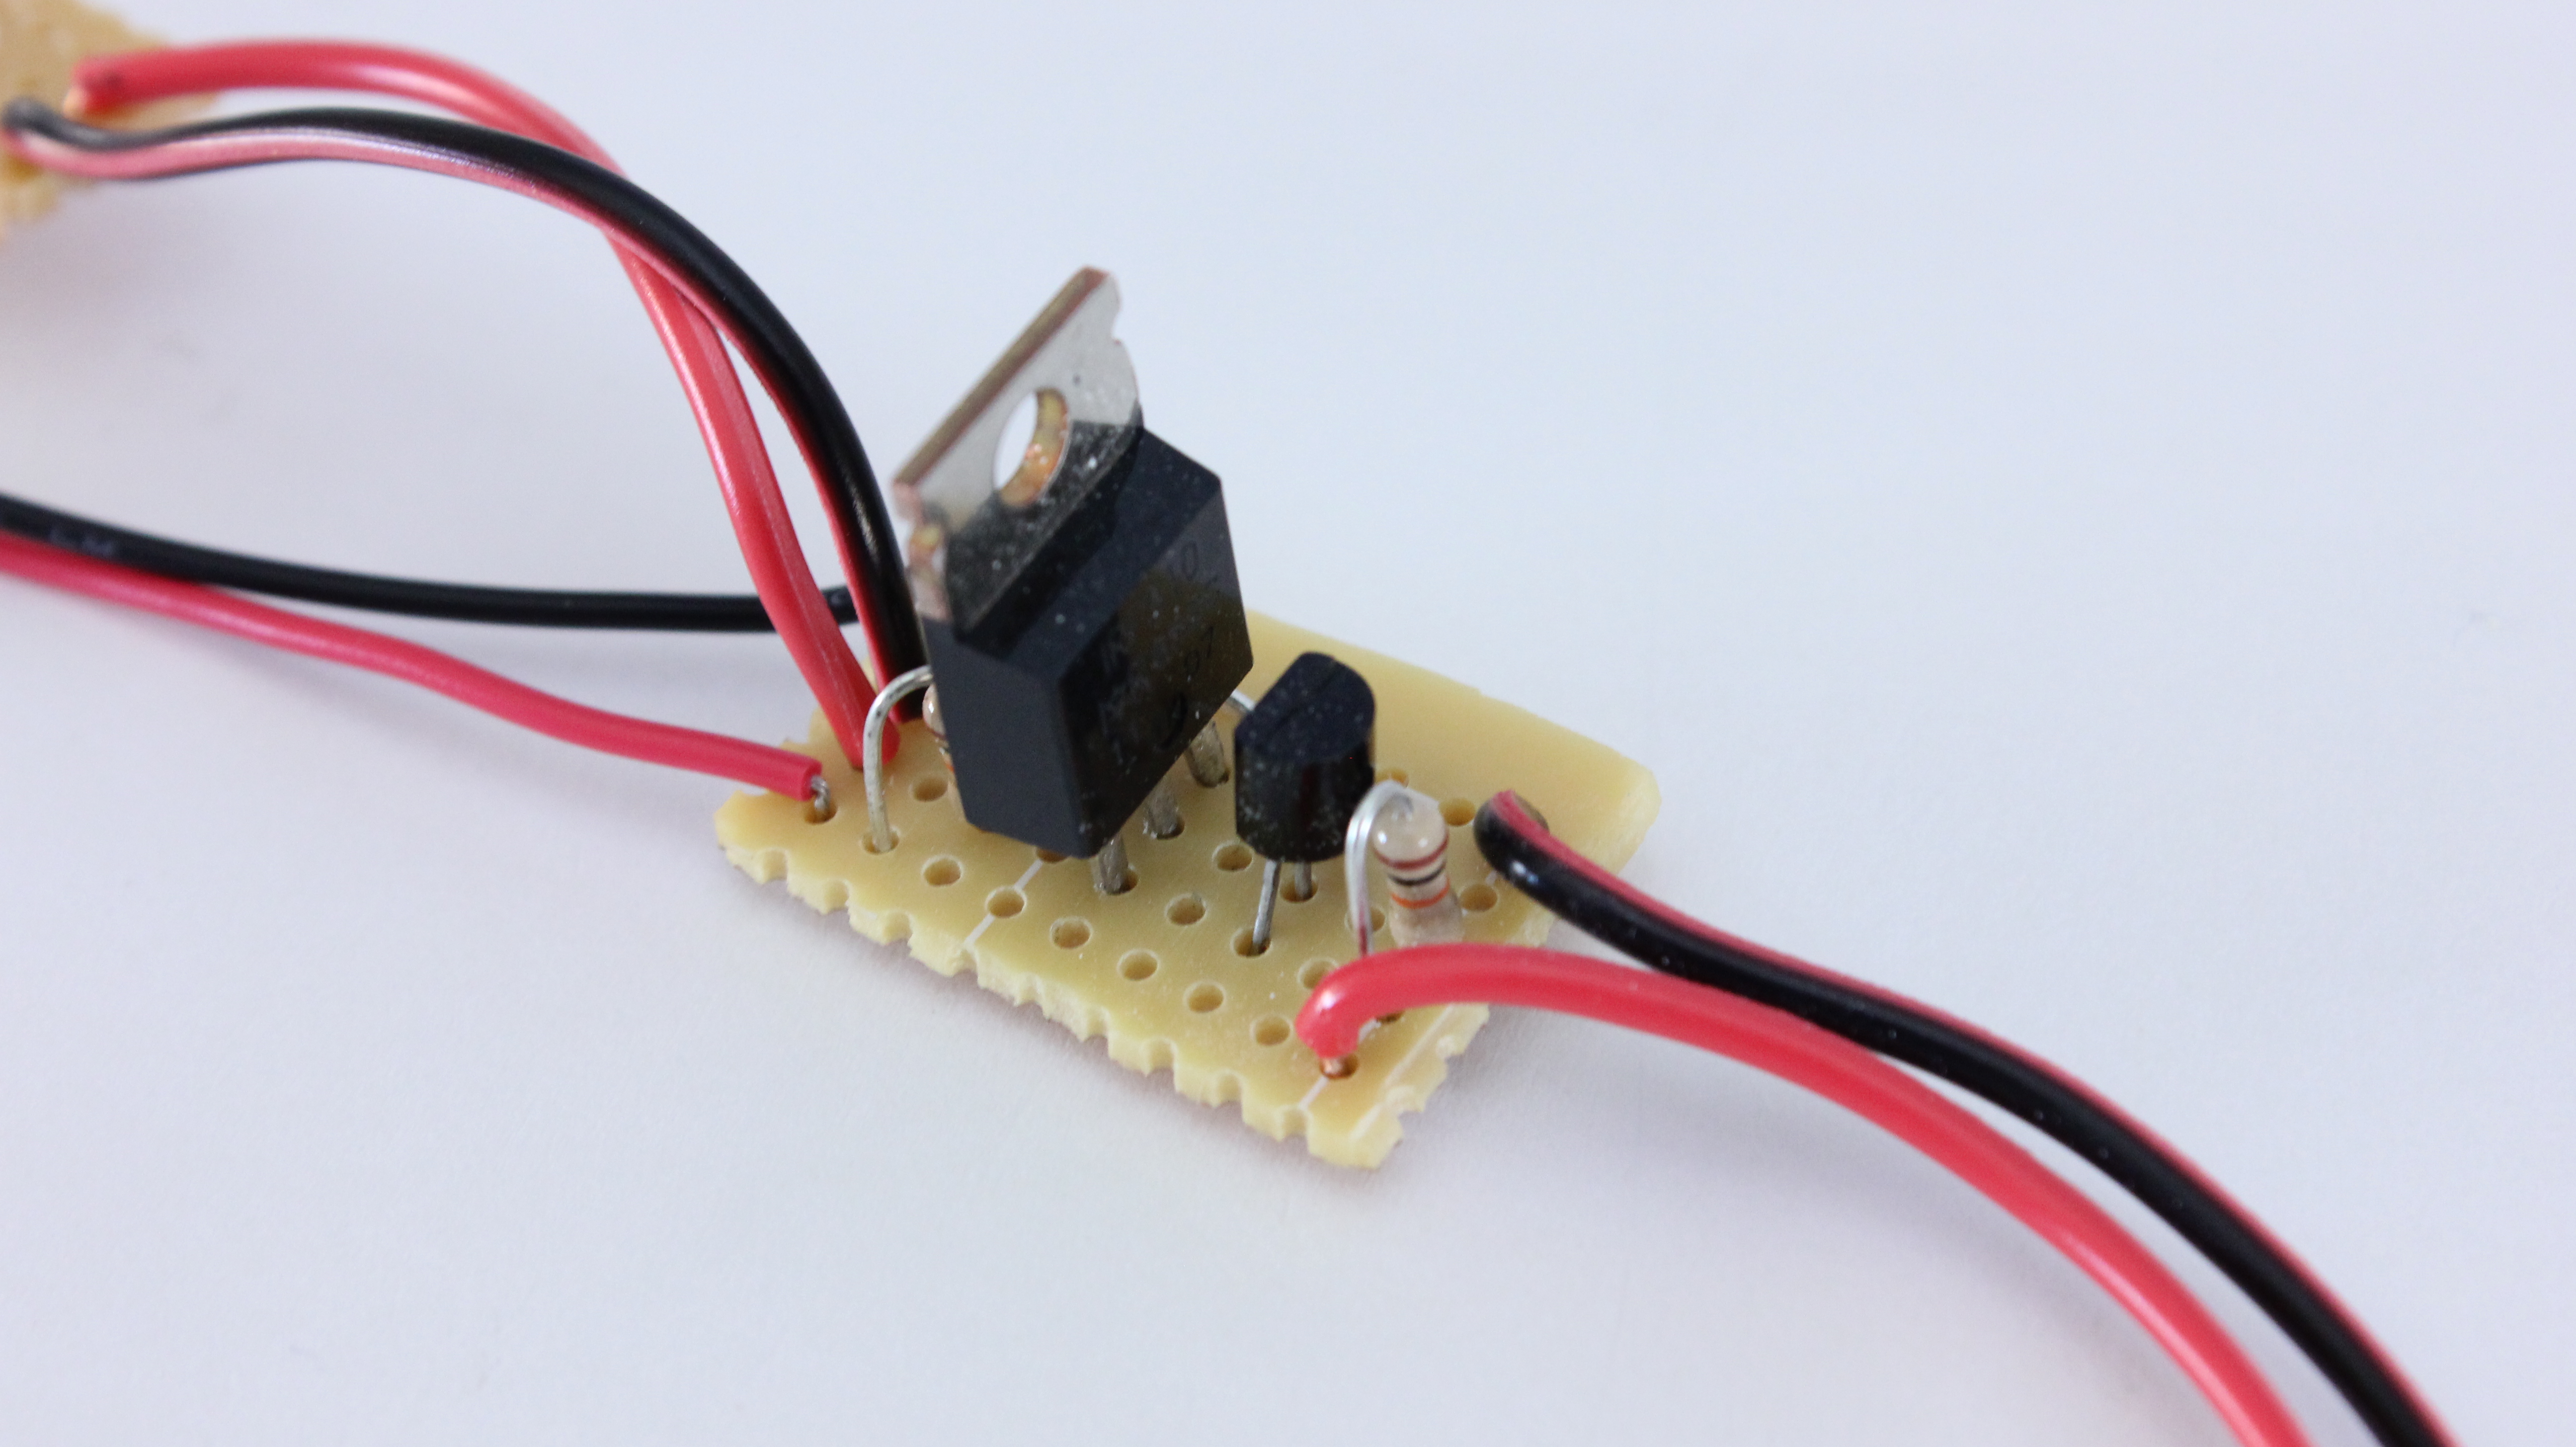
A DC power supply is hooked up on the left side of the circuit with the positive terminal connected to the resistor and the negative terminal connected to the common ground. The signal from the power supply goes through the resistor to the base of an NPN transistor. This activates the transistor and effectively shorts the gate pin of the MOSFET to ground. This keeps the gate pin in a LOW state and the MOSFET will not conduct electricity, so the LEDs are off.

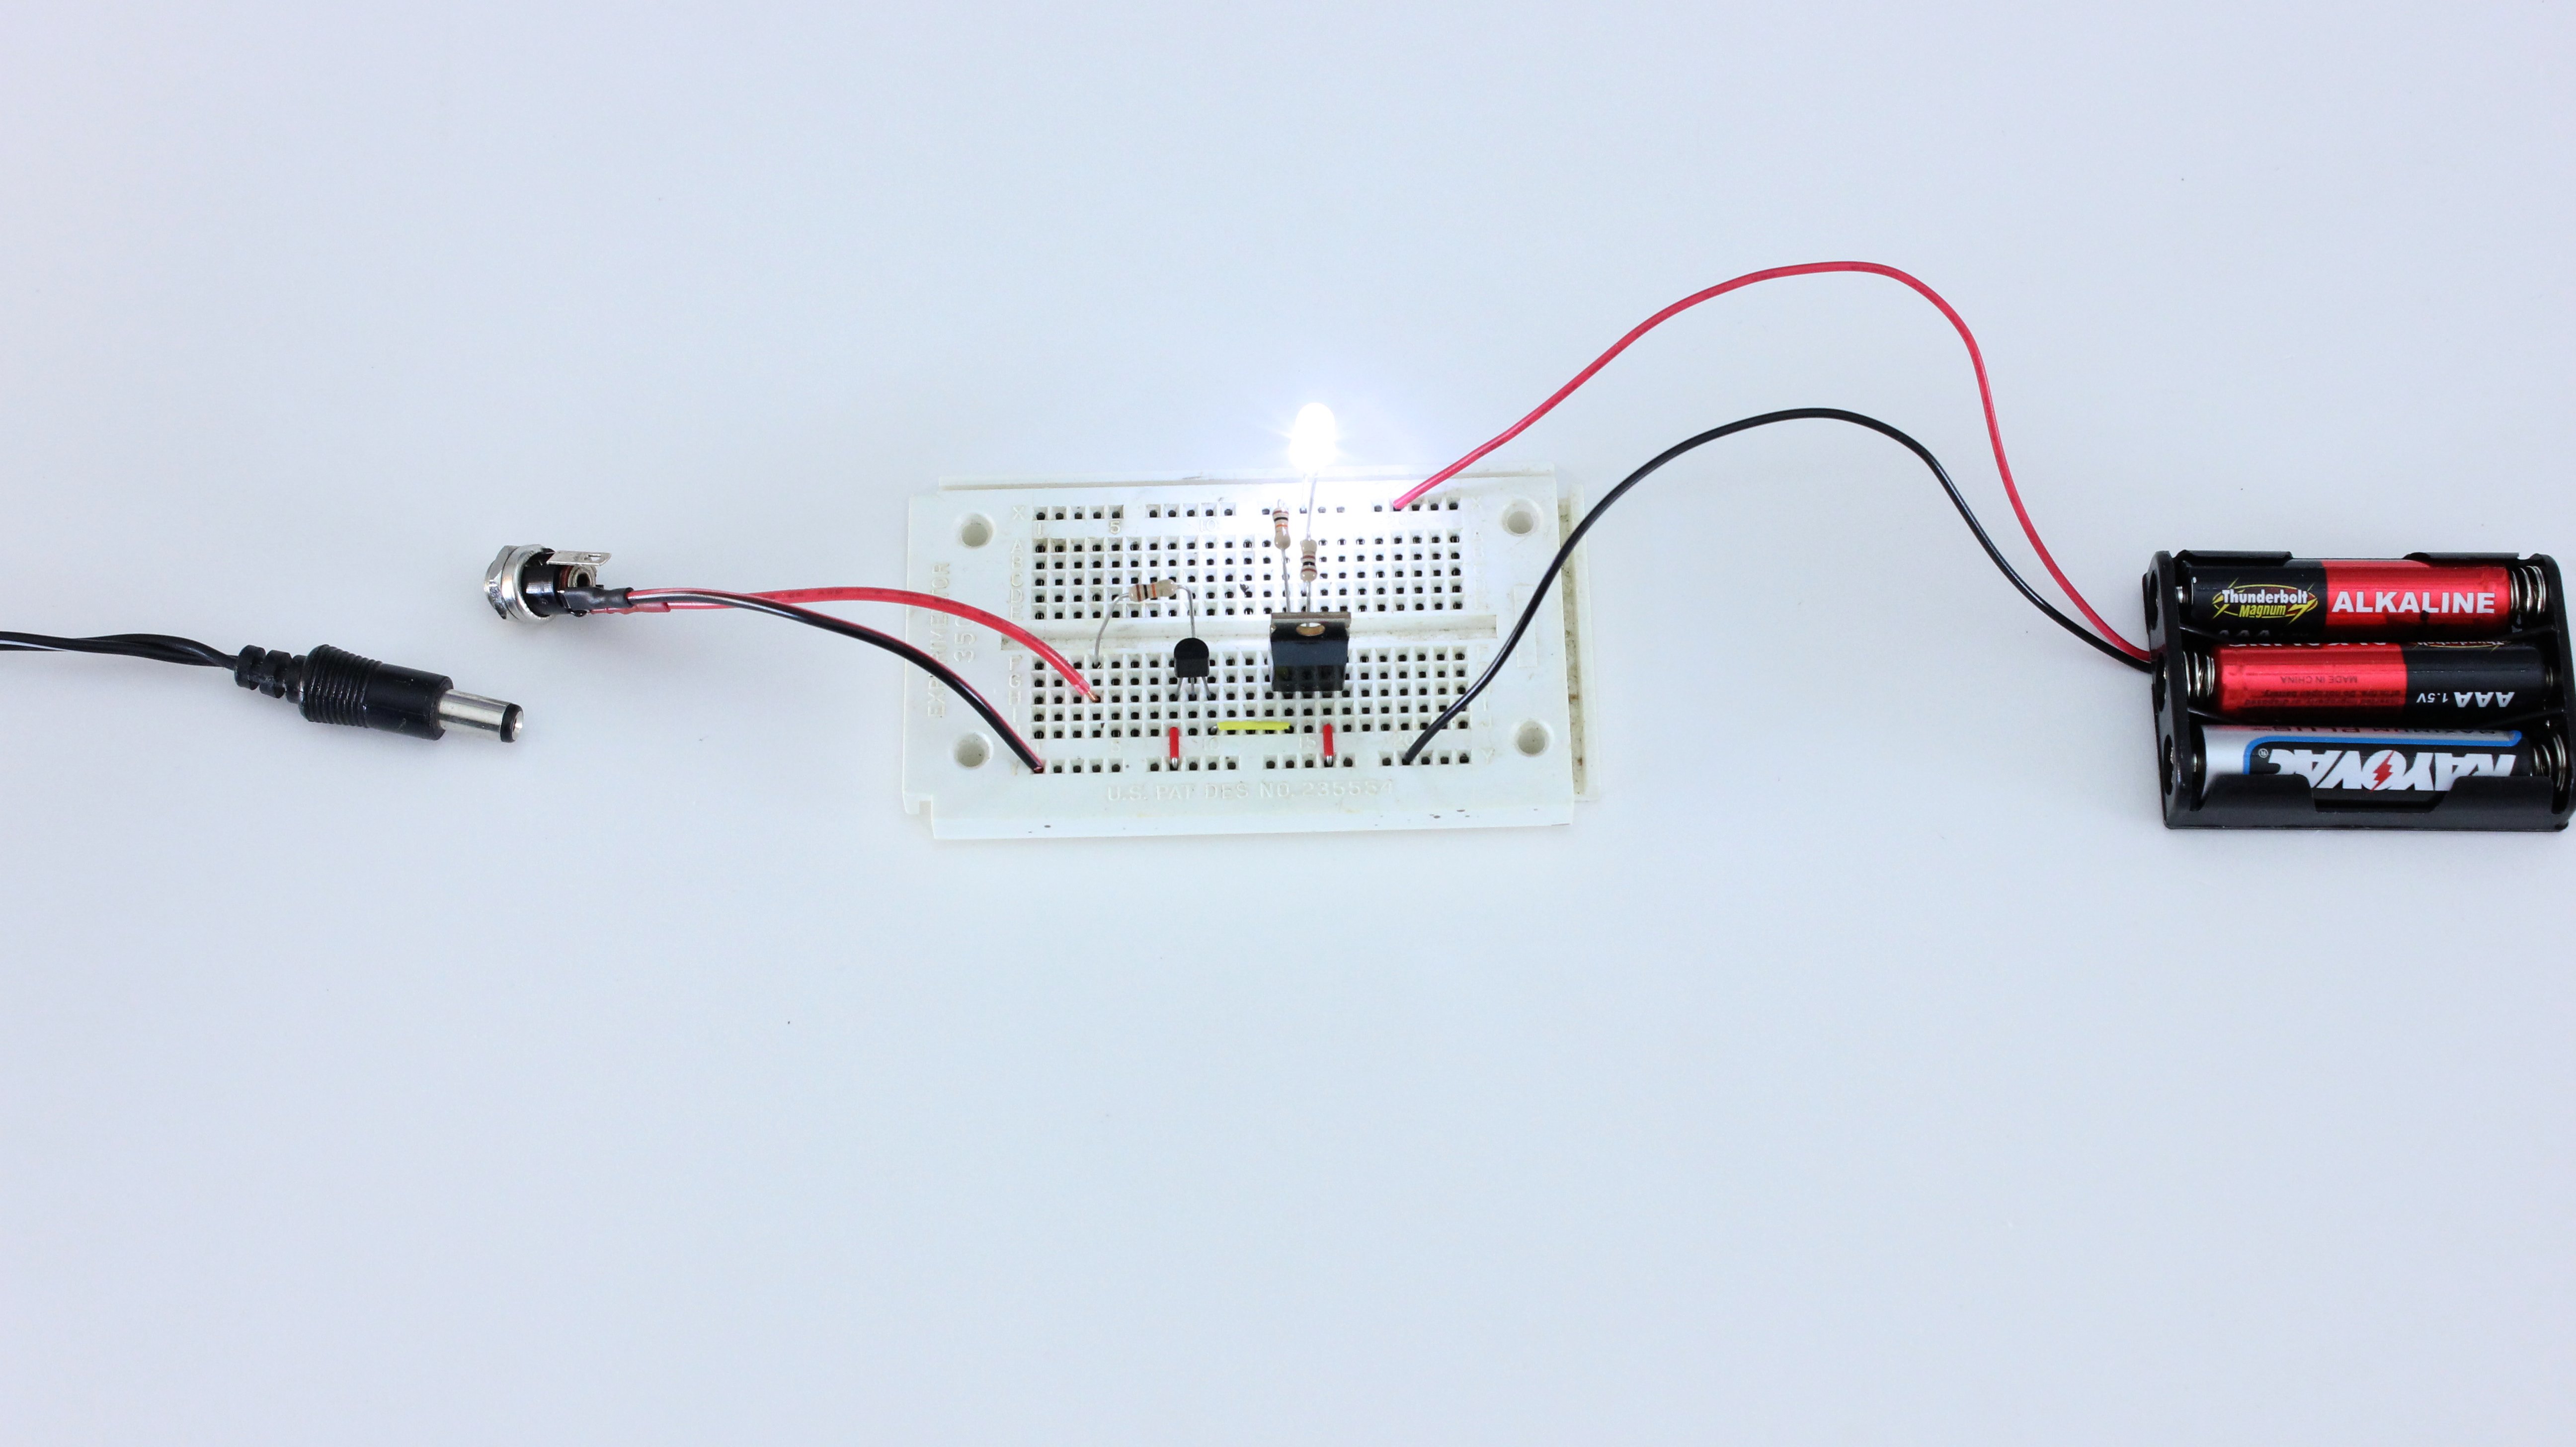
When the signal from the power supply is turned off (such as in a blackout), the states reverse. With no signal at the base pin, the NPN transistor turns off and is no longer connecting the MOSFET gate pin to ground. The voltage of the gate pin is now pulled HIGH through the 10k resistor. The MOSFET will now conduct electricity and connects the LEDs to ground. The LEDs turn on.

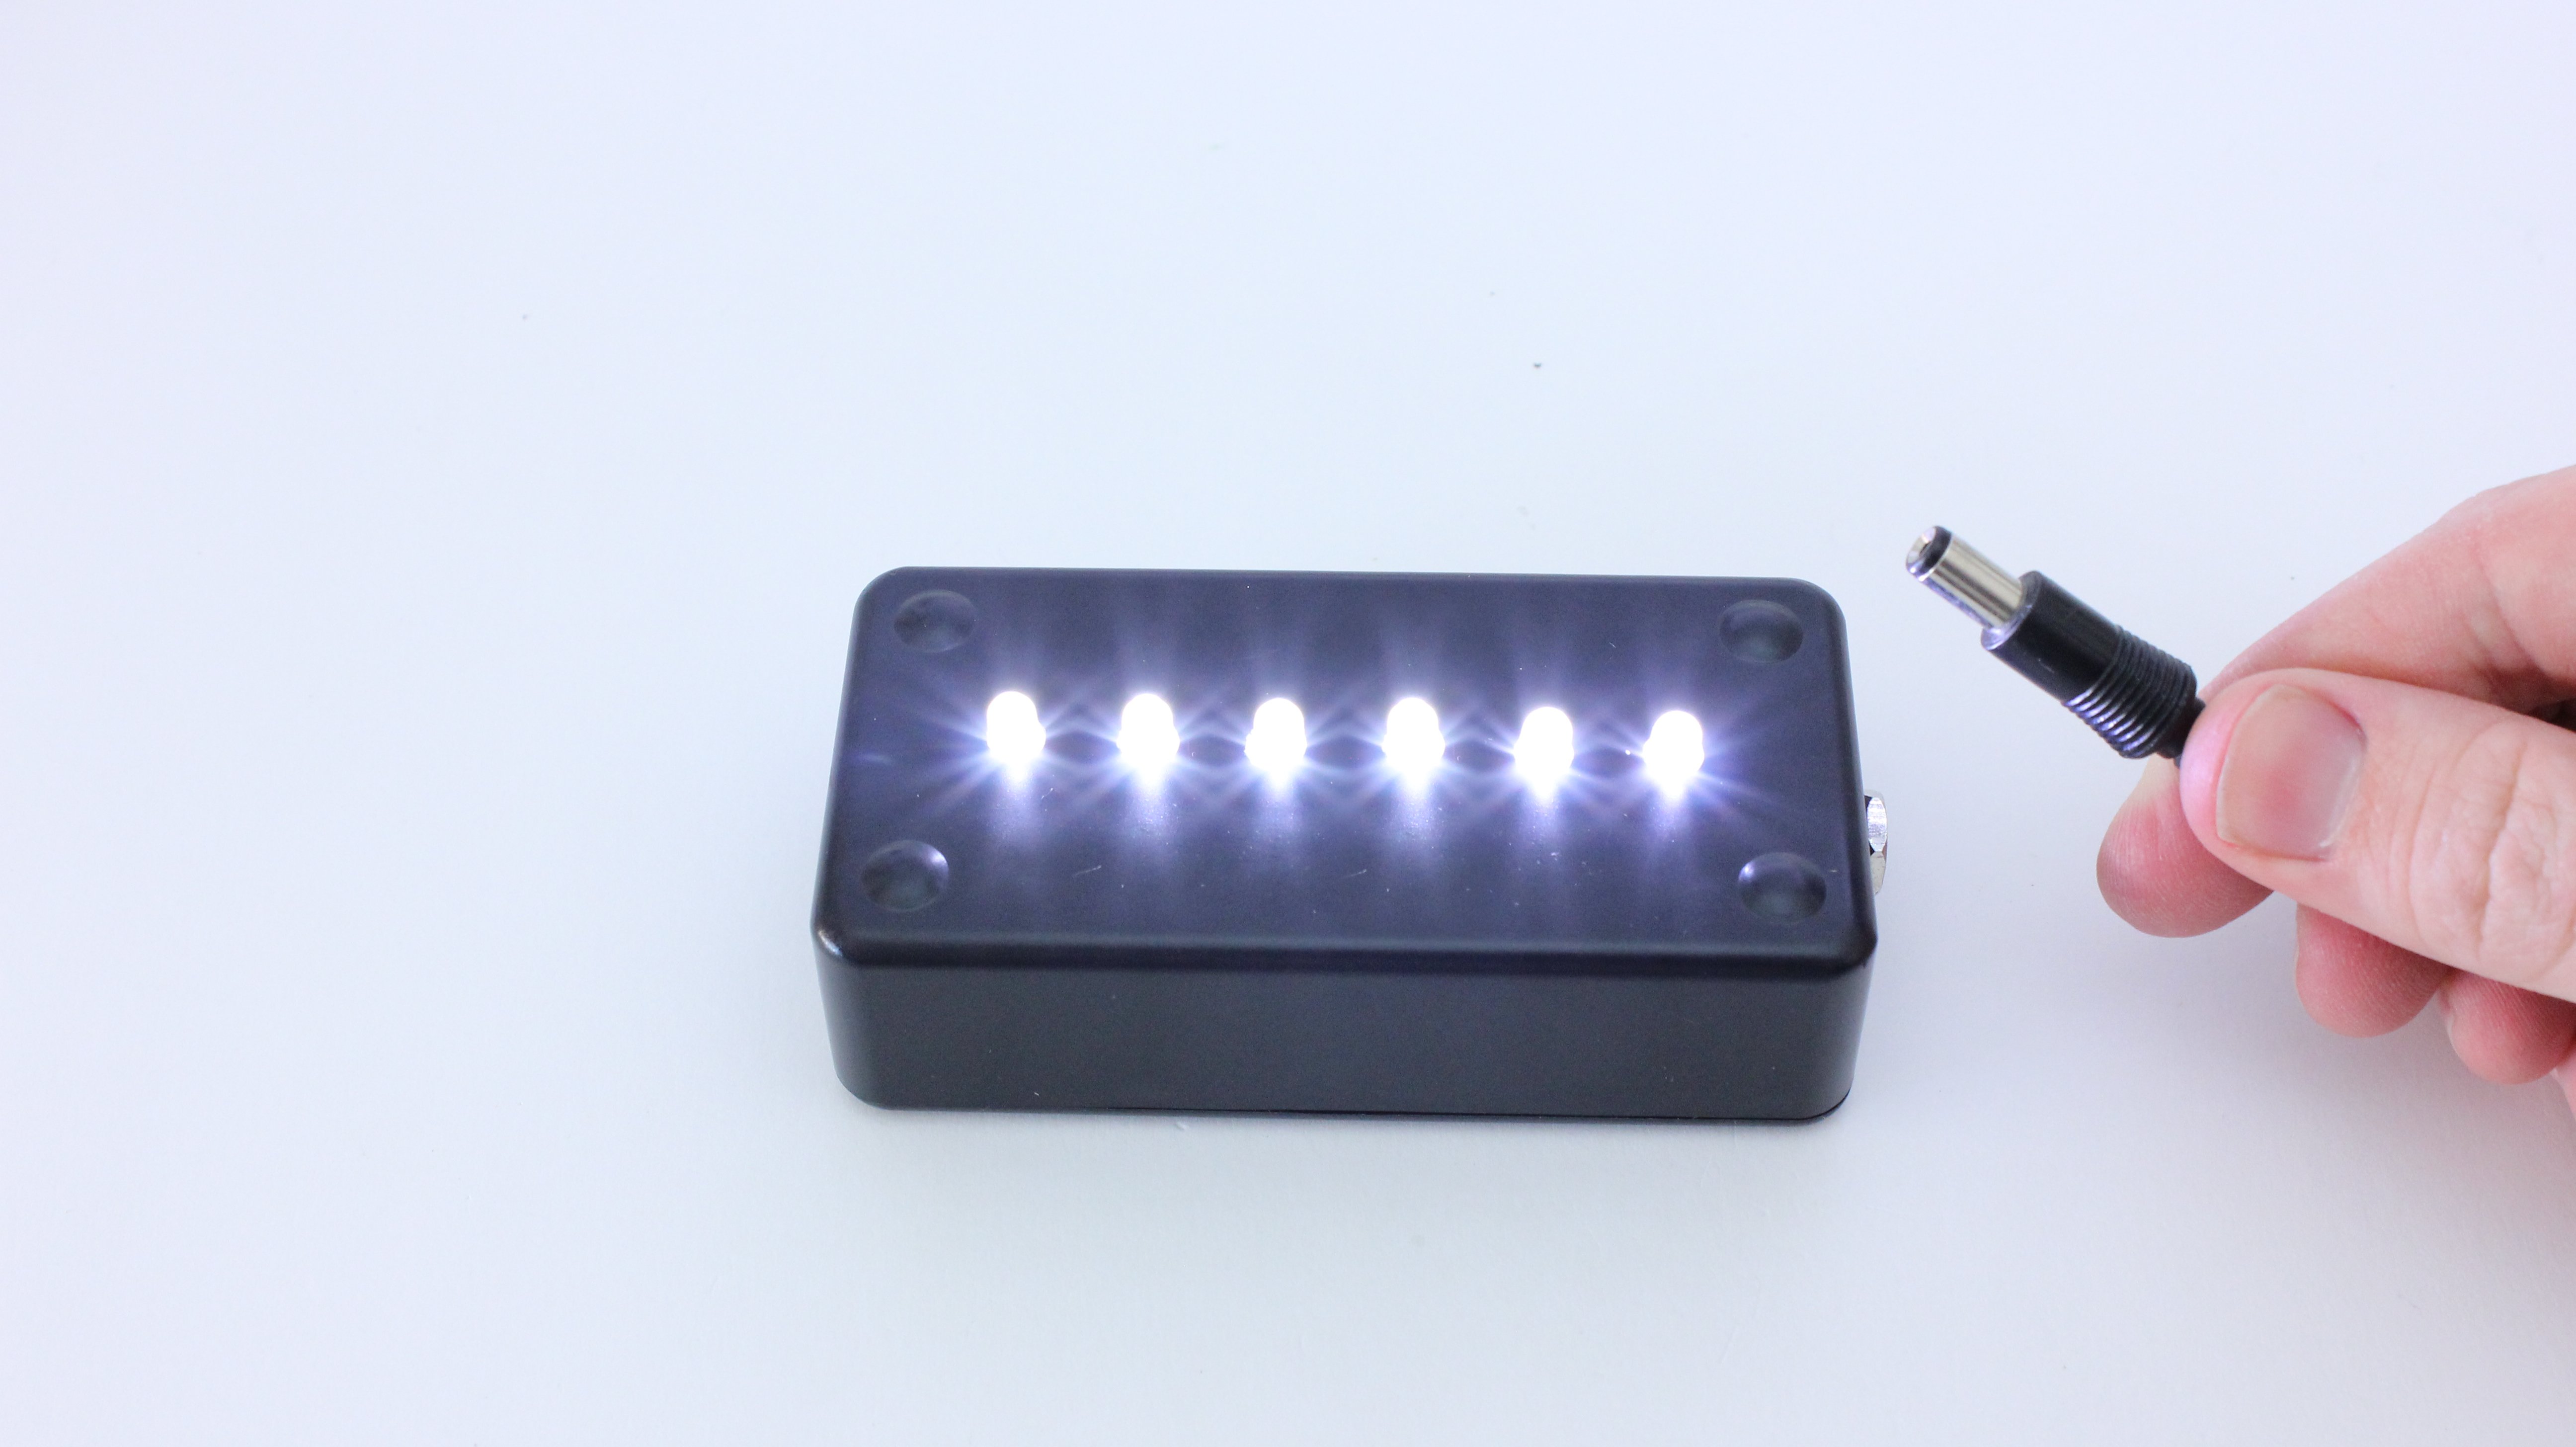
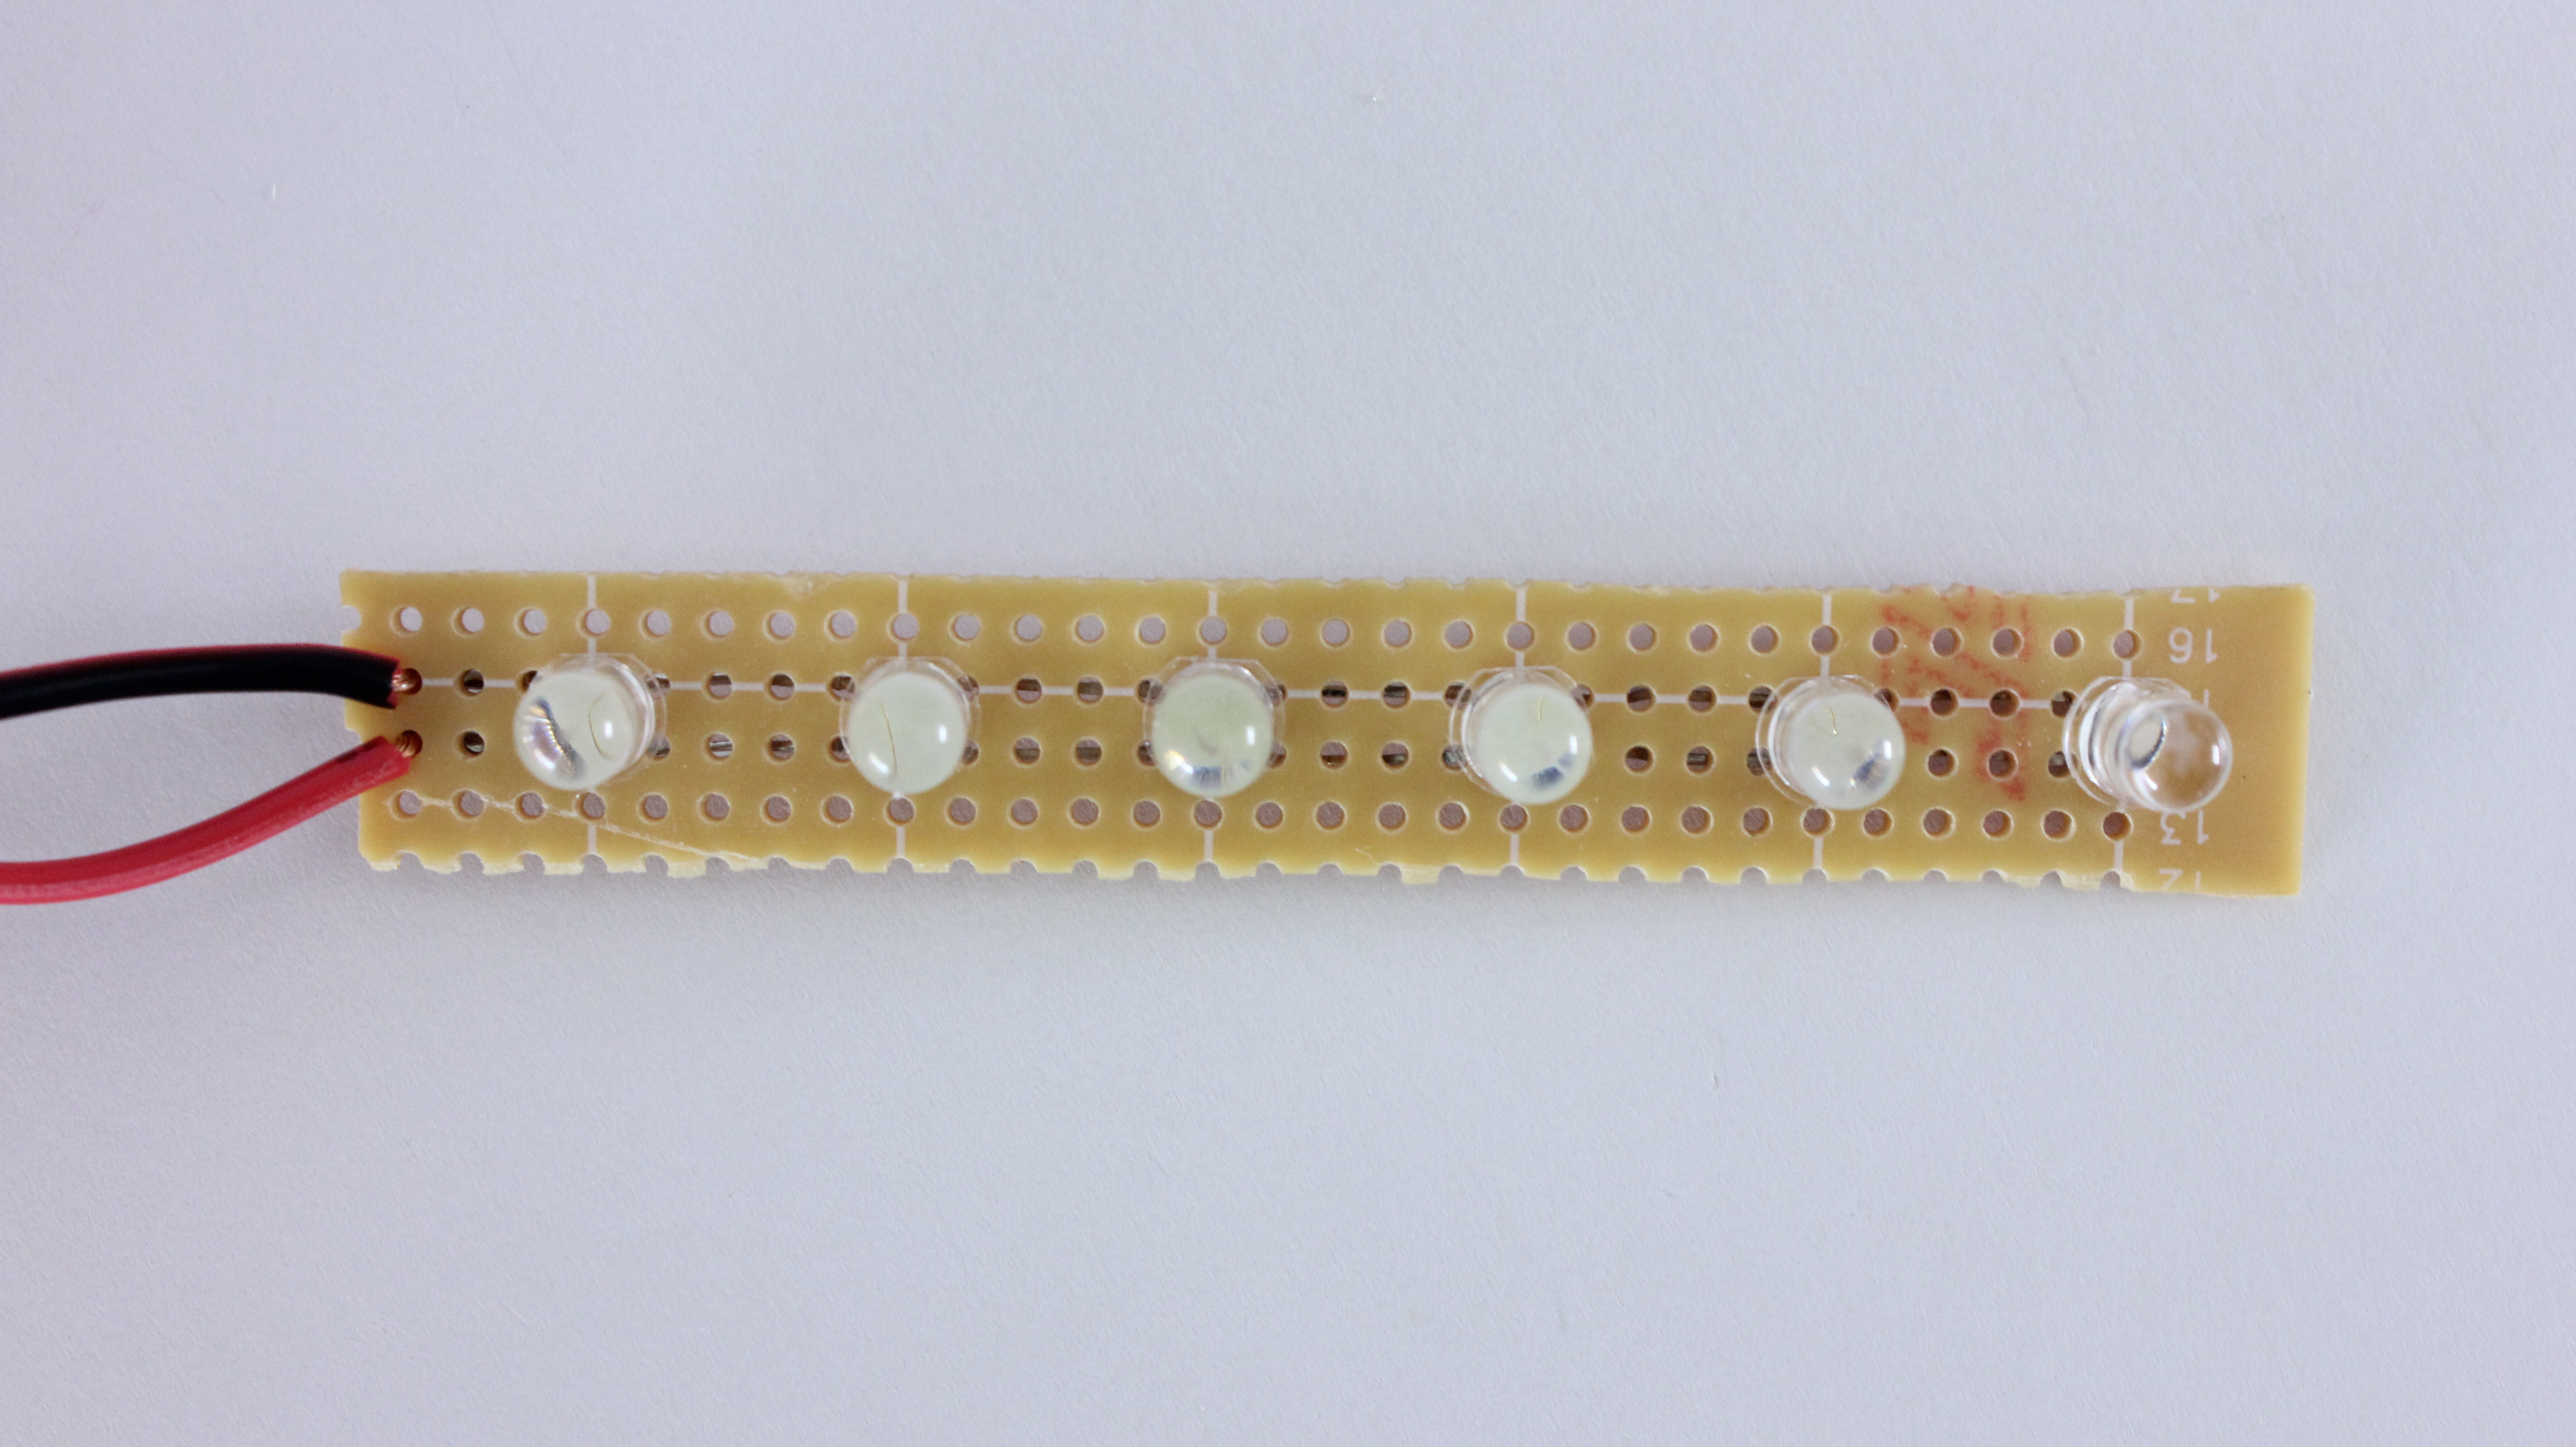
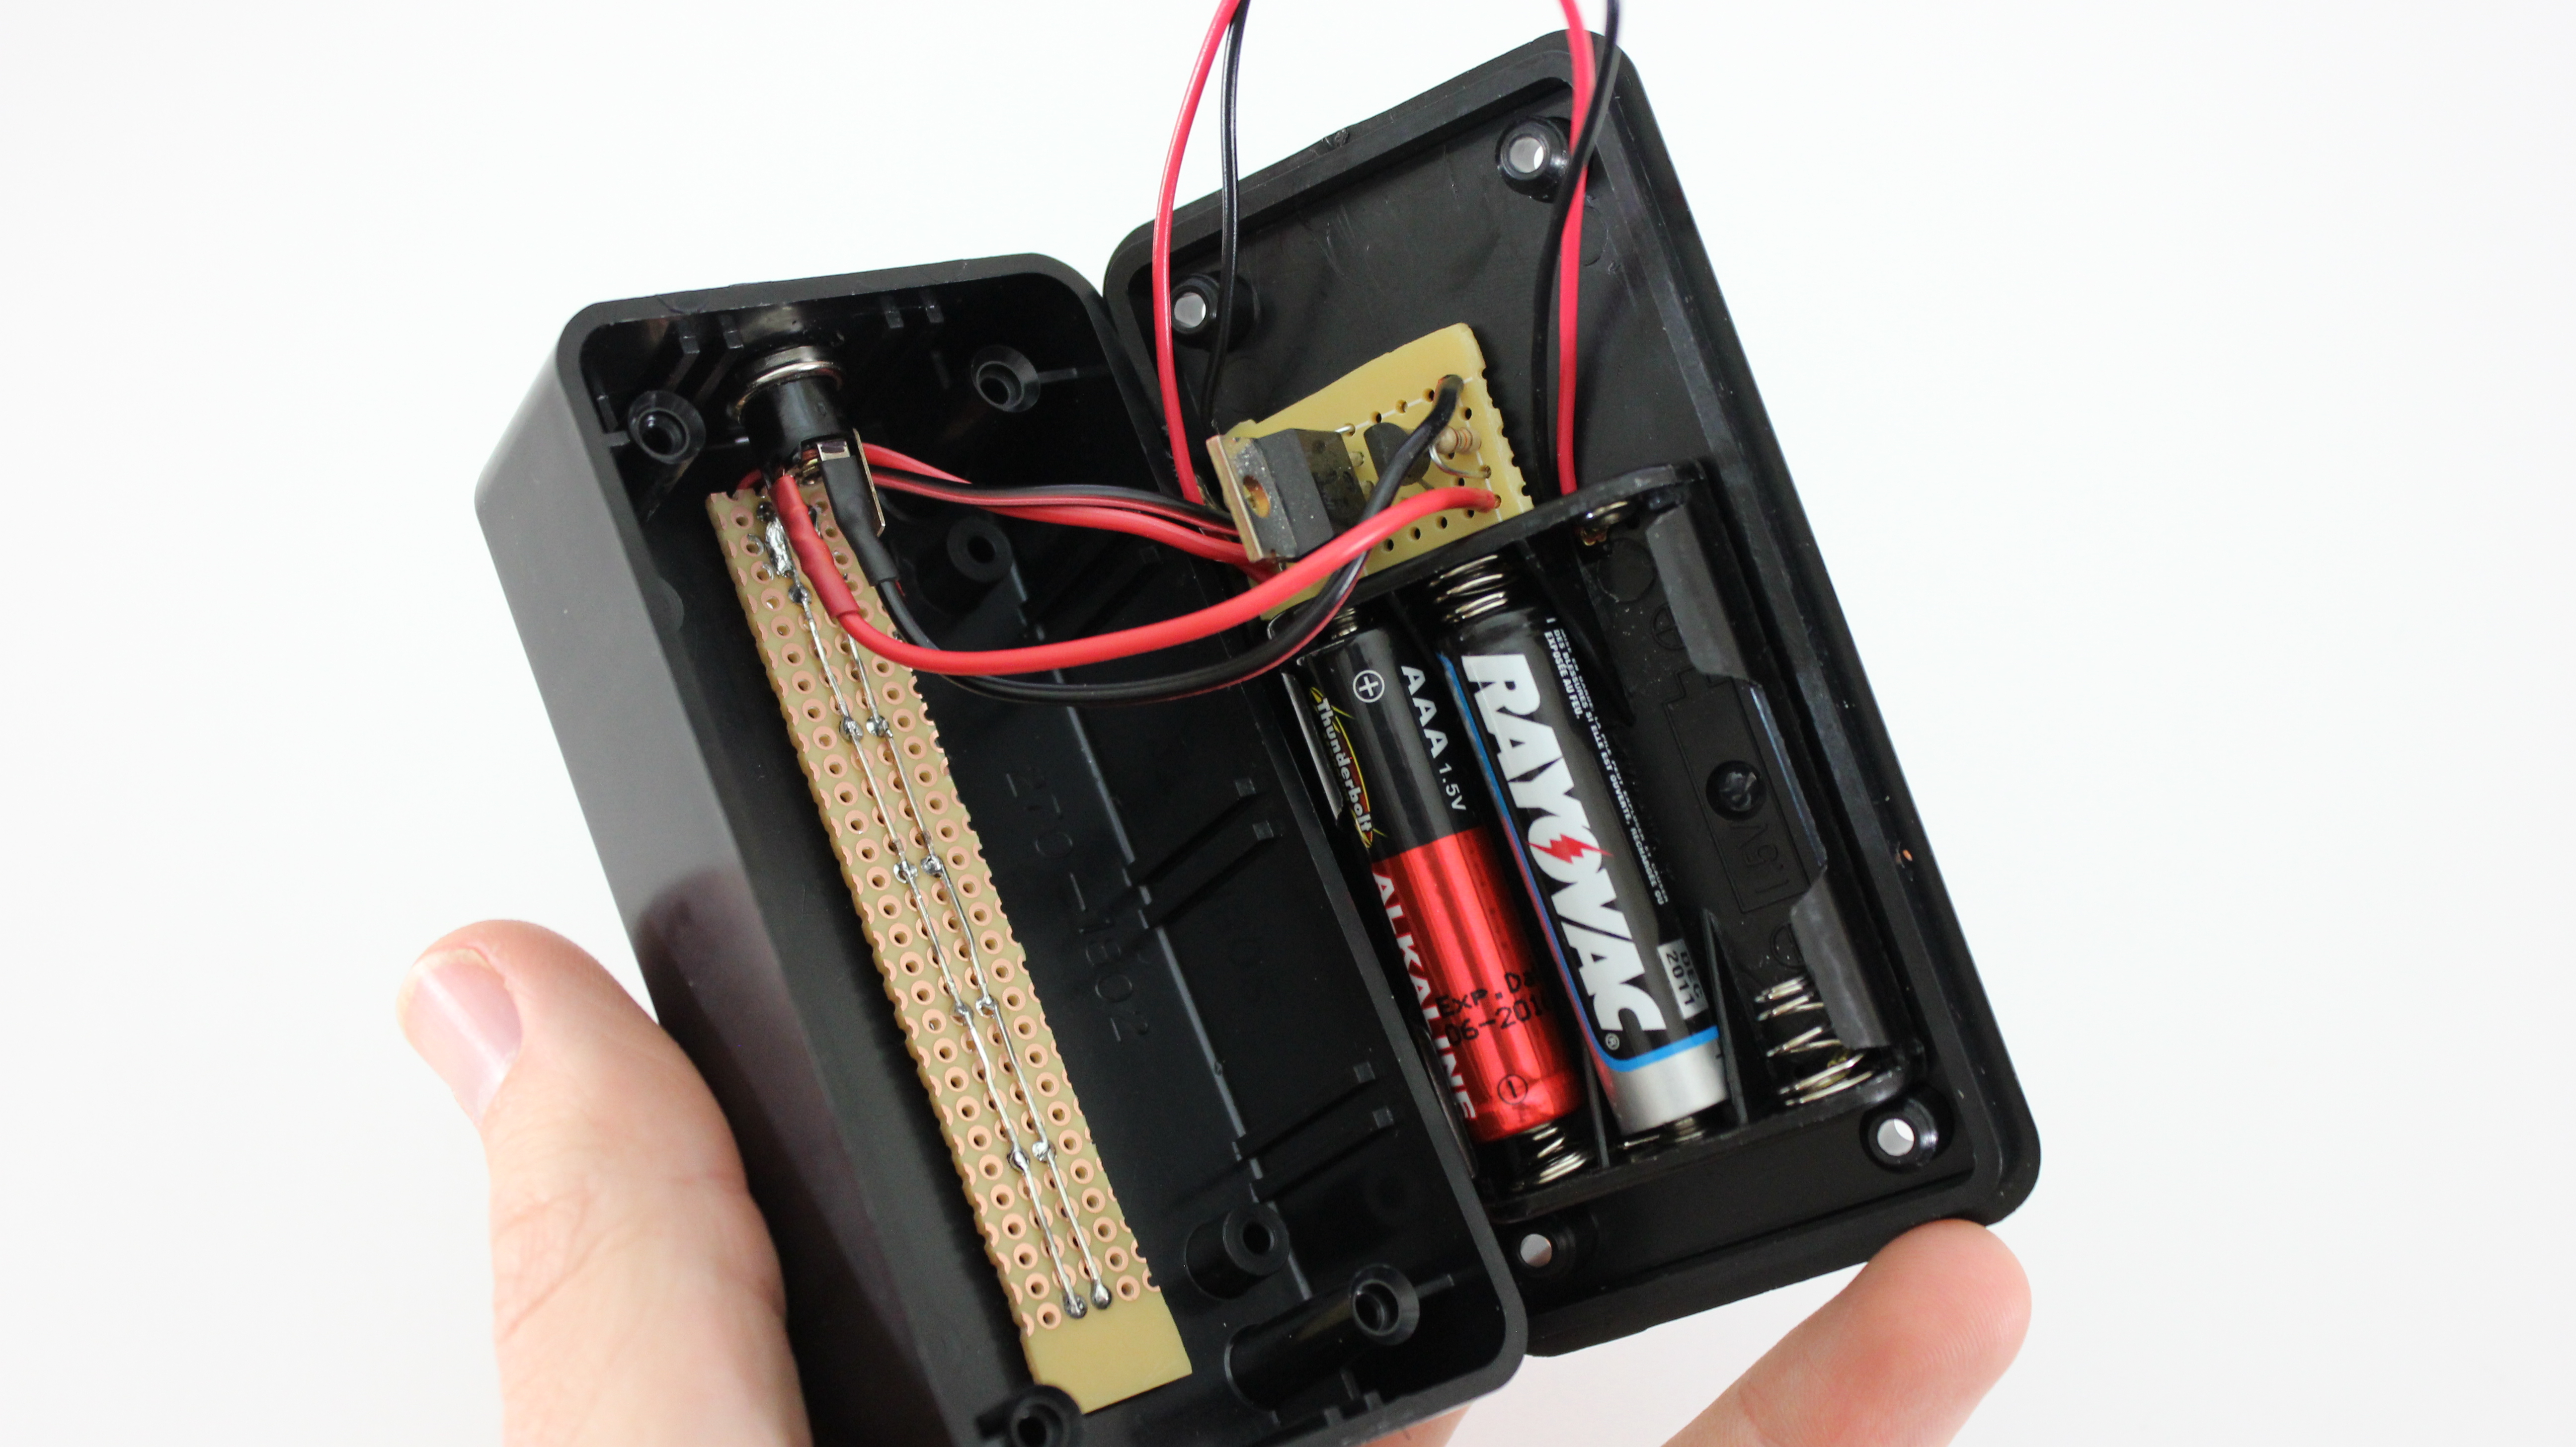
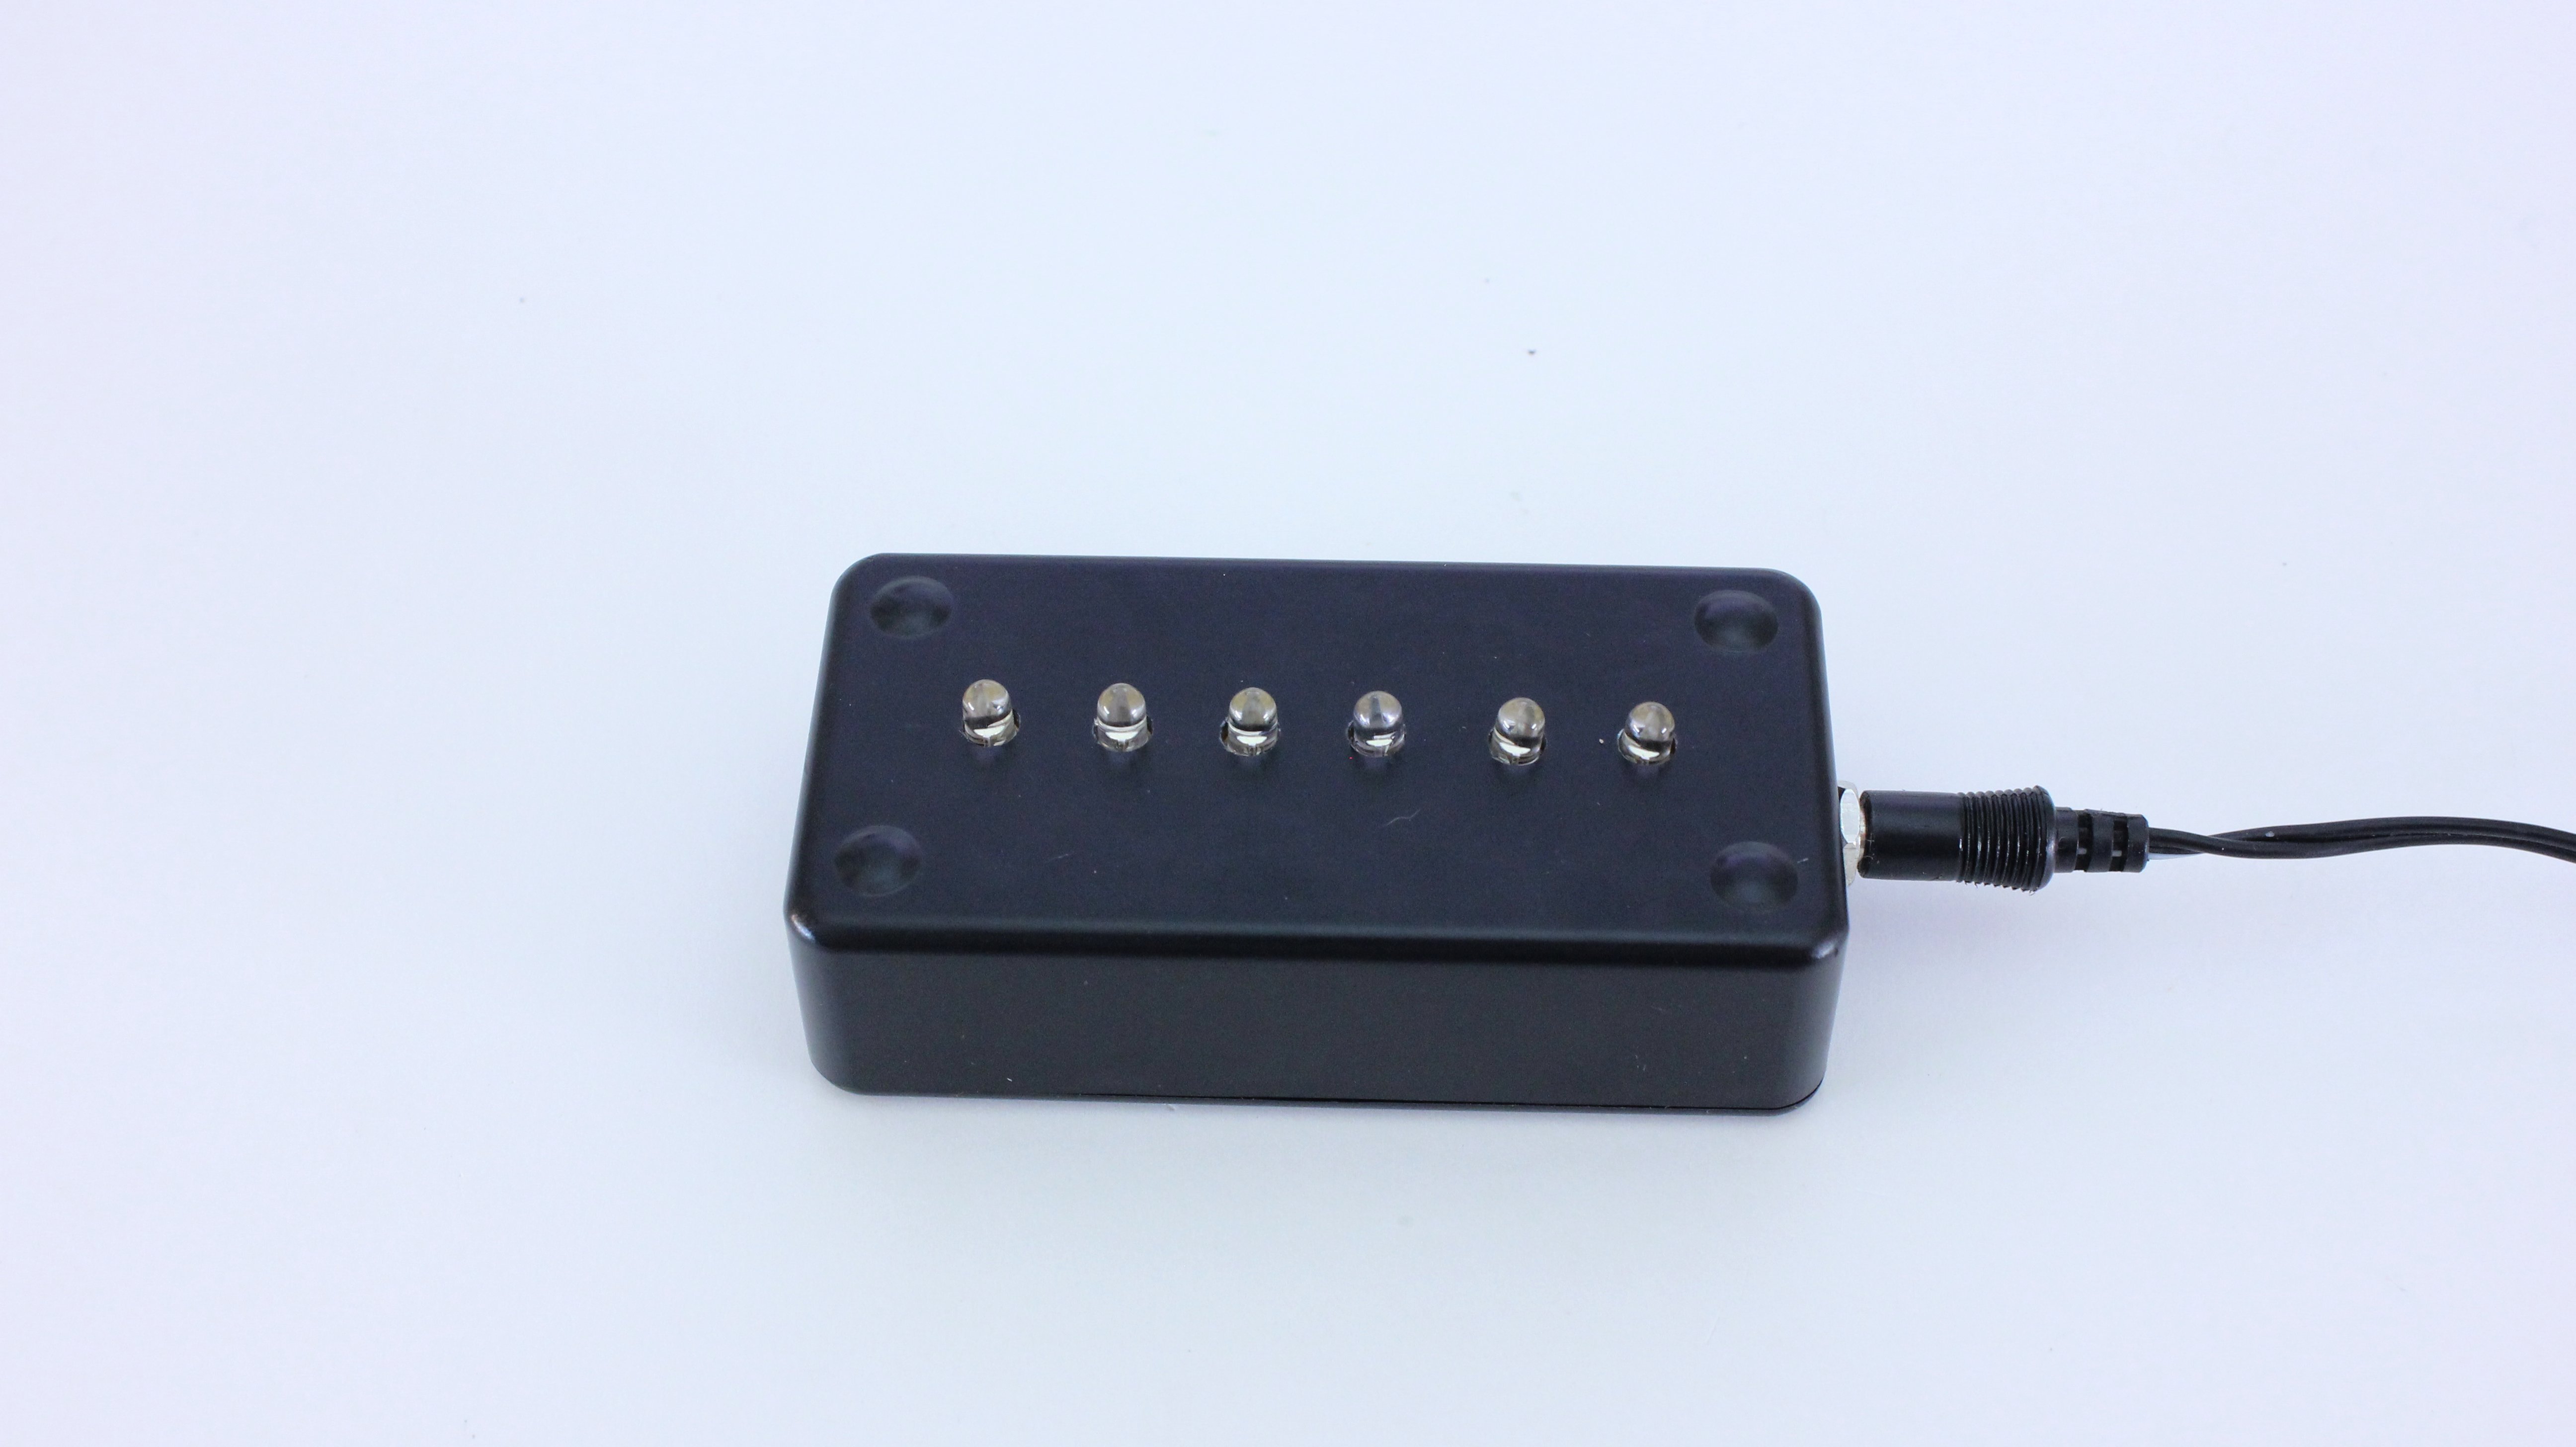
As long as the grid power is connected, the LEDs are off. But as soon as the power goes out, the LEDs automatically turn on. The power for the LEDs is supplied by three AAA batteries. In this configuration, the lights can stay on for up to 10 hours. This will give you plenty of time to make preparations for a long term power outage.

Prototype the Circuit on a Breadboard

It is always a good idea to prototype any circuit on a breadboard before soldering it together. This will give you a chance to swap out parts and change values to get the performance just right.

Solder the LEDs onto a Circuit Board

Once you have tested the circuit on a breadboard, you are ready to begin soldering it together. The first thing you need to do is solder together the LED array. This is just six LEDs wired together in parallel; I soldered them onto a thin strip of perf board.

Solder the Rest of the Circuit onto a Separate Circuit Board

The transistors and resistors will get soldered to a separate circuit board. Again, I soldered the components onto a small piece of perf board. This let me customize the connections and make the board as small as possible. You can copy my layout or design your own.

The DC power connector and the LED array were connected to the board with jumper wires.

Drill Holes in the Project Enclosure

Now we need to drill some holes in the project housing. We need six holes for the LEDs and one hole for the DC power connector.

Hold the LED array up to the side of the housing and mark where each one lines up. Then drill a hole in each location that is slightly bigger than the LEDs.

Then drill a hole in the side of the housing that is slightly bigger than the threads on the DC power connector. You may want to fit all the parts inside the housing first to make sure that there isn’t a space conflict. Then remove the parts and drill the hole.

Mount the Components to the Inside of the Housing

Now you are ready to mount all the parts to the inside of the housing. Start by applying hot glue to the back of the battery pack and fitting that in place. Next glue the circuit board in place. Then insert the DC power connector into its hole and secure it in place with its nut. Lastly, glue in the LED array. Before installing each piece, fit it in place to make sure that it won’t hit any of the other components. Once all the parts are mounted, insert the batteries and close up the housing.

Finished Emergency Light

As soon as the batteries are mounted into the battery holder, the LEDs should turn on. When you plug in the DC power supply the LEDs will turn off. Your emergency lighting system is now operational.

Whenever the power goes out, the LEDs will automatically turn on. This should give you enough light to find your way around the room. Because this light is small and lightweight, you can carry it around with you and use it as an emergency flashlight.