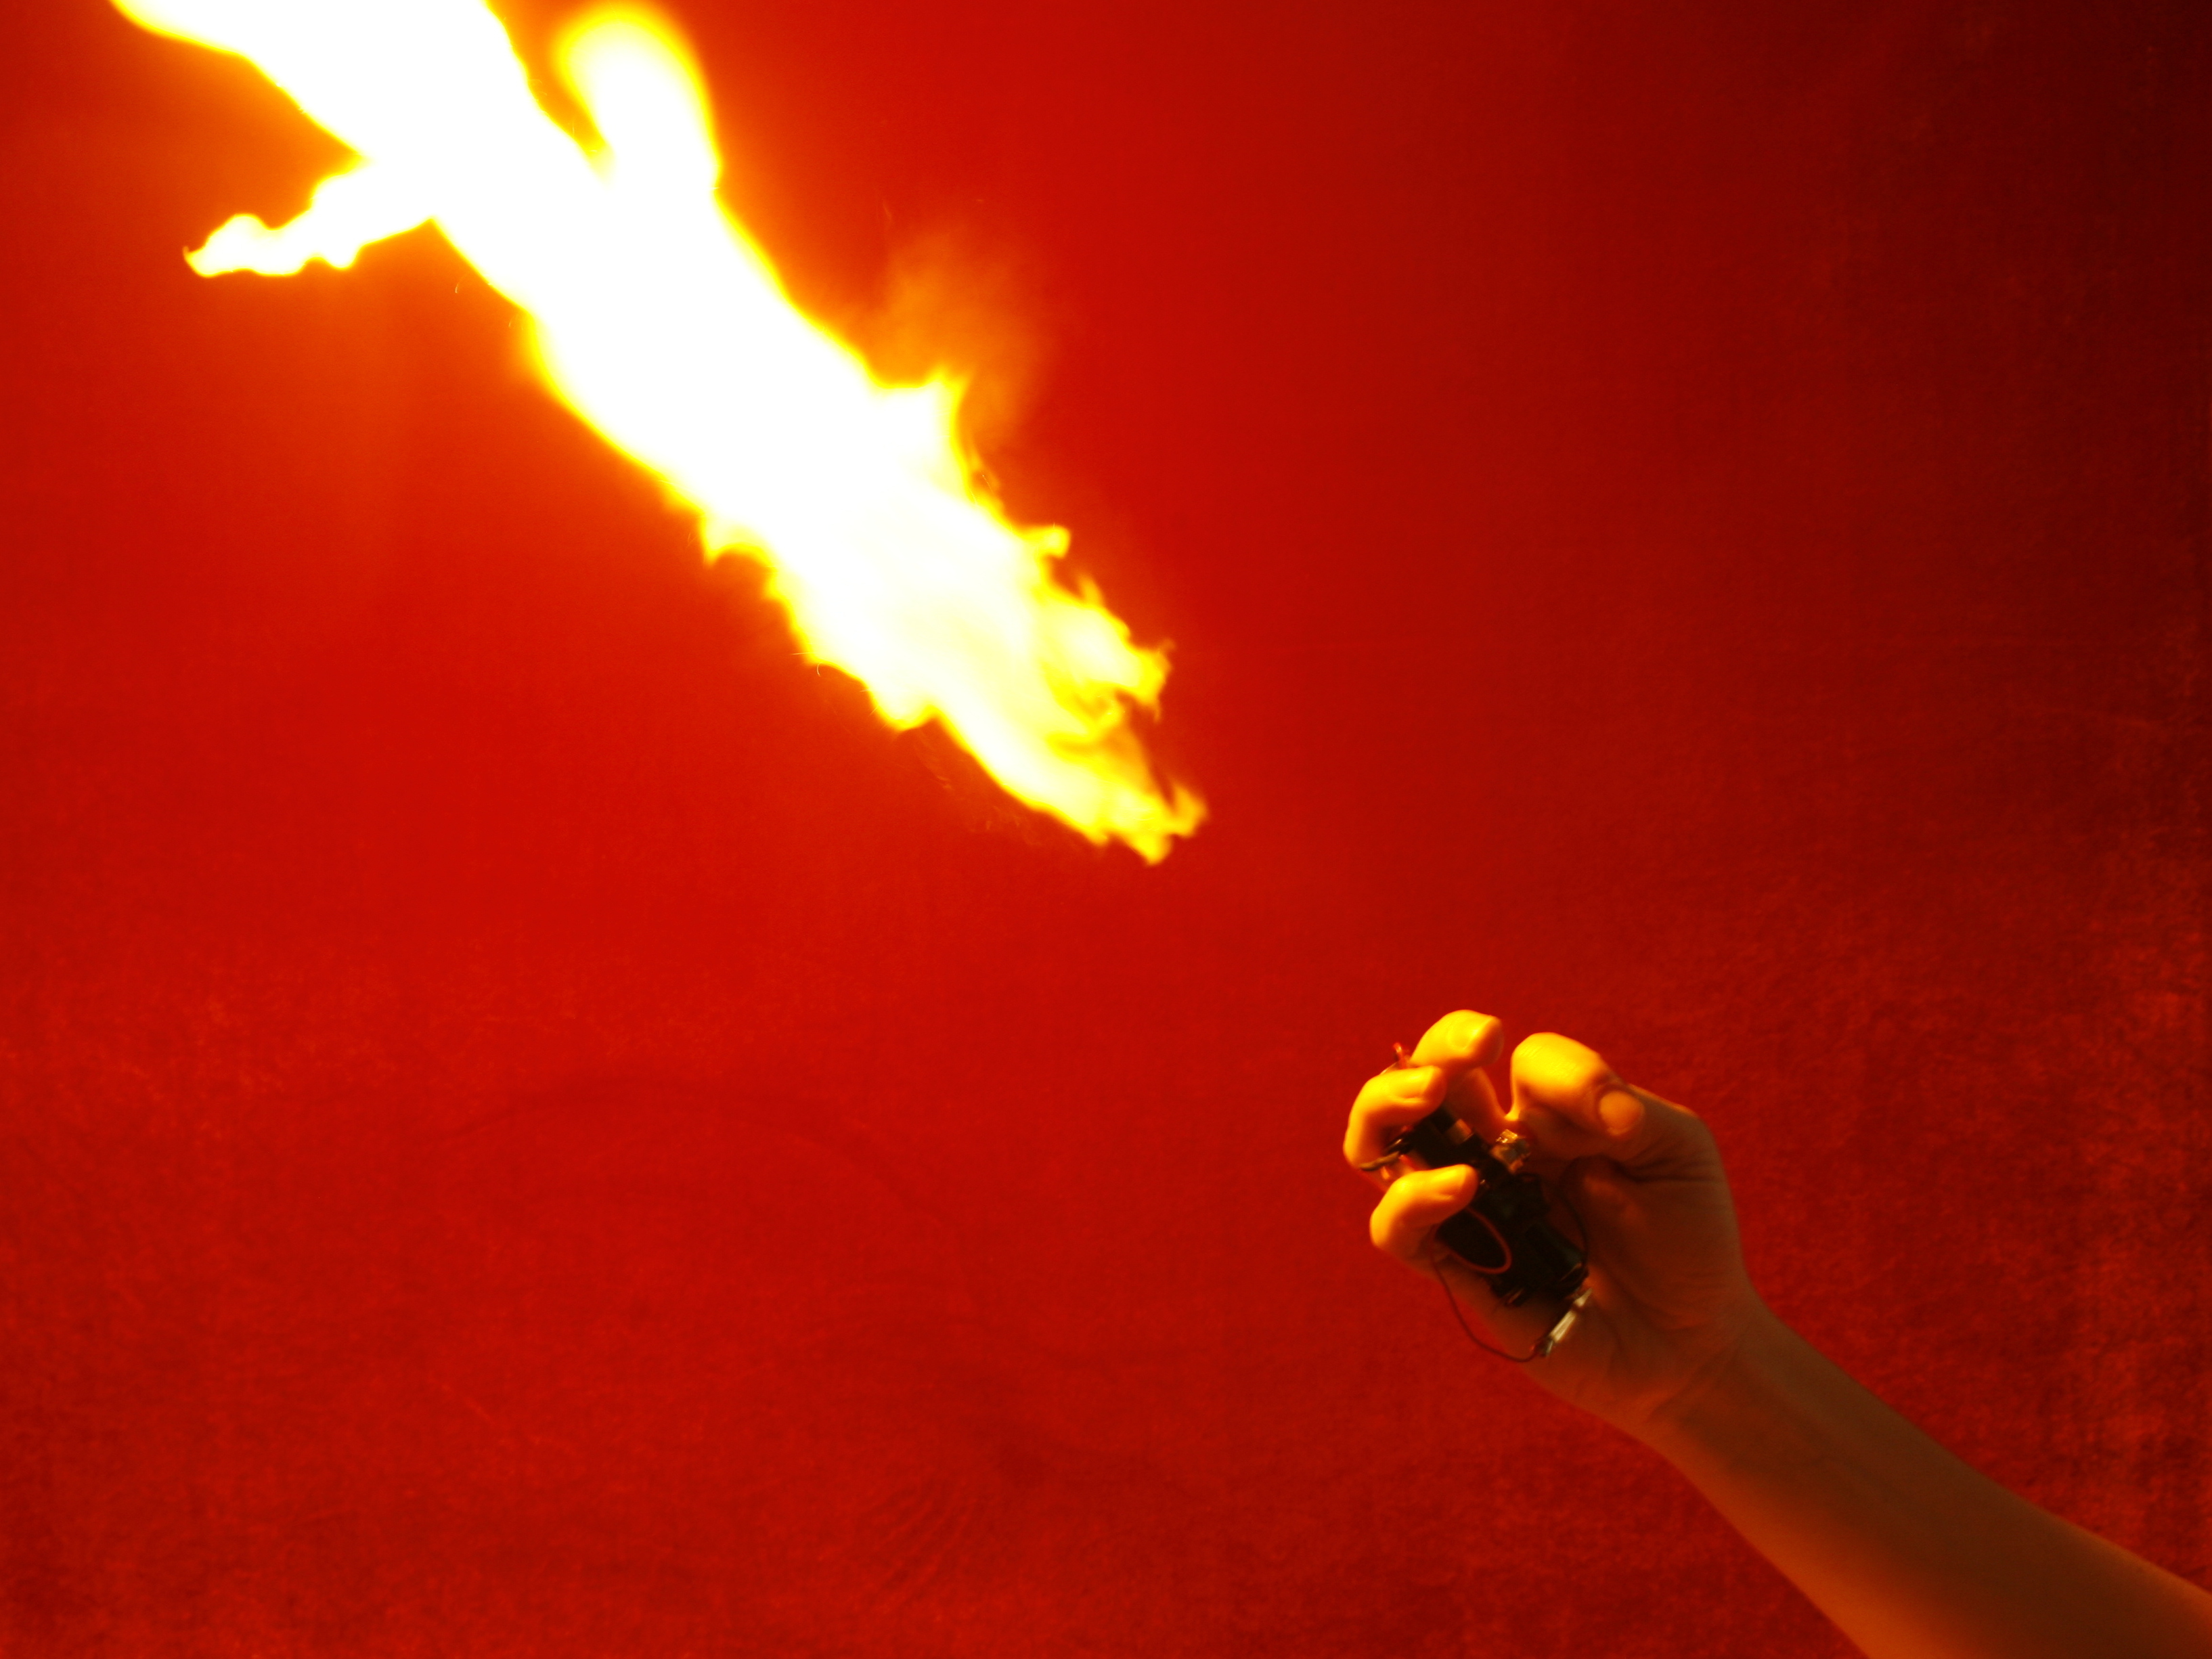
A stalwart of close-quarter magicians for years, the electronic flash gun is a simple device: a battery-powered, hand-held ignitor that uses a “glo-plug” to light a bit of flash paper and cotton, shooting a fireball a few feet into the air.

You can buy one from most magic shops for around $50, but if you build one on your own, you’ll not only save a few bucks, you’ll also learn how easy it is to add fire effects to almost any electronics project. (And what gadget couldn’t stand a little more spurting flame?)

I call my variant “Orpheus Shooters,” after the booming voice I use before blasting a fireball into the air, cribbed without shame from The Venture Bros.’ Doctor Byron Orpheus, my current favorite cartoon necromancer.

I’m absolutely horrible at DIY — I’d solder my fingers to my face if it were possible — so if I can cook up something like this, you should be able to take this simple design and improve it immeasurably.

My model uses a minimum of parts and is nearly concealable in my fairly large hands, but don’t be afraid to tinker with the battery layout for maximum concealability. My grasp of the principles of electricity ends around “don’t lick a light socket,” so there may be smarter ways to rig this unit than the one I have chosen.

And of course, remember your fire safety fundamentals: it may be hilarious to shoot fireballs at your sleeping cat, but she’ll have the last caterwaul when you set your bed aflame.

Become a Licensed Pyromancer

A glo-plug, with its platinum heating element, is a disposable part in your Orpheus Shooter, or in any commercial flash gun. Glo-plugs are usually rated for about 50 ignitions, although mine have lasted at least twice that long. While ordering glo-plugs through the mail doesn’t require any special registration, ordering ignitables like flash paper does.

It’s worth buying online instead of at your local magic store. My local store charged over $10 a plug, while an online shop (http://starlight.com) charged just $3. The savings were worth the hassle of faxing in a copy of my driver’s license.

Glo-plugs (similar to those used in model rocketry, I’m told) come in two flavors: 1.5V and 3V. One isn’t better than another for our purposes, but you’ll want to match your plug to your power source, so just be sure to remember which one you bought.

YouTube player

Project Steps

Build the shooter body.

Cut a length of pipe with a tubing cutter, about 3″ long, depending on the size of your hand. The length, width, and composition of your pipe isn’t so important — so long as you’re not using, say, magnesium — but anything wider than ½” will probably be less a “shooter” and more a “whoomfer.”

Hot-glue your nut to the bottom of the pipe. This is one of two things holding the nut to the pipe, and as long as the glue isn’t obstructing the threads on the inside, it’s fine.

Cut a length of heat-shrink tubing, about ¾” long. Place the heat-shrink tubing around the end of the nut, leaving about 1/8″ over the end, so that it curls back around the nut when heated.

Hit the tubing with a hair dryer or other heat source until it holds tightly around the end, creating a small lip that’s pushed in when you screw in a glo-plug. This doesn’t really do anything, but it looks nice.

Clamp the binder clip around the pipe, leaving the arms extended together.

Unscrew the nut from your pushbutton switch so that the lip of the switch and the nut sandwich both binder clips’ arms. Push the switch toward the outside loop on the binder clip’s arms until it’s firmly in place. You can later secure this with glue, should you choose.

Get a feel for your shooter. The only large piece missing will be your battery pack. Decide if you’d rather leave your battery pack off the main body of the unit — perhaps on a separate armband — or if you’d like to keep it all together. I chose to glue my battery pack to the shooter body, even though it’s a pretty tight fit in my paw.

Wire her up.

Strip a small bit of sheath from the 2 wire leads coming from your battery pack. (Red is positive; black is negative.)

Solder the positive lead from the battery pack to one of the prongs on the switch. This should take you about 10 seconds; it took me about half an hour. I’m pretty sure desire repels solder.

Cut a length of wire about 2″ long, stripping the sheathing at both ends.

Solder one end to your alligator clip, and solder the other end to the remaining prong on your switch.

Cut a small square out of the heat-shrink tubing over the nut at the end of the firing pipe, exposing the metal below, to which you’ll attach the negative (black) lead from the battery pack.

A more clever maker would solder this wire to the nut. After crying many tears, I slipped my lead under the edge of the heat-shrink hole and hot-glued it in place. It’s surprisingly durable, but hardly optimal.

Screw in your glo-plug. Insert the batteries. Attach the alligator clip to the rear prong on the glo-plug.

Test your shooter. The glo-plug should light up in less than 1 second. If it doesn’t, check your connections. You should be able to see the glow out of the pipe, without looking directly down it.

WARNING: Do not look down the pipe, like I do all the time! Someday I’m going to catch a fireball in the face.

Ready, fire, aim!

Depending on the length and width of your barrel, you’ll want to adjust the amount of flash cotton and flash paper used. Remember to unplug the alligator clip from the glo-plug before loading.

Wad a pea-sized bit of flash cotton into a loose ball, tamping it down the barrel with a pencil or screwdriver until it barely touches the glo-plug.

Fold a small square of flash paper into a missile.

Remember: The flash cotton is your accelerant, while the flash paper forms the fireball itself. You’ll want the paper tight enough to fly a few feet, but loose enough to ignite before it leaves the tube.

Yell some grammatically questionable Latin and fire! Don’t forget to CLEAR THE AREA before you do so.

Conclusion

Improvement Ideas

Commercially available flash guns sometimes have 2 barrels and 2 separate triggers. If you make the first Orpheus Six-Shooter, please send me video (and I’ll send you a soothing hand salve in return).

My body design is simple, made from parts you hopefully have around the house, but the professional flash guns use a metal body that holds the battery and barrel both, making them much more easily concealed. Pro shooters also use a press-on clip instead of an alligator clip to attach power to the glo-plug. Either improvement could be rigged easily by a maker more clever than me.

The Orpheus Shooter is just begging to be integrated into a leather glove or cane, as well.

My next project for the Shooter: wiring it into a HobbyTron R/C Apache helicopter for remote firing. Why bang on your ceiling to quiet the upstairs neighbors when you can fly a chopper into their window and set them aflame?

This project first appeared in MAKE Volume 13, page 88.