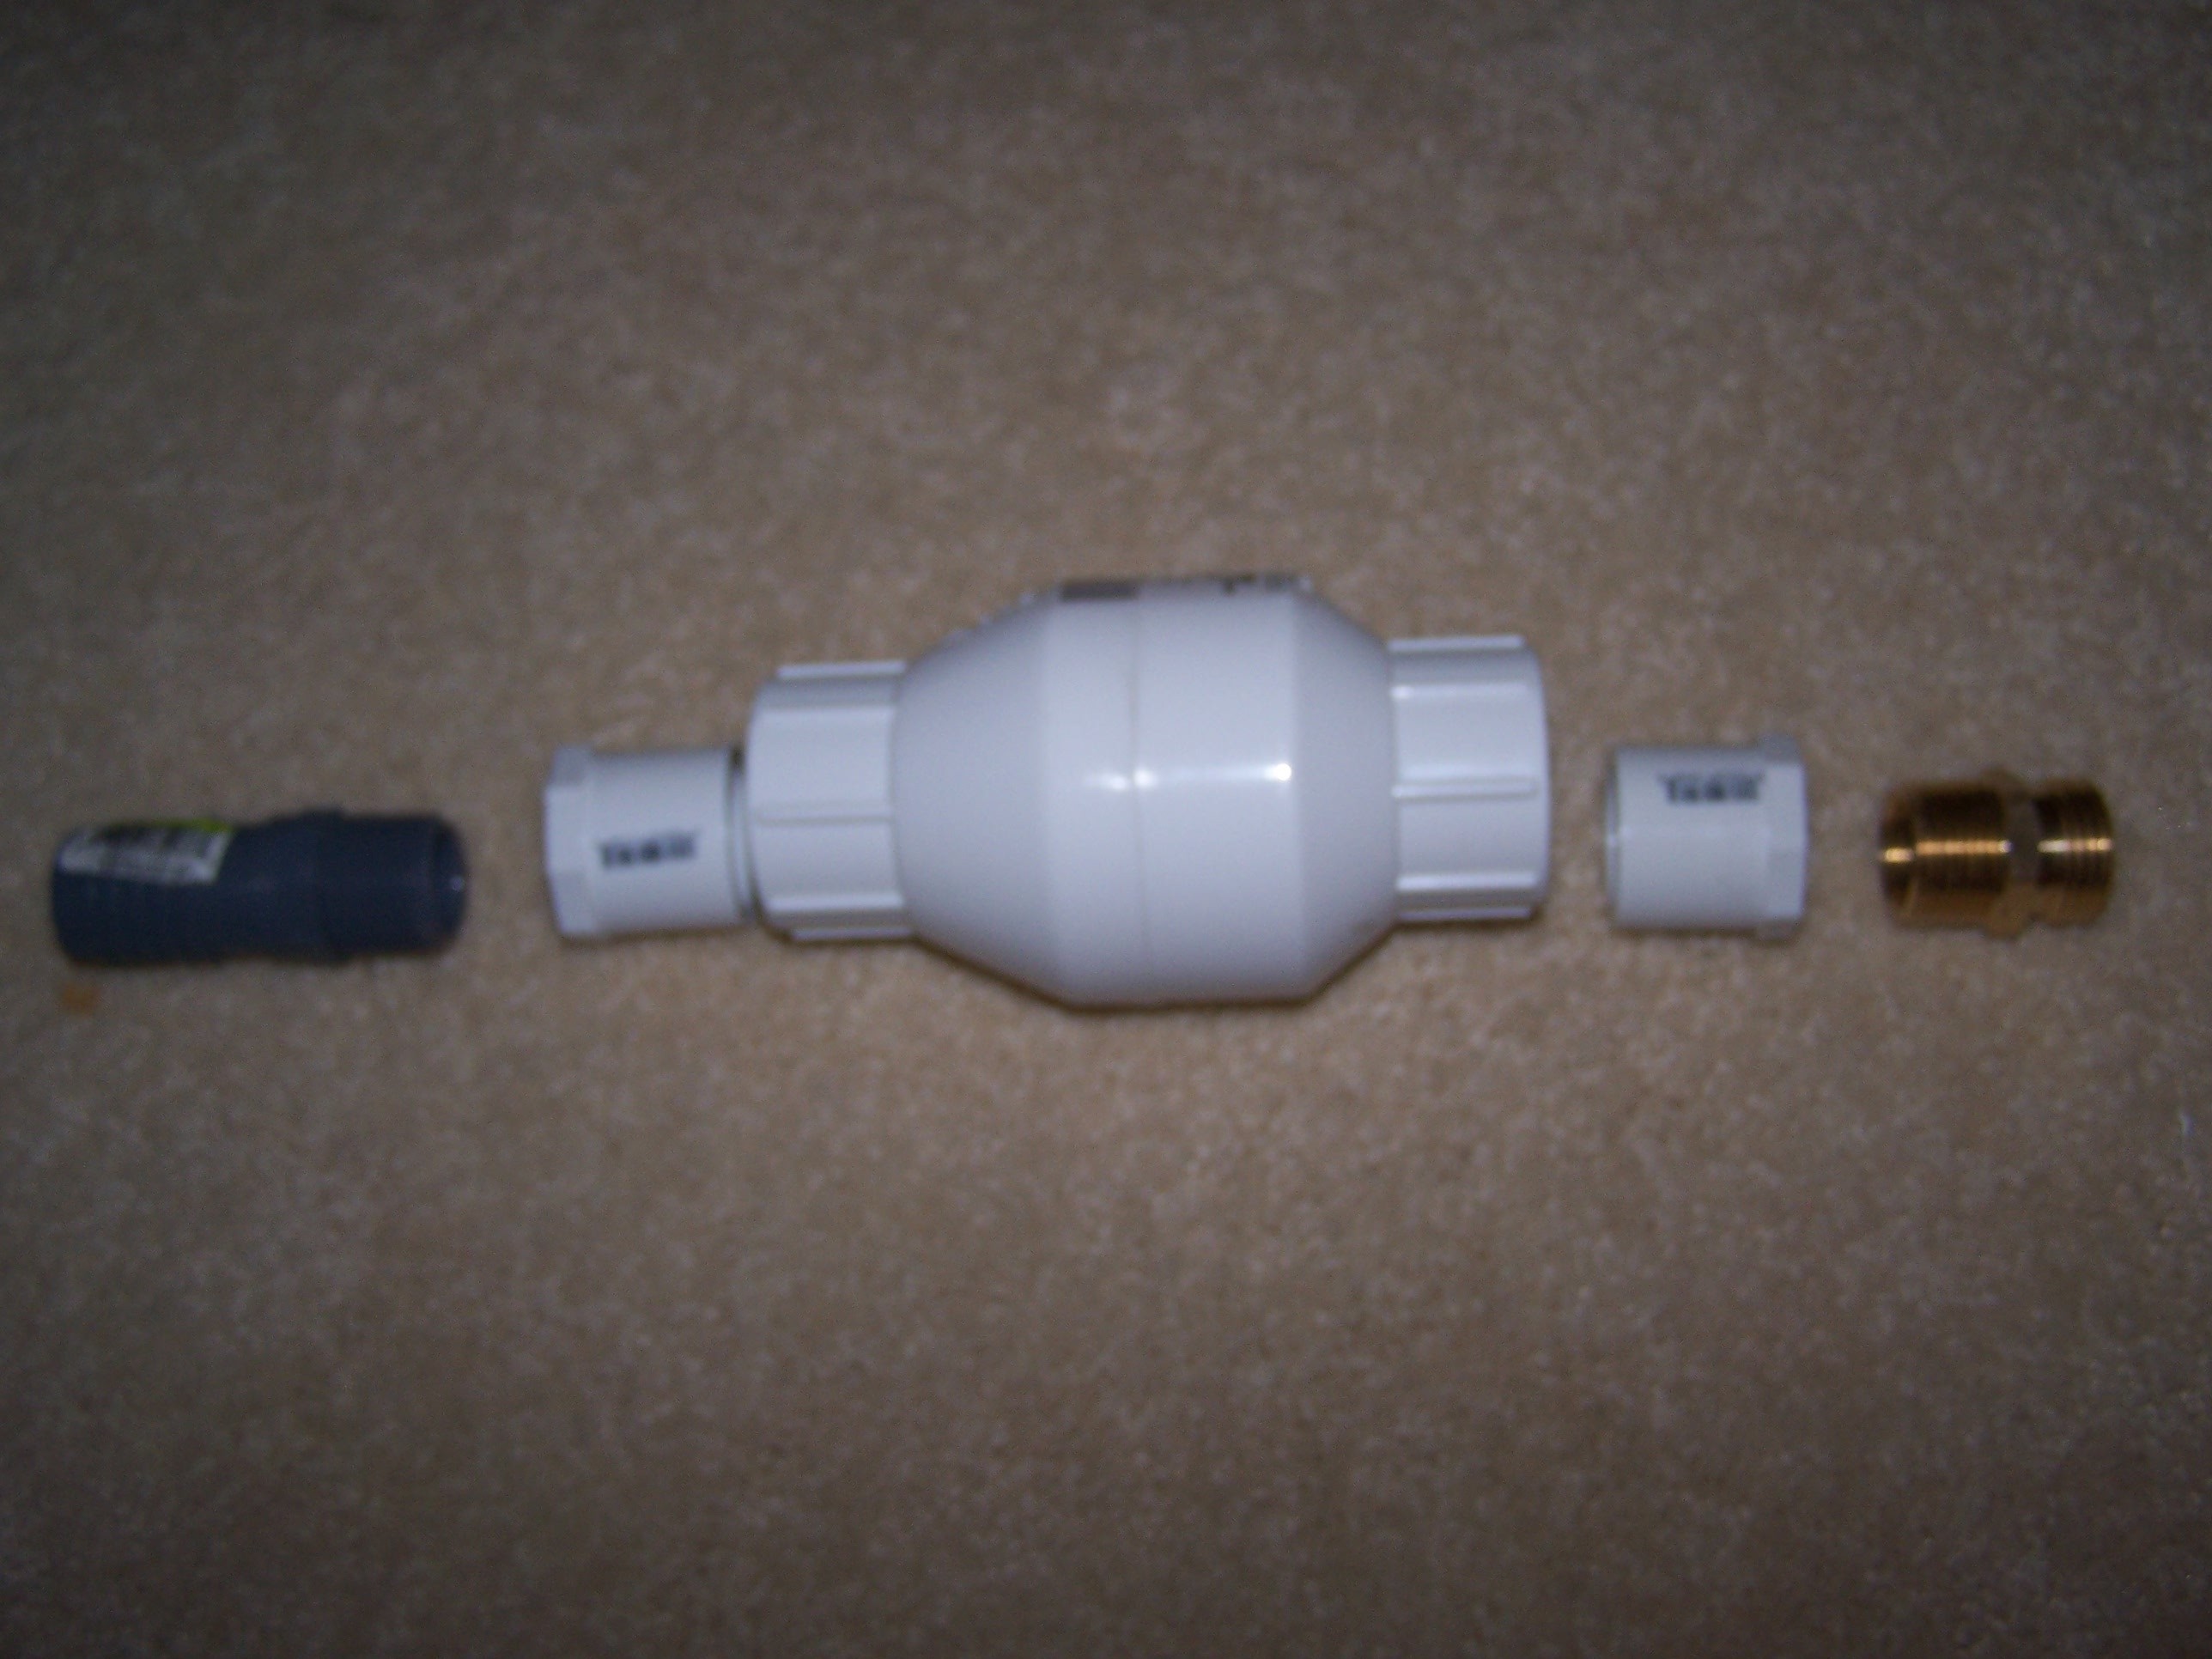
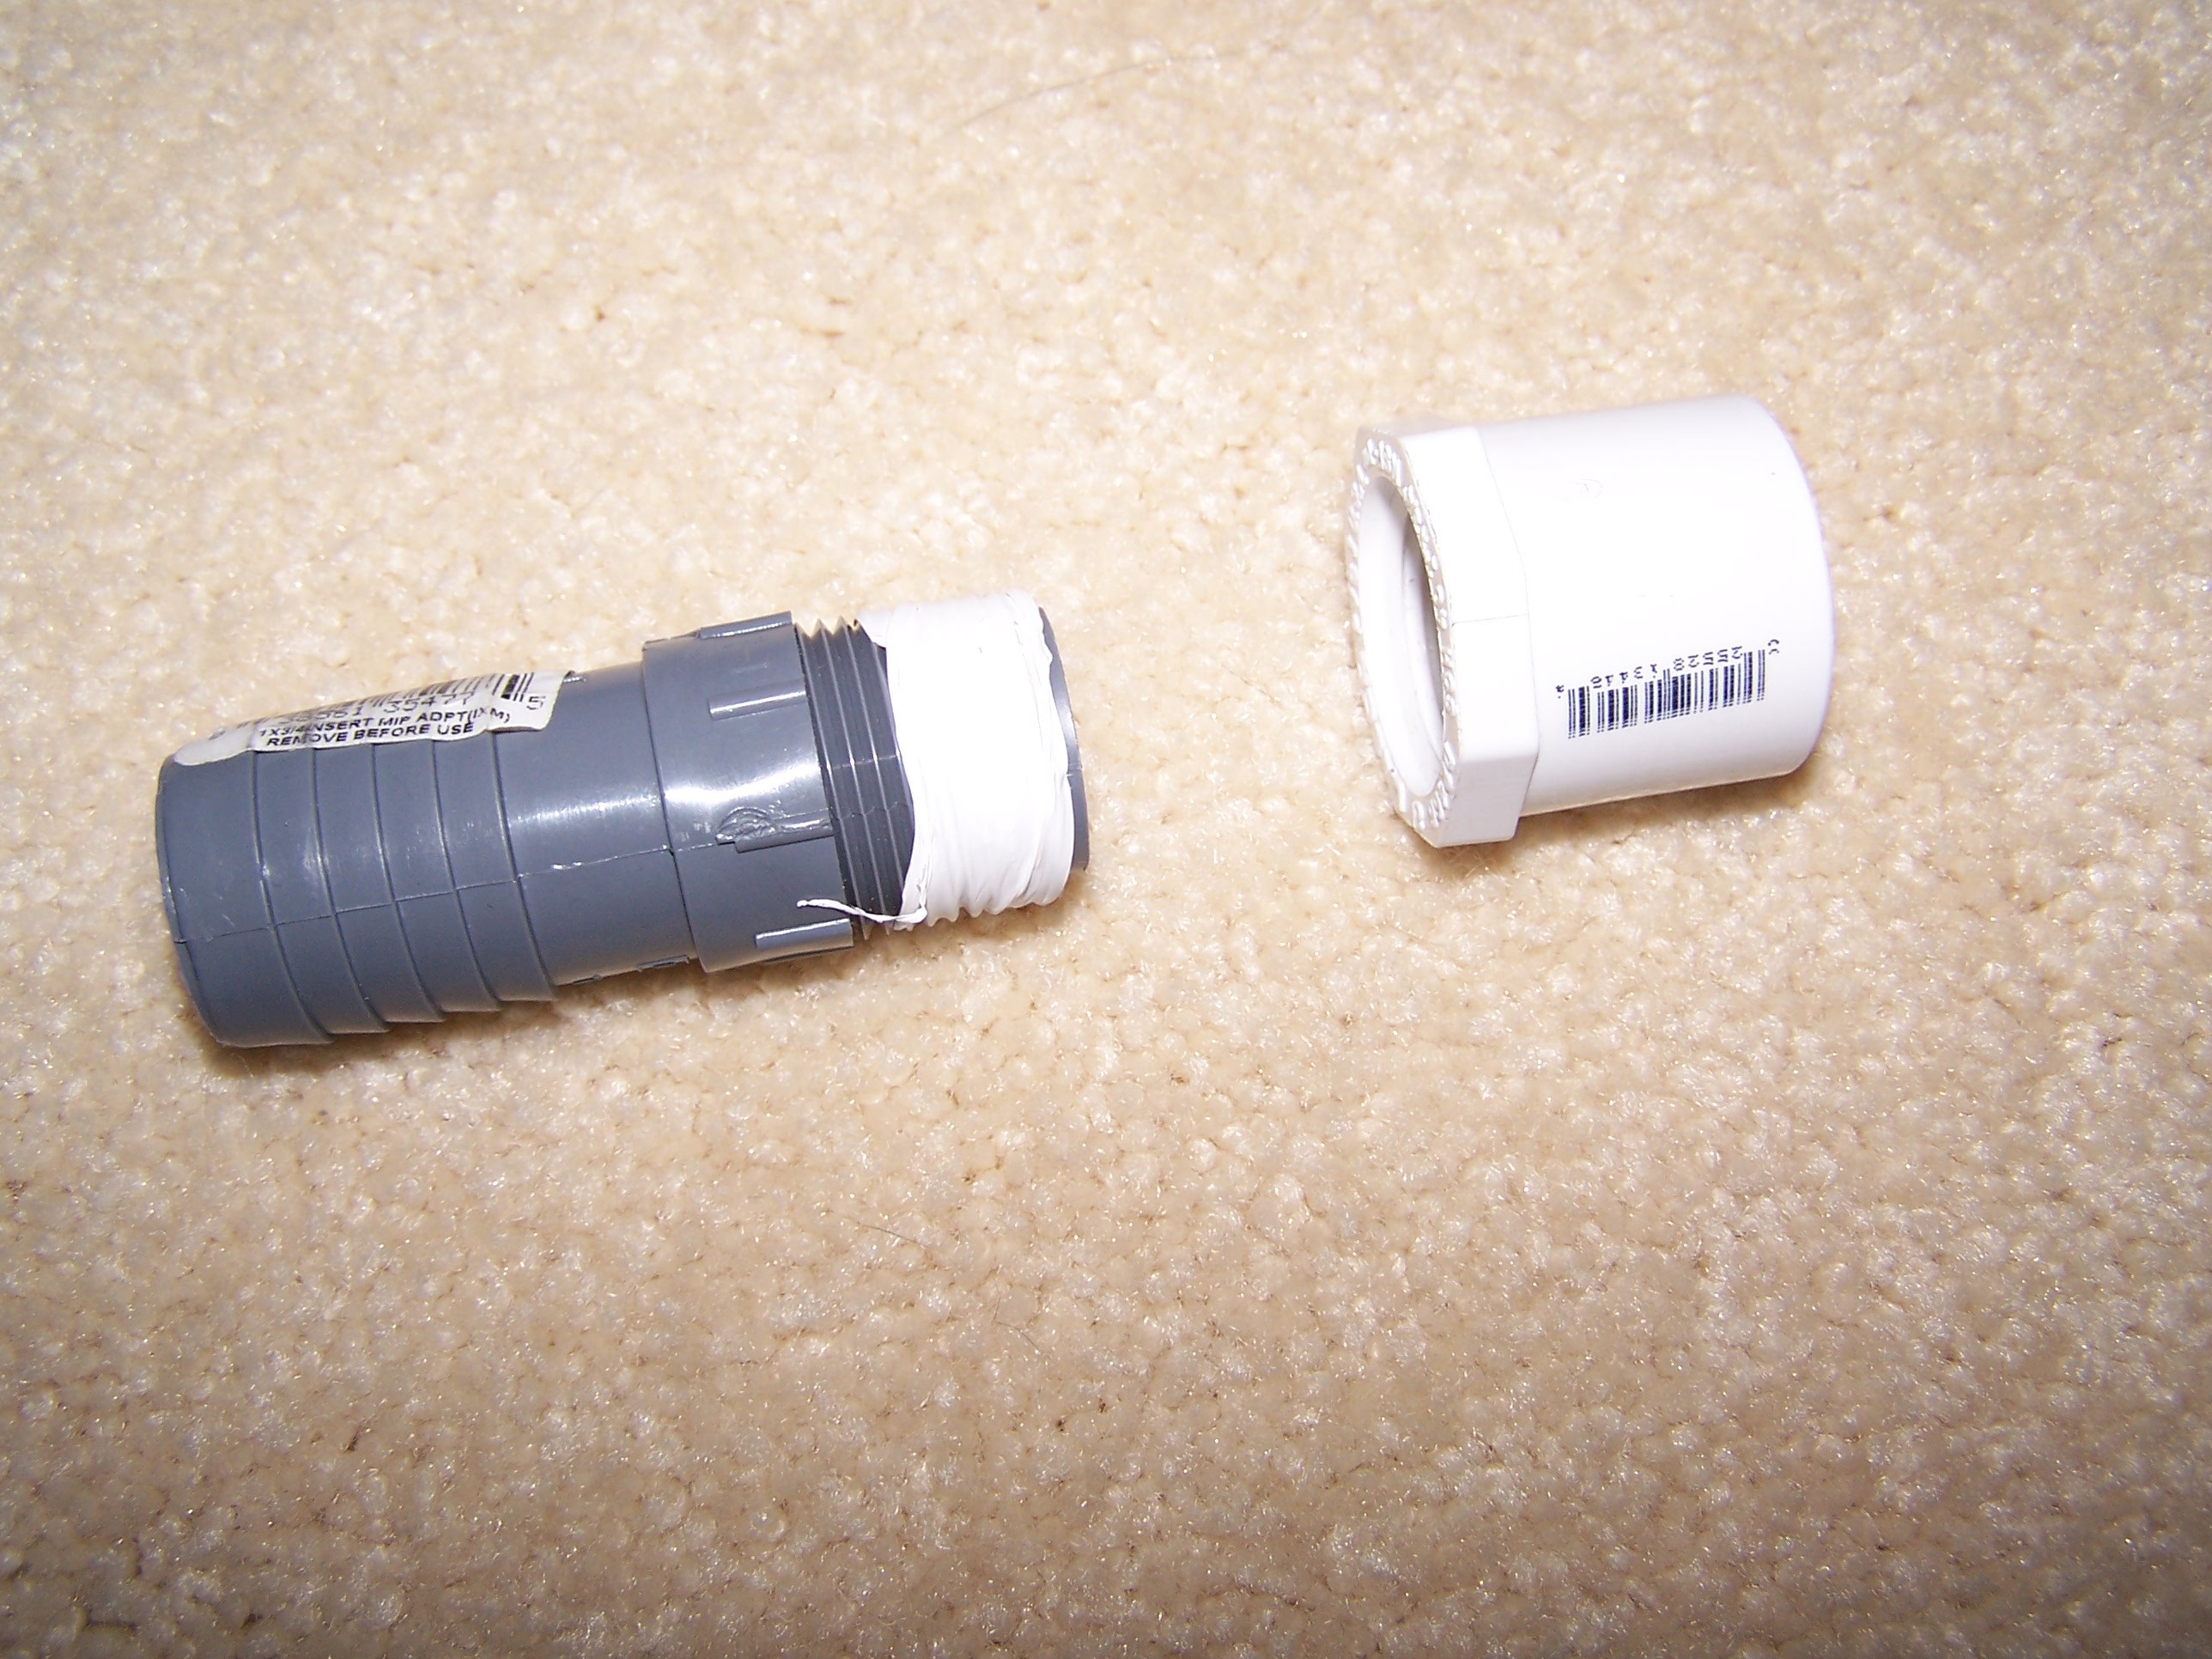
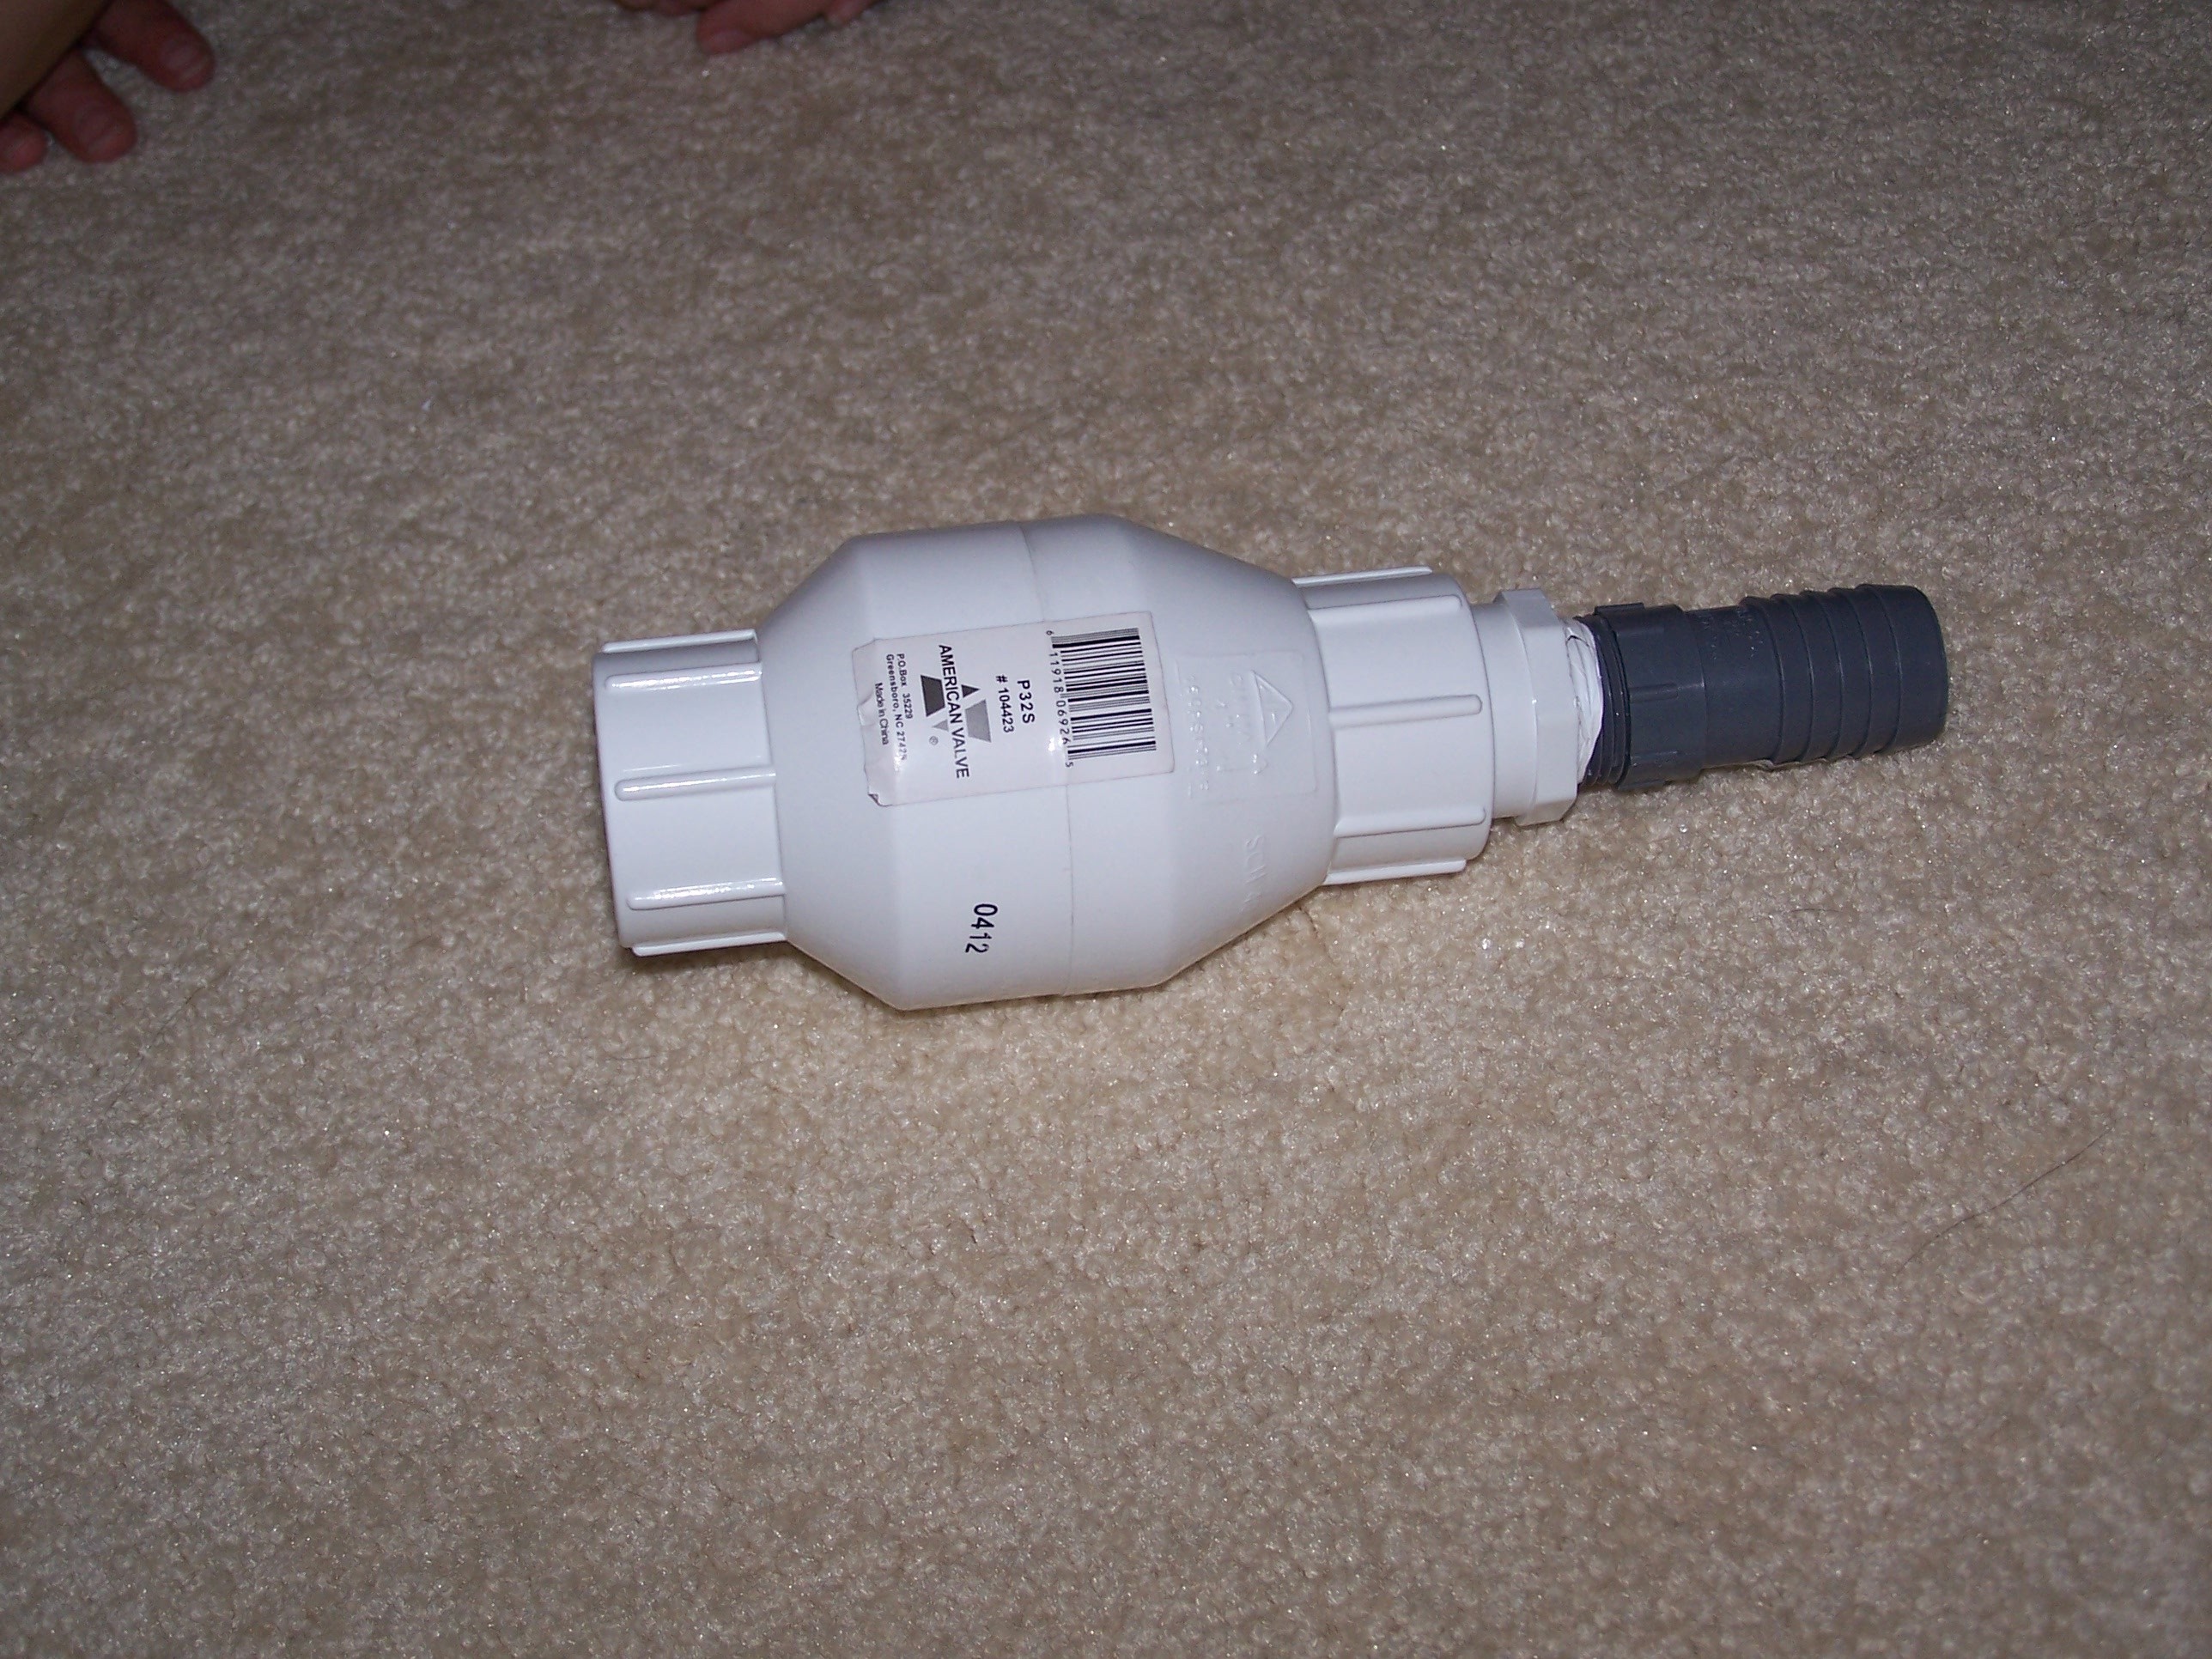
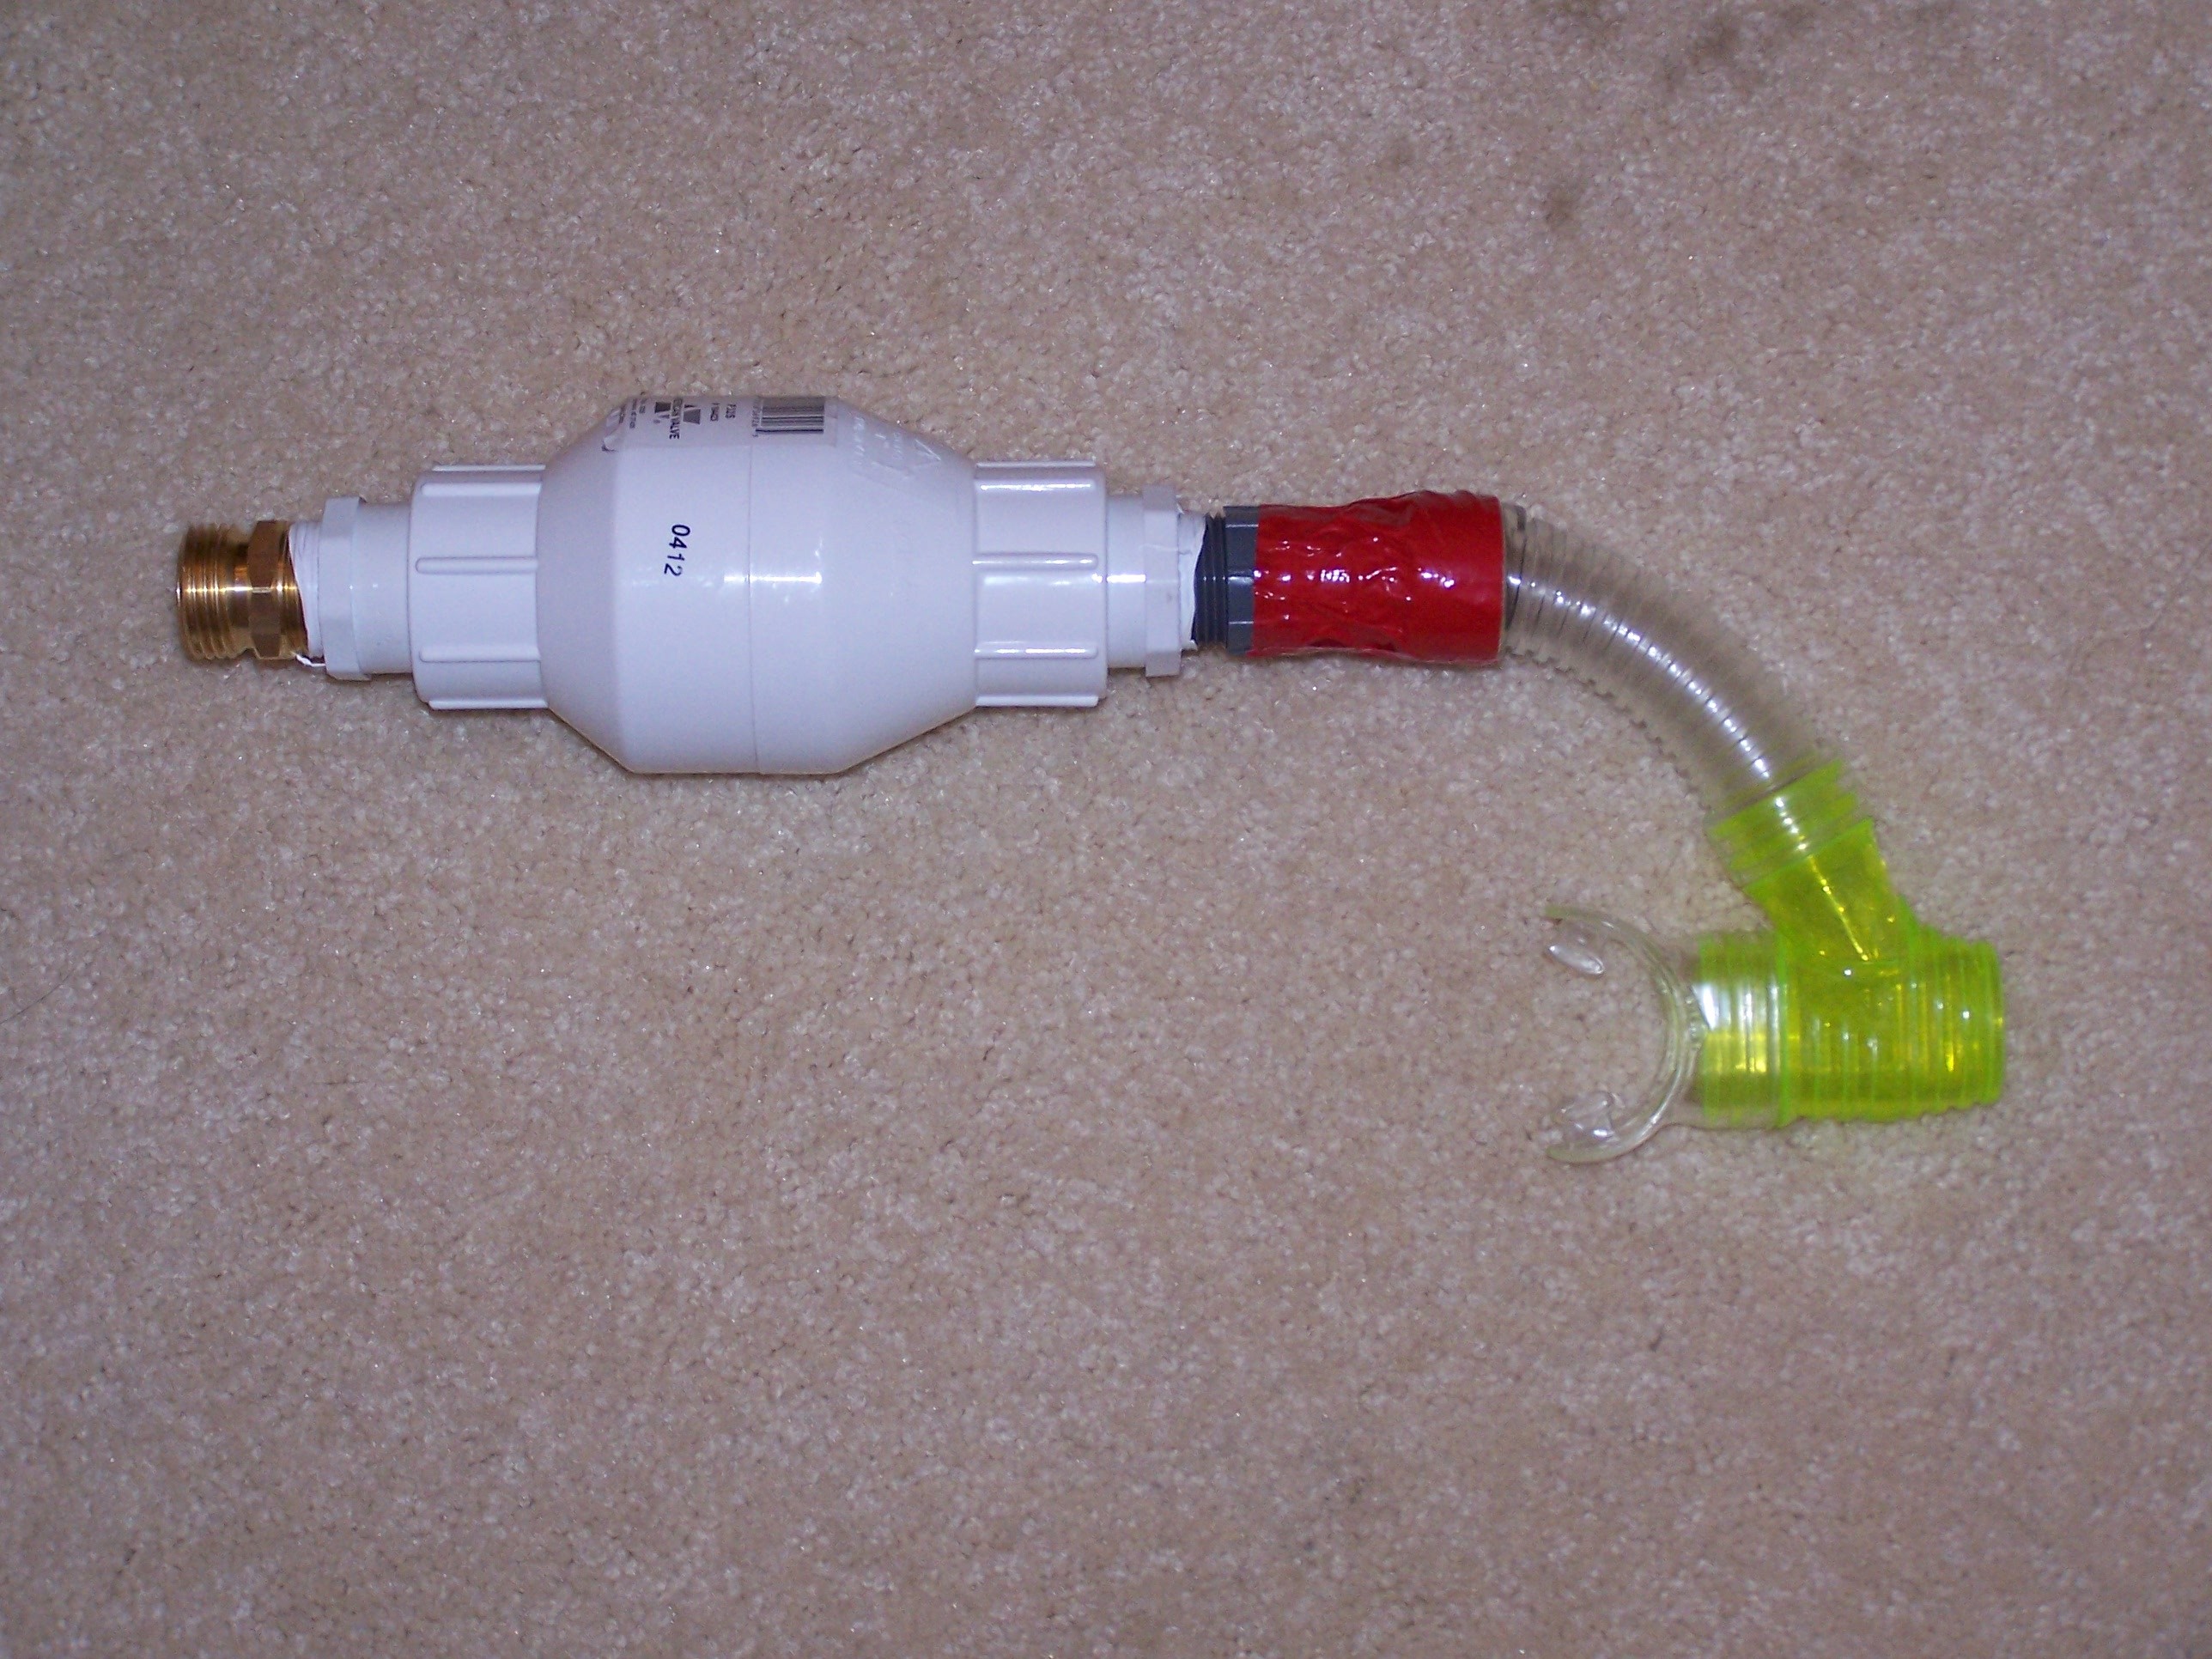
This guide shows how to create a snorkel that can connect to a garden hose so you can breathe underwater. And DO NOT make it without the check valve, or you will end up breathing the CO2 back in. =) It costs $18 without the snorkel/masks and hose.
Projects from Make: Magazine
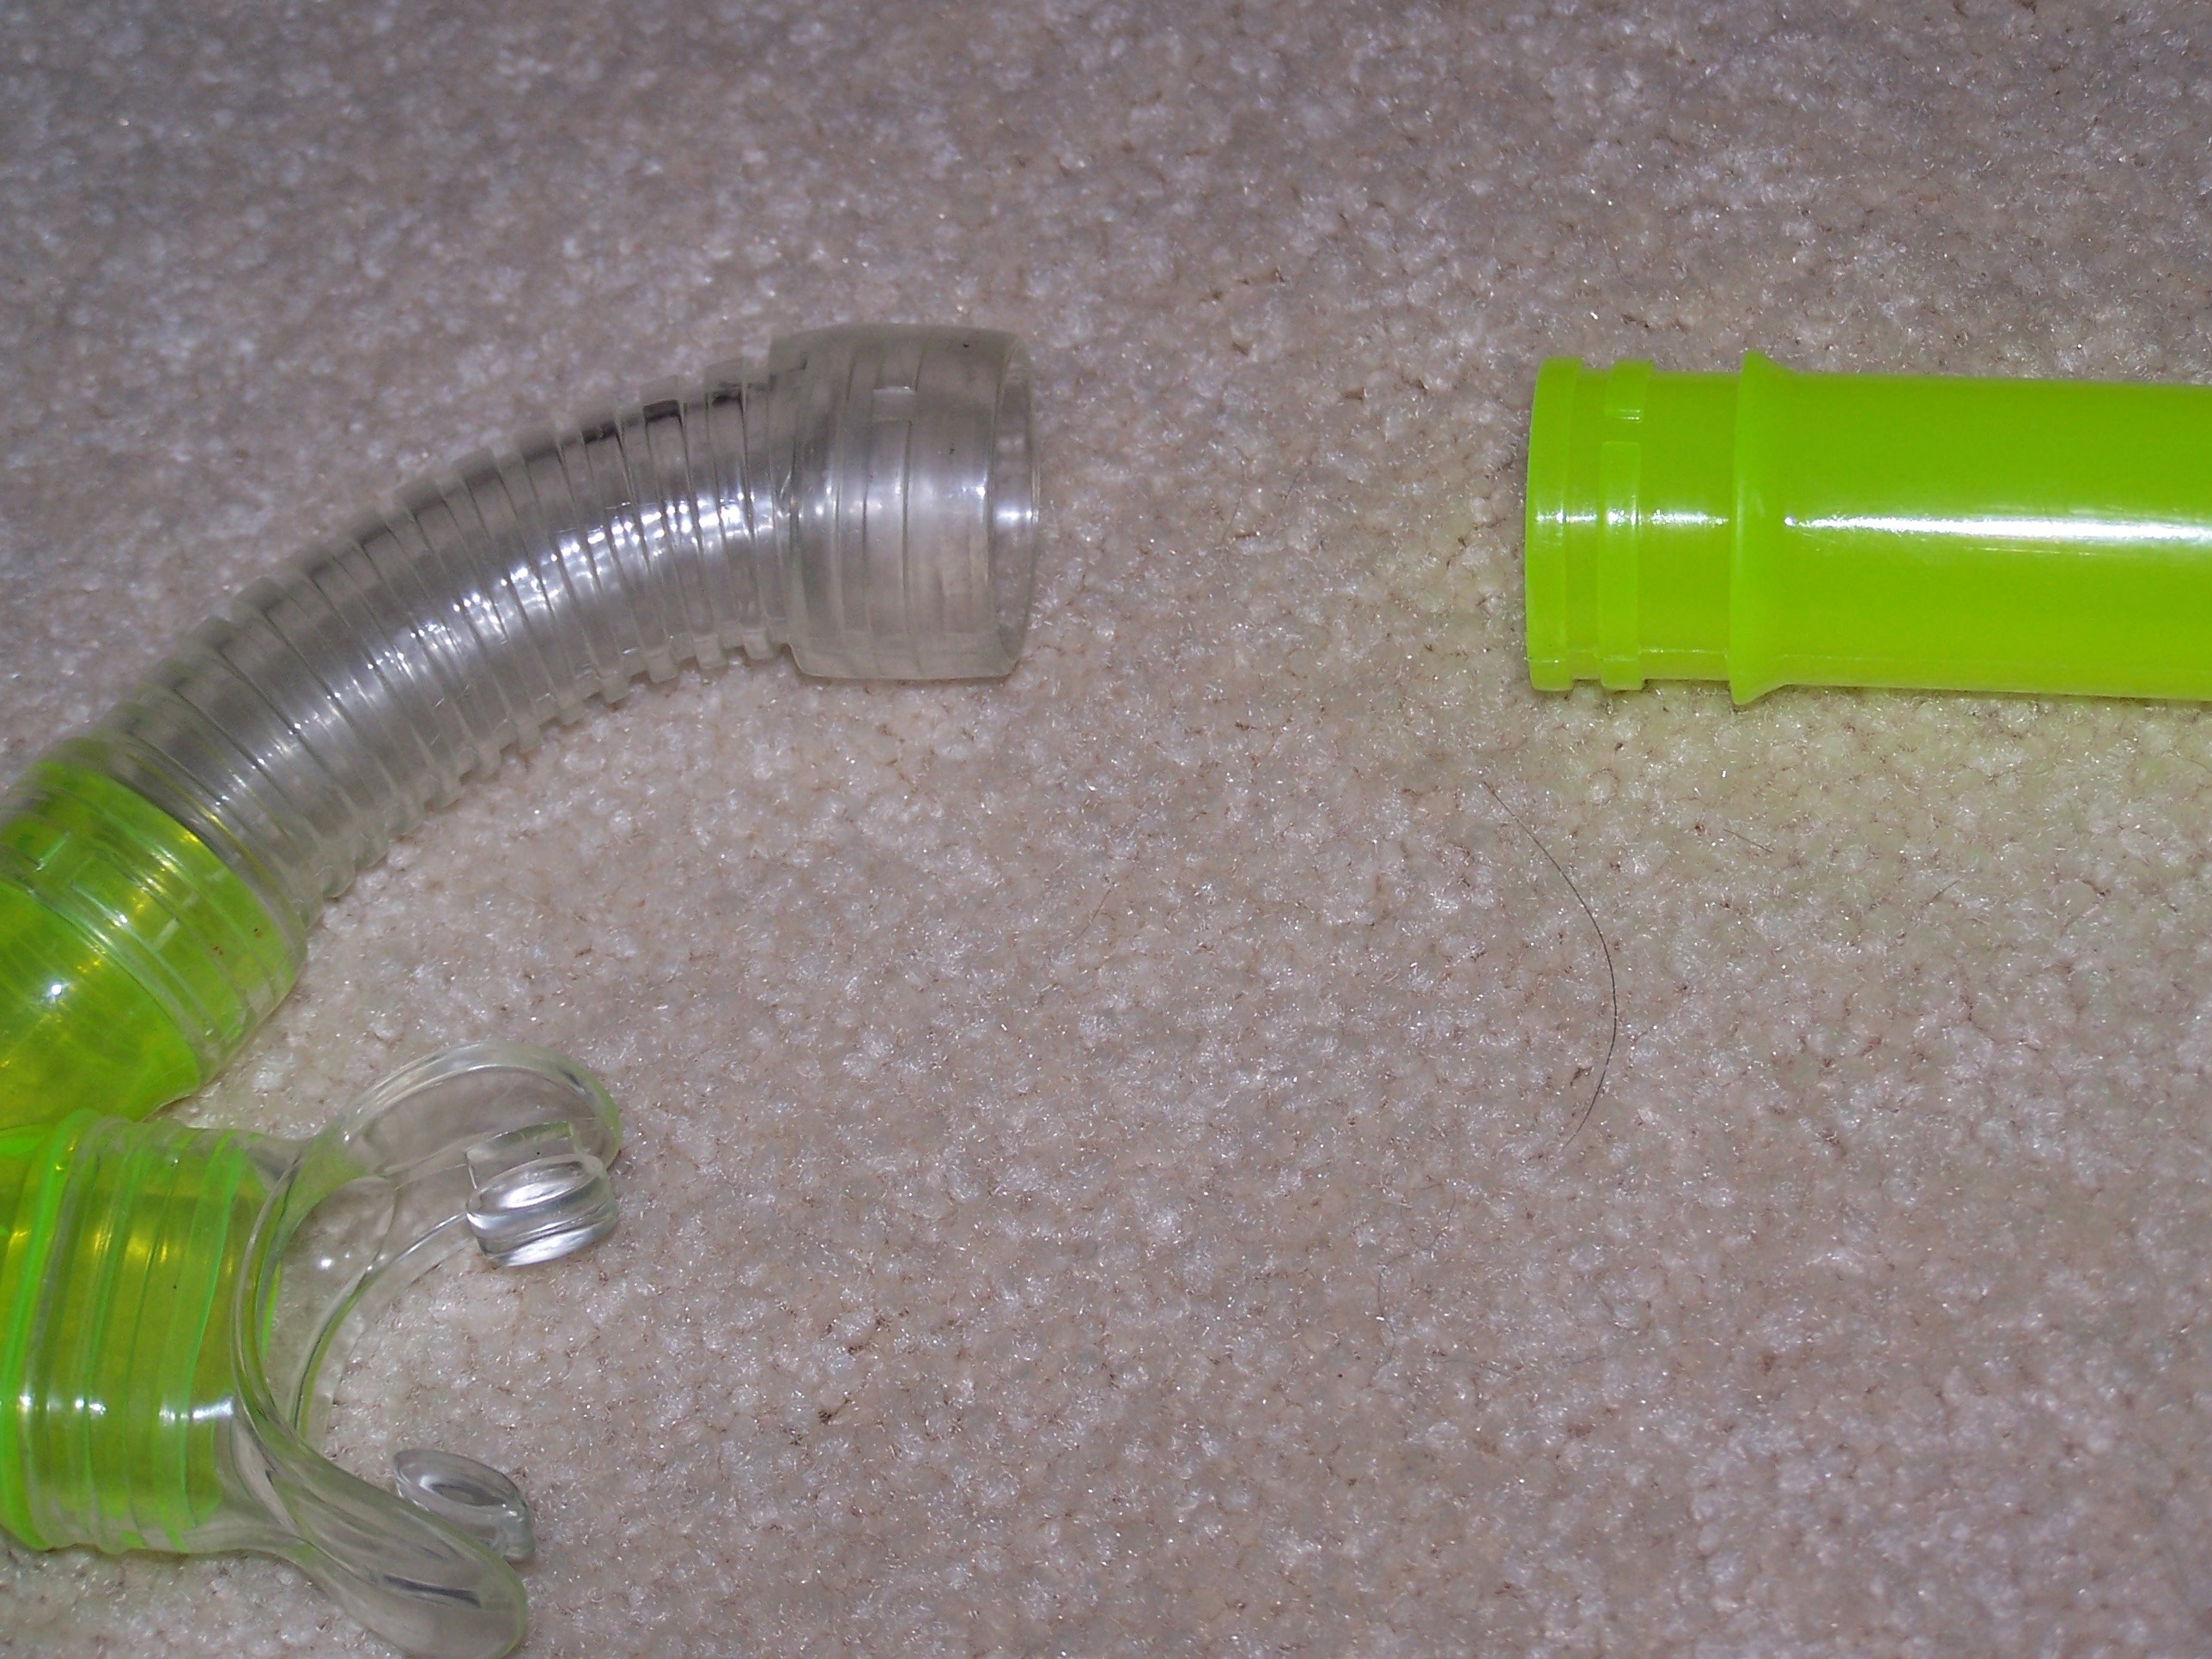
Garden Hose Snorkel
Create a snorkel that can connect to a garden hose so you can breathe underwater. ONLY FOR SWIMMING POOLS!!!!!!!