IMG_0877 (2)

Although the Lego Mindstorms EV3 kit comes with a variety of cool sensors, wouldn’t it be awesome to build your own custom sensing device? This project will show you how to create your own unique object sensors for your Lego EV3 controller using basic electronic components found in your junk box or purchased from  distributors like RadioShack, Adafruit, Jameco, or SparkFun Electronics.

Think of this DIY object sensor as an electronic substitute for the touch sensor that comes with the EV3 kit. Instead of making physical contact, the object sensor uses light and shadow to detect objects, prompting your EV3 to turn on a motor or sound an alarm. Running some simple code that you’ll upload, the EV3 also displays a pair of expressive eyes on-screen (like Rethink Robotics’ Baxter) based on the presence of an object in its detection space.

What’s Inside a Lego EV3?

The Lego EV3 is a remarkable programmable controller with tons of cool features built in, such as Bluetooth communications, WiFi, USB hosting, and a multi-button user interface. The brain behind the Lego EV3 is a powerful Texas Instruments 456MHz ARM microprocessor. Connected to the TI microprocessor are the EV3’s power supply, USB, I/O (input/output) ports, flash memory, and display buttons, and a GUI (graphical user interface) on an LCD screen. The I/O ports consist of 4 inputs labeled 1, 2, 3, and 4, and 4 outputs labeled A, B, C, and D. The input ports use RJ-12 type connectors for attaching sensors and motors with standard RJ-12 cables. For this project, we’ll be using input port 1 to connect our DIY object sensor to the TI ARM microprocessor.

LEGO_EV3_Block_Diagram

Modifying the LEGO Cable

The key element to building your own sensors is having access to the Lego EV3’s input circuit. In order to connect your DIY object sensor to the EV3 input port 1, you simply need to modify a standard RJ-12 cable. By cutting one of the RJ-12 connectors off the cable and stripping the outer insulation, the 6 individual wires are accessible for attaching the object sensor circuit to it. The DIY object sensor’s relay contacts will connect to 2 of the 6 wires.  

Lego EV3 Code

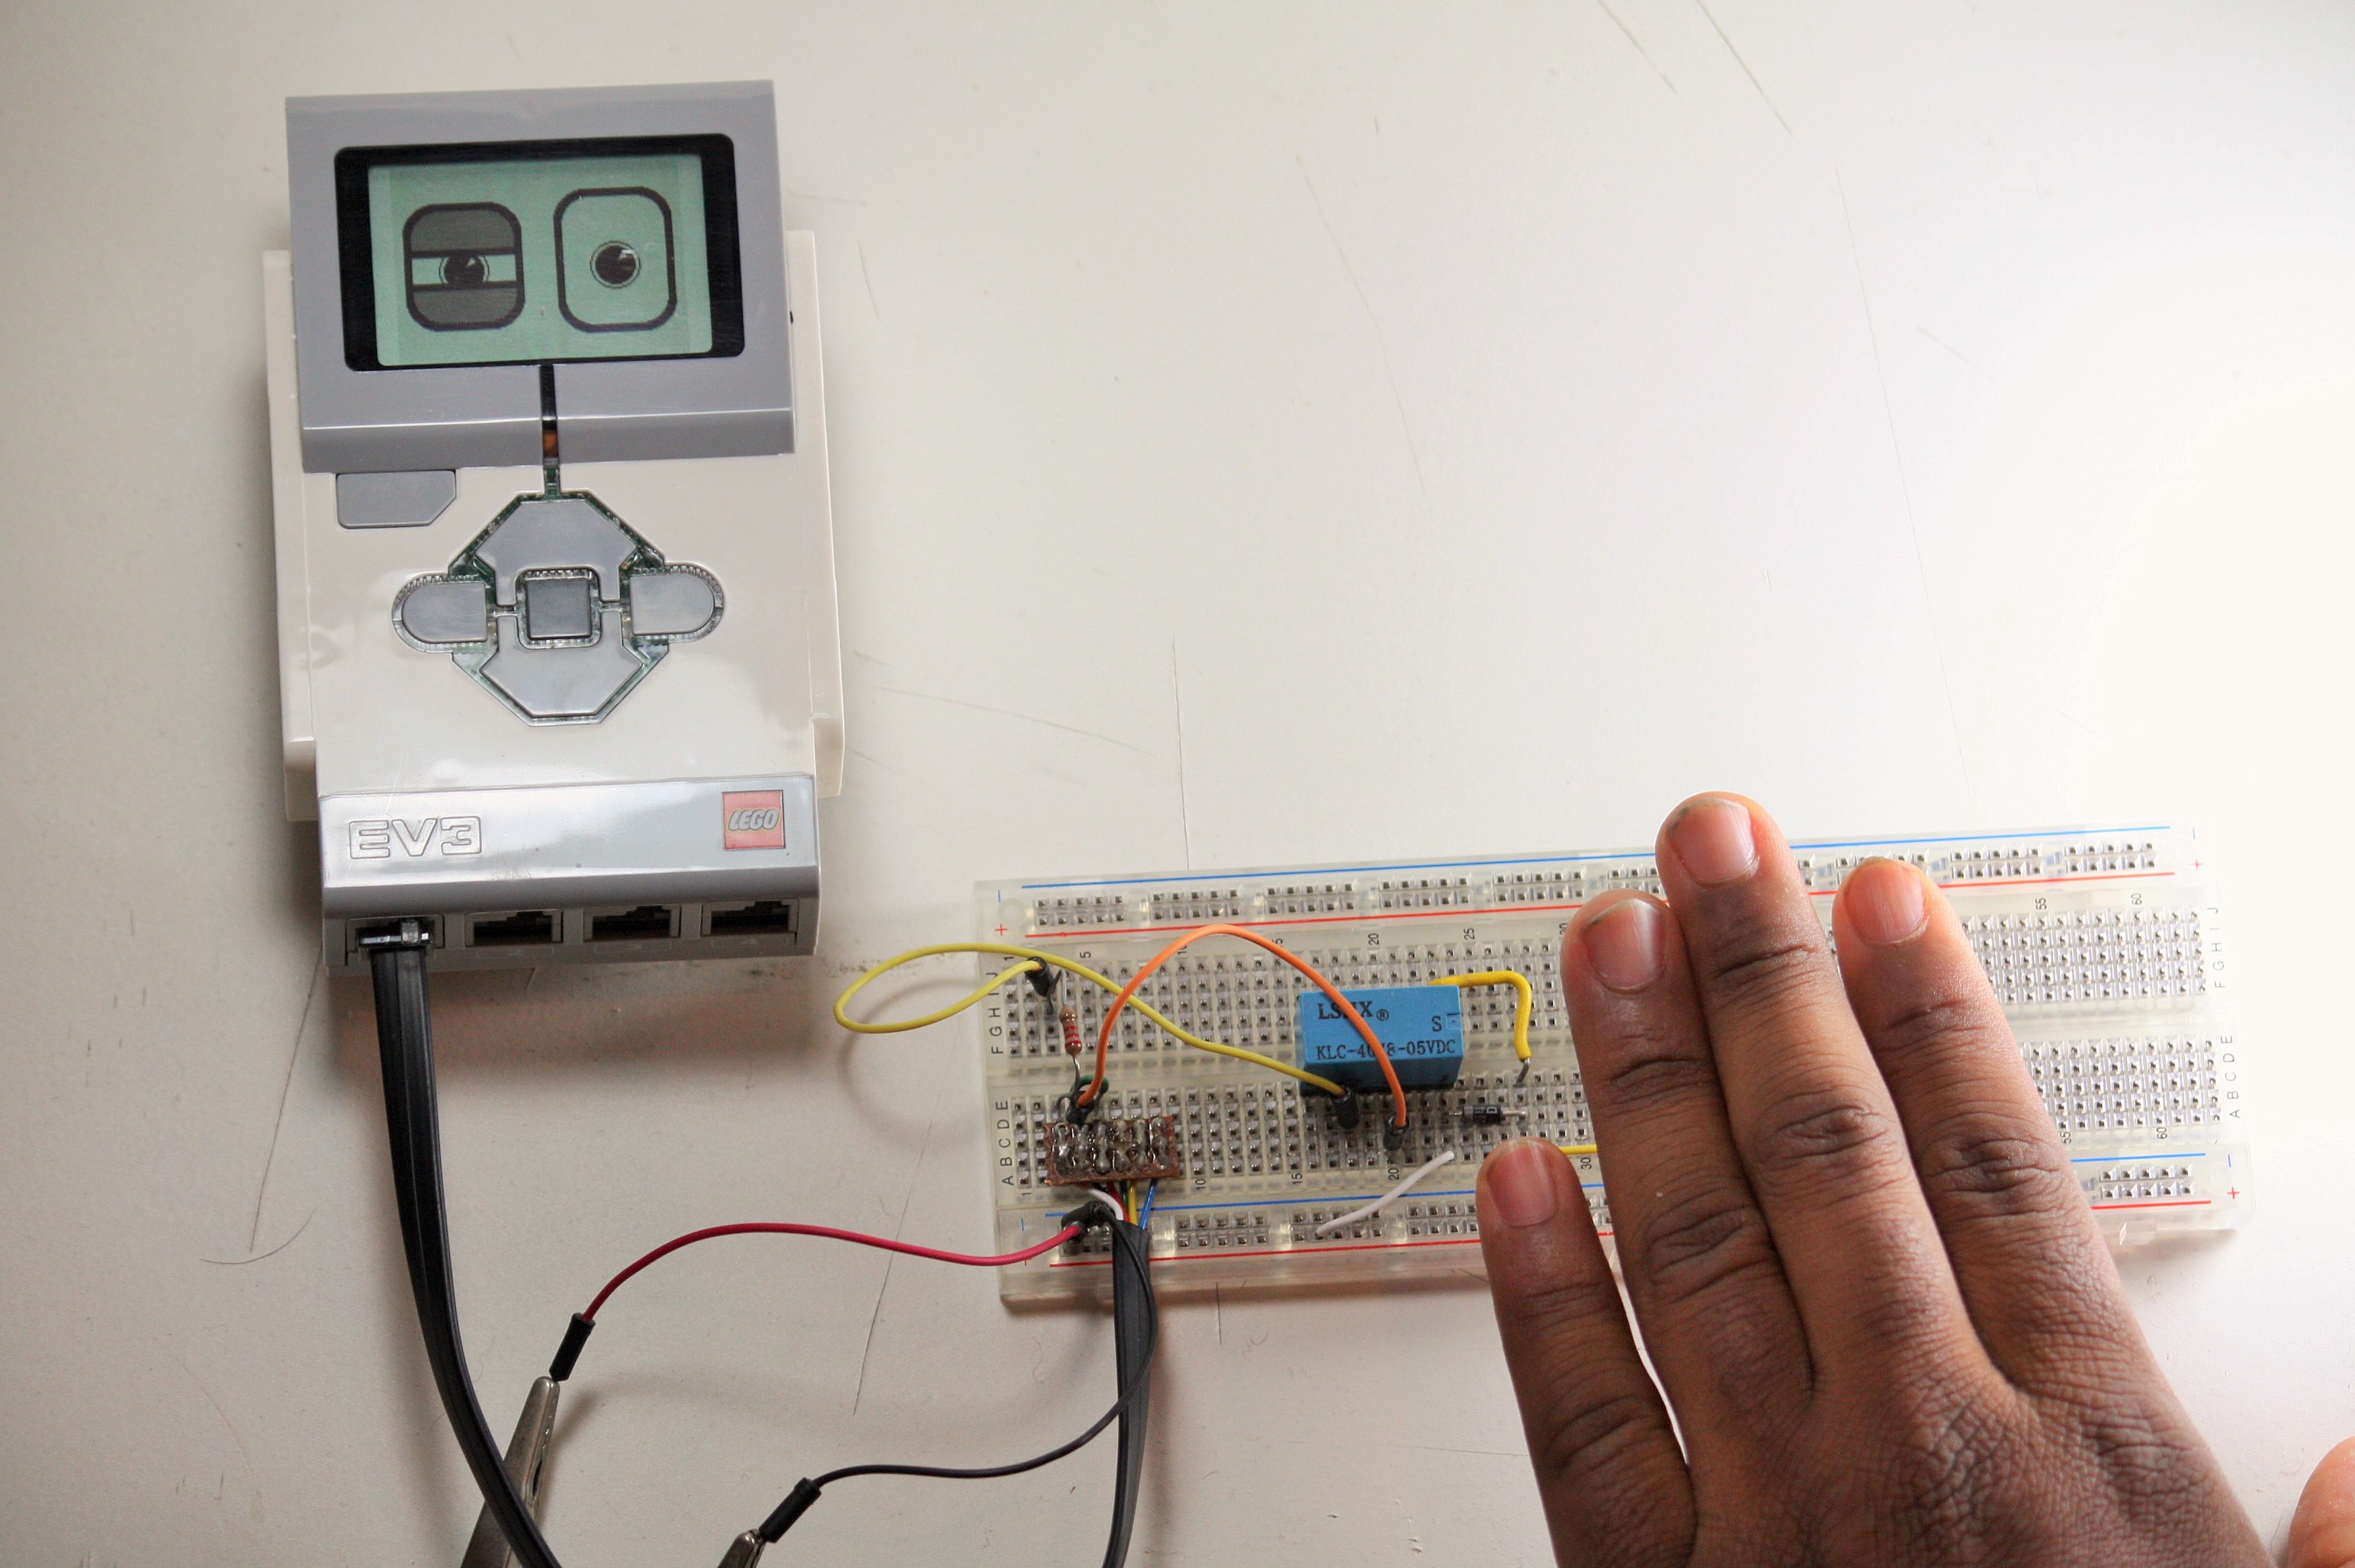
The programming code for the object sensor is based on the interlocking of function blocks in the EV3 software. Each block provides a certain function related to object detection, response time, and displaying expressive eyes. The cool thing about programming the EV3 is the many sounds and visual effects that can be heard through the mini speaker and displayed on the LCD, respectively. The object sensor’s Robot Eyes code and multimedia effects allow your robot to be more engaging and provide a sense of awareness of its surroundings based on the expressive response. Let’s get started.

Project Steps

Modify a Lego cable.

Take a Lego EV3 cable (or NXT cable) and cut off one of the RJ-12 connectors.

Strip off ½” of the outer insulation of the cable. Then strip off ¼” of insulation from each individual wire of the cable.

Solder a 6-pin male header connector to the 6 individual wires of the cable, arranged in the order you see here: white, black, red, green, yellow, and blue. I used a scrap of perf board to make soldering easier, but you could also solder directly to the header pins.

Build the object sensor circuit.

Following the circuit schematic diagram and breadboard layout shown here, build the object sensor circuit on the breadboard.

NOTE: You’ll notice on the layout there’s a connector shown on the breadboard. This is just a library component from the Fritzing layout software I used; you won’t need it. You’ll plug your modified cable male header directly into the object sensor circuit on the breadboard.

Connect the sensor circuit to the modified Lego cable by plugging the cable’s male header into the breadboard as shown here. The header’s white wire connects to the 2.2kΩ resistor on the breadboard. A small jumper wire is placed across the second and third pins of the header.

Connect your DIY sensor to the EV3.

Plug your modified cable into port 1 of the EV3 brick.

Program the EV3 brick.

Open the LEGO EV3 software on your computer and build the Robot Eyes code dragging the code blocks into place as shown here.

Your DIY object sensor will take the place of the EV3’s touch sensor, so you’ll use the usual touch sensor code block (it defaults to port 1).

Upload the Robot Eyes code to the EV3 brick.

Test out your DIY object sensor!

Run the program and the EV3 will display a pair of eyes on the LCD.

Place your hand over the photocell and the EV3 should say “Ouch!” and display a black eye on the LCD.

Repeatedly placing your hand over the photocell will repeat the audio and visual effects. You’ve just given your EV3 a new kind of optical sensor input that you can use for all kinds of robots or machines.

Troubleshooting tips.

Here are a few troubleshooting tips to correct possible programming code and circuit errors with your Lego EV3 DIY Object Sensor:

If the object sensor doesn’t detect your hand over the photocell, adjust the potentiometer until the relay contacts click.

If the object sensor doesn’t detect your hand over the photocell, check your modified cable for electrical errors.

If the eyes don’t change from normal to a black eye on the LCD, check the programming code.

If the EV3 brick doesn’t make an “Ouch!” sound, check the programming code.

Programming challenge.

Now that you’ve got the DIY object sensor code running properly on the Lego EV3, try this challenge:

Control a small motor by attaching it to one of the output ports using a standard Lego cable. (You may have noticed the code blocks for output port A in the Robot Eyes code.)

Modify the Robot Eyes code where the object sensor triggers the “Ouch” and “black eye” responses, to make it also trigger the small motor to run for 30secs.

Now modify the code to run this event 3 times before requiring another object detection trigger cycle.

Conclusion

How It Works

When a 5V DC supply voltage is applied to the breadboard, the circuit is ready to detect an object. Placing your hand or object over the photocell turns on the transistor (2N3904 NPN), triggering the relay. The relay contacts close, allowing the 2.2kΩ resistor to be connected to the EV3's port 1 internal circuit. The EV3 touch sensor code block processes the relay's closed contacts, allowing the "black eye" to be seen on the LCD and the Ouch sound to be heard through the internal speaker. The 1N4001 diode wired across the relay's coil eliminates the electrical energy it stores when turning on.

Lighting conditions between rooms can change, affecting the sensor's ability to detect objects. You can adjust the sensor's sensitivity by using the 10kΩ potentiometer.