I’m a bit of a Homeowners Association rebel, seeing as how my house is the only one on the block that has been adorned with pumpkins and spider webs since early September. Saying that I love Halloween is a bit of an understatement. For just one night you get to be a kid again. You get to play dress up and stuff your face full of candy corn. What’s not to love about it?

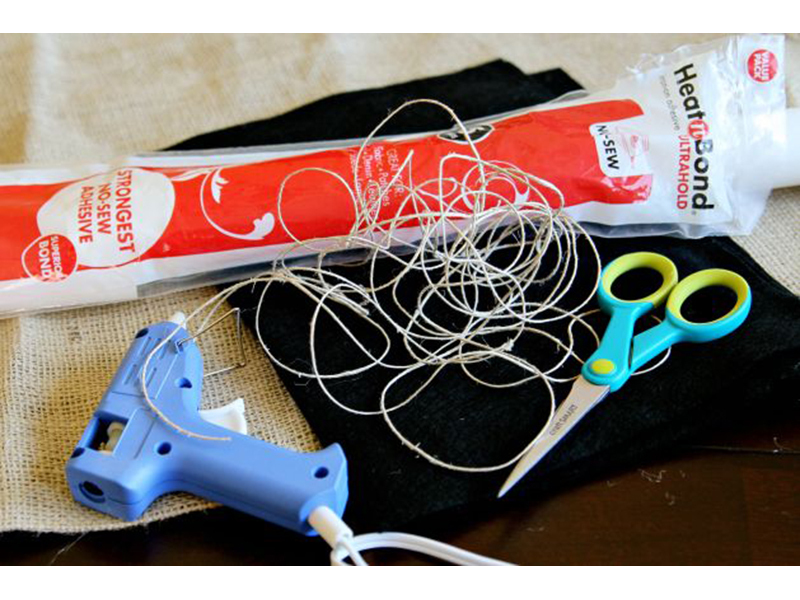
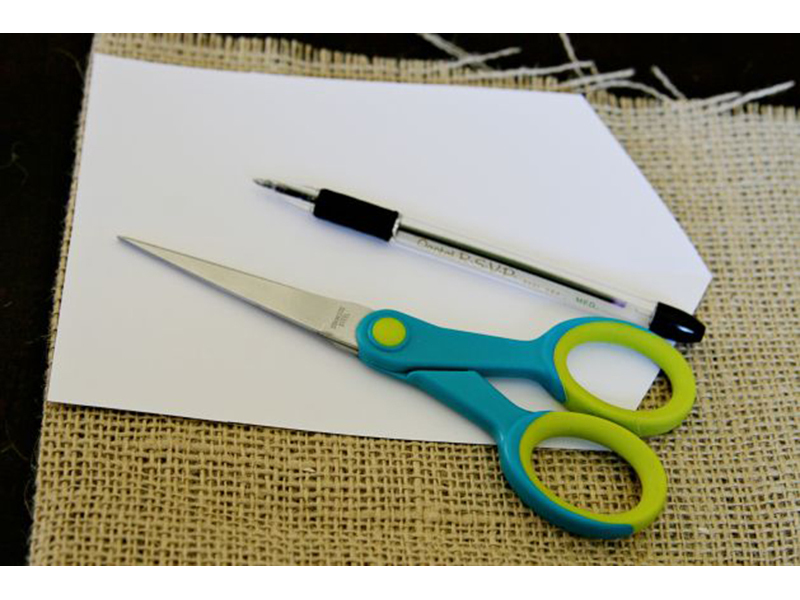
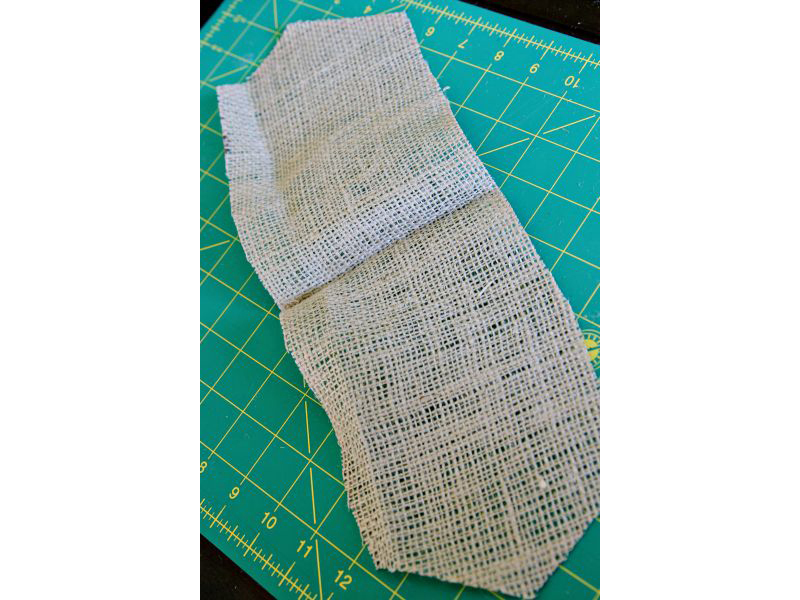
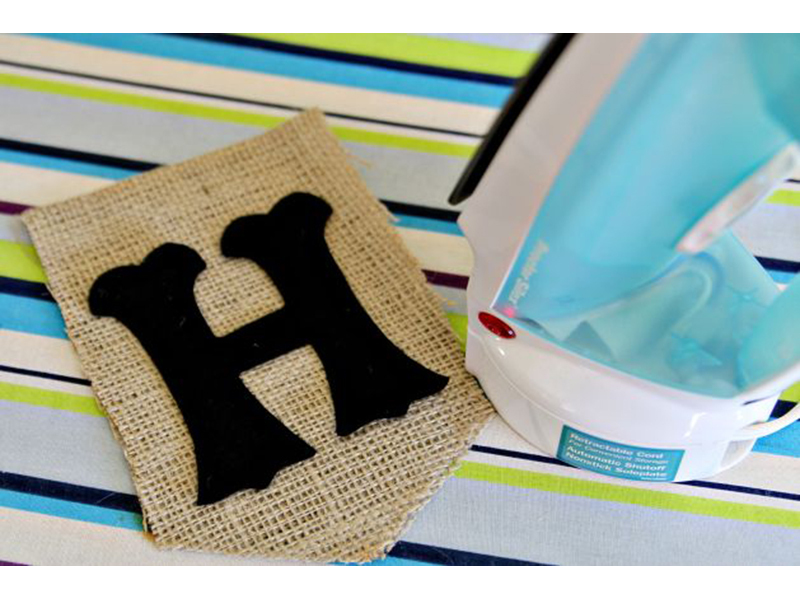
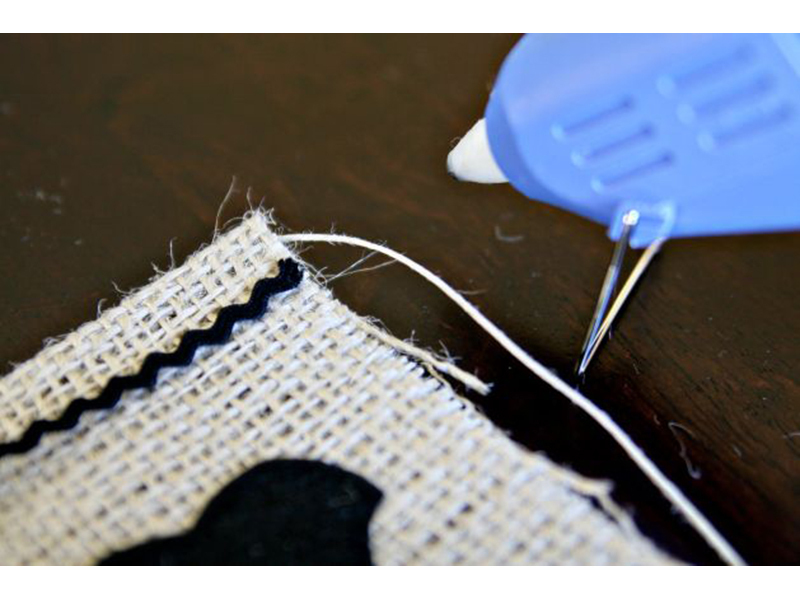
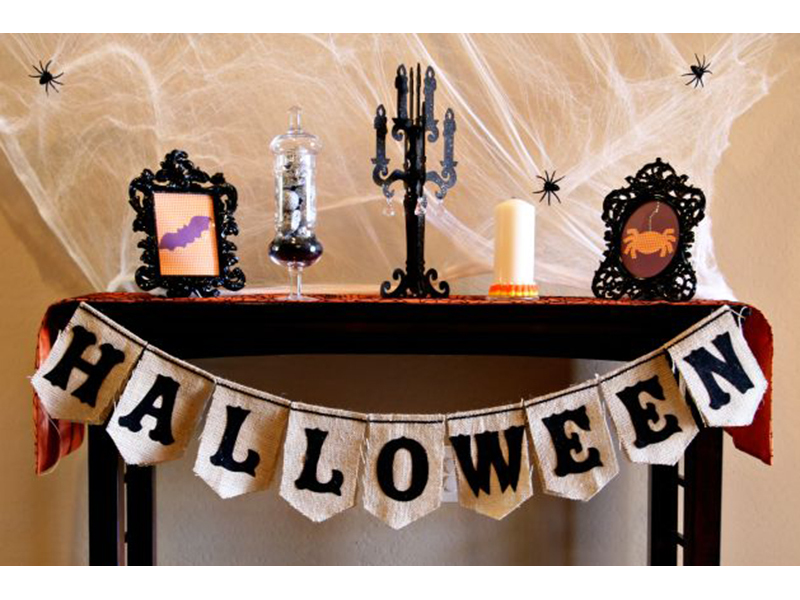
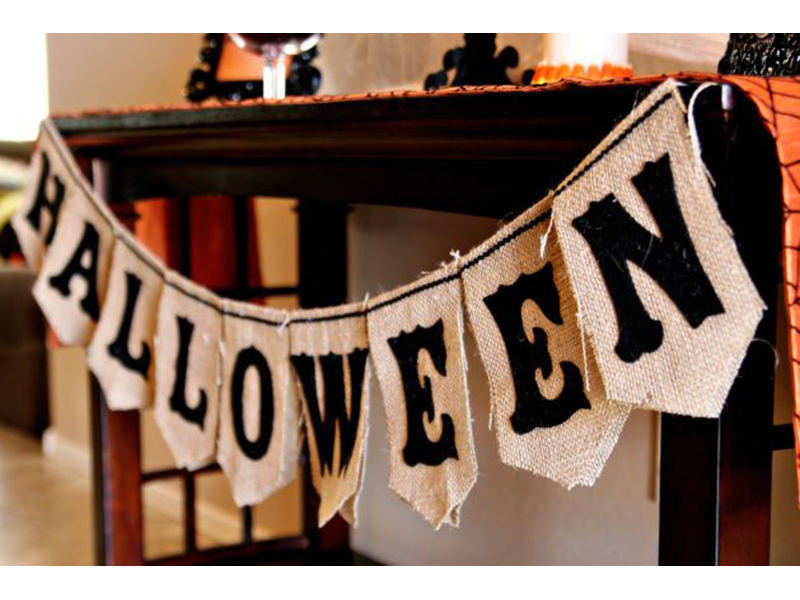
Want to Halloweenify your home with me? Heat up that glue gun and pull out some rickrack; we’re making bunting flags. You can hang up the flags at your Halloween party or hang them outside to help greet trick-or-treaters. The great thing about these flags is that they are reversible, so you can decorate the opposite side for Thanksgiving or Christmas (don’t worry, I haven’t started decorating for Christmas … yet). I plan on spelling out T-H-A-N-K-F-U-L-! on the opposite side, adding some fall-colored rickrack and hanging the bunting in our dining room for Thanksgiving.

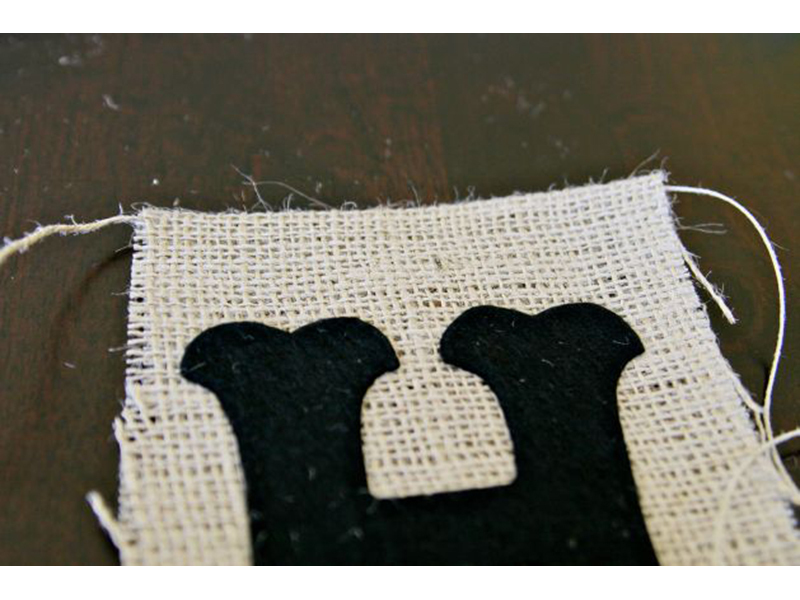
Grab yourself a few pumpkin-spiced lattes, because while this project isn’t very difficult, it is a tad time consuming. Happy Halloween!

Project originally posted on CRAFT.

Project Steps

Iron on a piece of Heat-n-Bond to the black felt. You might need more or less felt, depending on how large your letters are.

Trace the letters H-A-L-L-O-W-E-E-N onto the Heat-n-Bond that is now adhered to the felt.

Make sure to trace the letters backwards so they will face the right direction when you flip them over, felt-side up. I found the letter stencils, which were originally part of a Halloween banner, in the holiday section of my local craft store. You could easily make your own stencils by searching online for a free Halloween font, printing out H-A-L-L-O-W-E-E-N on cardstock, and cutting out each letter.

Cut out the felt letters.

Make a flag template out of cardstock, draw your flag shape of choice on cardstock and cut it out. You could make traditional triangular bunting flags or circles. I chose a rectangular shape that comes to a point at one end. Make sure the flag template will be large enough for the felt letters.

Fold the burlap in half and trace the template onto the burlap, with the fold at the top. Cut out the burlap flags using scissors or a rotary cutter. After cutting the flags, there should be a mirror image of the shape when you unfold it. Repeat 8 more times.

Iron on the felt letters to the burlap flags.

Iron the burlap first, ironing over the fold to flatten the flag.

Unfold the burlap flag and add a line of hot glue down the center of the fold. Place the jute or hemp string in the glue and fold back up the burlap flag, sandwiching the string inside.

Attach rickrack to the top of every burlap flag using hot glue.

Hang and admire.