Halloween is one of those holidays that is full of creativity, especially if you like making crazy costumes, or carving pumpkins, or decorating your home, or making candied apples, or creating spooky appetizers … I could go on and on. This holiday is rife with fun things you can do to make your life a little bit more festive.

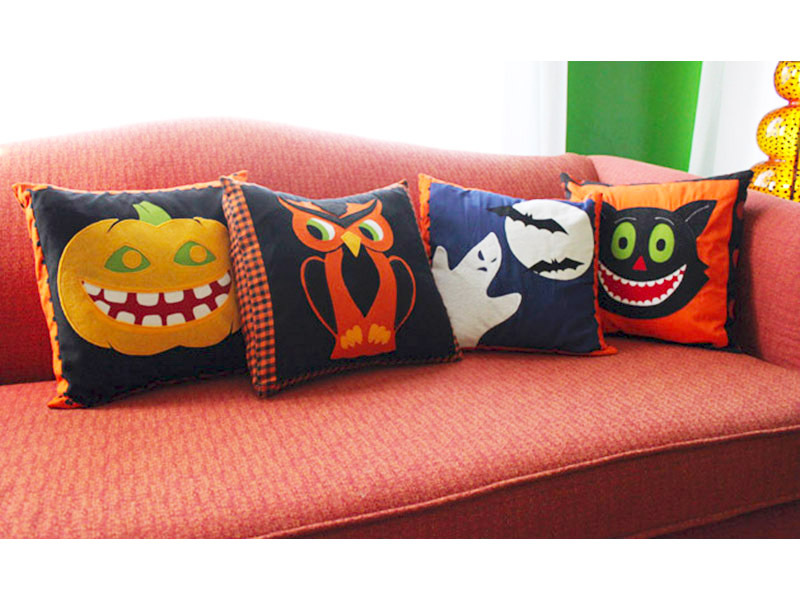
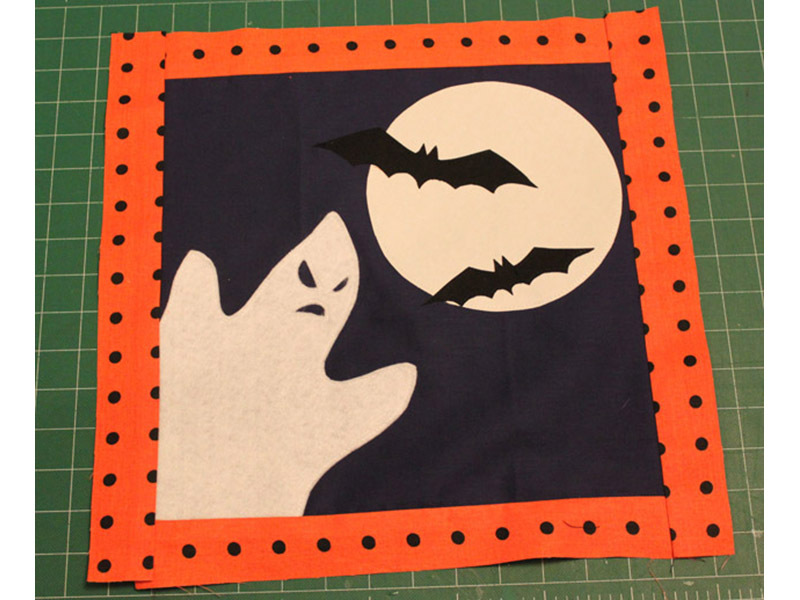
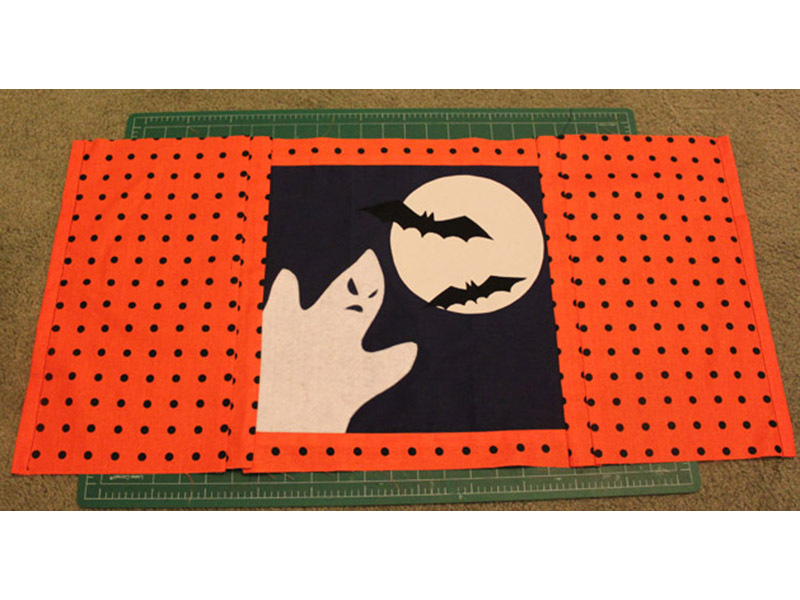
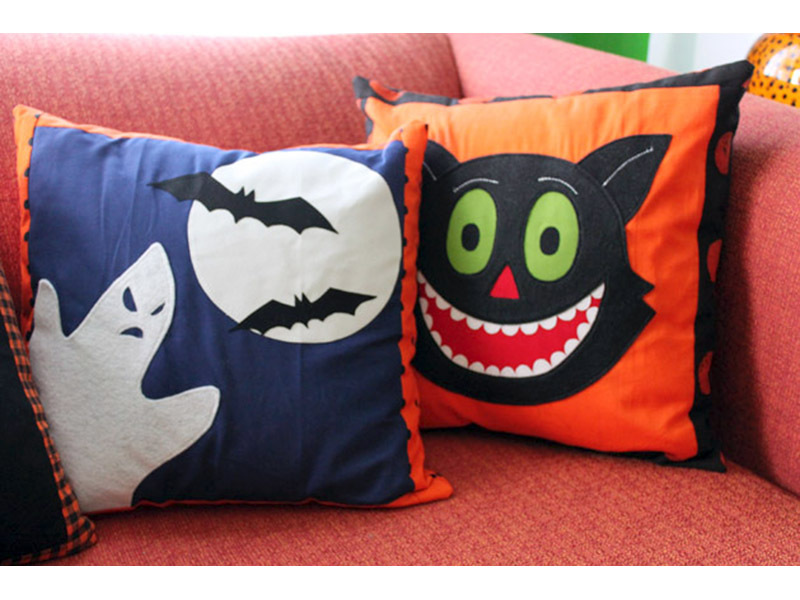
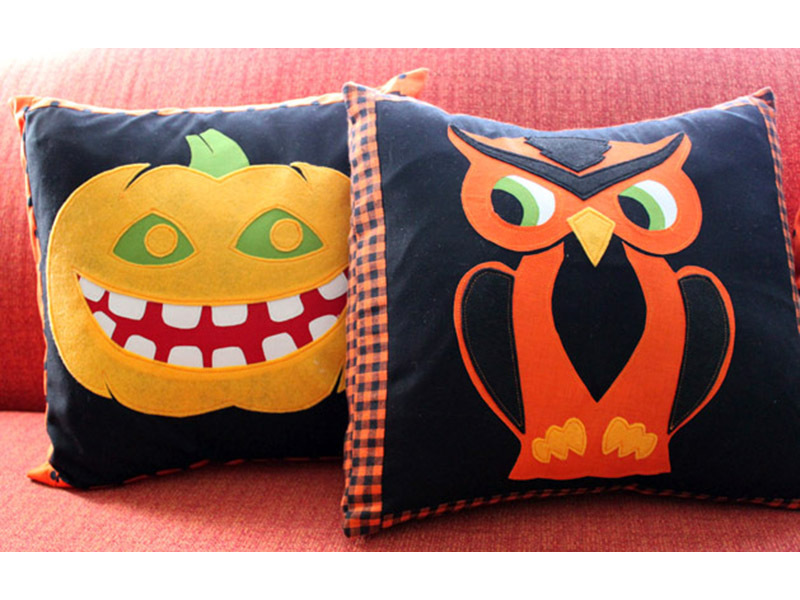
I love working on a small project that can be finished in one sitting – one that you can use year after year to spice up your holiday décor – and pillow covers are just the thing! This year I looked at a variety of vintage Halloween decorations and came up with four patterns for fun pillow shams. When I made these, I used cotton fabric for most of the color, but the top layer of each appliqué is felt – I like the shift in texture, which gives each design a slightly flocked look.

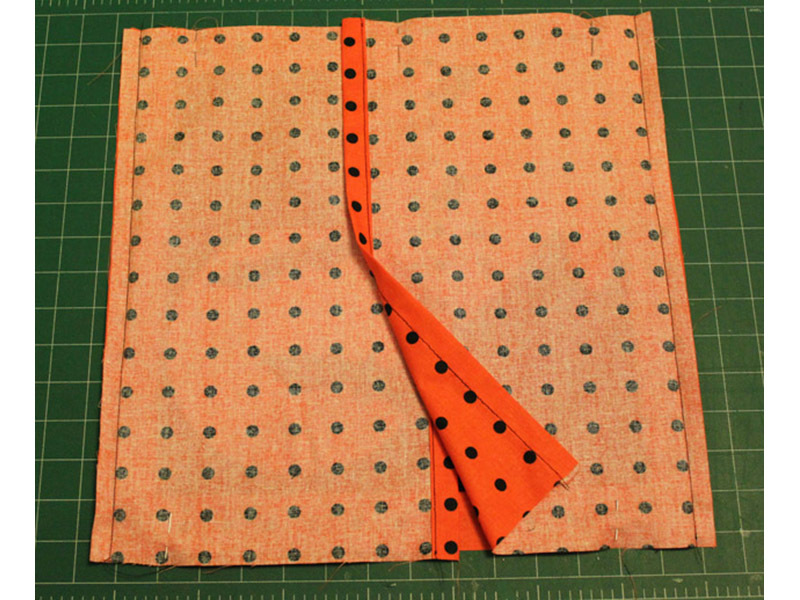
In this tutorial I will show you how to make all four of these easy, decorative pillow covers with Halloween-themed appliqués.

Project originally published on CRAFT.

Project Steps

Download pattern and cut Halloween fabric

I made pillow covers for throw pillows that measured 14″ x 14″. If you are interested in covering a larger pillow, you can simply adjust the measurements accordingly (you could easily keep the image size the same and adjust the width of the fabric strips used to frame the appliqué image).

Download and print the PDF appliqué patterns. You will notice that the pattern pieces tell you what color of fabric I used for each piece in my examples and whether it was felt or not. The pattern pieces also tell you in what order to iron each appliqué piece to the surface.

For the pillow, cut a 13″ x 13″ square from the orange and dark blue cotton fabric and cut two squares of black cotton.

From the Halloween print fabric, cut 2 strips of fabric that are 1 1/2″ x 13″; 2 strips that are 1 1/2″ x 15″; and 2 rectangles that are 10″ x 15″. Set these aside.

Prepare appliqué pieces

Cut out the appliqué pattern pieces and use a pencil to trace them onto the paper side of the Wonder-Under, leaving space around each shape so you can cut around them leaving a margin.

Cut around the traced shapes on the Wonder-Under, leaving a margin around each shape (leaving a margin ensures that the adhesive is well stuck all the way to the edge of each shape when it is later trimmed to the proper form).

Each pattern piece suggests a color of fabric – place the adhesive side of the Wonder-Under on the correct color of fabric. Follow the heat setting instructions that came with the Wonder-Under to iron the fabric to the adhesive.

The felt sheets advise against using an iron on them – I found this was no problem for this project.

Carefully cut out the traced shapes.

Peel the paper backing off of each appliqué shape.

Select the proper color of 13″ x 13″ pillow square. Iron it flat.

Iron appliqué pieces onto pillow squares

Carefully place the appliqué pieces that are marked “Apply 1st” onto the pillow square with the adhesive sides facing down. Check their placement by laying the final piece for the pattern on top. Remove the final piece and iron the first pieces in place.

Lay the pieces marked “Apply 2nd” in place, adhesive-side down. Iron.

Stitch and iron on remaining appliqué pieces

If you are working on the Pumpkin or Cat, use white thread and straight stitch around the teeth. If you are working on the Owl, use green thread to straight stitch around the color in the eyes. If you are working on the Ghost, use white thread to straight stitch around the edge of the moon and the ghost.

For appliqué pieces marked “Apply 3rd” and “Apply 4th,” lay the pieces in place, adhesive-side down. Iron.

When adhering the felt pieces, I found that the felt did not stick as well as the cotton fabrics. To fix this, I first used the iron to press the shape in place to the best of my ability, then I flipped the entire pillow square over and ironed the felt in place from the back – this helped it to adhere much better.

Use the appropriate color thread to straight stitch around each appliqué shape that has an exposed edge.

Attach square to Halloween fabric

Stitch the strips of the 1 1/2″ x 13″ Halloween print fabric to the top and bottom edge of the pillow square. Iron the seams toward the outside edge.

Stitch the strips of 1 1/2″ x 15″ Halloween print fabric to the sides of the pillow square. Iron the seams towards the outside edge.

Stitch the 10″ x 15″ rectangles of Halloween print fabric to each side of the pillow square.

Double fold a 1″ hem on the end of each 10″ x 15″ rectangle. Iron it flat and stitch it in place.

With the right sides facing each other, fold the 10″ x 15″ rectangles over the appliquéd pillow square. The rectangles will overlap each other in the center. Pin in place.

Stitch the top and bottom edge of the pillow square.

Turn the pillow cover right side out and stuff your throw pillow inside.

Place on your couch or chair and enjoy the festive ambiance!