By Joan Sheridan Hoover and Becca Olsen

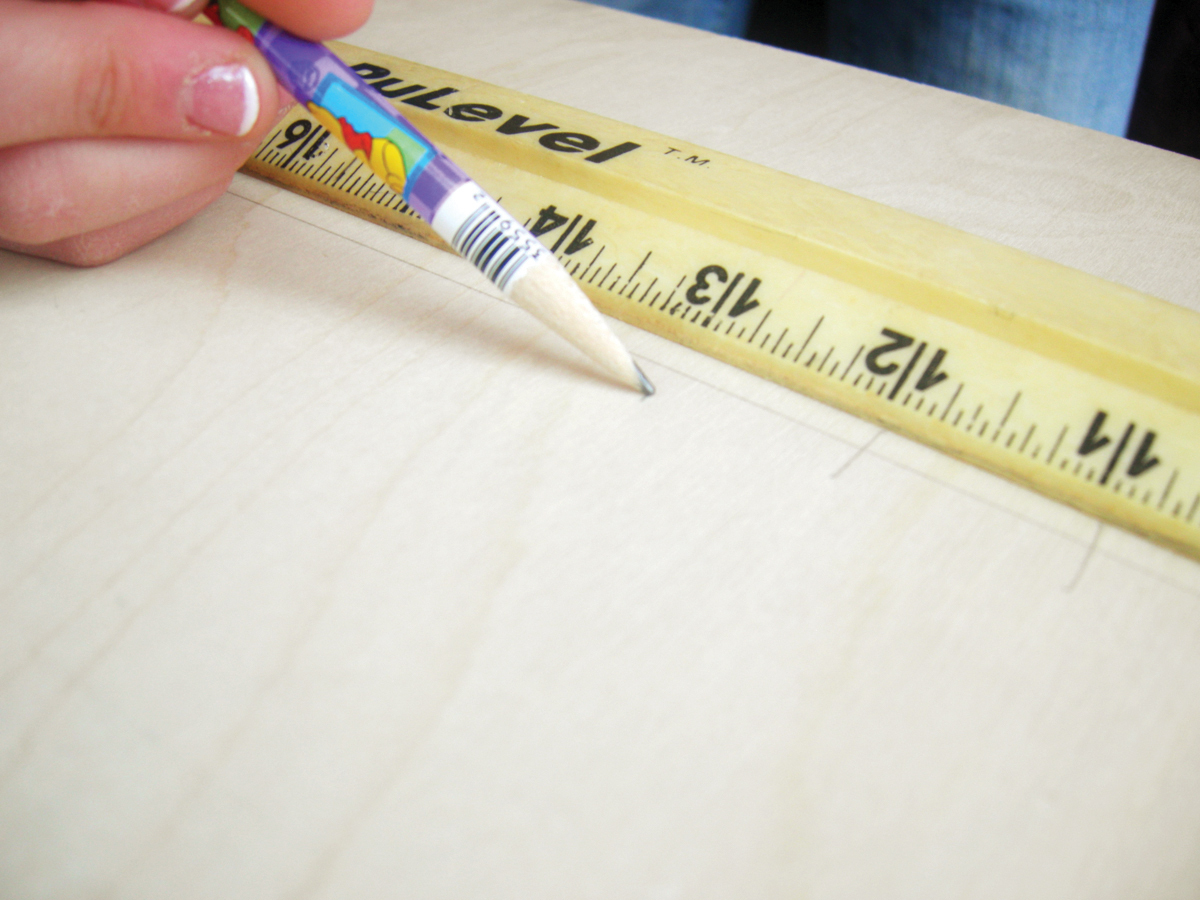
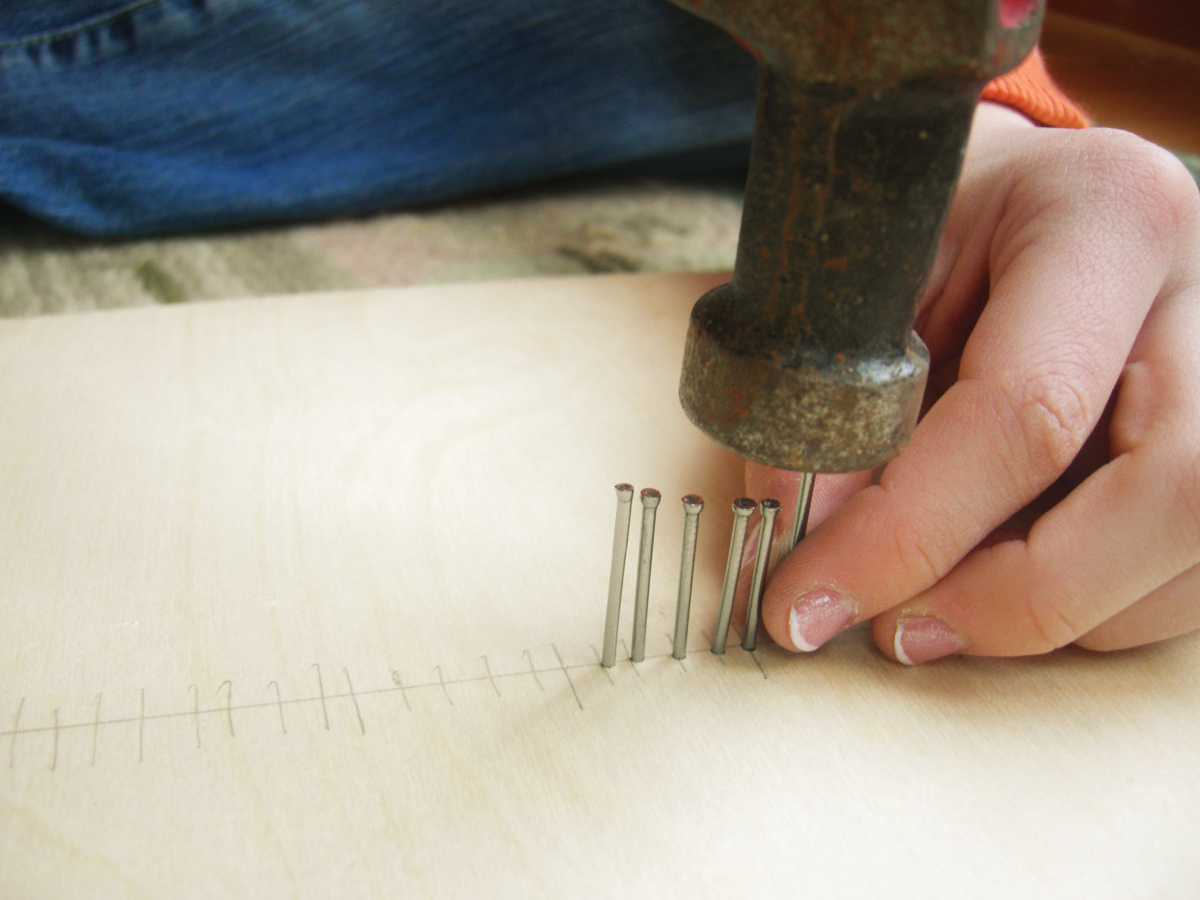
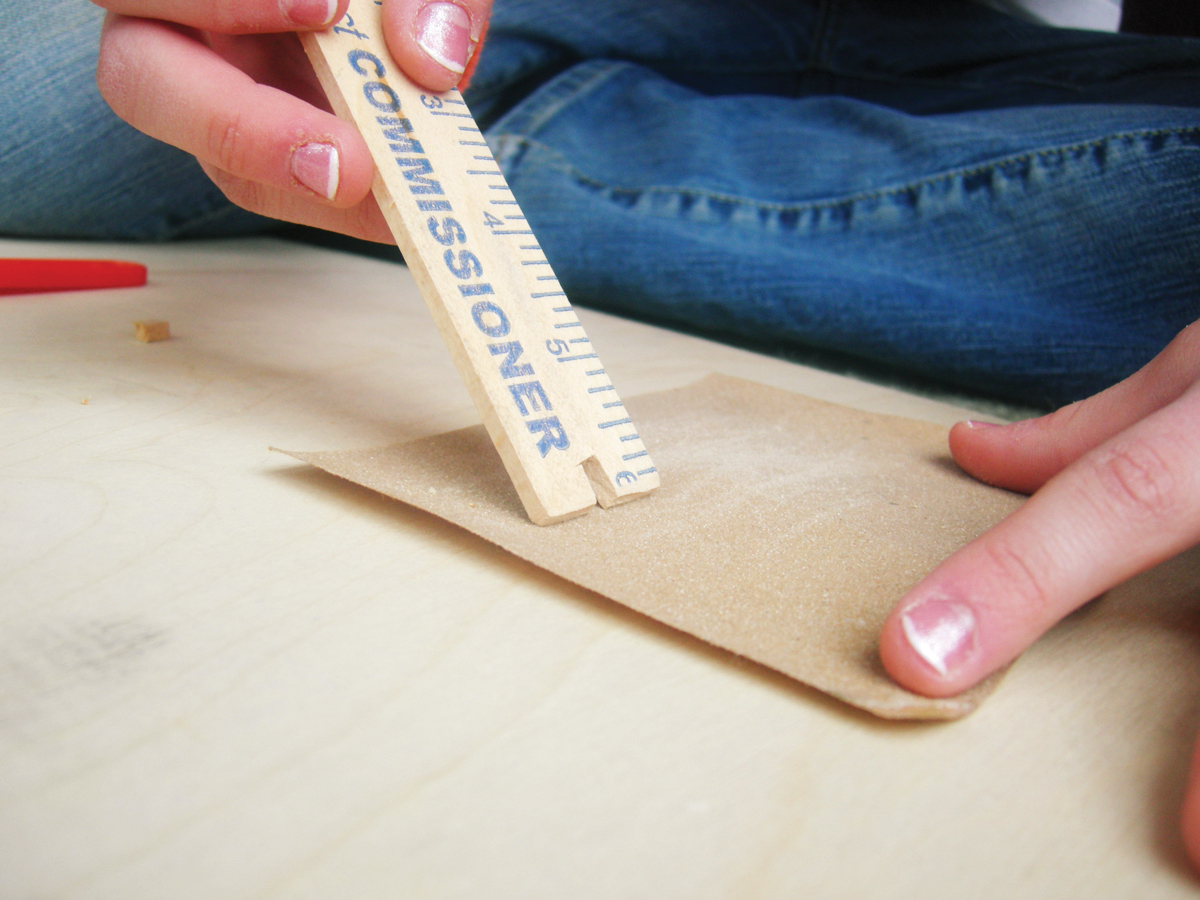
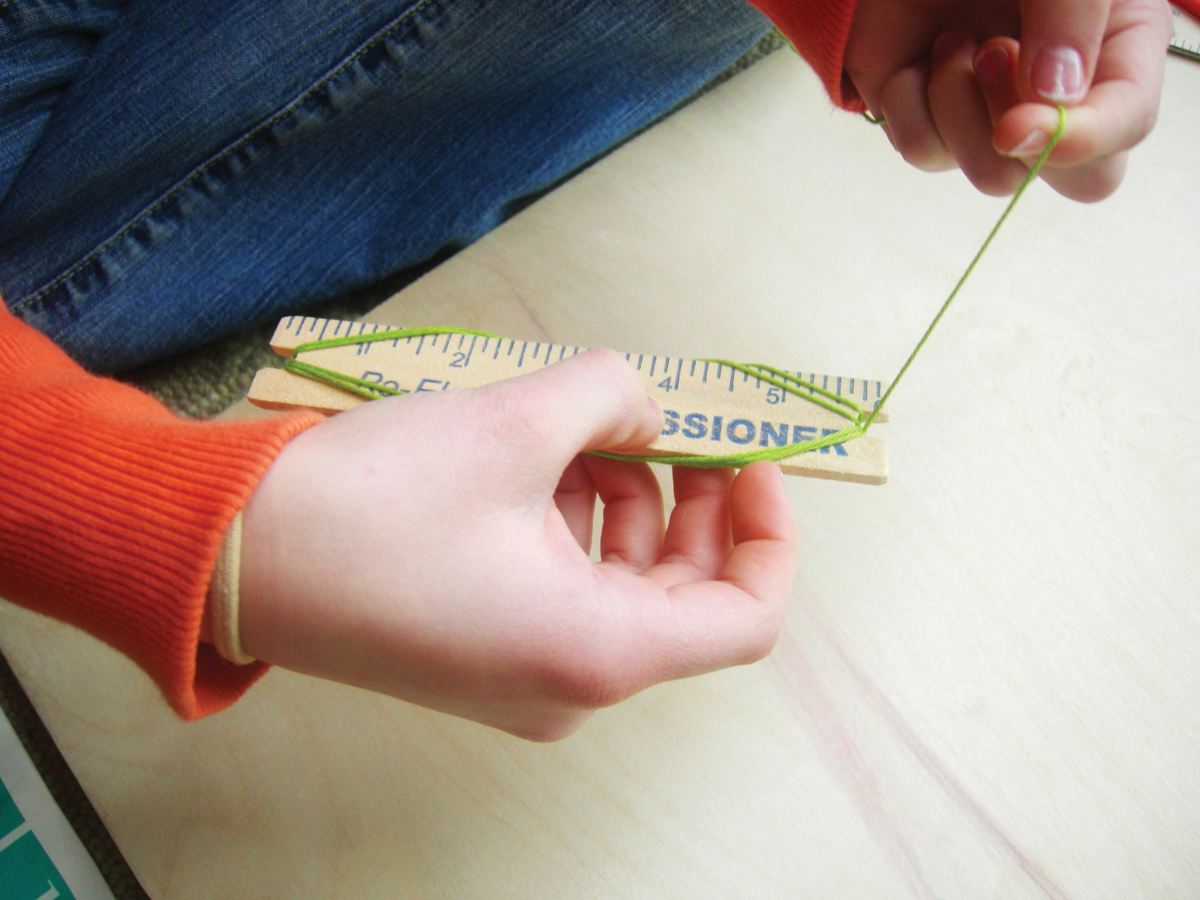
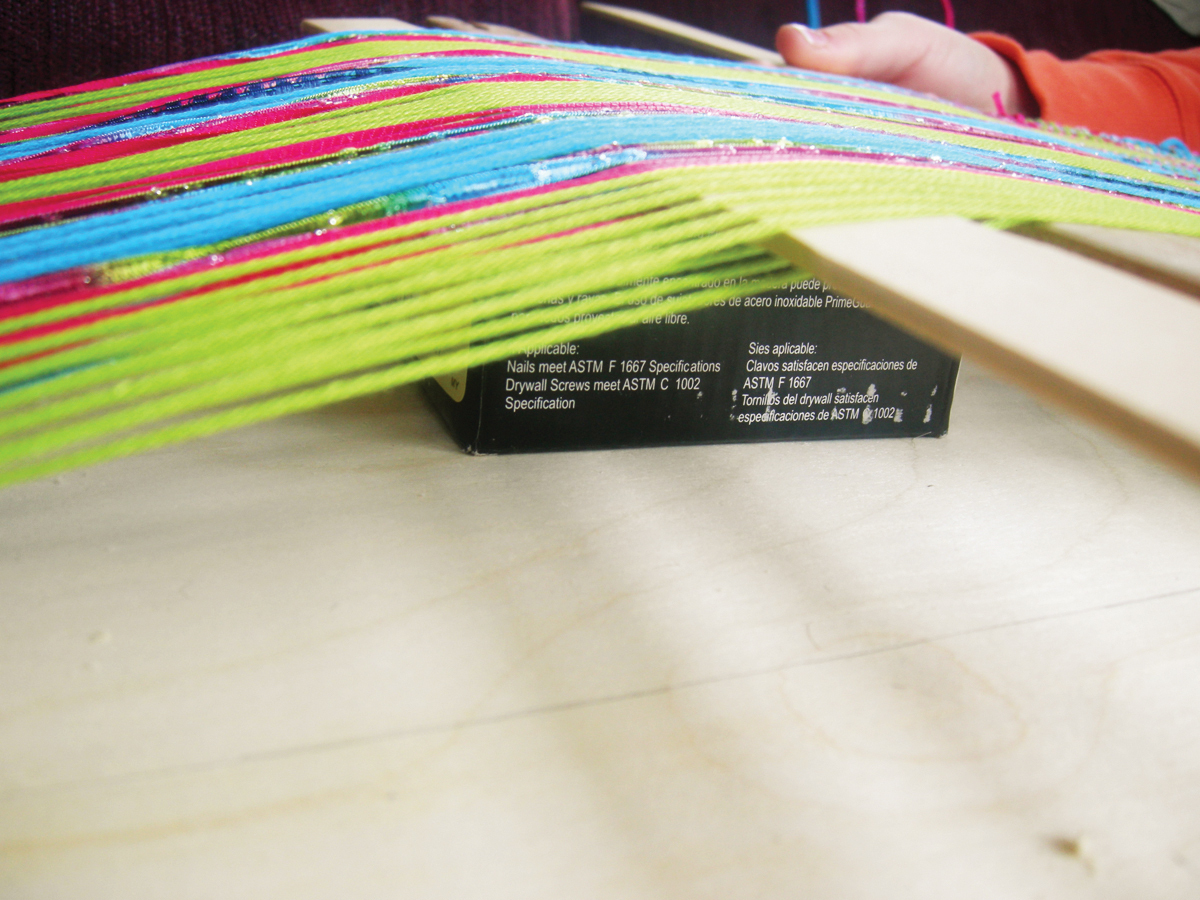
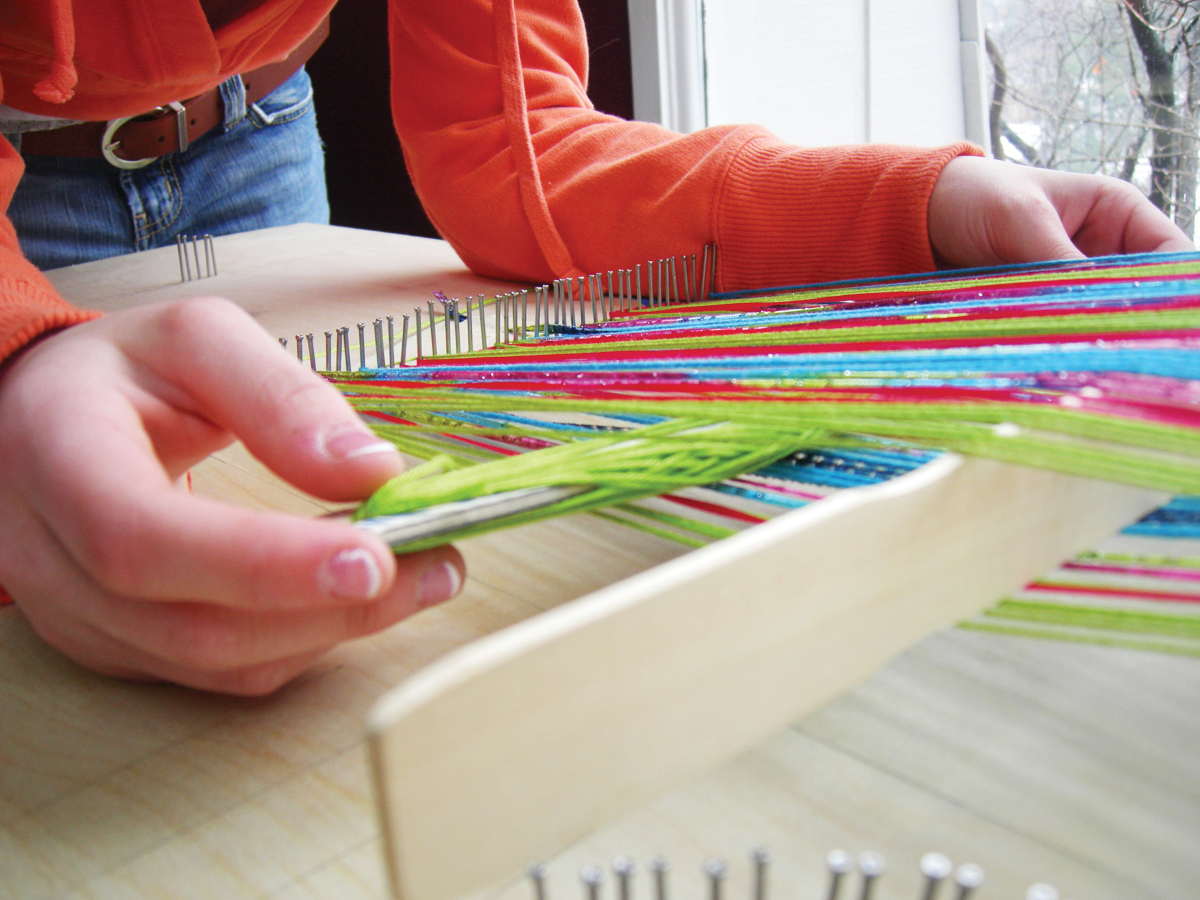
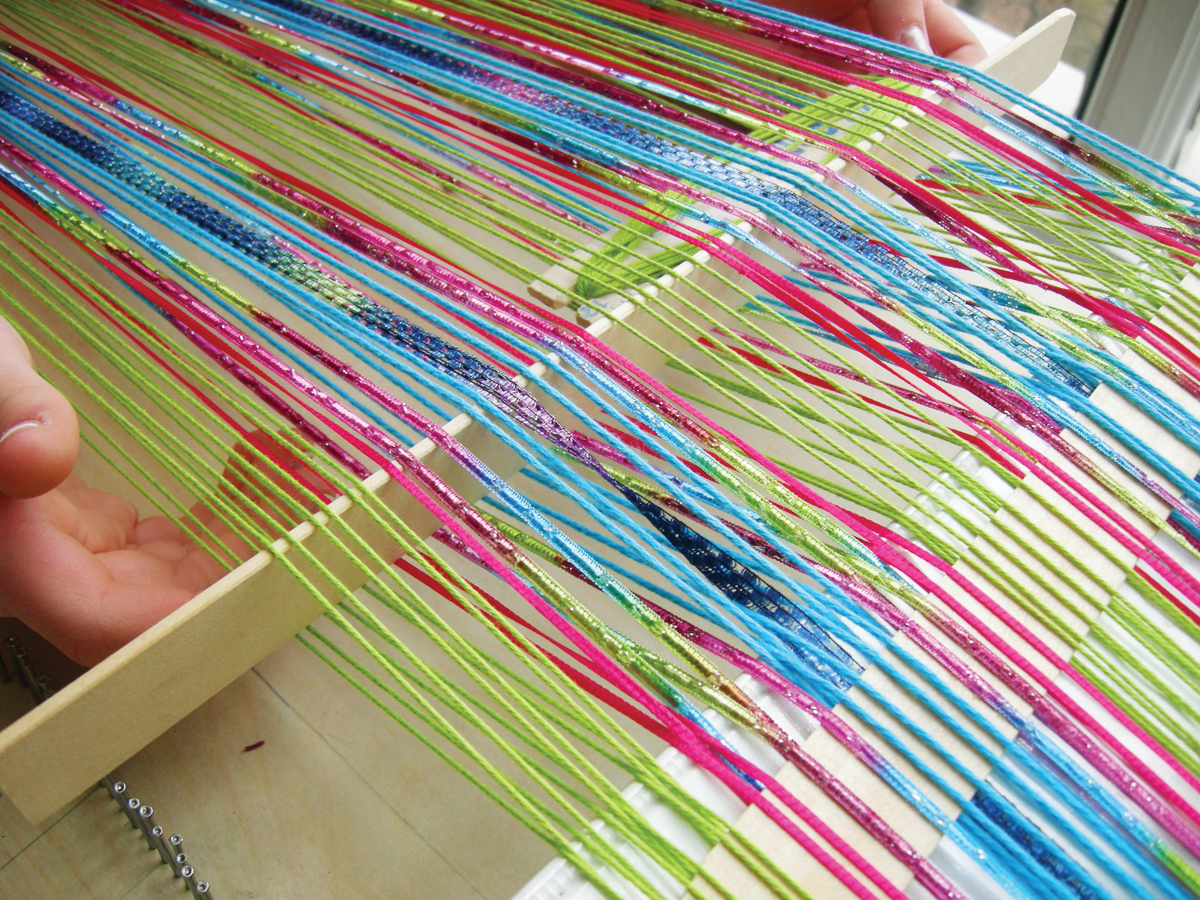
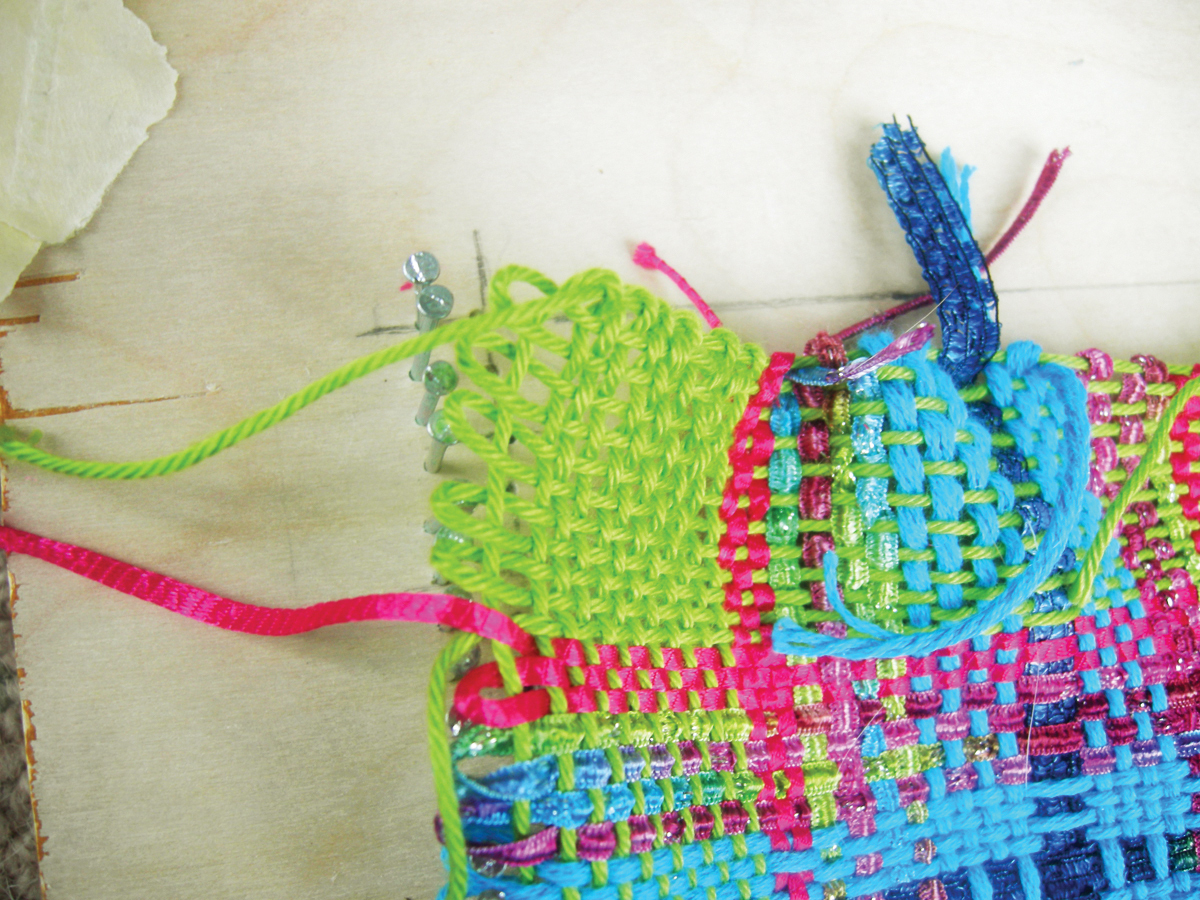
The rhythm of weaving is soothing, and creating your own fabric is addictive. Weaving is easy (remember those potholder looms you used as a kid?) and you can do it with things you probably already have around the house. We raided our knitting stash for yarns and used a scrap of plywood and a box of nails to make the loom.

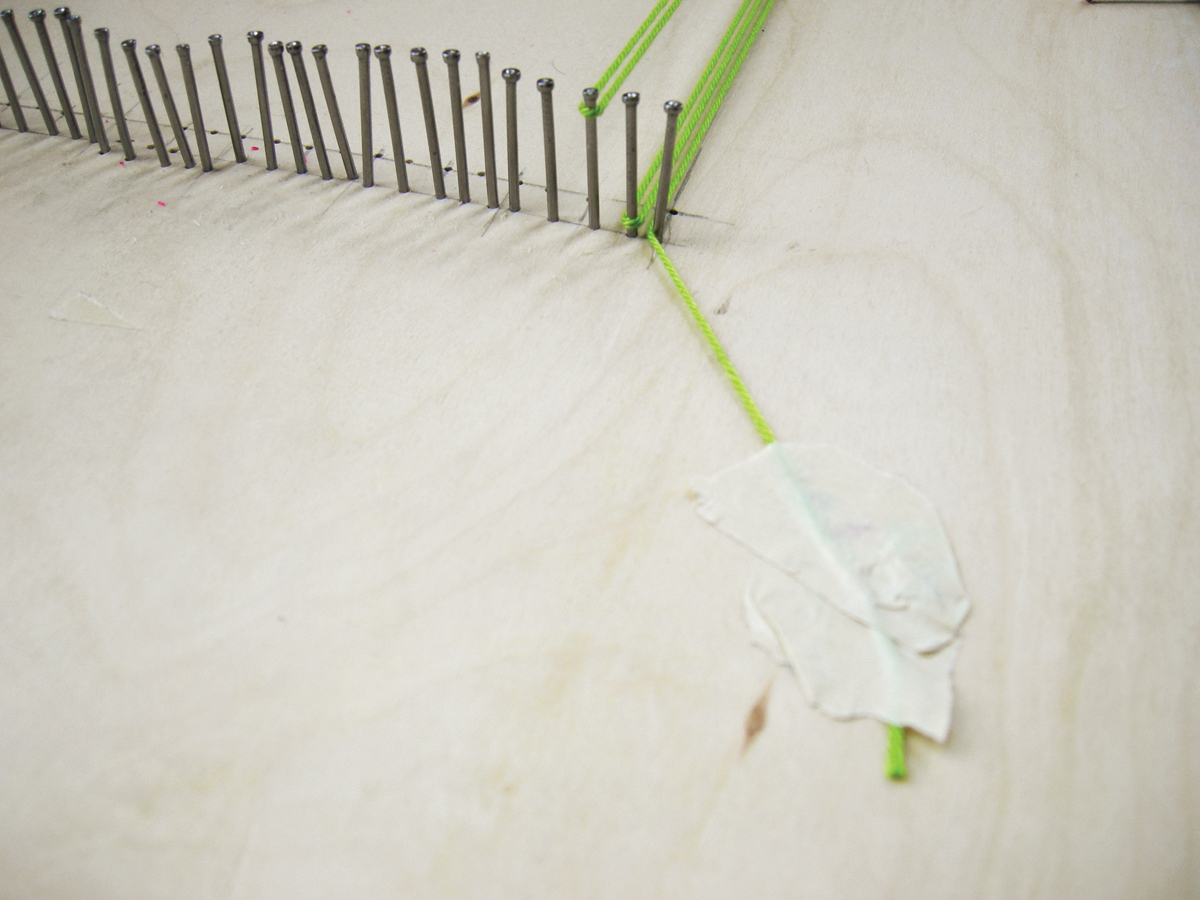
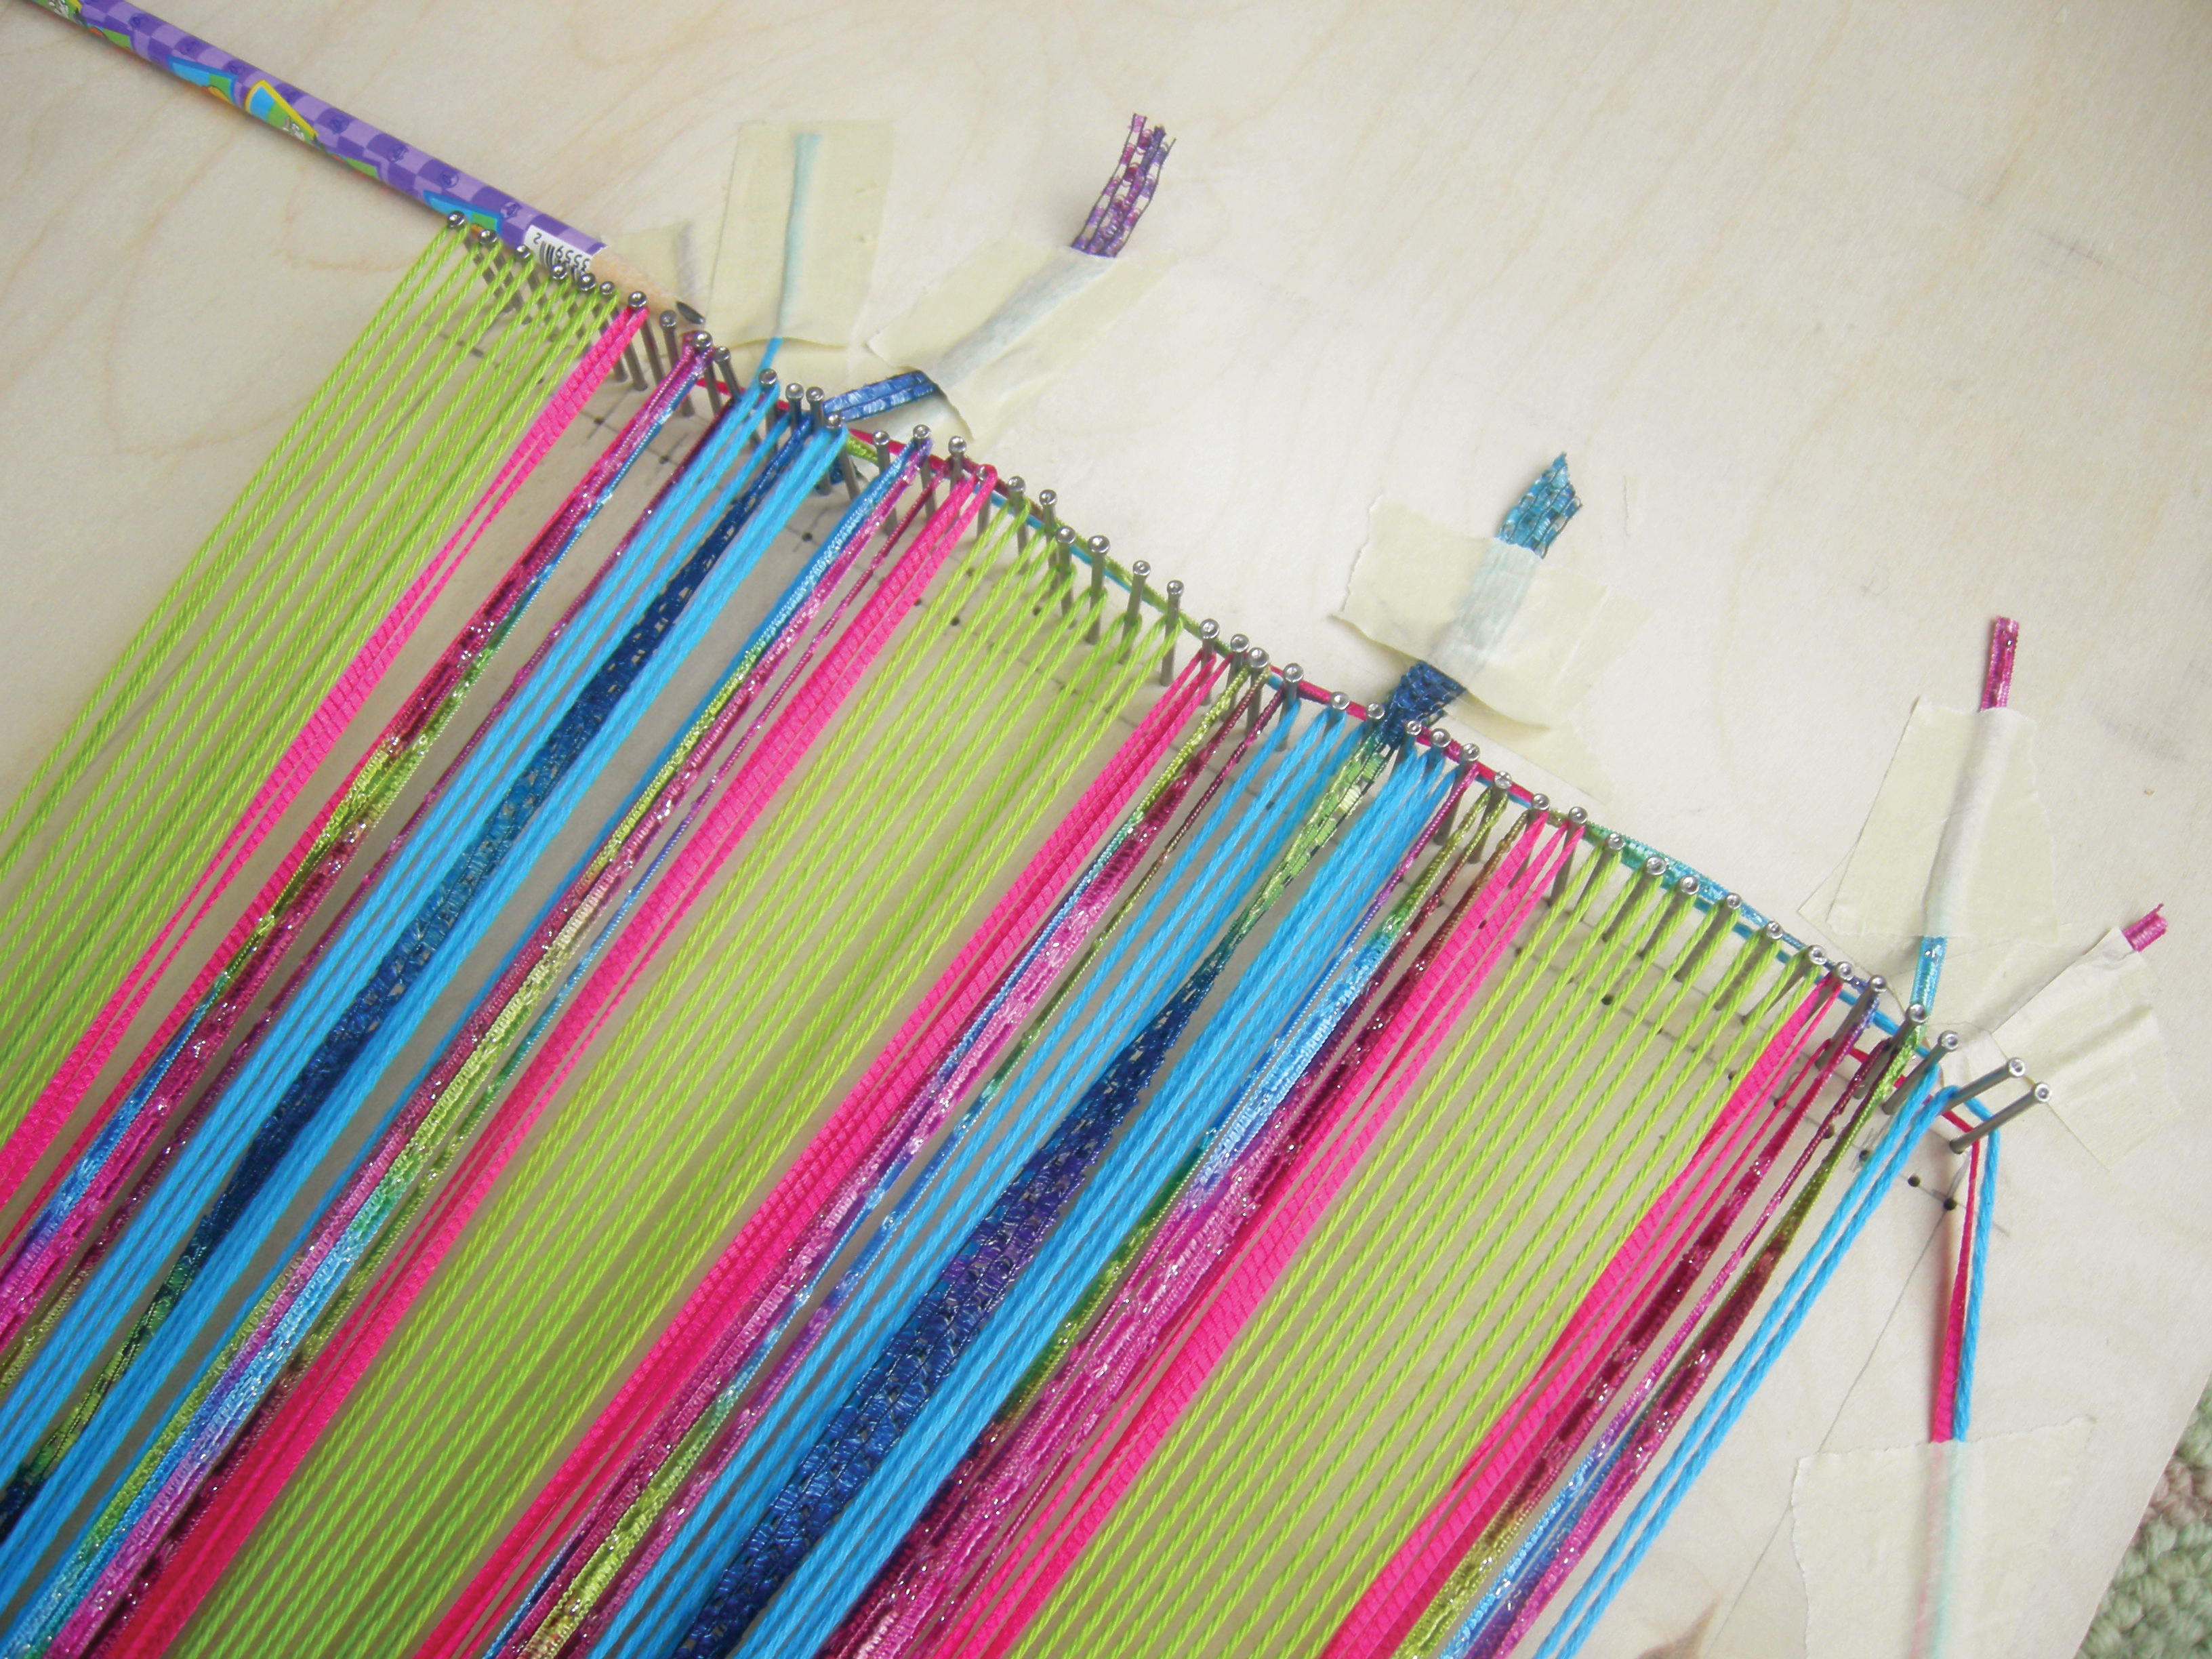
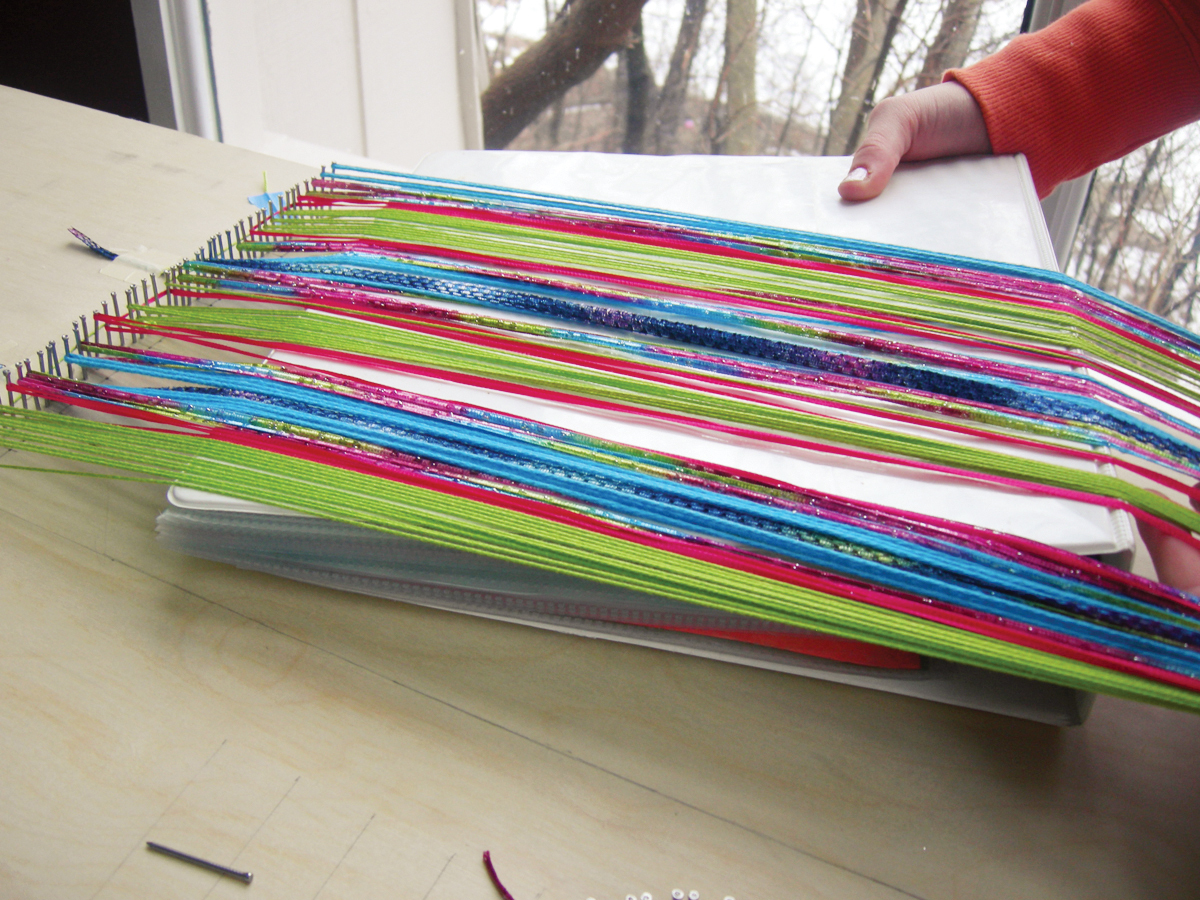
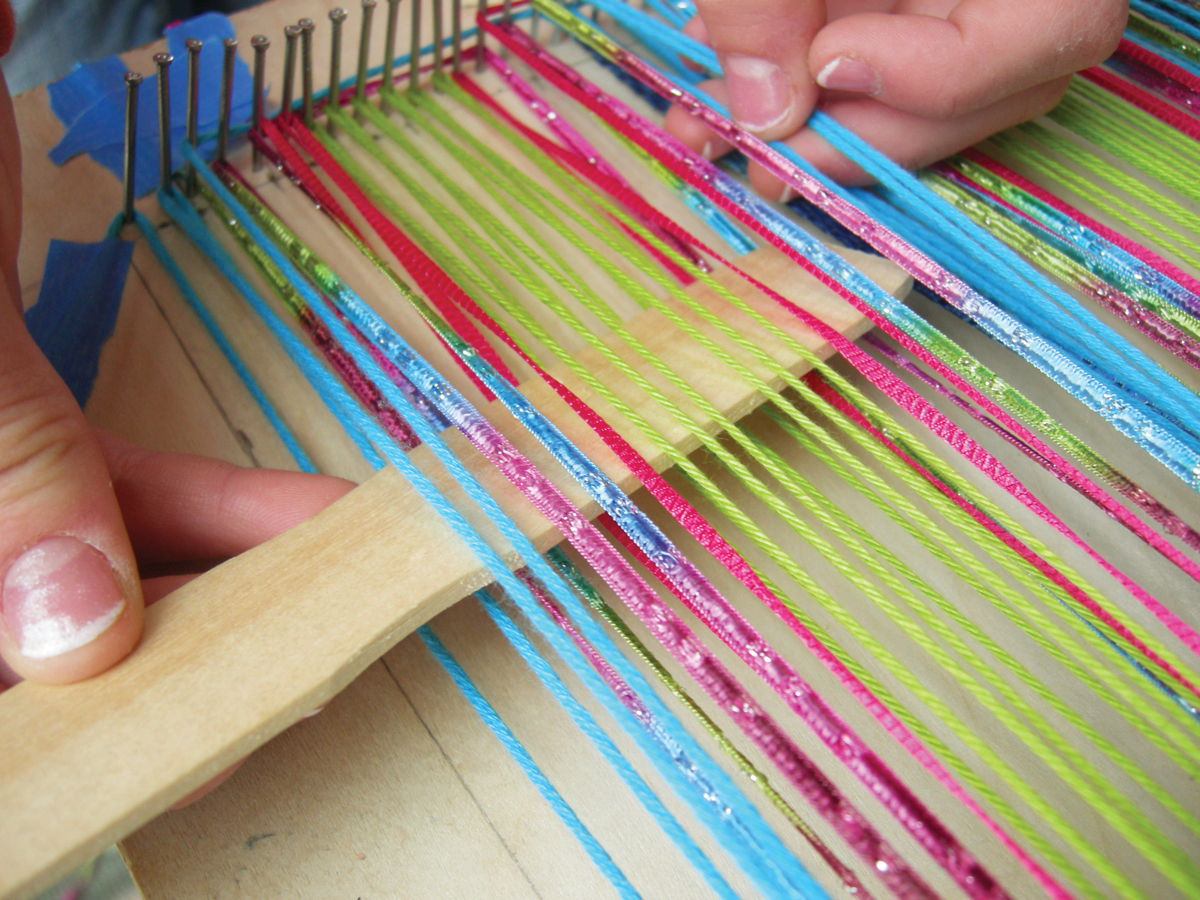
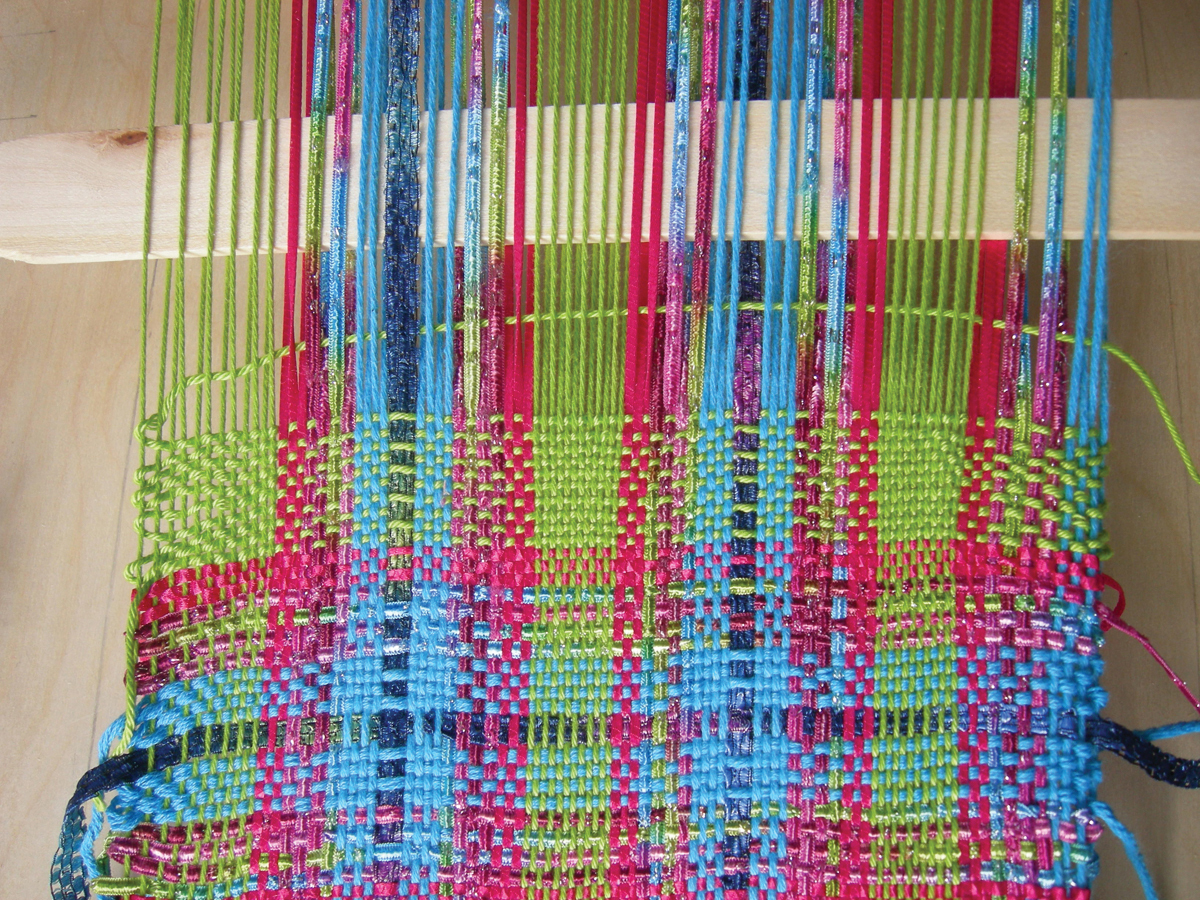
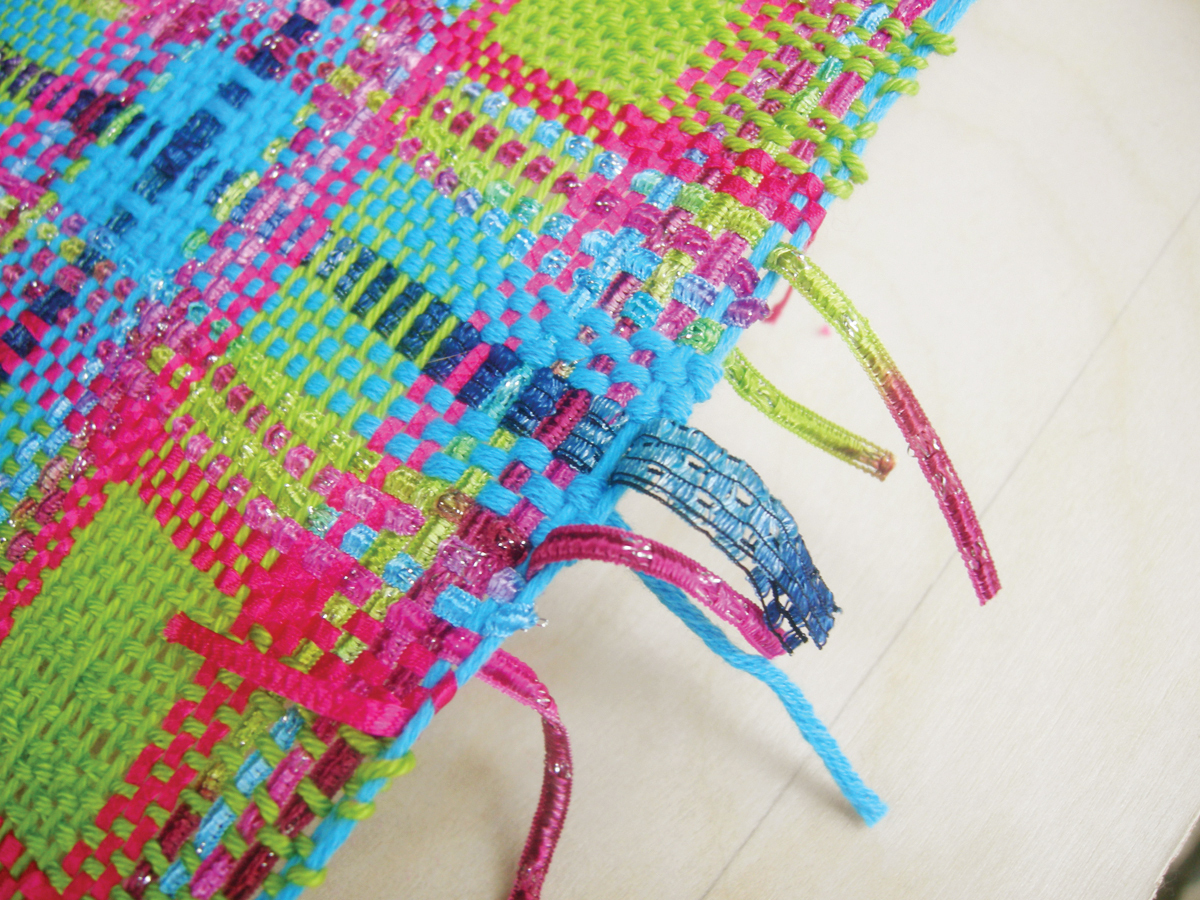
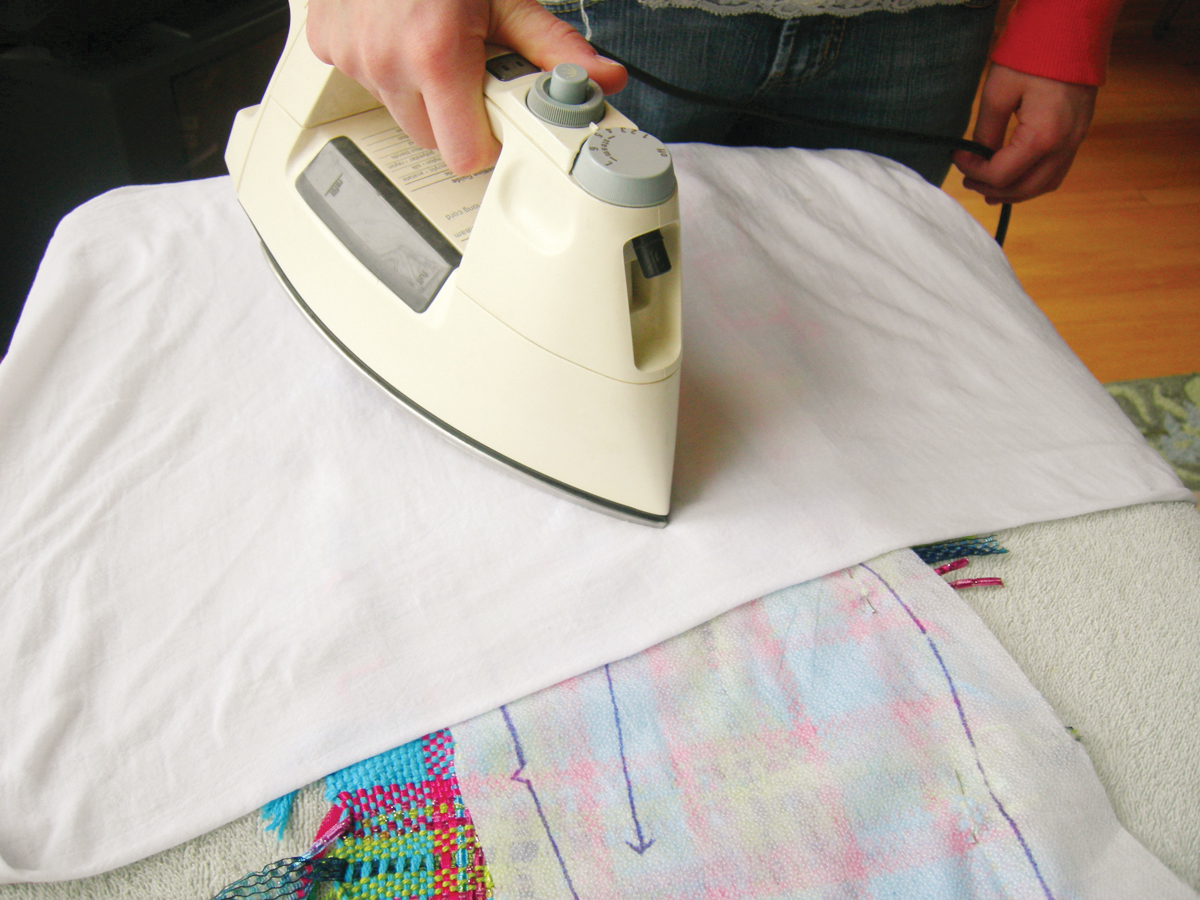
For this project, we used plain weave — over 1 thread, under 1 thread. By using different yarns to provide color and texture, you can achieve great looks with this simple fabric structure. We ended up making a vest with our woven fabric, with the help of a commercial sewing pattern.

Project Steps

Build the loom.

Determine the size of the loom you need by measuring your pattern pieces and adding 20% to the measurements to allow for shrinkage, etc. Add 3″ to the length for loom waste. When you measure the pattern piece, make sure to take into account the grain line, as this can change the dimensions.

Transfer the dimensions to the plywood board using a measuring tape and straightedge. We made parallel lines 11″ long and 30″ apart. Mark the lines in 1″ intervals, making sure the marks are square to the marks on the opposite end.

Subdivide each 1″ segment by making tick marks to measure off 1/5″, or 5 threads per inch. Eyeballing it is fine. If you use bigger yarn (worsted or bulky weight), measure 1⁄4″ segments (4 threads per inch).

Pound a nail 1⁄4″ into the board wherever the tick marks intersect the line.

Begin to warp.

By doing a bit of math, you can easily calculate how much of each yarn you need.

Warp Count: Take the total number of nails on your loom and multiply it by the distance in inches between the 2 rows of nails. Divide by 36. Our warp used 96 nails and measured 30″ long (96″×30″ = 2,880″ and 2,880″/36 = 80yds).

Weft: Calculate the weft as the same quantity of yarn as the warp, and you’ll have plenty.

Tape the end of the starting yarn to the board as shown, and thread it past the first nail. Wind the yarn to the corresponding nail on the other side, from right to left. Take the yarn back to the starting side and wrap the next nail from right to left. Continue. Push the yarn down against the board as you go, maintaining light, even tension.

If you want stripes, add a new yarn by taping it to the board. (The previous yarn can be carried on the outside of the nails until it’s used again.) When you’re finished with a yarn color, cut and tape it to the board. Continue until all the nails are used up.

Make a shuttle.

We used 1 shuttle for the main color and 1 shuttle for the plaid colors. We found that shorter shuttles worked best because of the relatively small amount of yarn used, especially in the plaids.

If you don’t have access to pre-made shuttles, you can easily make one. Use a box cutter or X-Acto knife and cut a cheap wooden ruler to the desired length. If weaving with only 1 color, make your shuttle 1″ wider than the warp width. Carve out a notch at each end, and use sandpaper to smooth out rough edges.

Weave.

Wind your shuttle using a figure-8 pattern on both sides of the shuttle.

Tighten the warp tension using a binder or other found objects. The amount of tension needed will change as the project progresses — when the warp is too tight, change to a shorter tensioning object.

Weave, continued.

Use a paint stirrer or similar object as your shed stick. Insert it into the warp going under alternate threads. For example, warp threads 1, 3, 5, etc. should be on top of the stick and 2, 4, 6, etc. below the stick. Turn the stick on its edge, creating a shed. Work the shuttle through the opening of the shed.

Weave, continued.

Position the weft thread as shown, and use the shed stick laid flat to beat the yarn into place.

Slide the first shed stick to the top of the binder. Create a second shed using another paint stirrer with threads 2, 4, 6, etc. on top (opposite the first stick). Turn the second stirrer on its side to create the second shed, insert the shuttle, beat the yarn into place, and remove the second shed stick. Bring the first shed stick forward and weave as before.

Continue weaving by using the “stored” shed for the first pass and creating an opposite shed anew each time for the second pass.

Since the side selvedges won’t be used in the final piece, if you need to insert or drop a yarn just leave a tail at the edge.

Remove from loom.

To remove your fabric from the loom, cut the ends long enough to tie knots to secure the final rows. Lift off the nails on the end where you began weaving.

Hand-wash the woven pieces in the sink, squishing them around a bit. Lay flat to dry.

Finish.

Trace your pattern onto fusible interfacing, noting the grain line. Follow the interfacing’s instructions to adhere it to the back of the woven fabric. Match the pattern’s grain line with the direction of the warp. Follow the pattern’s steps to sew the vest.

Conclusion

This project first appeared in CRAFT Volume 08, 52-55.