DSCF1990

Take a picture. It’ll last longer!

This hidden message project uses a photography slave flash to briefly illuminate our message when triggered by a camera’s flash. The message is hidden behind colored gels so that it is not visible from the outside of the case. Since the slave flash lights up the message for such a brief period of time, you can’t really see the hidden message with your bare eyes. Fortunately, your camera not only triggers the slave flash to fire with it’s own flash, but it also takes a picture of the hidden message for you.

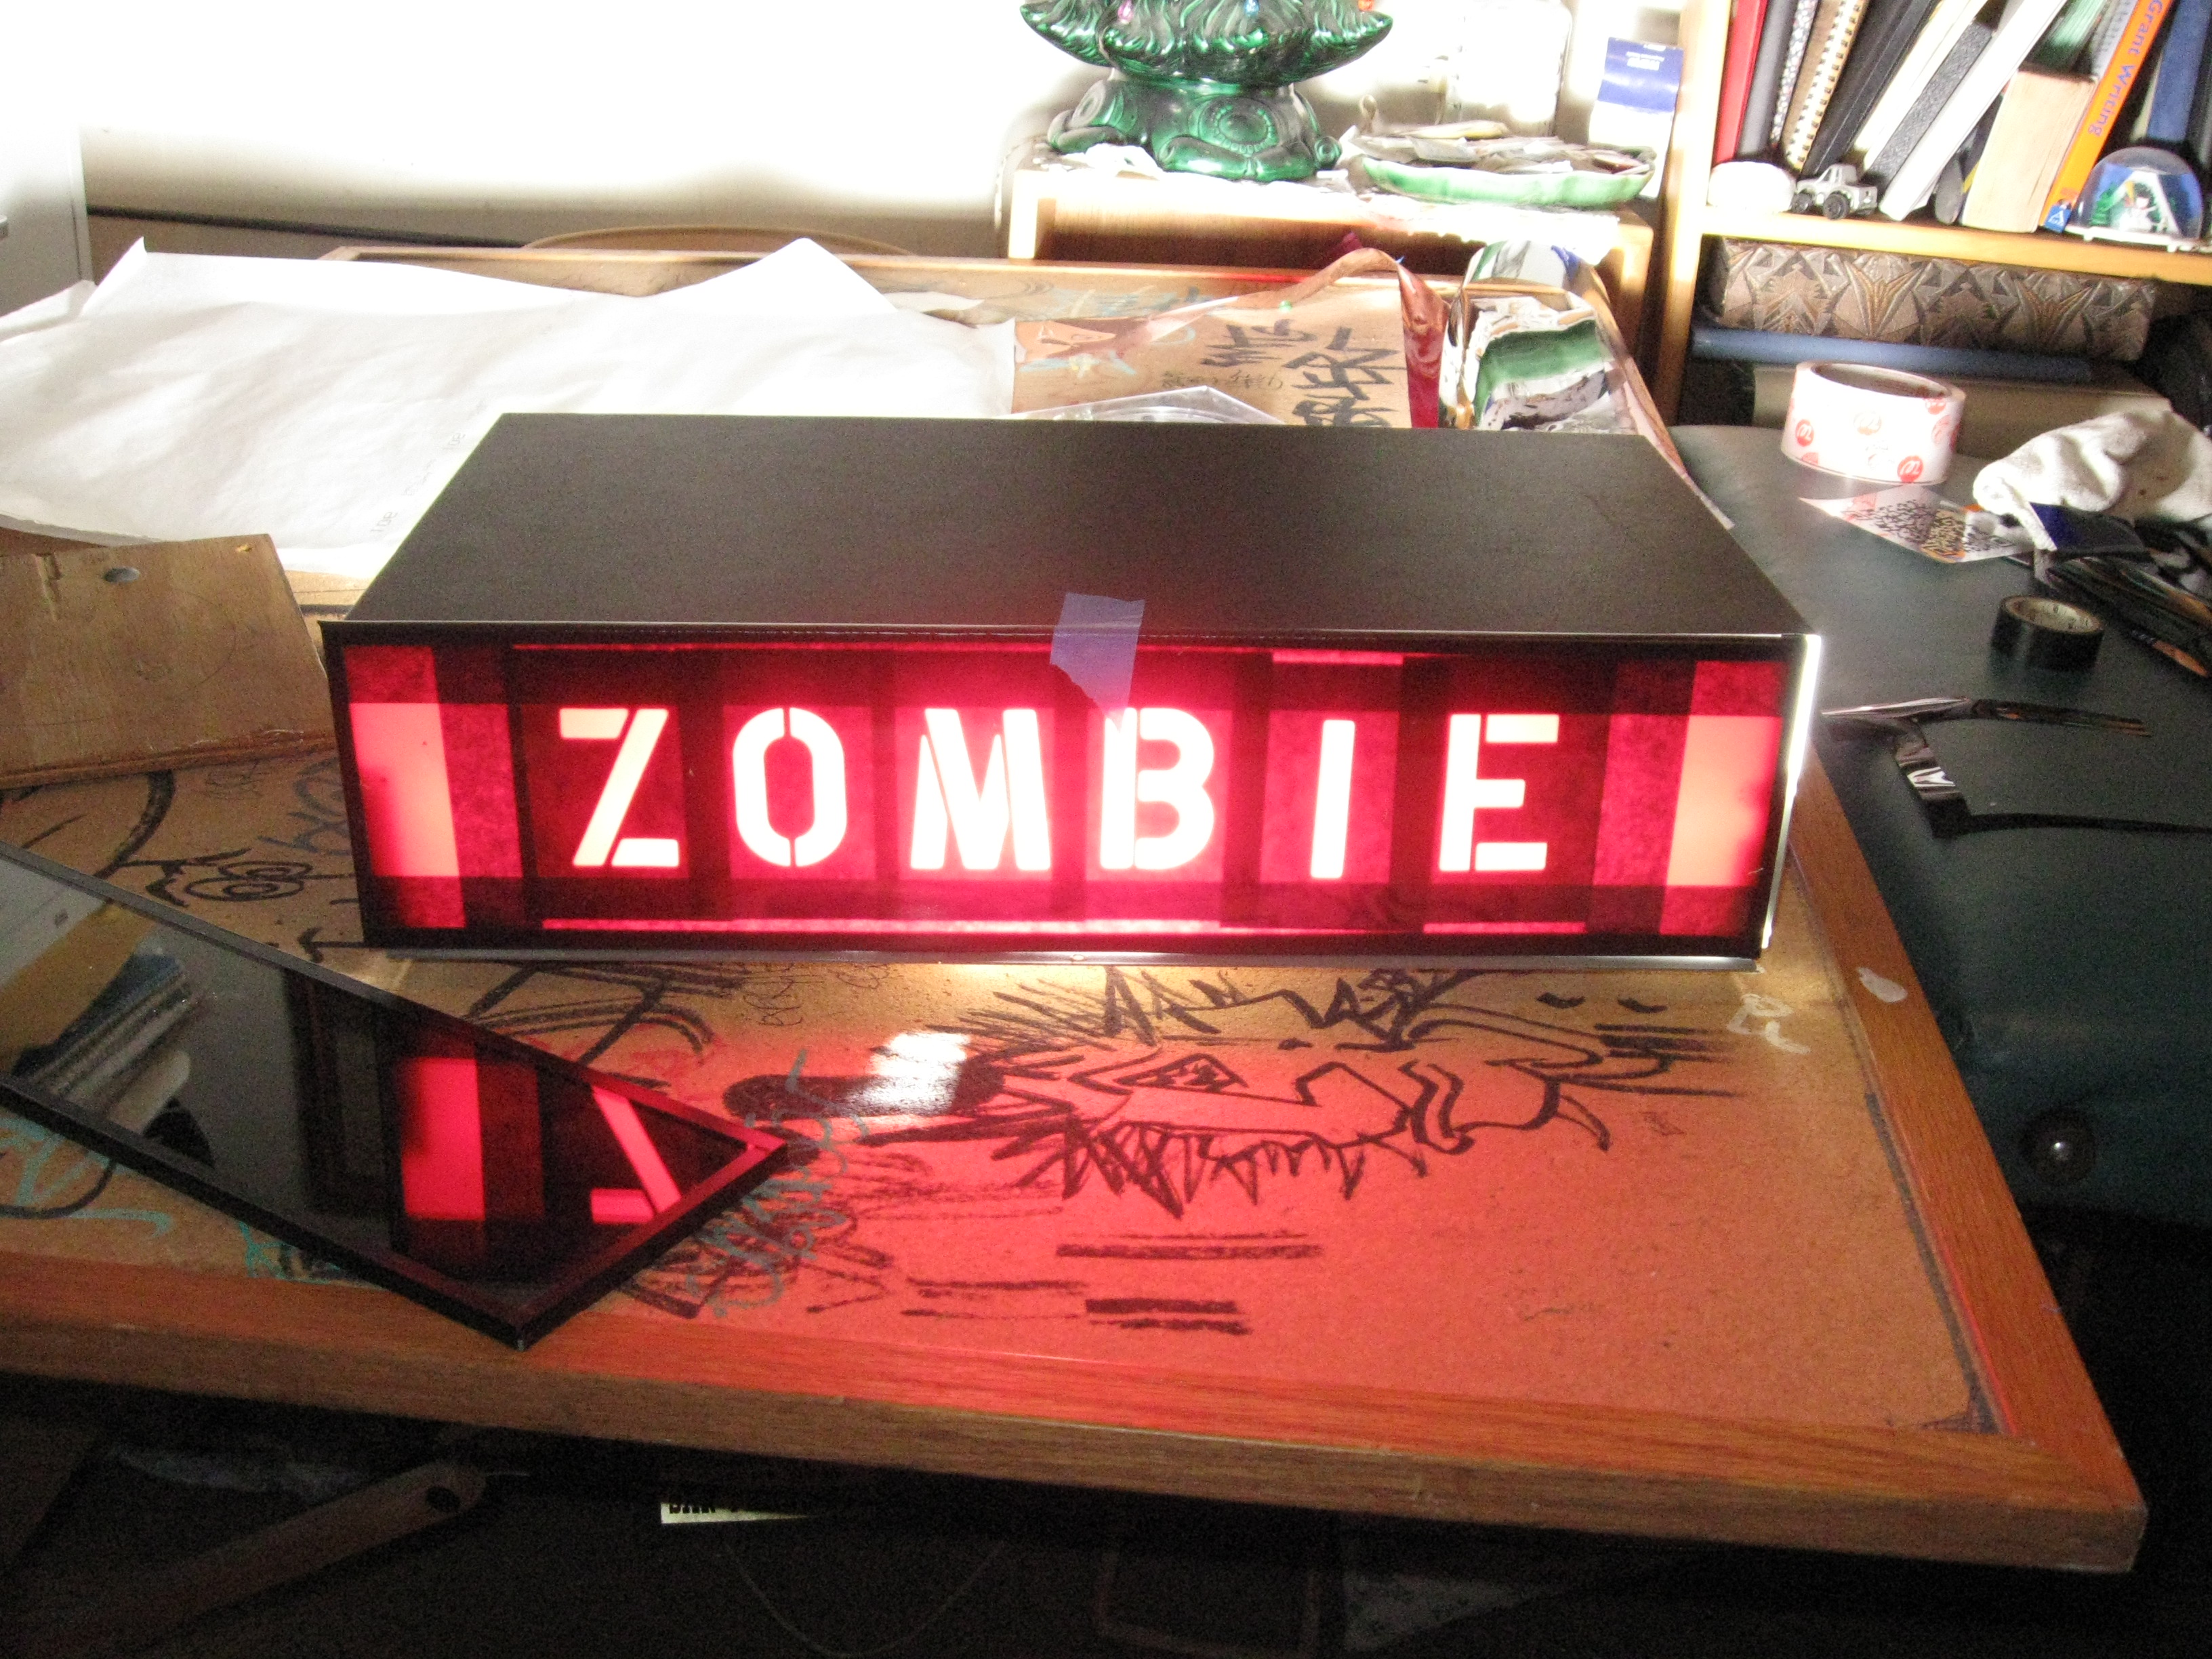
I built mine into a prop “Zombie Detector” and had fun taking pictures of people at Maker’s Faires and the California Academy of Sciences.

The slave flash has a xenon tube (strobe) flash and a sensor that will detect the light from the master flash on the camera and cause the slave flash to fire. This is used in photography to provide additional light on a subject that is synchronized to the master camera flash.

While researching this project I learned that Joshua Lionel Cowen of the Lionel toy train fame invented the flash lamp, enabling indoor and night photography. This inspired the fake history of the Zombie Detector and the model train references on the detector.

YouTube player

Project Steps

Select your case

The size of the case you use will determine the size and number of letters you can use in your secret message.

The larger the message area you wish to illuminate the more distance you will need between your letters and the slave flash inside the case (case depth).

Experimentation is very important. I used several cardboard prototypes to determine my best case size.

For my Zombie Detector, I used an old stereo cassette deck case.

Make a message from your stencil letters

Determine how many letters you can properly light up.

Pick a secret message that will fit your case and letter size.

Make a sandwich

Your secret message will have four layers you need to sandwich together:

  • A translucent layer to diffuse the light from the slave flash and spread it out evenly across your letters. I used a plastic that transmitted 80% of the light, but you can also use a sheet of paper as a diffuser.
  • A layer of stencil letters to spell out your message
  • One or more layers of dark colored gels (film) to hide your stencil letters. I used several layers of blue for one message and several layers of red for the other.
  • A transparent layer of plastic to protect your message

I taped the edges of the sandwich together with electrical tape and drilled holes through the plastic and mounted it to the metal case with screws.

Mount everything and adjust camera settings

I wanted to have two different messages (or outcomes) in the same case, so I mounted the slave flash on a turntable inside the case. The front and the back of the case have different messages. One front says HUMAN in blue, the back says ZOMBIE in red.

Here you can see my messages mounted to the case with the cover off.

The case needs to be tilted to swing the flash into position before taking the subject’s picture. I created these instructions so that gravity would pull the slave flash into position regardless of which sides (message) was facing the camera.

When working with a slave flash you will need to turn off your camera’s red eye prevention feature or else the slave will trigger at the wrong time and you won’t catch a picture of it firing.

If your camera has a manual mode it may prevent other pre-flash triggering that may occur.