If you’ve ever used a magnetic stirrer before, you know how handy they can be. I’ve made several on this general pattern, and use them in the garage for mixing paints and dyes, and in the kitchen for making cold-brewed coffee. This design is common in the homebrewing community, where it’s used for stirring yeast cultures to make homemade starter.

Project Steps

Gather materials

The acrylic case I used is an AMAC 772C 2-part box with lid. They are available at The Container Store for a couple of bucks. It measures 4x4x2″ with the lid in place.

12V 80mm fans like this are common in computer equipment; the one I used was recovered from a burned-out AT power supply.

The DC power jack is a size N, coaxial, panel-mount component. (Radio Shack #274-1583)

You will need at least two, and preferably four, small neodymium supermagnets. Mine were 6mm discs, 3mm thick, that I got by breaking open some cheap plastic fridge magnets.

The mounting hardware consists of four 1.5″ 6/32 flat-head machine screws, eight matching hex nuts, four matching flat washers, and four matching split washers. I splurged and got stainless steel, but regular zinc-plated steel should work just as well.

Prepare lid for drilling

Print the drilling template onto an adhesive mailing label, cut it out, and affix it to the top surface of the box lid. Alternately, cover the box lid with strips of masking tape and use the fan itself as a template to mark the hole positions on the tape.

Cover the underside of the lid with strips of masking tape. The label and/or tape on both sides of the lid will help keep the plastic from cracking when drilled.

Drill and countersink lid

Position the lid, top-up, on a scrap wooden backing block.

Slowly, carefully, and gently drill a small (e.g. 1/16″) pilot hole at each of the four marked positions.

With the same care, step-drill the pilot holes up to an appropriate diameter for your machine screws. In my case, this was 9/32″.

Working patiently and taking short, light cuts, countersink the holes until the heads of your machines screws will sit flush with the surface.

Remove the template and/or masking tape from both sides of the lid.

Prepare and drill box

Cover both faces of one side of the box with masking tape. Again, this is supposed to help keep the plastic from cracking when drilled.

Mark the drilling location for a 5/16″ hole close to the bottom edge of the taped side. Positioning is not critical; just eyeball it.

As before, start the hole with a small pilot drill and step up to the final drilling diameter, which, for the power jack I used, was 5/16″.

Clean up the hole, if necessary, using a hobby knife. Remove the masking tape.

It’s generally a bad idea to drill acrylic without backside support, but I was able to get away with it. Work carefully and patiently, using sharp tools, and you should be, too.

Glue magnets to fan hub

Clean the magnets and the hub of the fan with rubbing alcohol and let dry.

Mix two-part epoxy (I recommend J-B Weld), and apply to the hub, one daub for each magnet you intend to mount. The fan rotor has a metal rim, and the magnets will naturally tend to “float” out right to its edge where the metal is, so position your daubs as close to the rim as possible.

The best orientation for the magnets’ poles is an interesting question. I’m not sure it makes any difference, but I chose to affix mine such that opposite magnets, across the diameter of the hub, have opposite poles facing up.

Set the magnets in place in the daubs of epoxy.

Leave the epoxy to cure overnight.

Attach fan to power jack

Cut the connector off the computer fan, and strip about 3/8″ of the insulation off each wire.

Computer fans usually turn in one direction only; if you wire them backwards, they don’t move at all. So test your wiring of the fan to the power jack using an appropriate DC power supply before soldering the leads in place.

Solder the fan leads to the power jack connectors.

Mount fan to lid

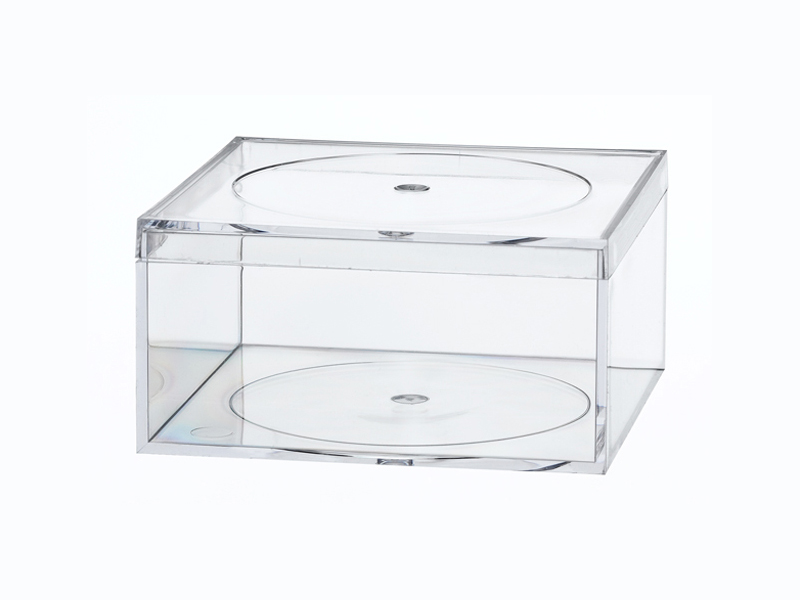
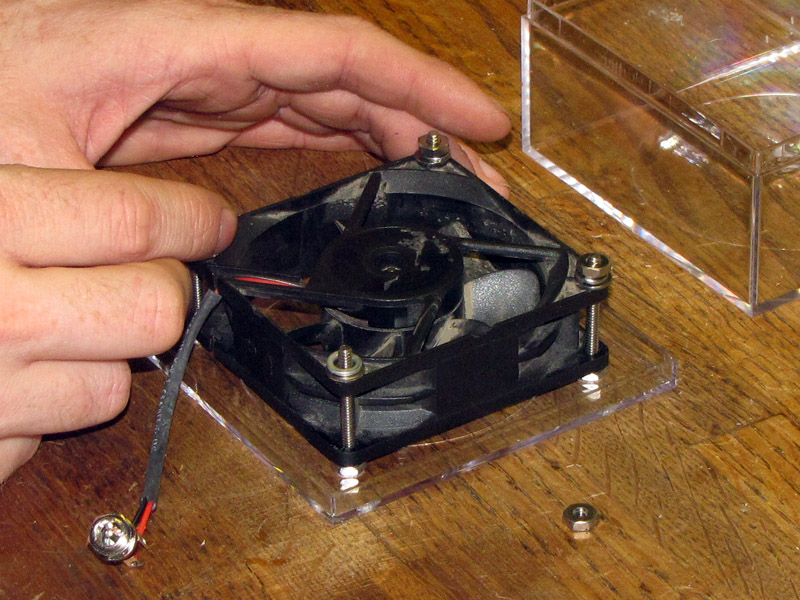
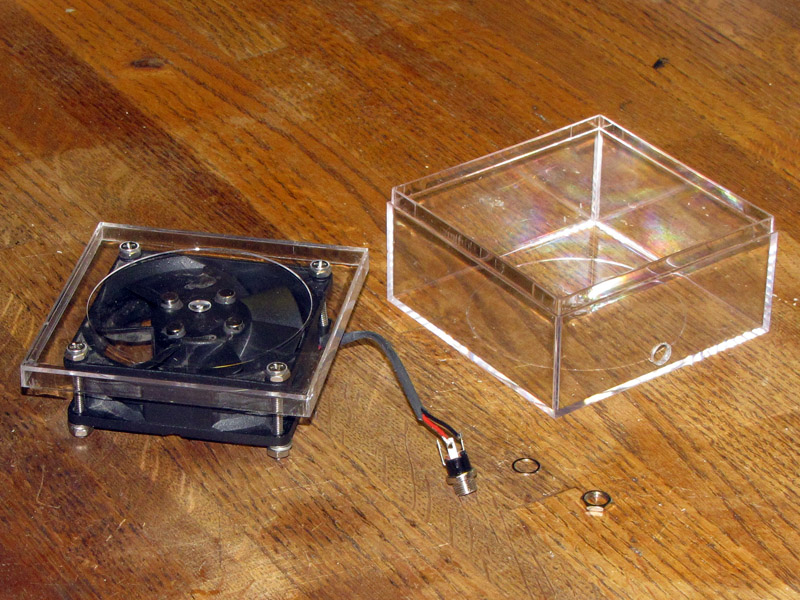
Insert four flat-head screws into the countersinks in the lid, and position the lid top-down on your work surface so that the screw threads are sticking up.

Tighten a hex nut down onto each screw, against the inside of the box lid. These nuts serve both as spacers to provide clearance for the spinning magnets on the fan hub, and to take tension off the relatively fragile plastic of the box lid.

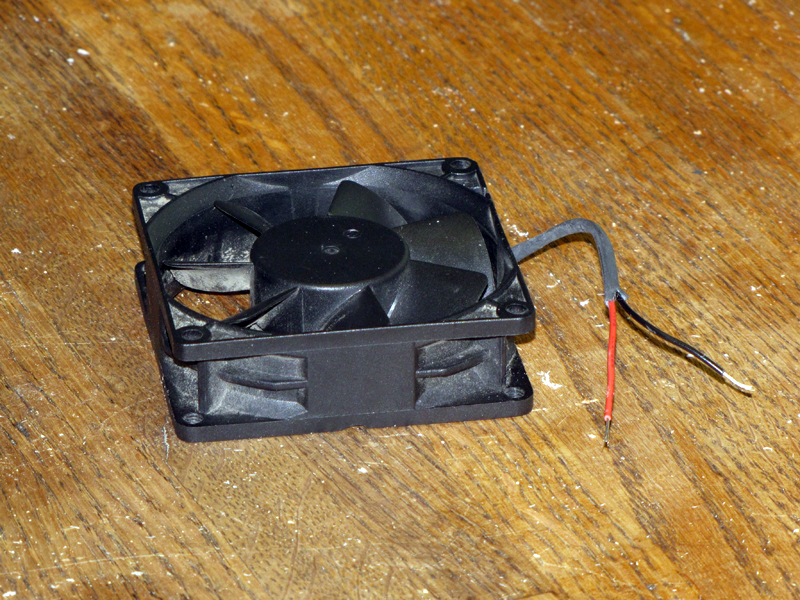
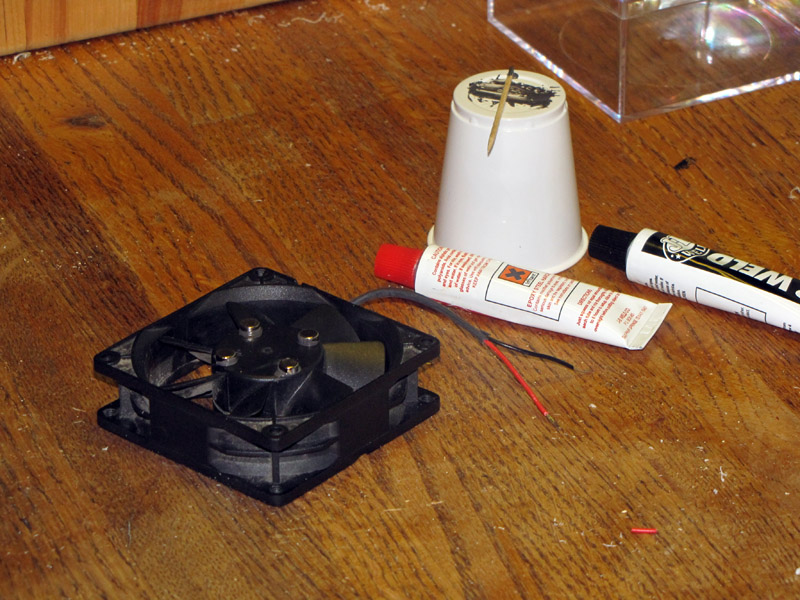
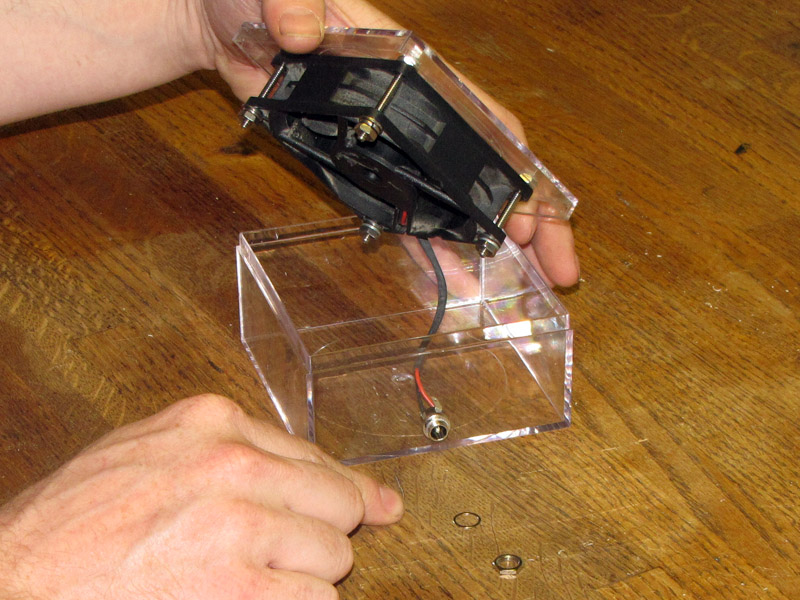
Set your fan in place, magnets down, on the screws. Check to make sure the magnets have sufficient clearance for the hub to spin freely.

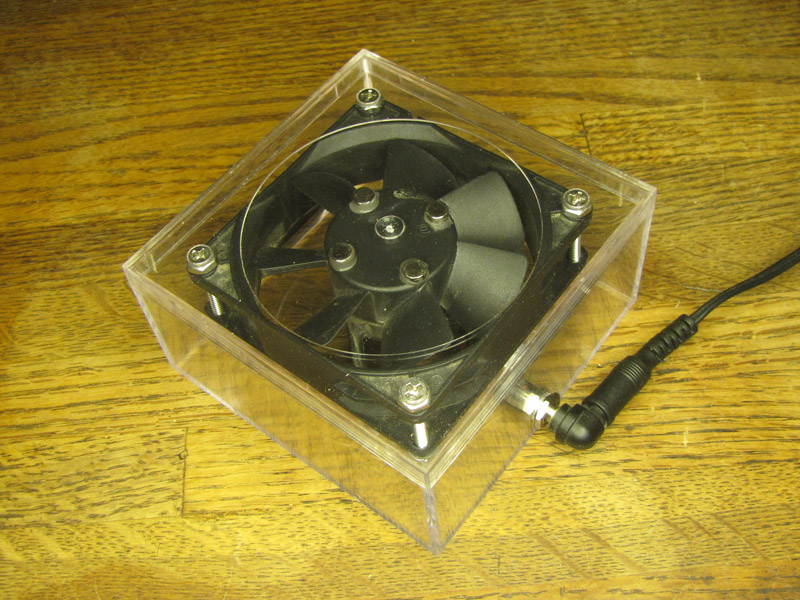
Put a flat washer over each screw, then a split washer.

Thread a hex nut onto each screw, finger-tight against the split washers.

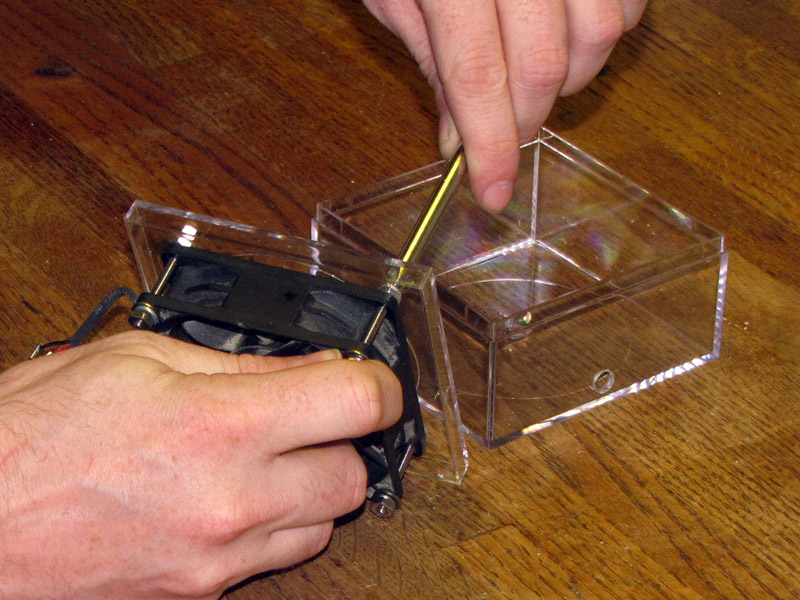
Pick the lid up, and, holding the screws still with a screwdriver, tighten the nuts, still using your fingers, until the split washers are compressed. You may use a small wrench, if necessary, but be careful not to overtighten.

Final assembly

Insert the threaded portion of the power jack through the box wall from the inside and secure it, from the outside, using the washer and the nut that came with the jack. Again, finger-tight is plenty.

Set the lid in place on the box, making sure the fan power leads are clear of the blades.

Attach a DC power supply, 1.5-12V, to the jack and verify that everything works as it should. Finally, put a beaker full of water on the plate, drop in a stirbar, and verify that your stirplate will turn it.

Conclusion

Computer fans are generally rated for 12V, but will run at lower speeds with lower voltages, so you can control how fast your stirrer turns by controlling the driving voltage. Experiment to find a battery or DC power supply that provides a convenient speed for your purpose, or connect the stirplate to a variable voltage regulator. A battery pack, power switch, and/or voltage regulator could easily be built into the case to provide a portable unit.