


Perfboards are perfect for quick prototypes, but can also be used to build long-lasting circuits. This is a fact that’s easily forgotten in times of cheap commercially manufactured PCBs, although there are still people building amazing stuff using only perfboard and insulated wire.
The advantages of perf are clearly the low price, short design time, instant results, and the possibility of changing the circuit at any time without much trouble.
If you put a little more effort into your design, for example using CadSoft Eagle, you can make a nice perfboard layout. Just stick to a 0.1″ grid and 90° angles and you’ll be fine.
Now you have a plan and you’re ready to produce your perfboard circuits, right? Well, almost. The frustration begins as soon as you pull the first wrong trace, usually because you’re constantly flipping the board around, mirroring the layout in your head, and you end up sticking components in the wrong holes, and so on. Maybe you are also spoiled by manufactured PCBs with silkscreens that make populating such bliss.
In this tutorial, you will learn how to get a silkscreen and a layout template directly onto your perfboard in no time. This will speed up the soldering process and should drastically reduce your frustration.
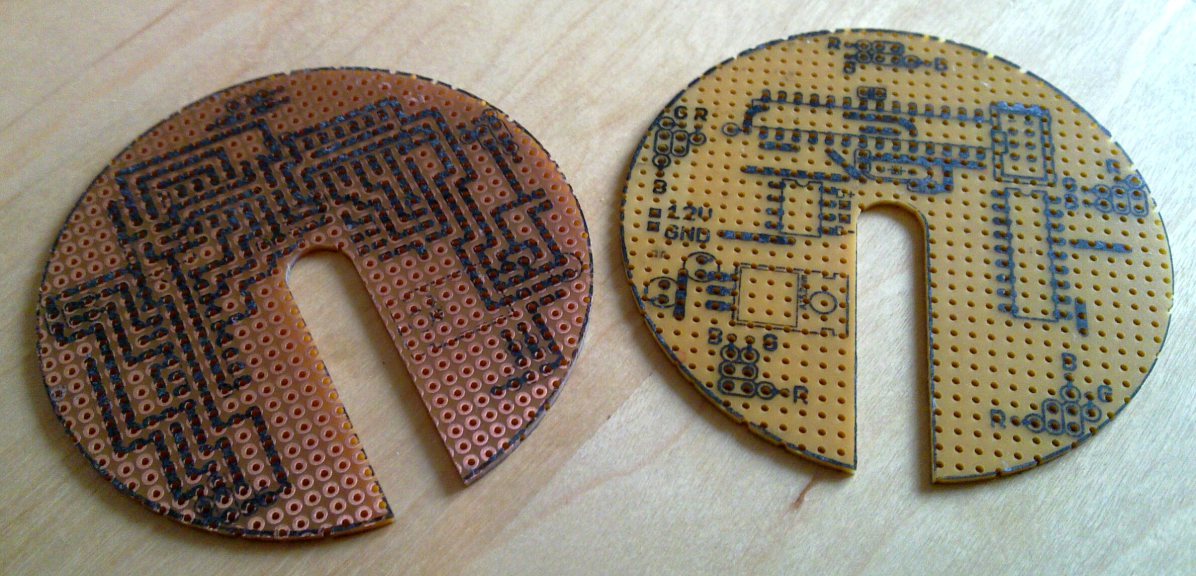
You will use a technique called “Toner Transfer” which is commonly used to etch your own circuits. The toner is transfered from paper to another surface by applying heat and pressure.
[via HackedFromPieces]


