Air-powered water rockets are easy to build and the fuel is free, but do you want to push the envelope? How about a two-stage water rocket? And instead of pressurized air, how about an explosive gas? I know the perfect gas to use. Back in high school chemistry, I learned about the electrolysis of water, using electricity to break water molecules into hydrogen and oxygen gases. A spark recombines the elements back into water, releasing energy that vaporizes the water. The hot water vapor causes a rise in pressure, and in this project we use this pressure to push water out of the soda bottles and propel the rocket upward. This rocket is controlled by an onboard timer circuit that runs off a 9-volt battery and ignites the gases electrically using model rocket igniters. The circuit’s variable resistor lets you precisely time the interval between first- and second- stage ignitions to attain maximum height. LED firing signals provide a visual countdown, and when the gases ignite they produce a delightful explosion.
Projects from Make: Magazine
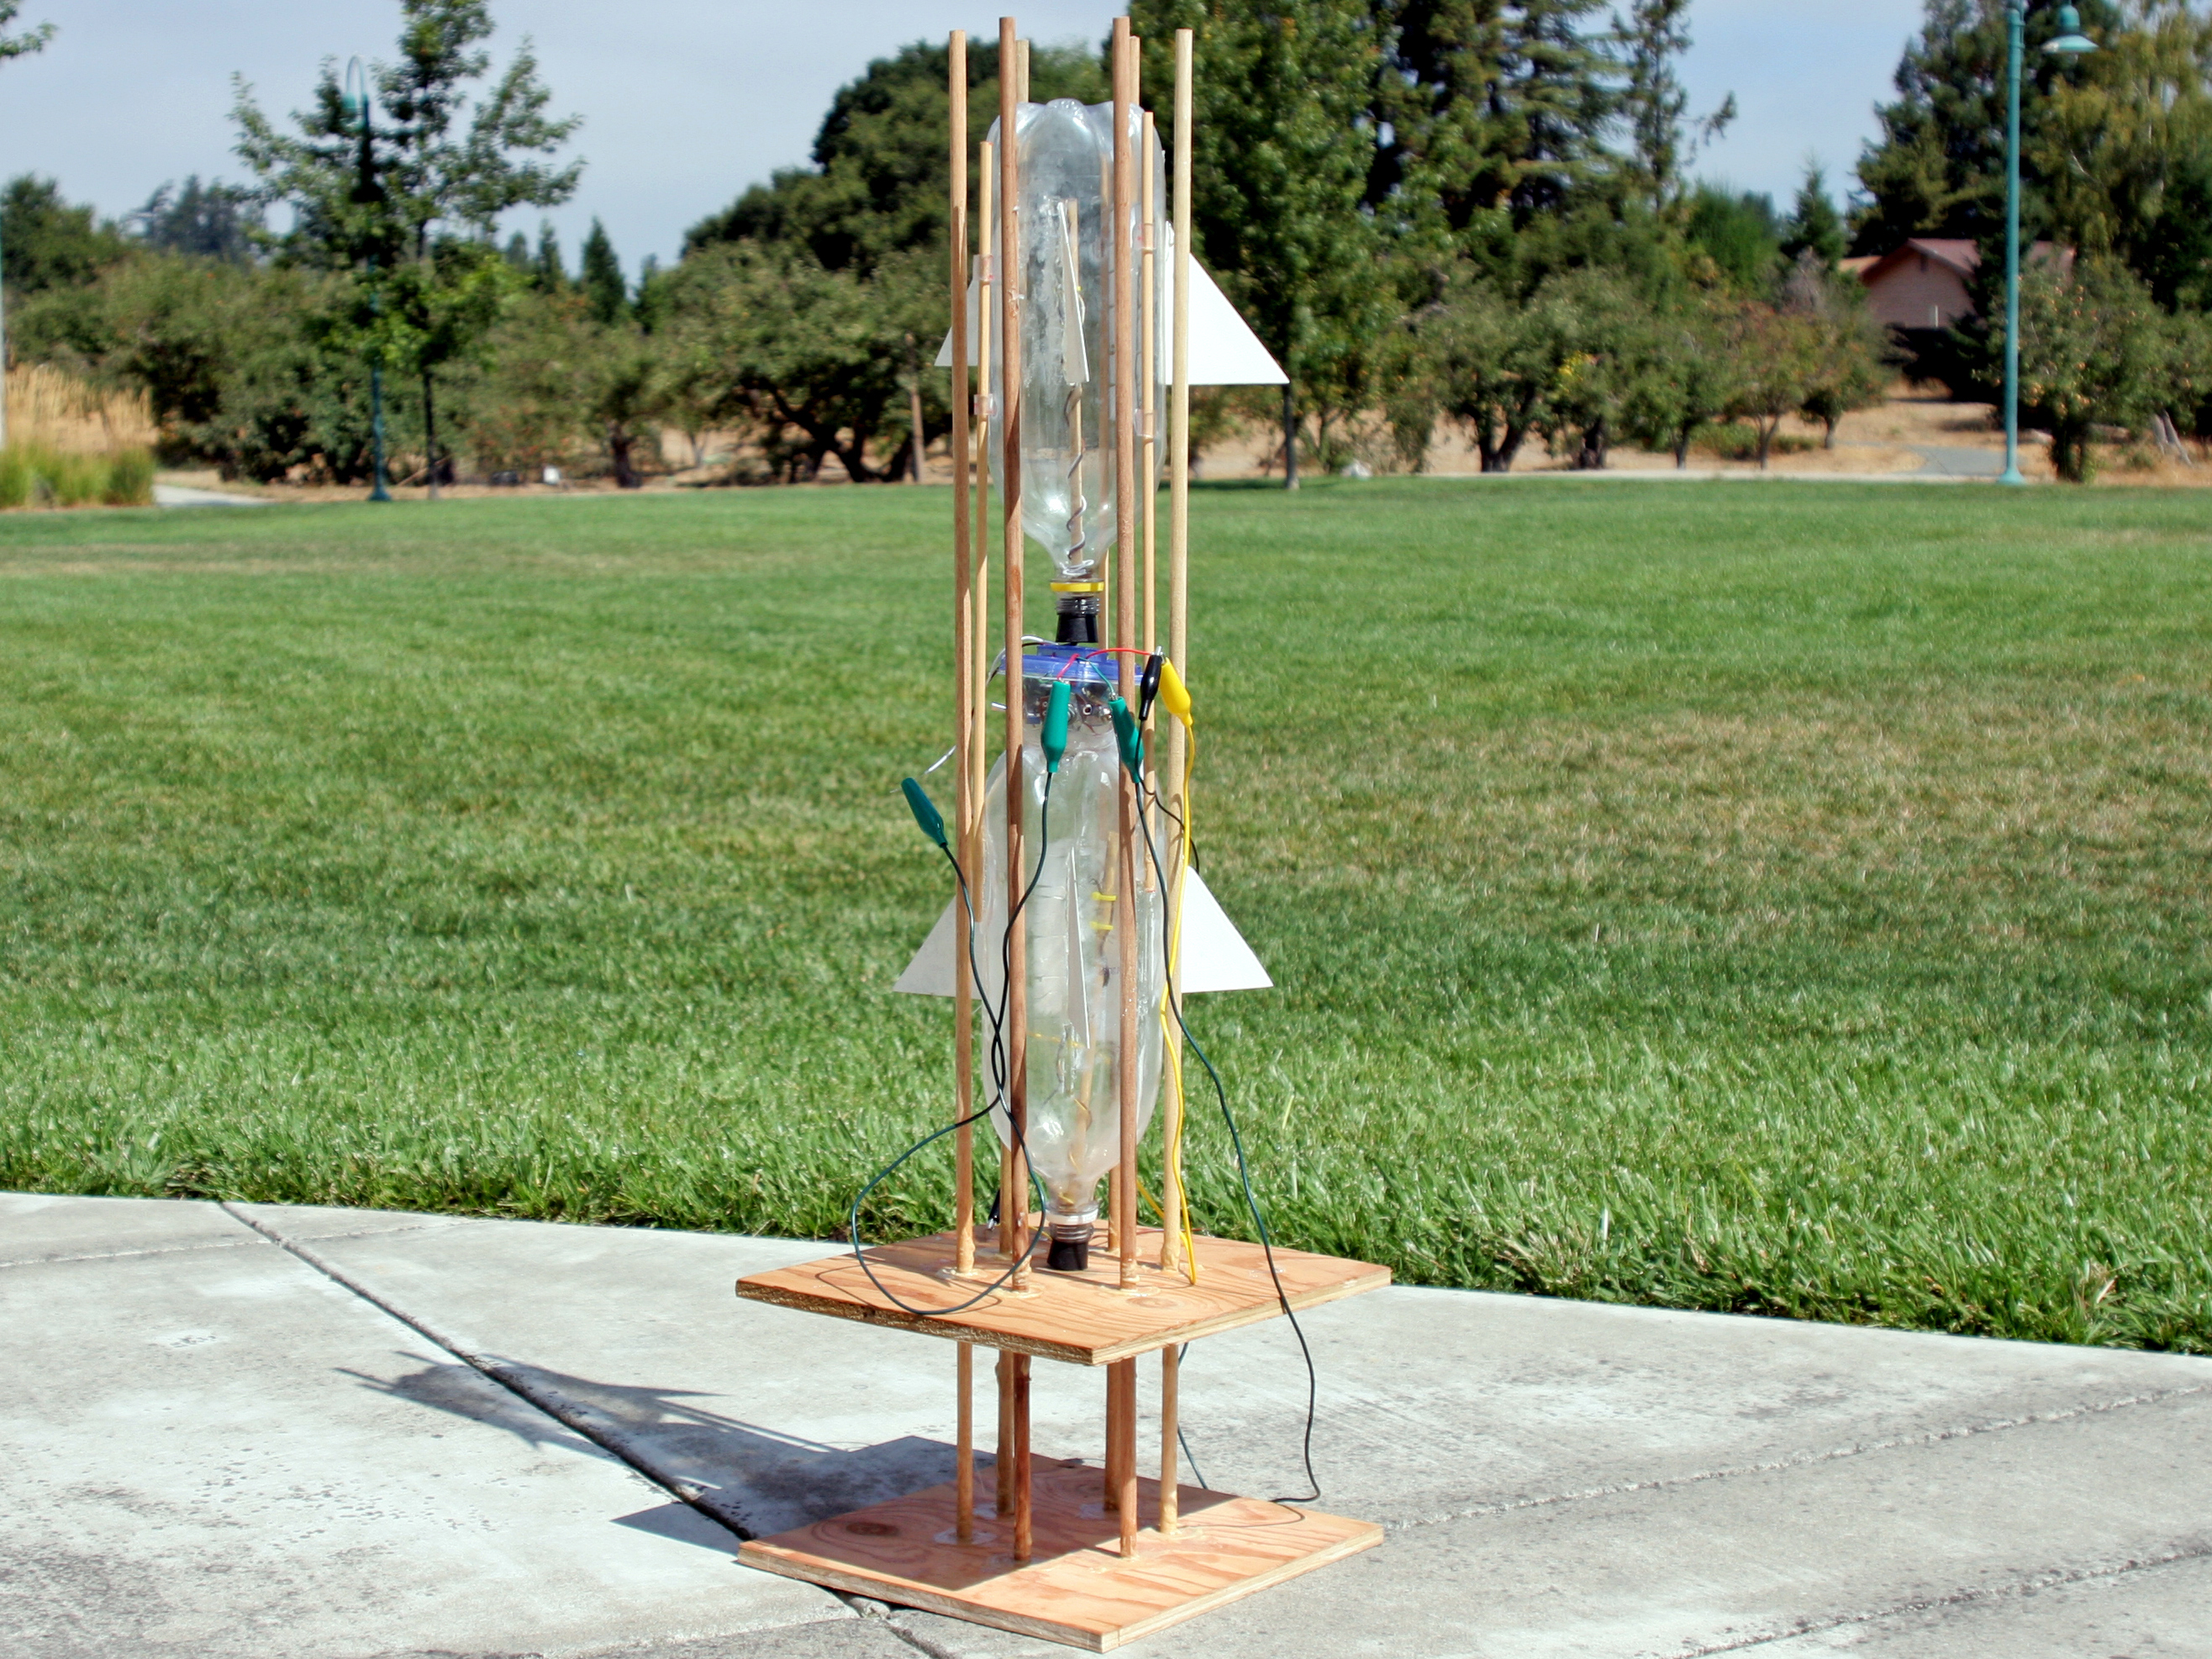
Hydrogen-Oxygen Bottle Rocket
Use electricity to split tap water into hydrogen and oxygen gases, then use this explosive gas mixture to power a two-stage, electronically timed rocket.