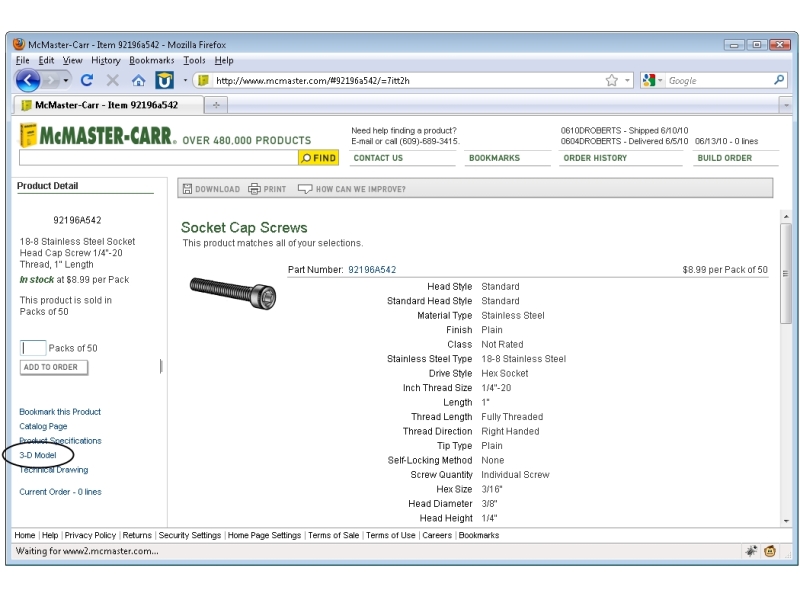
An exciting feature of some 3D modeling programs is that you can create assembly files that include multiple parts, and relate the parts to each other just like they relate to each other in real life. This allows you to move parts around on the screen to mimic their real functions, and make sure the pieces don’t jam into each other when they move so there’s plenty of space for the range of motion you want. Using assemblies also allows you to download CAD files directly from McMaster-Carr of all kinds of off-the-shelf components, then assemble them on your screen before buying anything so you can make sure everything fits together perfectly. With 63,000 component CAD files currently available on McMaster-Carr alone, this can save you a ton of time. Assemblies allow you to visualize what your final mechanism will look like, while keeping the part files separate from each other. This way one part can represent an off-the-shelf motor, another custom part can be exported for 3D printing, and another can be made into a 2D vector drawing to send to a laser cutter.
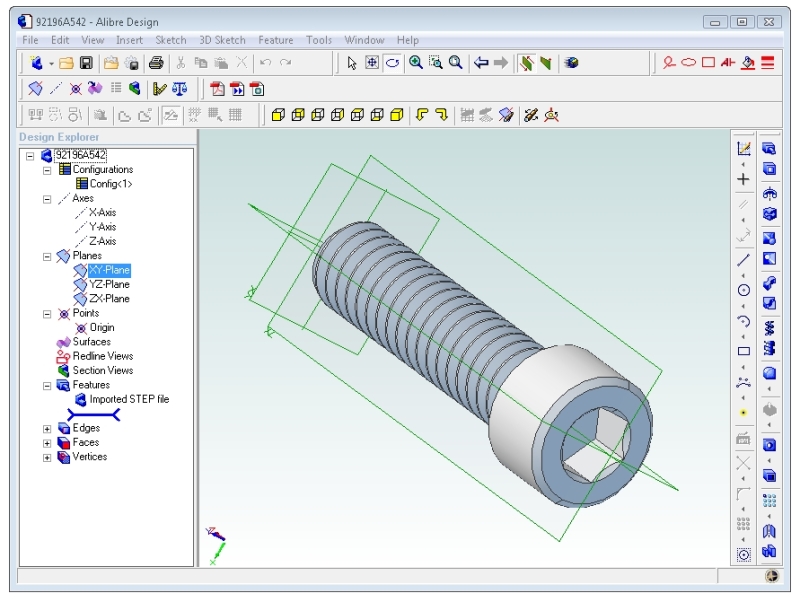
A few of the popular CAD programs – like Solidworks, Autodesk Inventor, ProEngineer, and Alibre Design Personal – include the built-in ability to make assemblies of parts. Let’s step through an example using the most affordable option – Alibre Design.