Aquaponics is becoming more and more popular and many people want to build their own system. Aquaponics integrates fish, plants and microbes into a sustainable and ecologically balanced food production system.

This project from Japan Aquaponics will show you how to build your very own system using commonly available components from IKEA and your local hardware store. Anyone can set up their own system in an afternoon and start experiencing the pleasure of building their own little ecosystem!

Project Steps

Setting the frame up

The main frame that we are going to use will be IKEA’s Antonius frame combined with one or two wire baskets and two of the plastic containers. We will use the 50l container for the fish tank at the bottom, and the 25l container for the growbed at the top. Simply put the Antonius unit together as per the IKEA instructions.

We use a wire basket as support for the 25l plastic container for the growbed. This is not strictly necessary for the 50l plastic container fish tank at the bottom if you just put the container on the floor.

You may want to trim the plastic lip on the top container to ensure a better fit, and we also cut the handles off the ends of the container – but again, it is not strictly necessary. To cut the plastic we just used a small saw, but you can also use some standard wire pliers.

You can also decorate your containers by adding stickers, decals or painting them the colour of your choice. A good UV resistant paint is helpful but make sure that it is only on the outside of the container.

The plumbing 1 - The standpipe

The plumbing for the aquaponics system is not too complicated but we have used a few basic principles to help make the system as efficient as possible. We use a small 600lph electric submersible pump in one corner of the fish tank which takes the water up to the growbed.

The water then flows through the growbed and exits in the opposite corner to which it entered. As the water then flows back to the fish tank it pushes any solid waste over towards the pump, ready to pulled up into the growbed.

We also use something called a bypass ball valve on this system. This diverts some of the water from the pump straight back into the fish tank. This is so that we can control the amount of water going into the growbed, and the diverted water also creates some water movement in the fish tank as well as additional aeration.

In this system we are using 13mm PVC pipes throughout. Initially we will start with the growbed and the siphon that we are using there.

First, we need male and female threaded adapters. Drill a hole in the right place in the growbed – you need to make sure that the female adapter will fit between the wire mesh squares. The hole should be about 6 or 7cm from the edge of the container in each direction. The hole should be a snug fit with the threaded male adapter.

Place the male adapter through the top of the growbed and then fit a rubber O-ring onto the threads. Then screw the female adapter onto the male adapter until you have a nice snug (and waterproof) fit. You can add some silicone to the bottom if you want to, but it’s not strictly necessary. We then use a reducer on top of the male adapter.

This assembly is called the standpipe and this is how the water will exit the growbed. We want the overall height to be about 1 inch under the top of your growbed media, so you will need to cut the pipe down so that it is the right height for you. Now let the silicone dry if you have used it.

The plumbing 2 - The bell siphon & media guard

The bell siphon is a very effective method of slowly flooding the growbed and then draining the growbed quickly. It does this with a non-mechanical action, and with no moving parts to break.

We have the 25mm – 13mm reducer on the far left of the photo below. This is where the water will exit the growbed.

We then have the 60mm bell siphon in the middle. This is a 60 mm piece of pipe with an airtight cap on the top. This bell siphon has some pieces cut out of the bottom as well as some holes drilled in the side. You want these holes to be no higher than about 1 inch from the bottom of the pipe. The water will drain down to this level and will stop

Finally, the 100mm media guard on the far right is simply to keep the growbed media out of the bell siphon. This has holes drilled or cut out of it to allow the water to come in – and to keep the roots and the media out! The cap is optional, but helps to keep things out of the bell siphon.

Bell siphons can be tricky to get working so for more information please refer to our Bell Siphon Guide.

The plumbing 3 - The ball valve bypass

In the picture below you can see the small 600lph (litres per hour) pump with a short piece of 13mm pipe coming from it. This then has a T fitting attached and then the 13mm pipe continues up to the 90-degree elbow at the top which empties the water into the growbed.

Coming off the second part of the T fitting is a simple ball valve that controls the flow of water that is diverted back into the fish tank.

This whole setup allows us to control how much water flows into the growbed and so is an important addition. The ball-valve bypass also allows us to divert some water back to the fish tank and this provides additional aeration and water movement into the tank. This improves the health of the fish.

The ball-valve bypass and other aquaponics plumbing principles and practicalities can be seen in our Aquaponics Plumbing Guide.

Finishing up

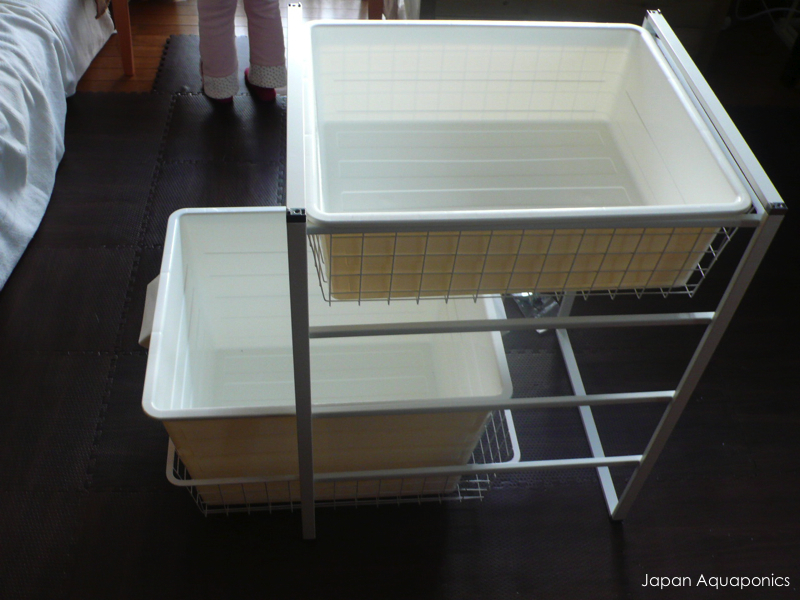
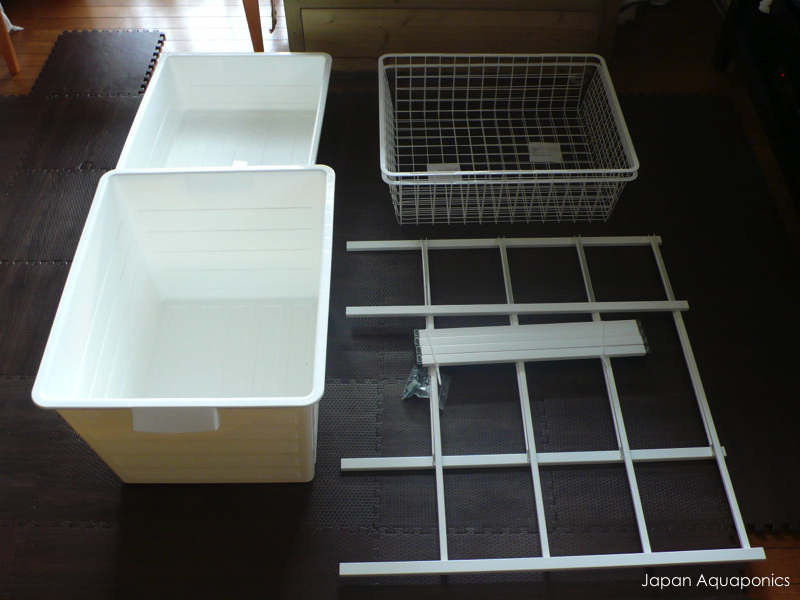
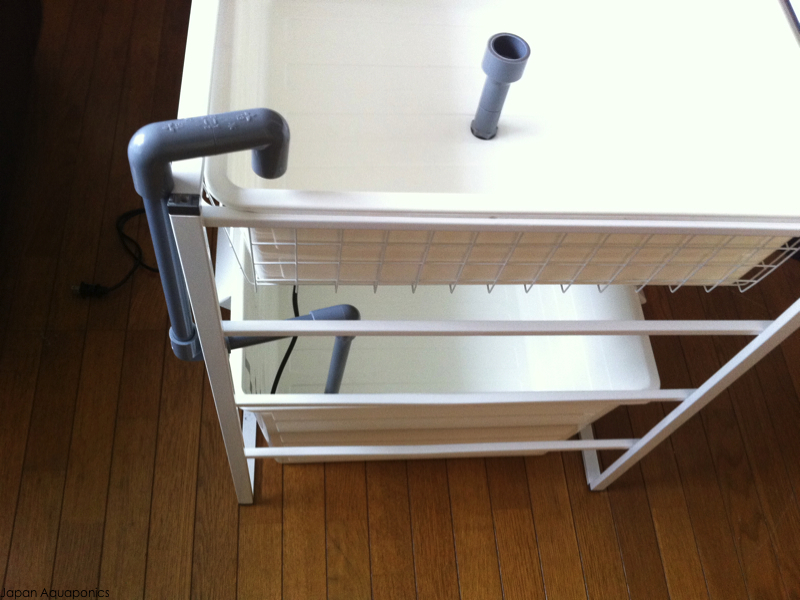
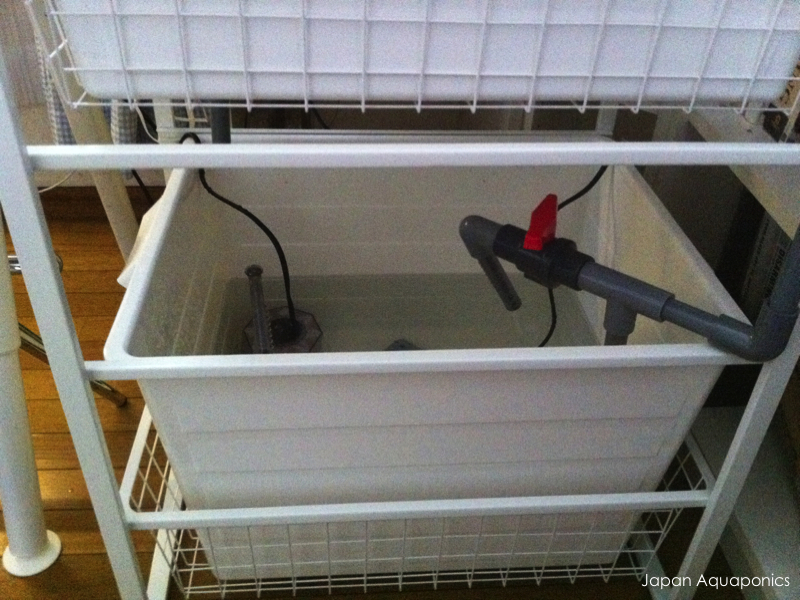
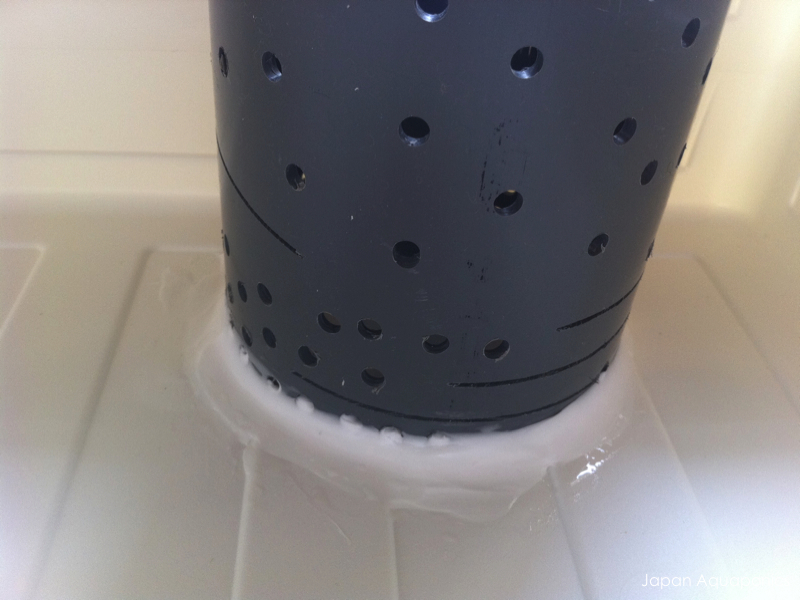
You should have all the framework, the containers, and the plumbing set up now. Now add water into the fish tank and start the pump up. We want to test to see if everything works properly, and if the system is watertight!

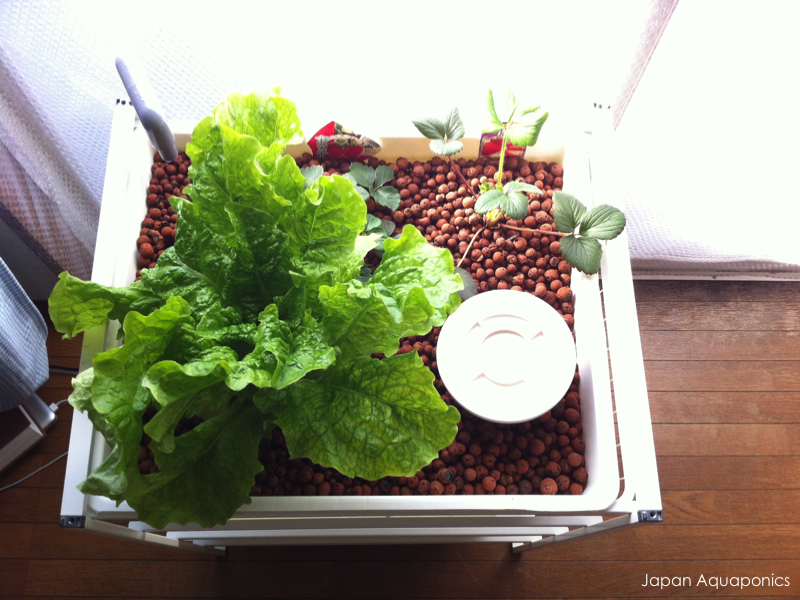
The next thing to do is to fill the top container (the growbed) with some sort of growing media. This could be hydroton, lava rock, perlite, river stones or something similar. Select media that allows the water to flow through the growbed.

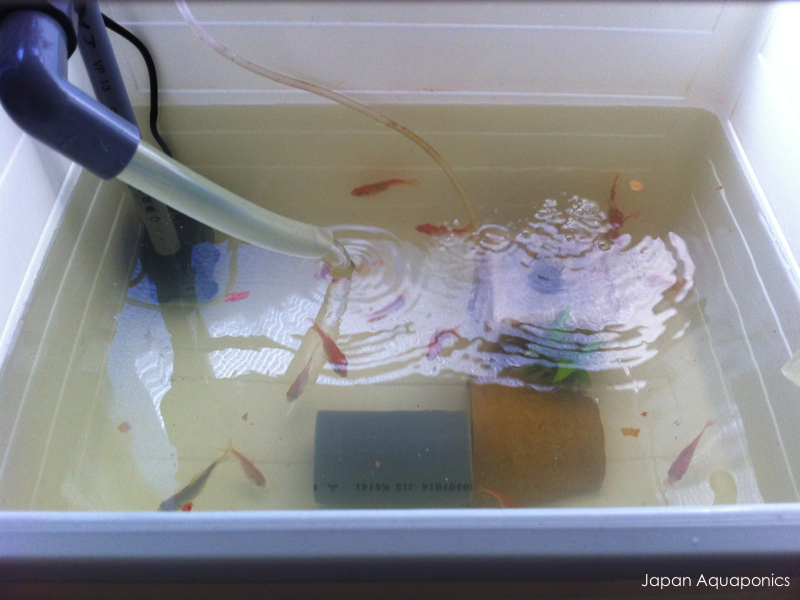
Once this has been done, then you are ready to add your fish and to start putting plants into your system! Initially you should add only a couple of small fish just to start producing the ammonia needed to kickstart your system. Goldfish work really well.

Further information: Setting up your system is just the beginning and so we recommend checking out more information on how to actually run your system and how aquaponics works. We are based in Japan, but there is a huge amount of helpful information in English about aquaponics on our website: japan-aquaponics.com.

Conclusion

Once you have assembled the various plumbing and IKEA parts this is very easy to set up in an afternoon.