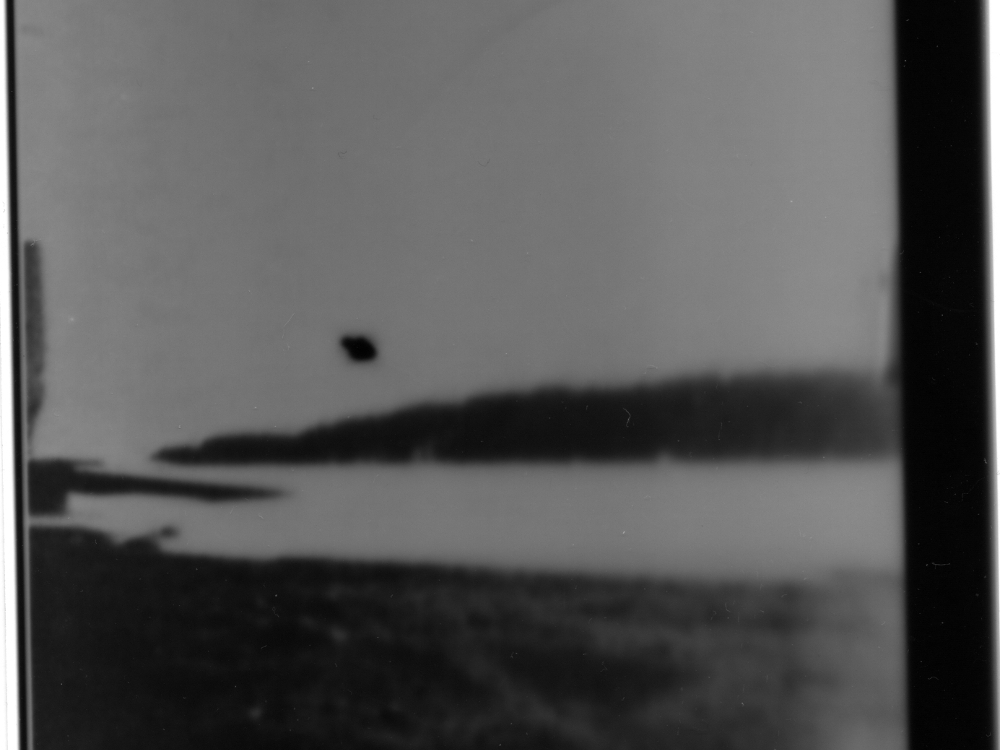
A laptopogram is a screenshot produced by exposing photosensitive paper (or even film) to your computer screen or other electronic display. You may want to make one for instance if your printer is out of order or you have some unspent energy (and money) and nothing better to do. Making one is simple if you have the right software tools to control your hardware! I will illustrate with photosensitive paper – it is much easier to work with than film, which is typically 100 times or so more sensitive to light. A nearly identical version of this guide is also available at http://www.instructables.com/id/Laptopog…

Project Steps

Start by getting some photography supplies: photopaper but not the type for printers – rather the type for developing your own images in a darkroom! You can get this at a photo supply shop. I chose Ilford MGIV RC Deluxe paper for B&W photography. You’ll also need some chemicals to develop the paper: a developer solution (such as Kodak Polymax), a fixer solution (such as Ilford Rapid Fixer) and tap water (the “stop” solution). These liquids are not terribly toxic but it’s a good idea to wear rubber gloves when handling them.

You’ll need some measuring cups and 3 containers to immerse the photo paper in the liquids during treatment, one for the developer, stop, and fixer baths

Prepare a darkroom – a room in which ideally no light can penetrate and illuminated only with a safelight (an incandescent bulb enclosed in a casing that filters out all but red light). A bathroom is usually a good choice, but a closet may work too. You need to block light so cover windows and gaps allowing light in, for instance with a heavy drape and some strong tape.

Prepare your laptop screen “shutter”. You can do this outside of the darkroom of course. The idea is to keep your screen off and then briefly turn it on to expose the paper to an image on the screen. I used a script written in the autoit scripting language and a laptop running windows XP to control the on/off state of the screen. You need to install the (free) autoscript program and obtain the script. For *nix systems other scripts are available (do a search for “laptopogram” or see here: http://blog.makezine.com/archive/2010/04…).

For the script, see the included file flicker.pdf, or look in the autoit discussion topic “screen control script” here: http://www.autoitscript.com/forum/topic/… The code is in entry #3 of that forum topic. It should work without modification (except for the exposure time, and maybe you’ll need to reinsert line breaks). Copy and save the script using notepad. Thanks by the way to the forum guys at autoitscript.com for their help setting up the laptop “shutter”. Test the script’s behavior – it may prove glitchy depending on what software you run in parallel to it.

The only parameter to set in advance in the script is the duration of the exposure in this line: Global Const $Delay_1 = 1 . Here the exposure time is set to 1 millisecond. I found 200 milliseconds worked well with my paper and laptop.

Test the behavior of the script before proceeding to the next steps, and before attaching photo paper to your screen.

Choose an image to display on your computer screen. You can display anything you want (I used powerpoint to display a picture). The exposed photo paper will display an inverse of the image on the screen in B&W (black will turn to white and vice-versa) so if displaying an image you may want to invert it in a suitable graphics-editing program. Unfortunately the script above does not allow you to use full screen mode (as in a powerpoint slide show) because of software conflict but improvements to the script may do just that.

Remember where the image is on your screen. You will attach the paper to cover the screen area where the image was. Then start the autoit script (open the autoit program and select the script). Press F10 to turn your screen off.

Take the laptop into the darkroom if not already there and turn off the lights (except for the safelight). If possible cover LED lights that may be visible on your computer.

Attach the photo paper to the (turned off) computer screen, using for instance masking tape or your hand to hold it in place. Make sure the photosensitive side – a little sticky to the touch – faces the screen (although this may not be absolutely essential – but if you put the paper the other way around you may need to expose it for a longer time).

Press F11. The computer screen should turn on for the desired amount of time, and then off again.

Take the paper off the screen and develop it. There is a “latent” (invisible) image on the paper. To reveal it you need to develop the paper. Until the paper is developed and rendered insensitive with the fixer solution, keep the lights off! Once it is chemically treated you can turn the lights on again.

To develop the paper follow the instructions that come with the chemicals or available on the manufacturers’ websites. You need to immerse the paper in the developer solution first, typically for less than 1 minute, then wash the paper with water (the stop bath, or flowing tap water), and finally immerse in the fixer solution for a couple of minutes. The paper should then be washed again with running tap water for a few minutes and – voilà! – a laptopogram!

The image shown here is a scanned laptopogram based on a scanned picture taken with a pinhole camera. Note that the halo is real – due to diffraction of light – while the floating arrow (or a UFO?) is the mouse pointer. The inferior resolution is largely due to use of a pinhole camera – using the laptop screen as a printer doesn’t help matters but doesn’t hurt resolution that much either.

Conclusion

Exposing photosensitive paper (or film) to your laptop screen produces a hardcopy without need for a printer. The image's resolution will clearly be limited by your computer screen's. On the other hand, you have great flexibility in terms of paper size, limited only by your screen size. Finally, if you have a darkroom readily available (I convert a bathroom into my darkroom in less than a minute) and the chemicals are ready the procedure is rather fast, 5-10 minutes, and not expensive.