LeoMain-small

LEO the Maker Prince teaches children (both young and old) about 3D printing by following Carla and LEO’s journey through Brooklyn. LEO is a walking, talking robot who happens to be able to print (in plastic) any object that Carla draws. The other robots have their own special capabilities: H1-H0 prints in metal, Sinclair can find and print objects from a huge catalog of designs, and the others (including AL1C3-D, IRIS-7, and NiXie) have unique talents, too. Readers can come along for the journey, too: all of the objects in the book are printable one way or another.

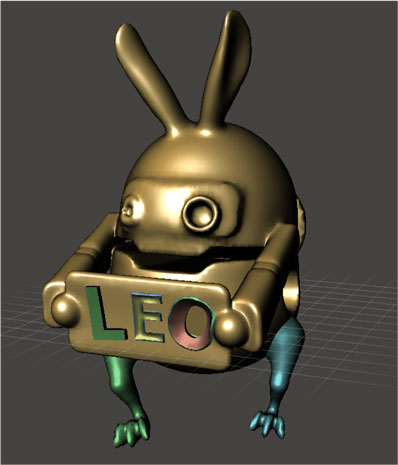
This project shows you how to add rabbit ears to LEO using Meshmixer, but there’s plenty more to explore!

Project Steps

Download the files.

Go to the LEO the Maker Prince page at Thingiverse and download the 3D model for LEO.

Import the files to Meshmixer.

Open up Meshmixer (available for free from 123Dapp.com).

Use the Import command to bring in LEO.

Add ears.

In Meshmixer, choose Ears from the meshmixer tab and drag the ears onto LEO. I choose to hide the other parts.

Use the arrow to enlarge the ears, click and drag on the circle to rotate the ears.

Experiment.

Once you get them where you want them you can add more meshes or use the sculpt tab to make LEO even stranger.

Print!

Use the Send to 3D print button to send it to your home printer!

You can also choose to make hollow objects in the 3D print menu.