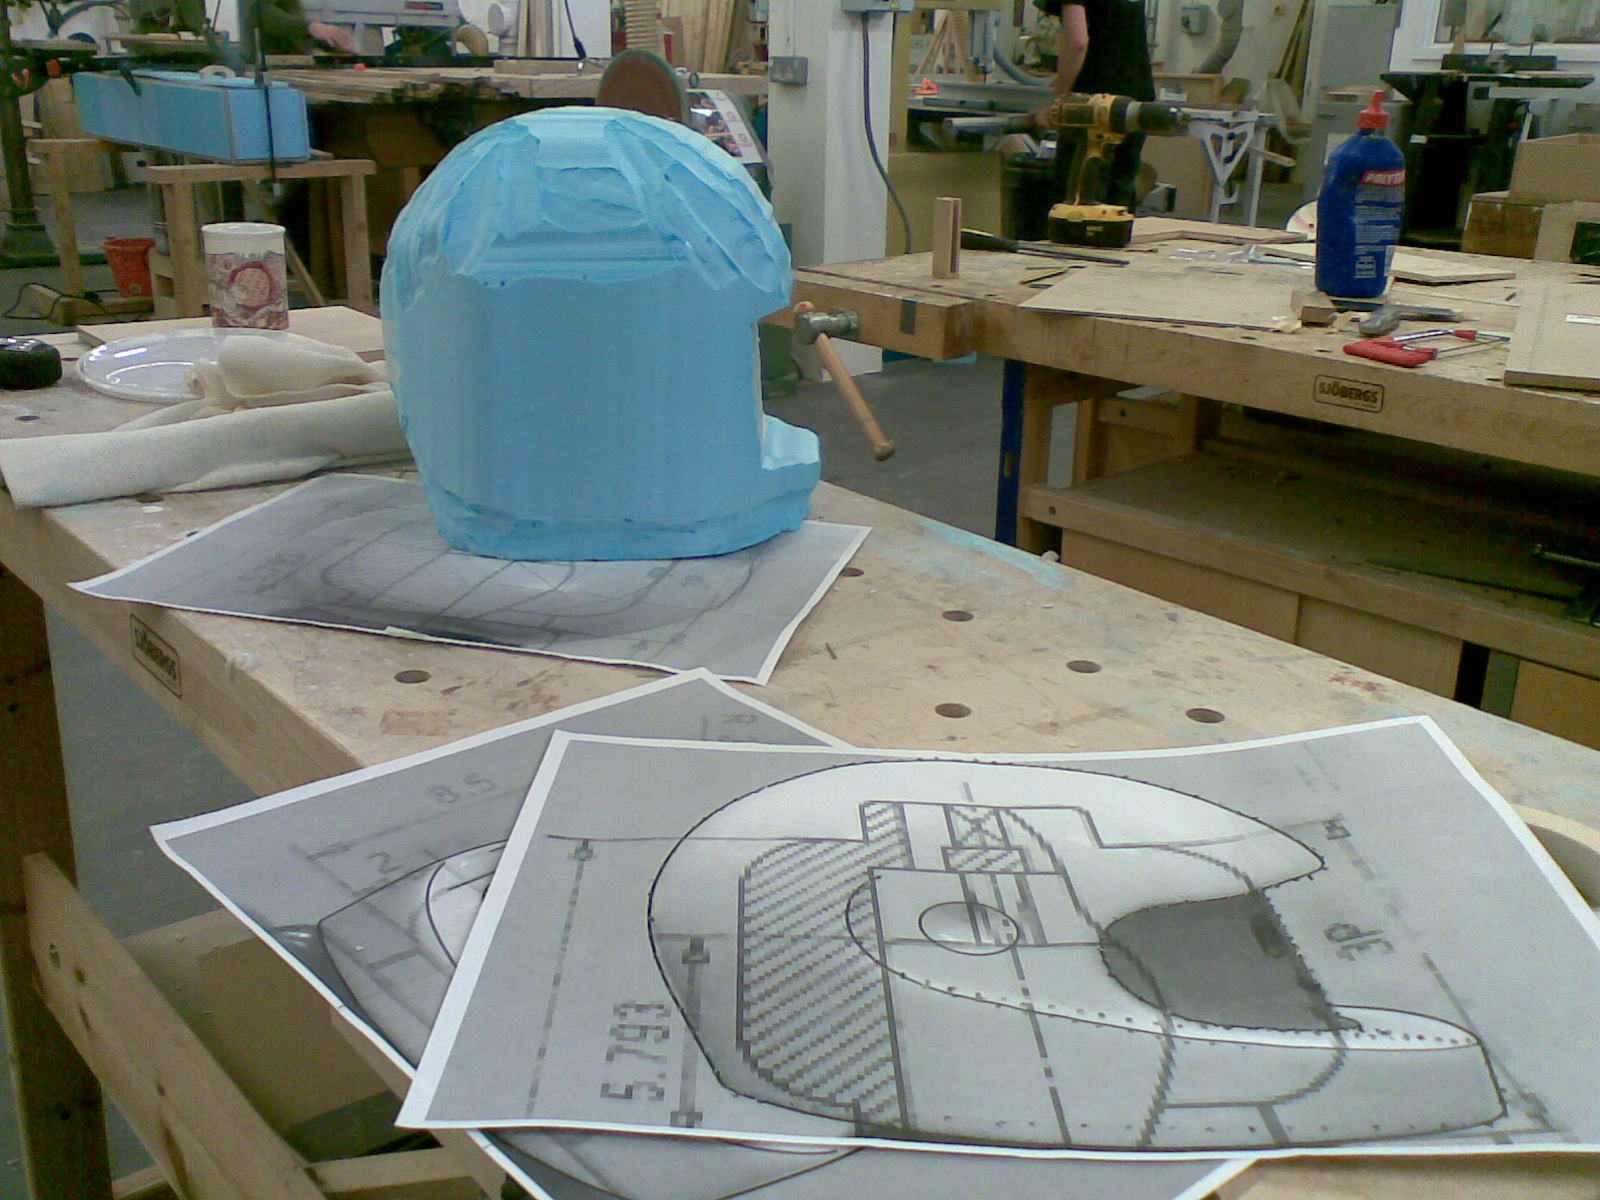
If you like LEGO, and have plastic working facilities then you will be able to make a life size LEGO helmet.

Project Steps

First, you’ll need to print off side front and top views of the LEGO helmet you want to scale up- These have been printed out on A3.

Then with a Block of Blue modelling foam you can place the images on the sides and cut away through the foam the extruded shapes from each view using a hot wire cutter.

Once the shape is like- enough to the original LEGO shape you can sand it down with Hand sanders, sand paper and careful use of a dremel.

You will then need to carefully cut the shape in two halves, in order to vacuum form later. This will be down the centre of the LEGO Space or motorbike helmet.

Once you have cut the foam in two (in this model- vertically) you need to cover it in Mud-rock which is a plaster-like bandage which when wet will dry hard.

Once the Mud-rock has set, cover with plaster on the mud-rock. And once the plaster has dried you can sand this down further to give a smooth finish.

Seen here- the line where the foam mould has been cut in two halves so that when each piece is put into a plastic vacuum former they will be able to be retrieved.

Here is one half that has been vacuum formed- Notice how the angle at which the mould reaches the cut line means that it will be able to be retrieved.

Do this with the other half. Also- make sure that you can take it out otherwise the plastic may crack.

This plastic is 3mm Polystyrene, which is easily vacuum formed. Other plastics will vary. A thicker plastic will give a more durable result.

This is me- Ha! This shows the plastic moulded half with the plastered foam mould removed.

Also I have cut away the rest of the plastic from vacuum forming with the mould.

This is the two plastic formed halves together with tape.

In order to join them, I’ve used strips of thin sheets of high impact polystyrene which are glued together on the inside along the join. The glue I used was TENSOL 12, sounds like a spaceship but be sure to ventilate well as its fairly smelly.

Sanding down and filling with car body filler where appropriate will be necessary before spraying.

I have cut holes into the sides where a visor will hinge.

The orange is a primer filler which shows up all the bumps and crevices.

There are also two small two bit by two bit-size holes on the bottom left of the helmet. These are holes for buttons.

Here you can see the model in white, I’ve sprayed it with Plastikote Matte SUPER which gives a fairly good finish when sanded down finely with 320 then 1200 grain paper.

I also have access to a laser Cutter, and laser cut a LEGO Space logo (Red and Yellow)

I’ve used electrical tape to make a stencil which is easily coloured by spray paint.

A final 3-4 sprays with a clear lacquer and its ready for attaching gold visor and inside padding!