Magnetic Hidden Message 2

Hide a secret message in magnetic flux!

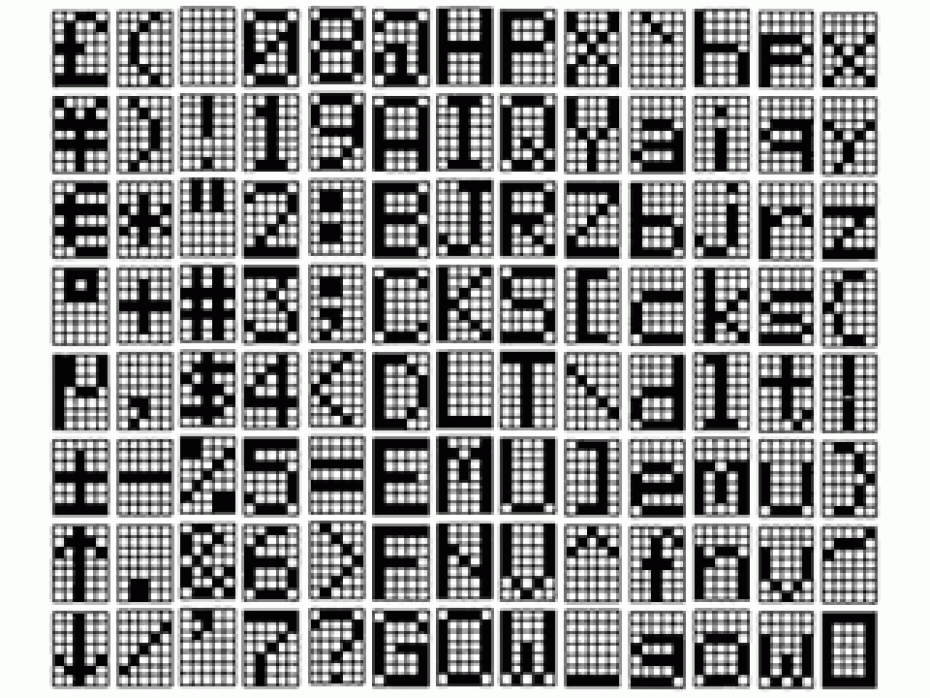
This project uses small rare earth magnets to spell out our hidden message. The magnets are arranged in a 5 x 7 matrix for each letter and covered with a layer of plastic to hide the magnets from view. The message is only visible when you pass magnetic viewing film over the message. I used opaque plastic to hide my magnets, but you can hide a message under almost any smooth, thin surface such as a picture, poster, street sign.

Project Steps

Map out your message

Select a secret message you wish to use. Write out the letters on a piece of paper using the 5 by 7 matrix font. Count up how many dots you used. This is the number of 1/4″ thick magnets you will need.

Calculate the size of plywood and plastic you'll need

Each magnet (or dot in your font) will be separated by 1/2″. Most (but not all) letters will be 5 dots wide (unless they’re a short letter like “i”), Give yourself 1″ between letters. Add 2″ between words. Add at least a 1″ border to the top and bottom and a few inches to the sides of your message. This is the size of your plywood and plastic. Of course your plywood and plastic can be any size larger than this too.

Cut your plywood and plastic to size

3/4″ plywood will give you plenty of depth to drill your holes. If you use thinner plywood, you may drill through your sign. (if you do, just patch it up with putty or epoxy)

Your plastic maybe opaque or clear. If you use clear plastic, you can put a sheet of paper or a poster under the plastic to hide the magnets.

Tip: Your local store may cut your plywood and plastic to the size you need if you ask (nicely).

Draw a grid for your letters

Use your ruler and draw a grid of 1/2″ lines for your letters. 7 lines high and as wide as you need for your message.

Mark your magnet positions and drill 1/4

Mark the places on the plywood grid where the magnets that make your letters need to go.

Place a piece of tape around your 1/4″ drill bit, 1/4″ inch from the tip. This will be your depth guide when drilling your holes.

Drill 1/4″ magnet holes in your plywood in every marked spot. Only drill as deep as the tape flag on your drill bit.

Tap in your magnets

Rare earth magnets are brittle and can shatter if hit with enough force. Please wear eye protection (safety glasses or goggles) for this step.

The magnets should fit snugly in the 1/4″ holes. If you bought 1/16″ thick magnets, use 4 per hole. Tap the magnets GENTLY into the holes until they’re flush with the surface of your plywood.

Drill and countersink your plastic

Use your painter’s tape or clamps to hold the cover in it’s final position. Drill 1/8″ holes in the border area around the edges of your sign, through both the plastic and plywood.

Use your countersink bit to chamfer the edge of your holes to allow the flat head screws to sit flush or just under the surface.

Assemble and admire

The magnetic viewing film may be easily creased, damaging the film. You may want to have your viewing film heat laminated if you expect it to be handled frequently or by small children.

If you used clear plastic, now is when you should place paper, a picture or poster under the plastic. Screw the plastic to the plywood base and enjoy!