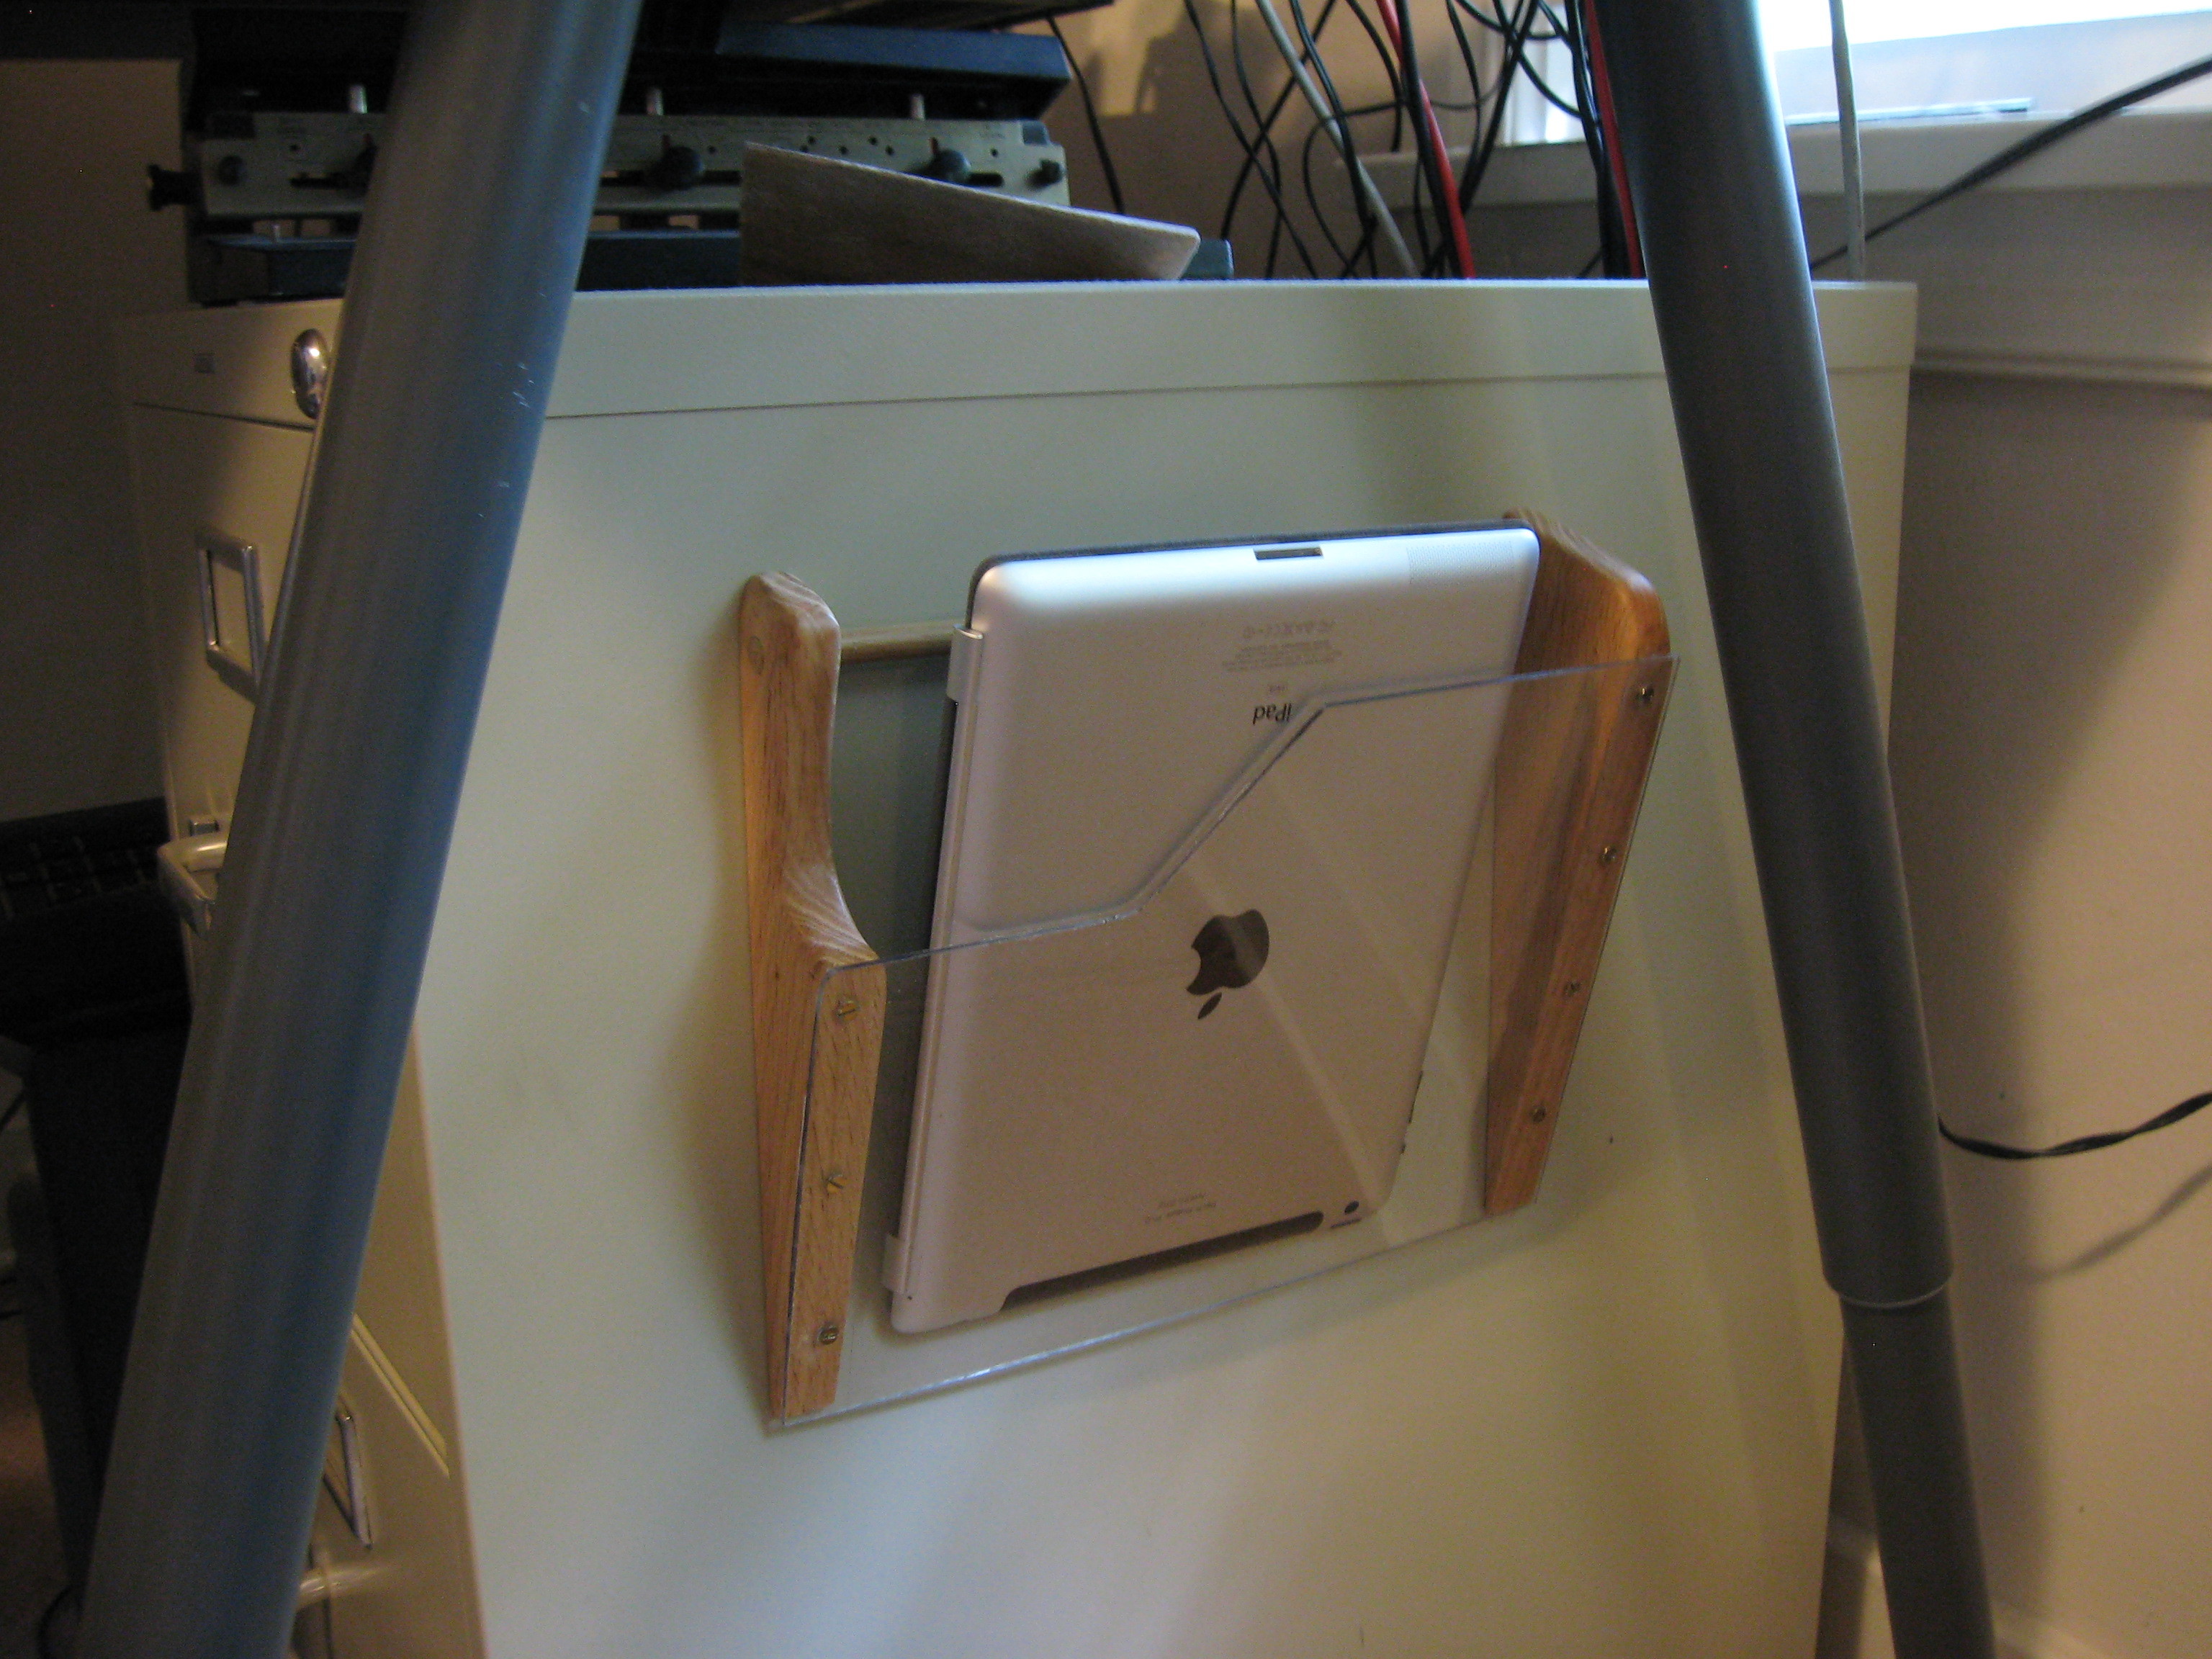
When I got my new iPad, I immediately came up against a few problems. I don’t have a lot of horizontal space in my office because my desk is always cluttered. I also needed a safe place to leave the iPad while I charged it. Leaving this expensive piece of gear balanced precariously on a guitar amp just didn’t seem like a good idea.

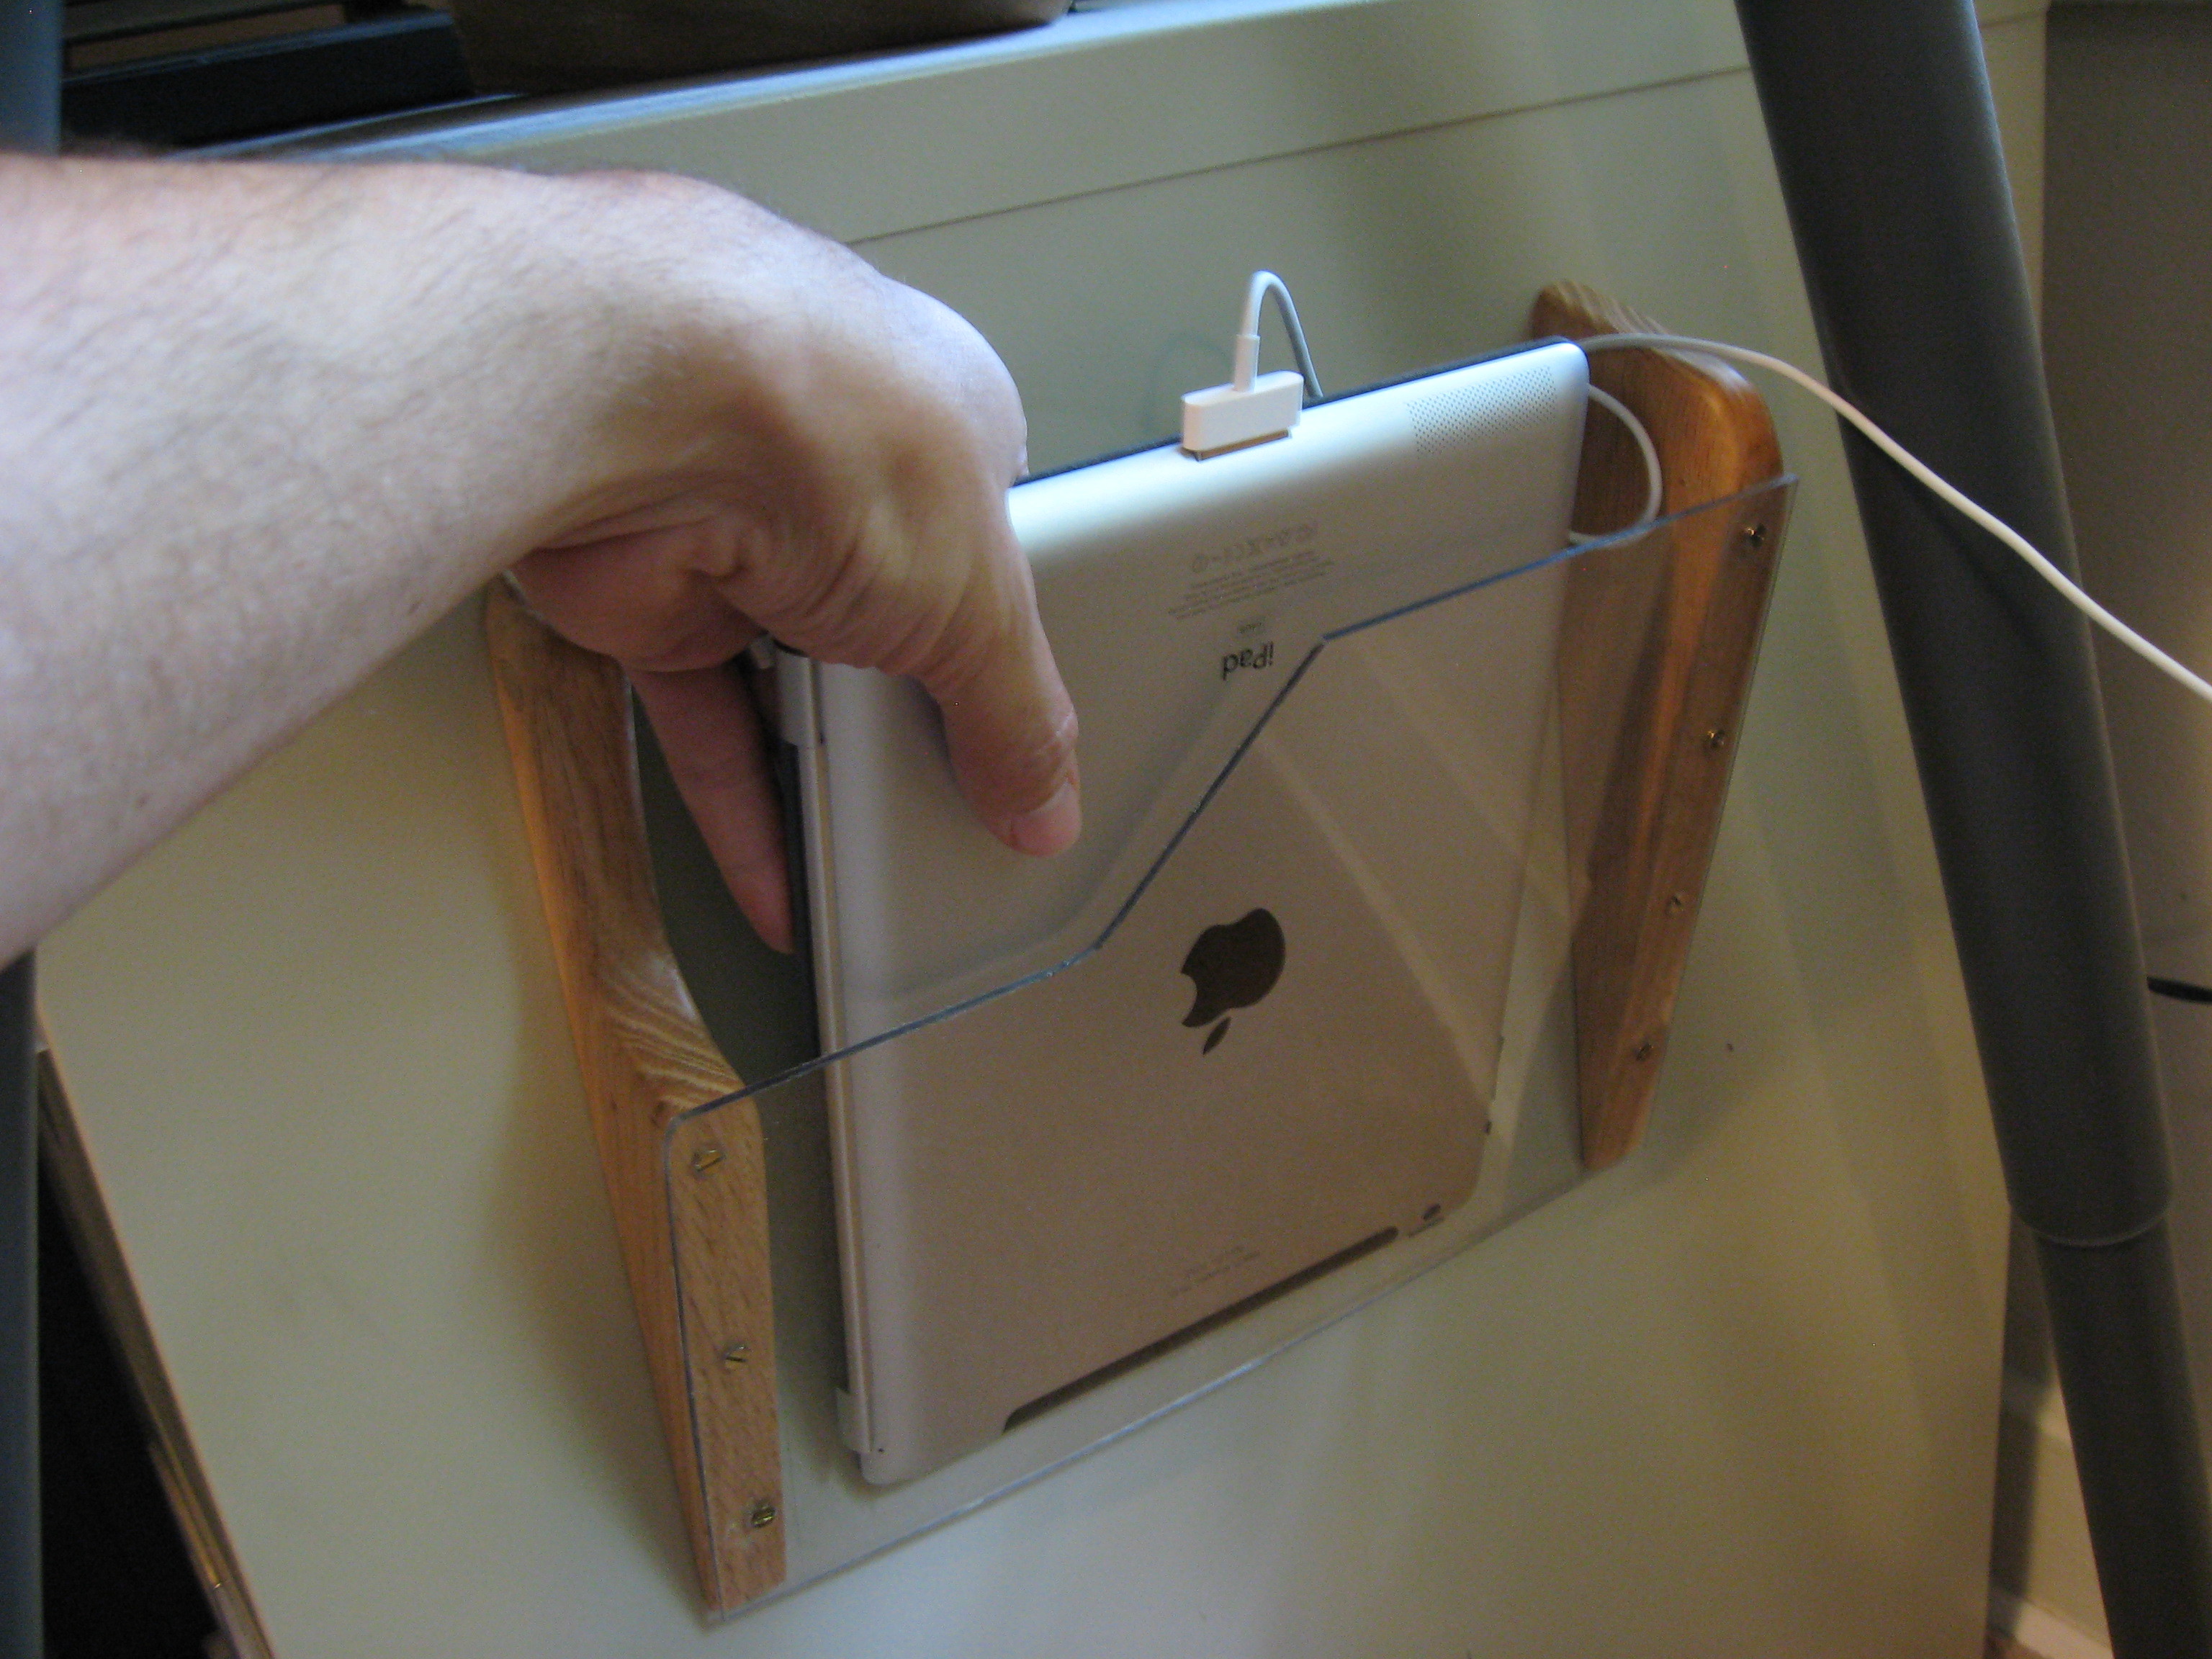
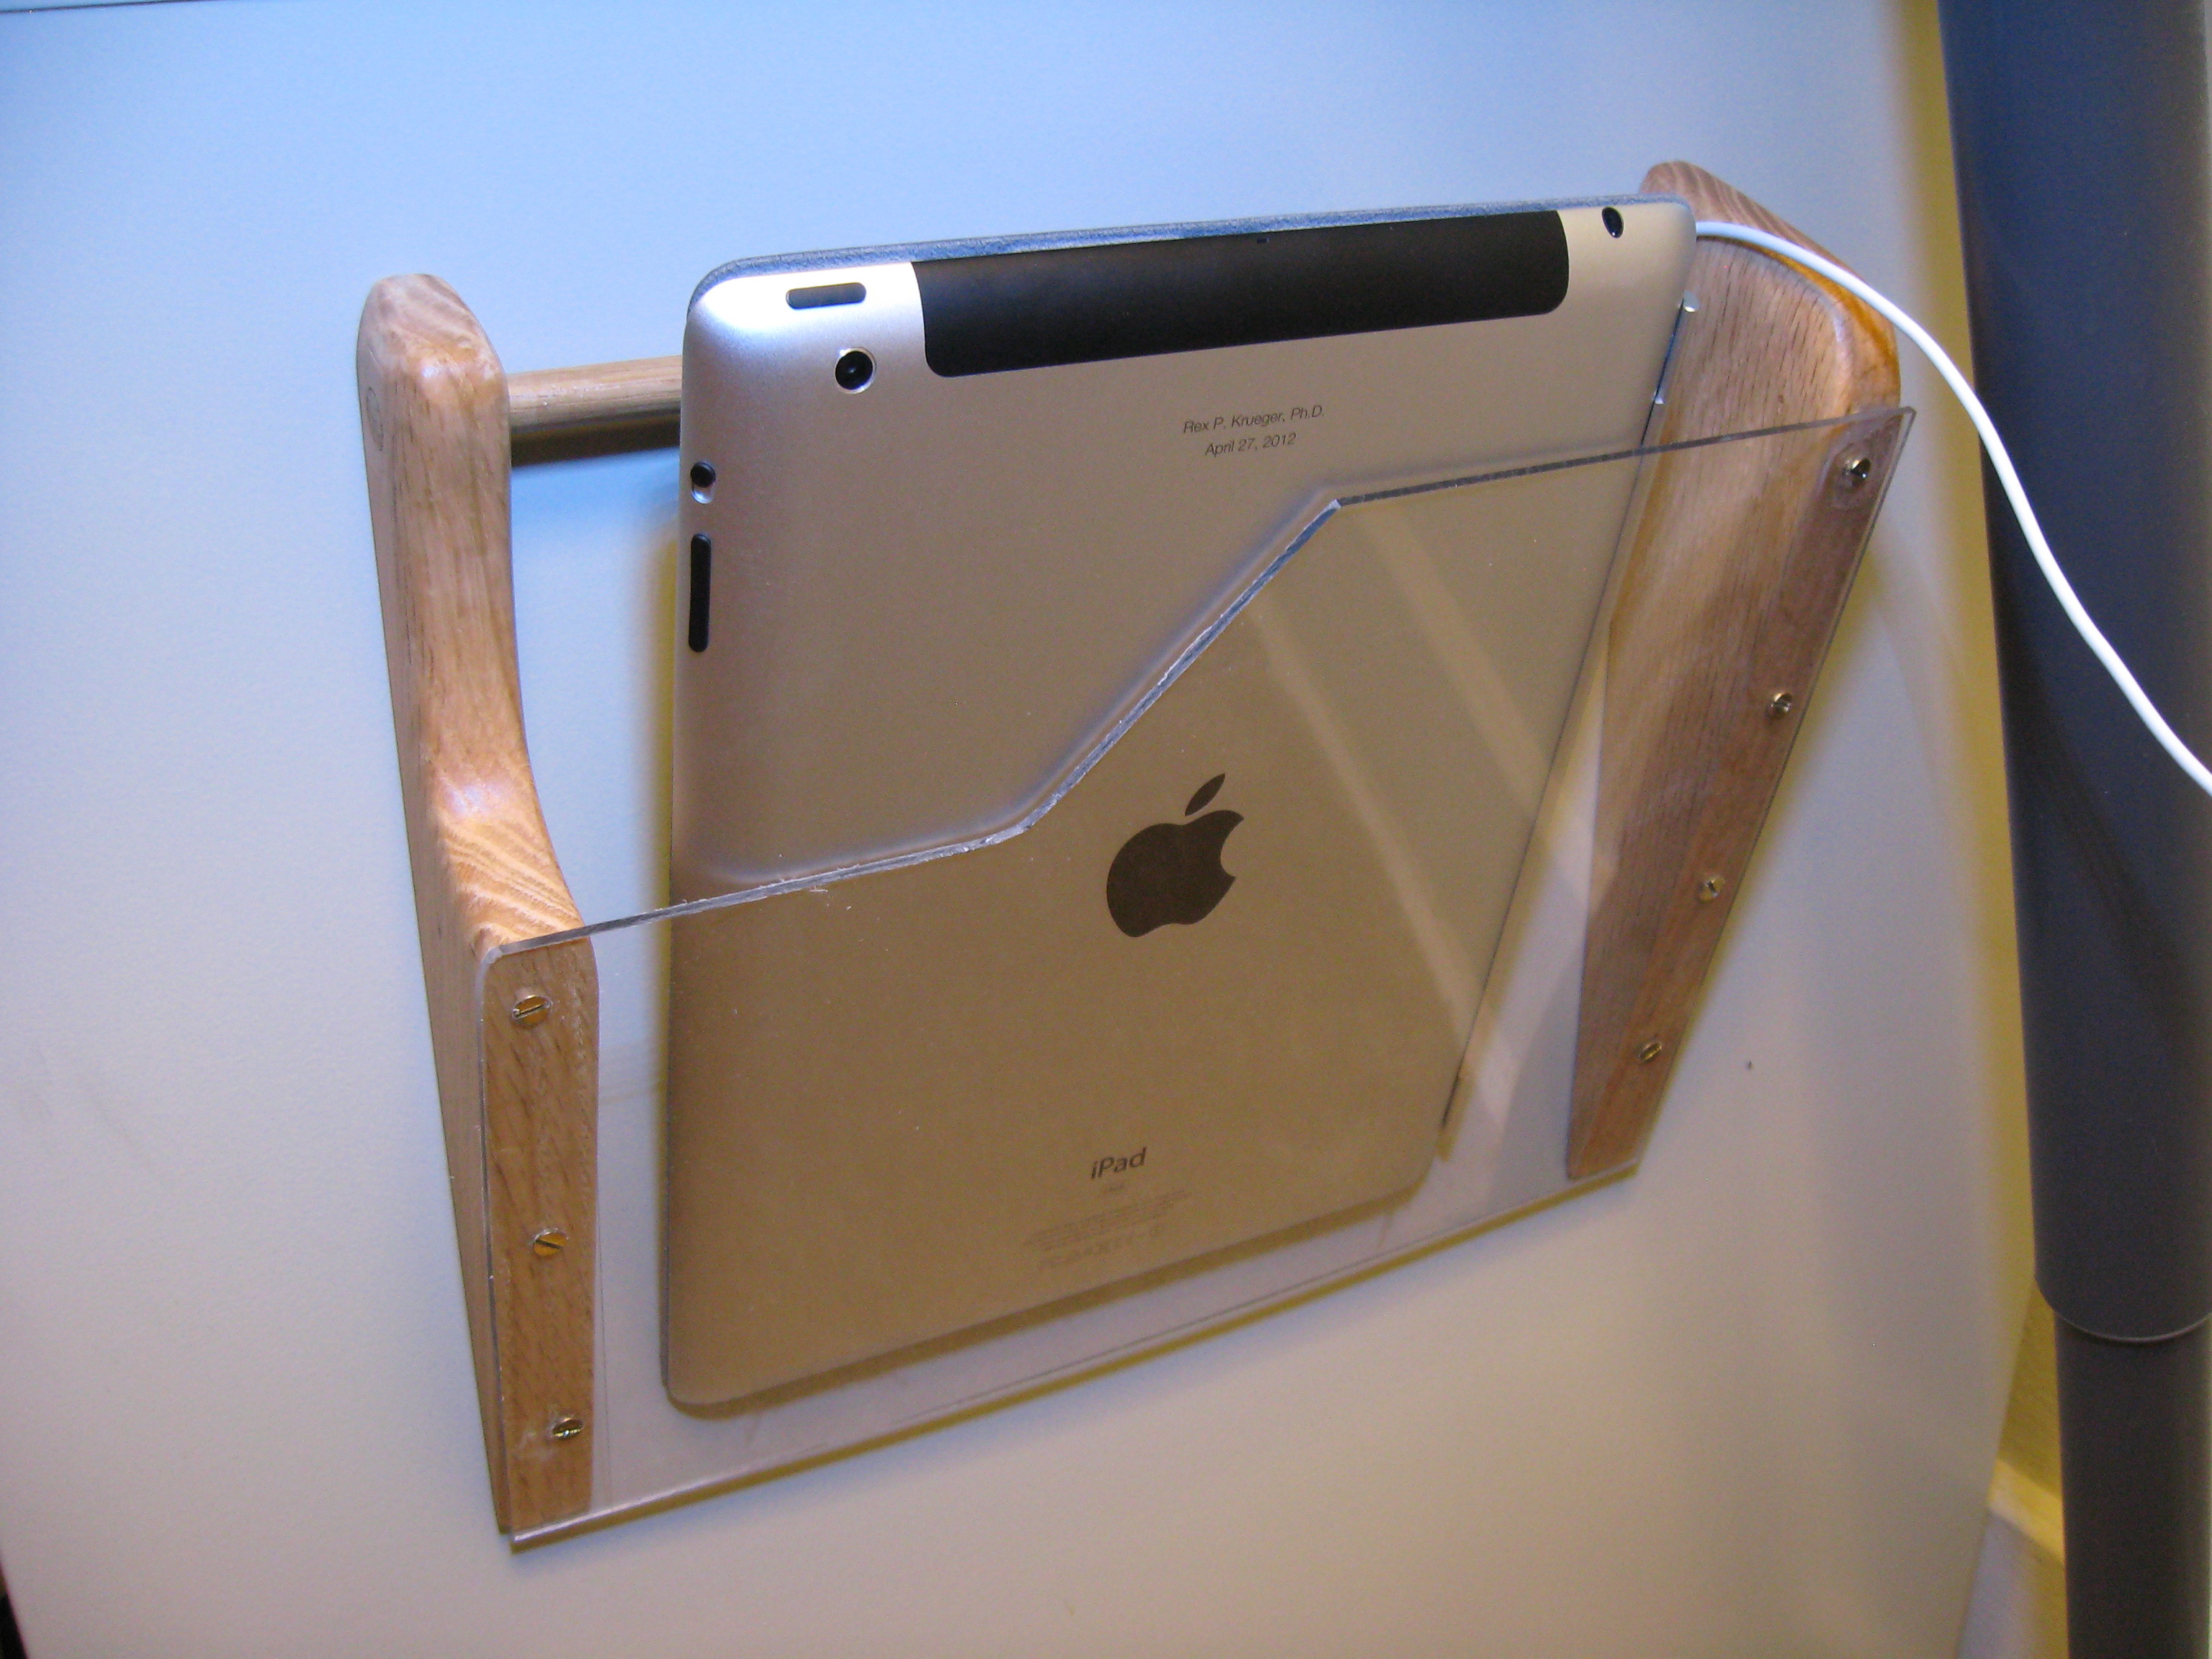
Then I noticed the small metal filing cabinet I keep under my desk. One whole side was totally unused. I thought that if I could just find a way to mount the iPad to the cabinet, then I would have a safe space for charging and storage. I came up with the holster design because I also wanted to be able to grab the iPad quickly when I needed it.

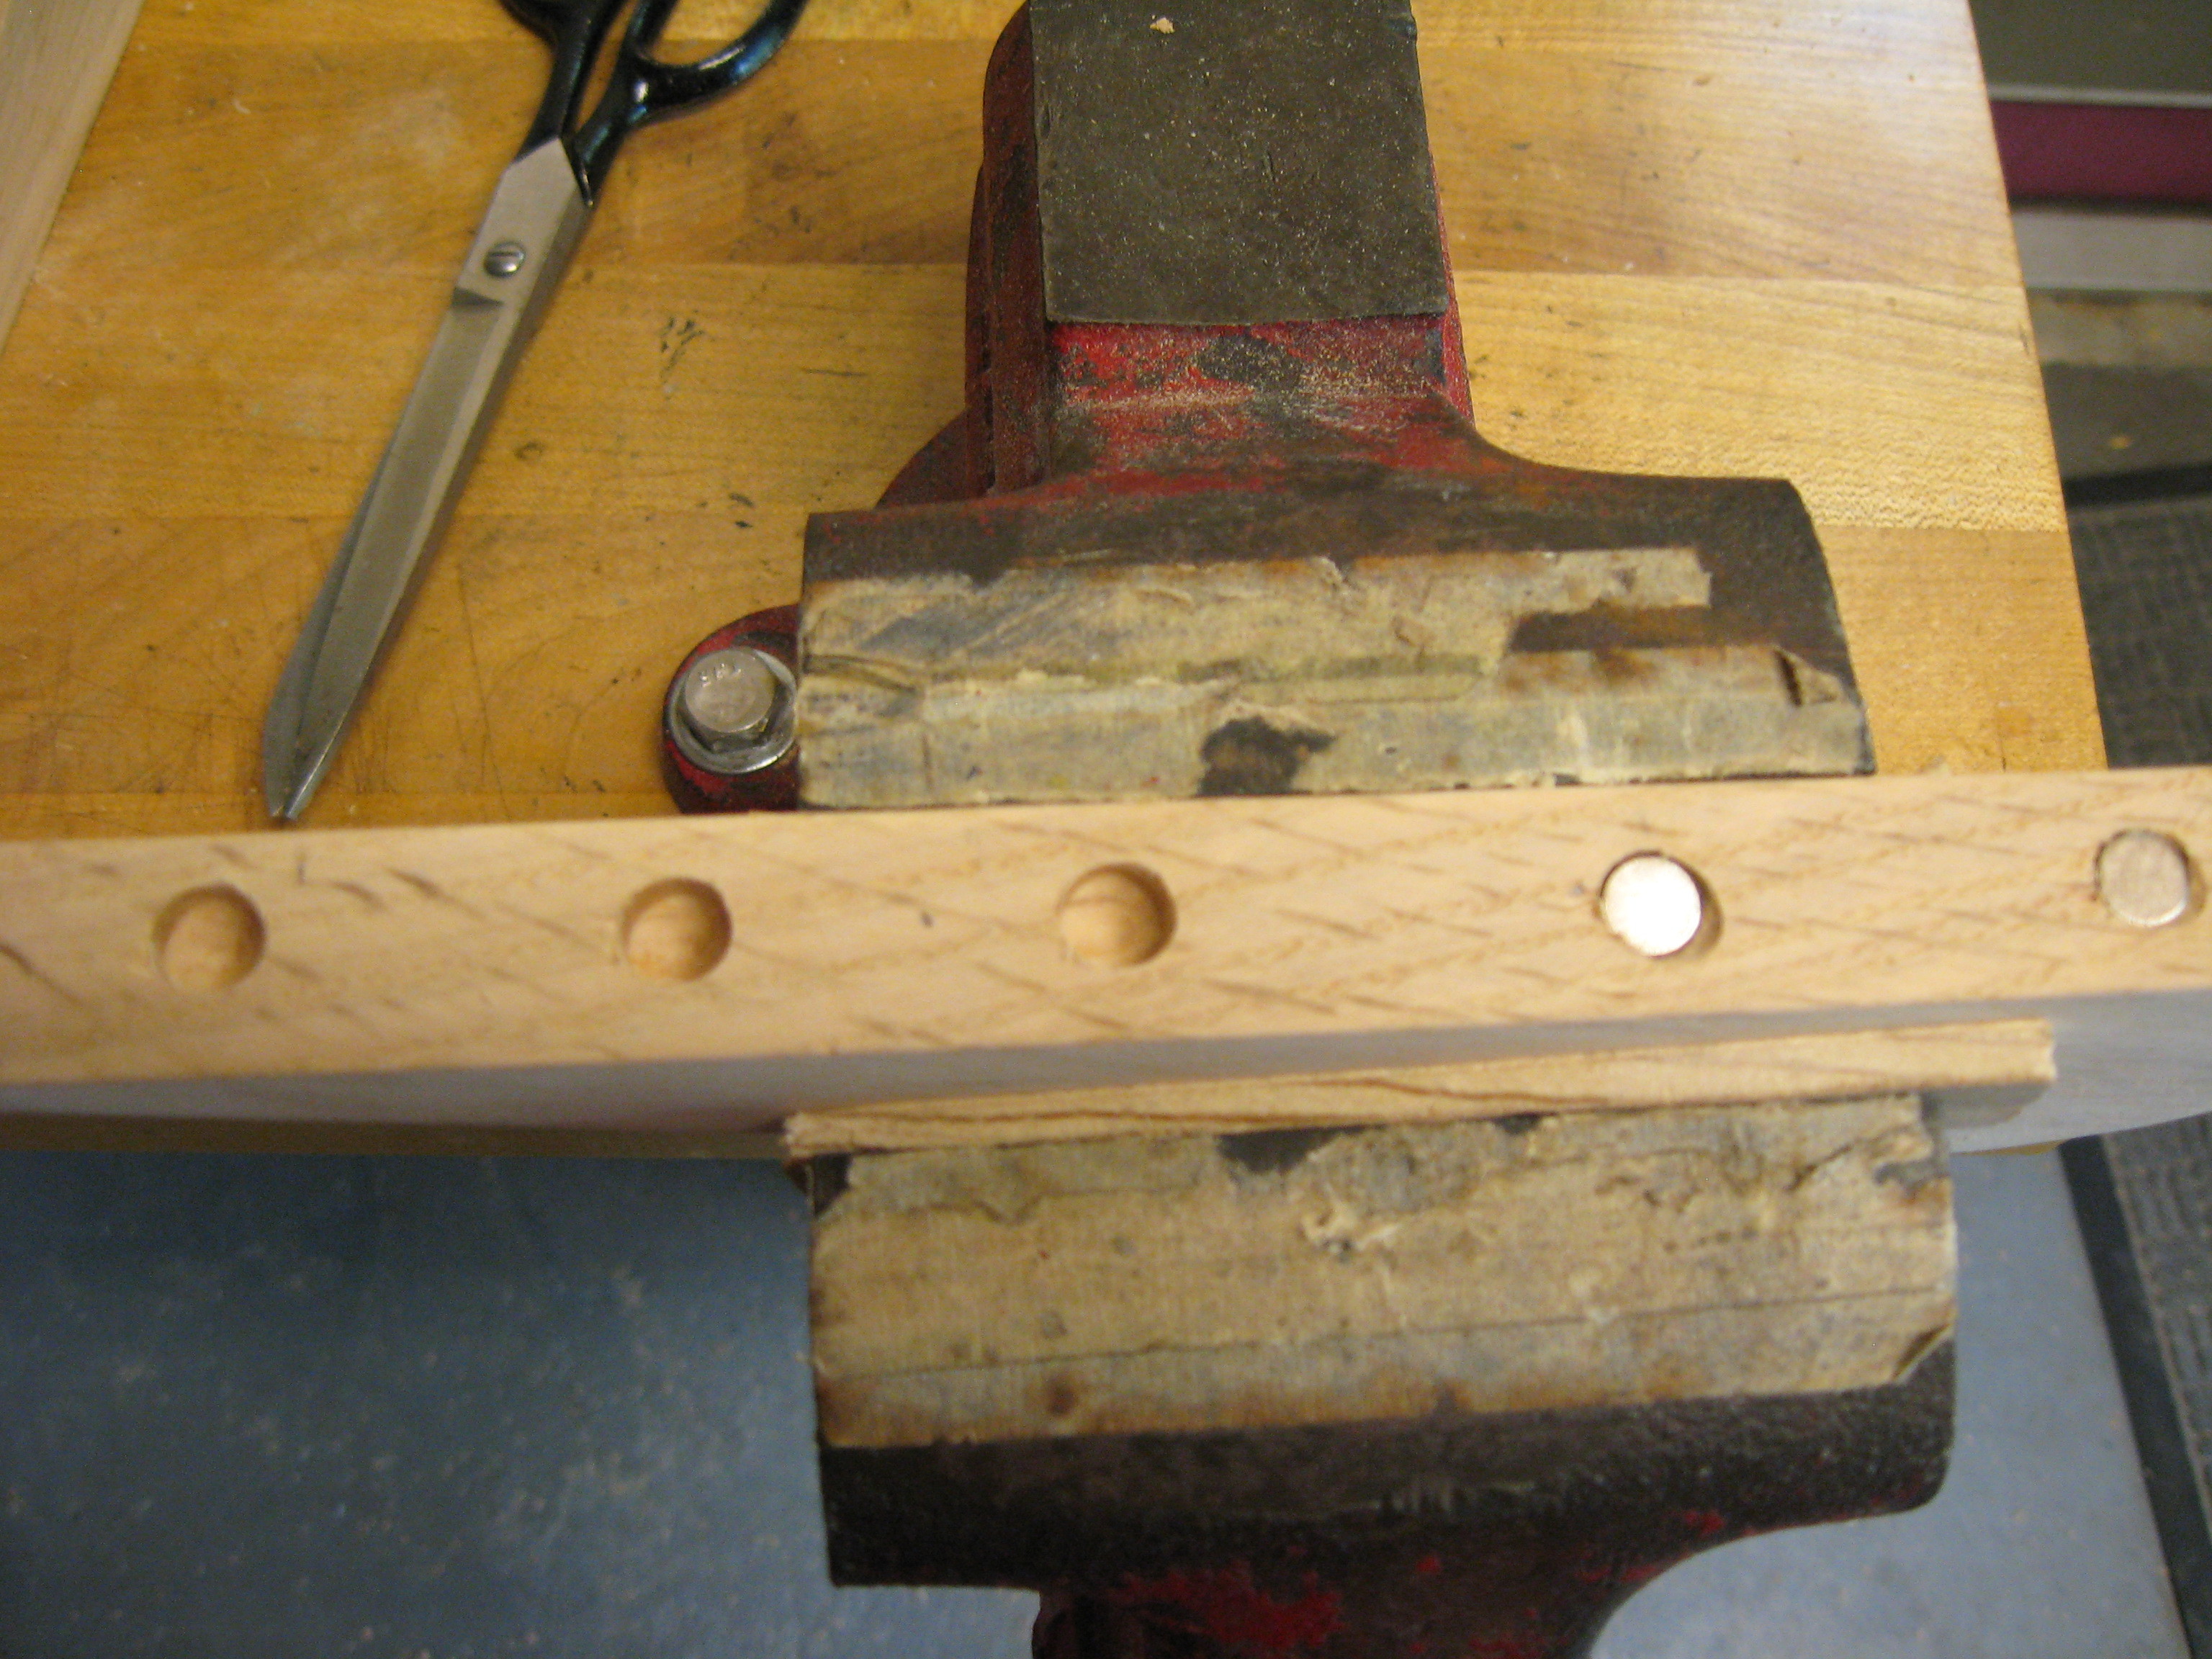
At the heart of this project are Harbor Freight’s neodymium magnets (part #67488). These little wonders come in packs of 10 for about $1.50 a pack. The magnets themselves are only about the size of little watch-batteries, but don’t let their size fool you; these things are crazy-strong. The package claims that they’re five times stronger than samarium-cobalt magnets and I believe it. Neodymium is the same material used to make the tiny-but-powerful speakers in ibud earphones and some laptops. When you pull the magnets out of the package, you’ll be amazed at how hard it is to separate them. We’ll use these super-strong magnets to get our holster to mount securely to any metal surface.

As you use the magnets, be aware that you can increase their holding power by stacking them. In this project, we’ll use stacks of two. Keep in mind also that strong magnets can pose their own challenges in the workshop. These things can attract metal shavings you didn’t even know were there. You also need to pick some of your tools with care; I once used steel wool to buff the finish of a project that included some magnets. The fibers flew immediately to the magnets and were almost impossible to get off.

One final note. Most of us can be wary about using magnets near computers, but never fear. The iPad uses flash memory and an LCD screen, neither of which is harmed by magnets. Keep in mind that Apple’s own Smartcover affixes to the iPad with magnets, so there’s nothing to worry about.

Project Steps

Cut a piece of 3/4-inch wood board into a 3×9 rectangle and cut it diagonally so you have two right triangles.

Cut an 8×11 rectangle of 1/8-inch Lexan.

Place the long side of one wood triangle against the 8-inch edge of the Lexan sheet. Trace the inside of the triangle with a pencil.

Score the line you just drew with an X-Acto knife and peel the strip of plastic coating off the Lexan. Repeat for the other edge. The Lexan has plastic coating both sides (one side is clear; one is printed). Do not remove any of the plastic on the other side.

Cutting a notch in the Lexan makes the iPad easier to pull out. I used the length of my thumb to find the best size for the notch.

Draw your notch on the Lexan and cut it out. I used a table saw, but a jig saw would also work.

Shape one of the wood triangles to meet the lower edge of the notch you just cut. You can draw a nice curve in freehand and then cut it out with the jigsaw.

Make a stabilization bar out of a piece of 3/8″ wood dowel.

Drill a 3/8″ hole near the top of one of the triangles. Lay the triangles long-side-up on your workbench. Push the dowel through the hole you just drilled until it touches the other triangle. Trace the dowel end and drill another hole.

When you have the dowel fitted correctly and you’re sure that the spacing is right, cut the dowel to size. Leave it just a little bit long to allow for margin of error. If it sticks out of one of the holes once assembled, it’s easy to sand down.

Use a 21/64″ drill bit to make 5 evenly-spaced holes in the long side of each triangle. These holes should be about 1/4 inch deep.

Place a stack of 2 neodymium magnets in each hole. Check to be sure that all the magnets on a side have poles facing in the same direction and that the tops of the magnets sit flush with or slightly below the surface of the wood.

Glue the magnets in by filling each hole with a drop of 5-minute epoxy and dropping the magnets in on top. Use enough glue so that when you drop the magnets in, the glue seals all around the magnets and rises to the top of the hole. Be sure to wipe off any excess.

Attach the Lexan sheet to the wood triangles with small wood screws. I used brass because they looked nice with the red oak I used for the triangles, but any kind of wood screw is fine.

Push the dowel through one wood triangle until it almost enters the hole you made in the other triangle. Apply a little bit of wood glue to the dowel and slide it into place. Let the glue dry.

Peel the protective plastic off of the Lexan. If you want, you can finish the wood first. Leaving the plastic on until the end means you don’t have to disassemble the project first.

Stick your new holster to any metal surface. Even the front of your fridge would work!

If you plan to use your holster for charging, you can wind the power cord around the dowel to keep it out of the way.

Now you can reach for your iPad in its new, protected location.

Conclusion

Now you can enjoy easy access and safe storage of your iPad while freeing up valuable space on your desk or workbench.