I looked around town for a bicycle repair stand, and the cheapest one was $150. Yikes! Rather than resign myself to flipping the bike upside down on its seat and handlebars, straining my back, and always having to work upside down, I made my own repair stand out of galvanized pipe for about $30. It’s easy to take apart and reconfigure with new pieces, so I’ve refined the design through multiple iterations. Here’s the latest and most stable version of the hardware.

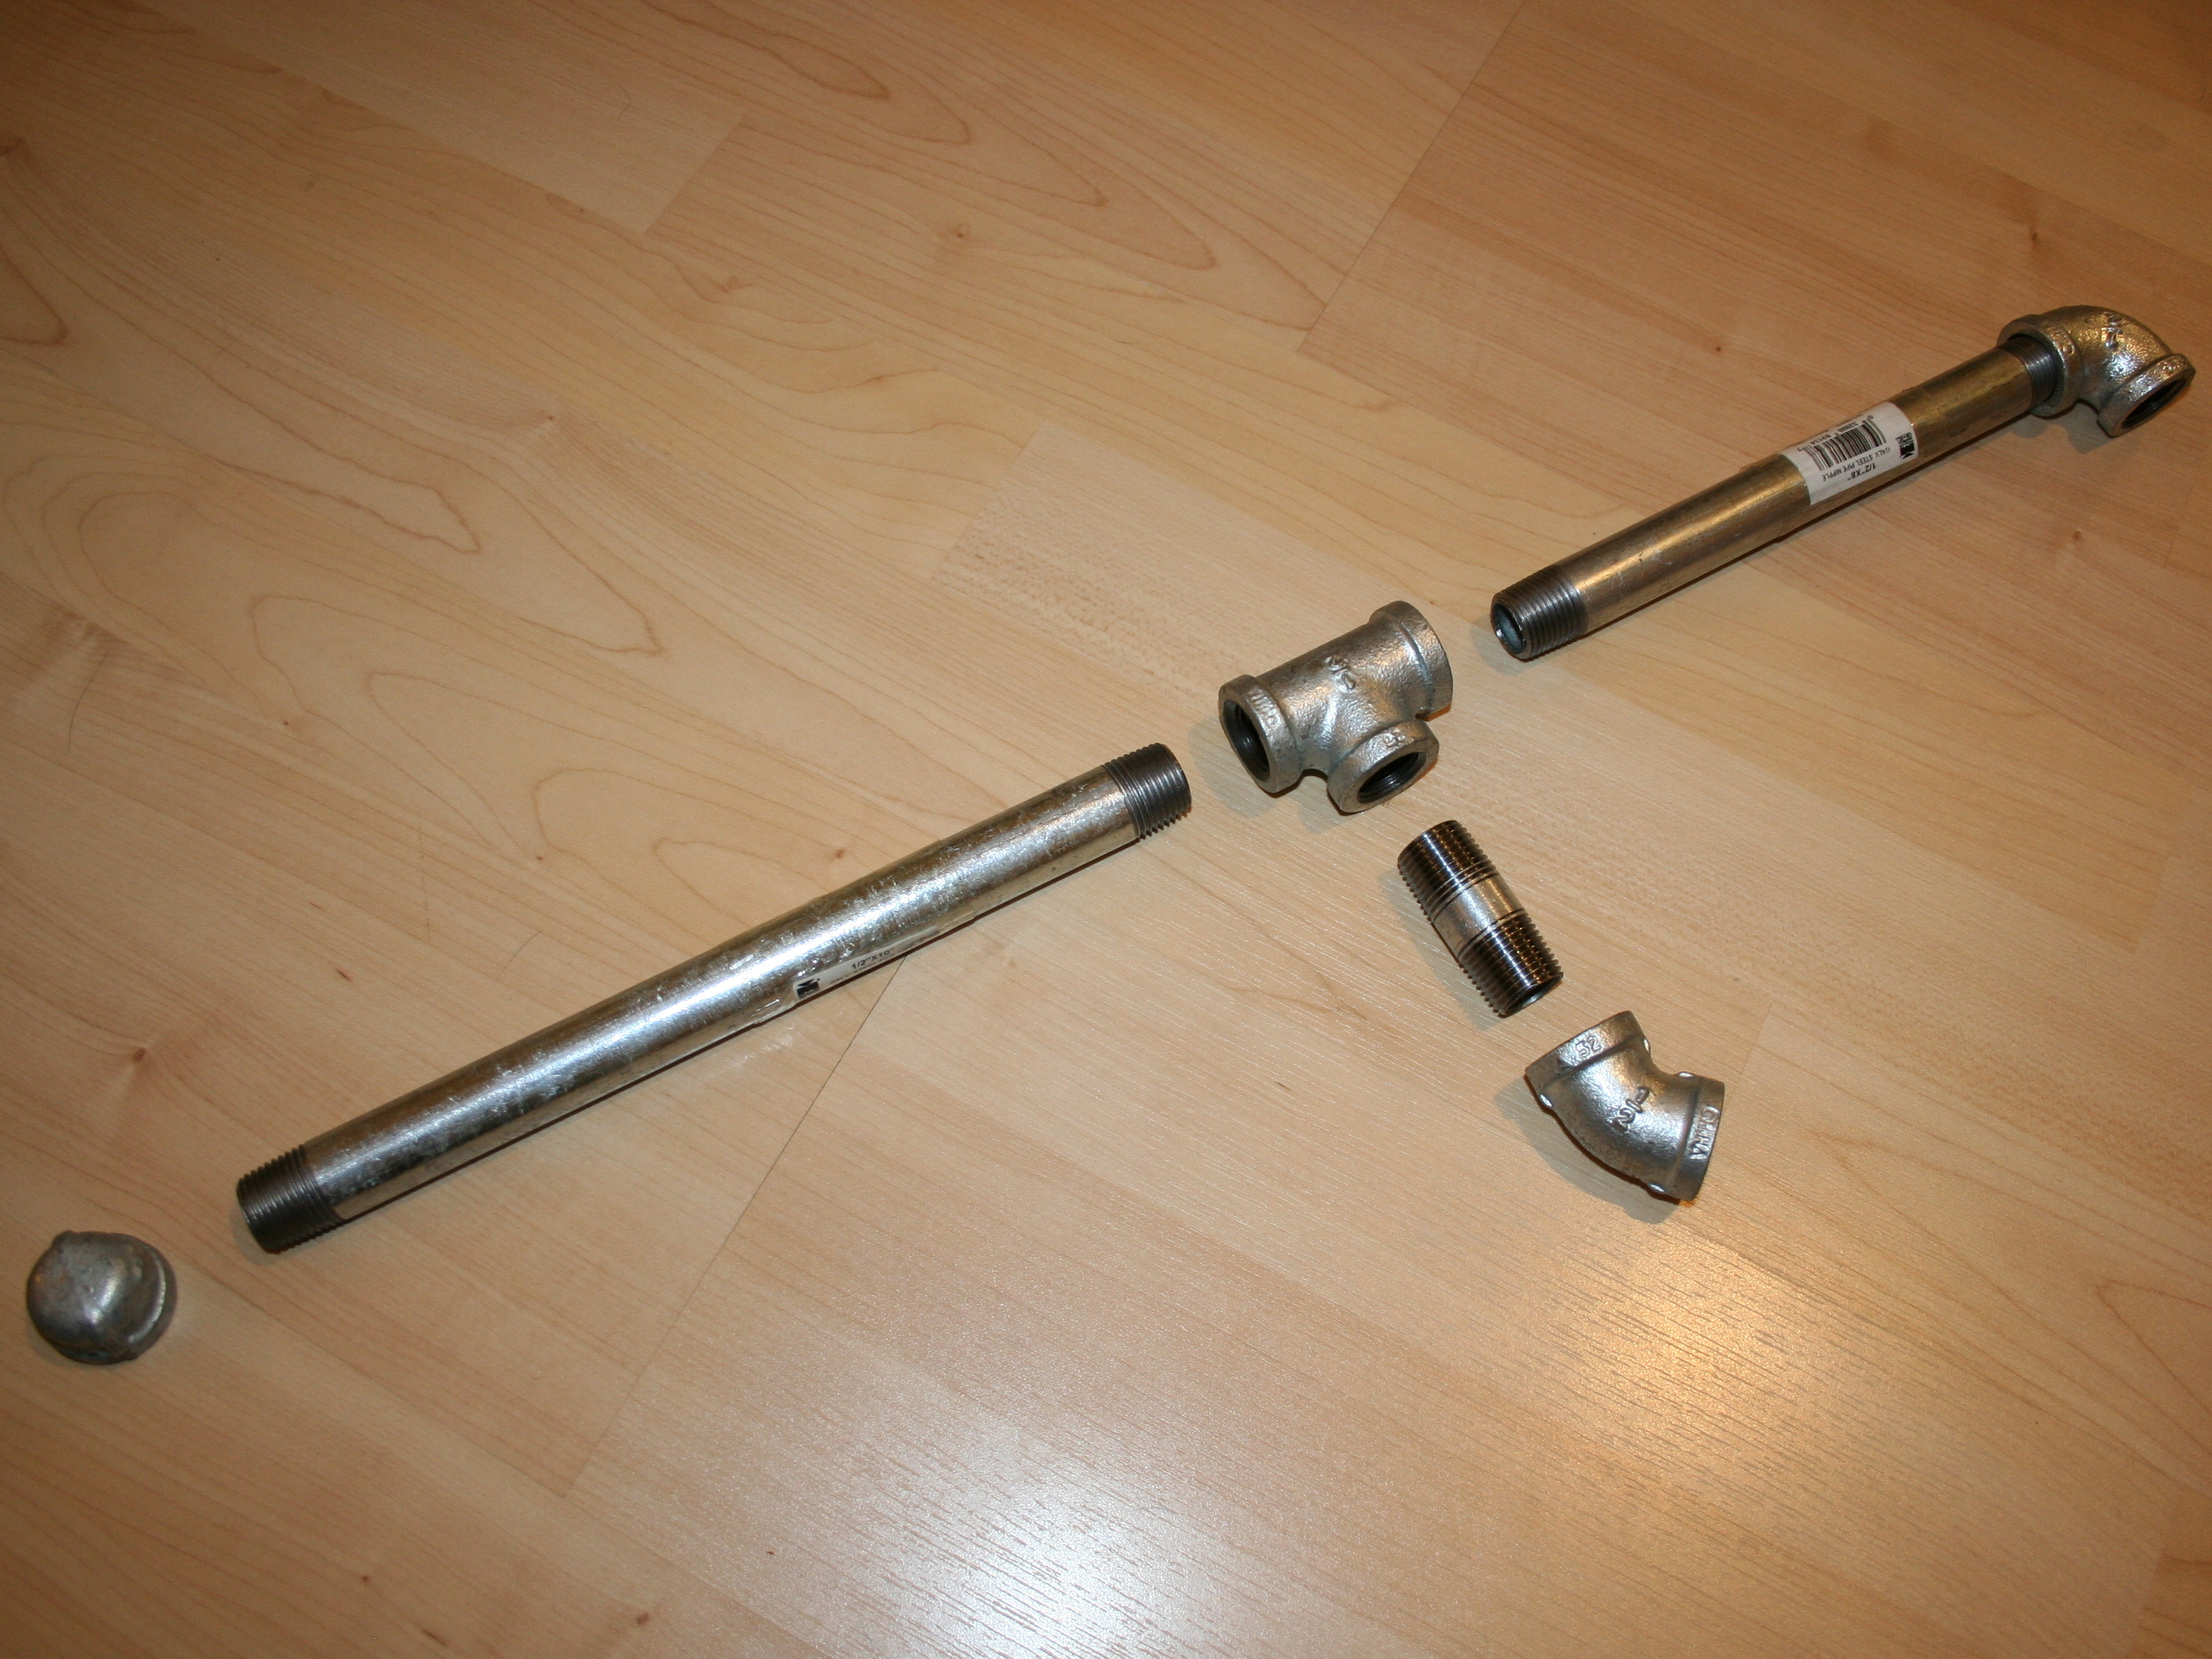
You can find almost all the materials in the plumbing section of a hardware or home improvement store, or if you’re super resourceful, you may be able to scavenge it all for free.

Project Steps

Build the base.

Begin by screwing together the legs, which will be mirror images of each other, around 2 tee fittings.

The stem of each tee points up and connects to a 3″ nipple, which in turn connects to a 45° elbow.

Horizontally, the parts run: end cap, 10″ pipe, tee, 8″ pipe, 90° elbow.

These can now be used as sweet weapons. No, put them down.

To complete the base, connect each 90° elbow to another 10″ pipe and join them in the middle with another tee.

These connections don’t need to be extremely tight, so just hand-tighten them. I chose not to buy a pipe wrench, figuring that the geometry of the stand itself would keep the pieces tight.

Add the upright and supports.

Now, up we go! Screw the big 48″ length of pipe into the stem port of the middle tee, so that it sticks straight up.

Screw the 18″ pipes into the 45° elbows on the base, so that their free ends just meet the upright pipe, and attach them to the upright with 2 hose clamps. These serve as cross-members, to stop the upright from rotating or leaning.

Screw a 90° elbow to the top of the upright, attach a 10″ pipe, and finish with an end cap to prevent small creatures from getting inside and building tiny, tiny cities.

That’s it for the pipe, so tighten everything up and restore the symmetry.

If you decide you don’t want a repair stand, this now functions as a hat rack. For one hat.

Install the bike hooks.

To hold the bike, I screwed 2 strong hooks into the ends of an 18″ length of 1×2 pine (drill pilot holes first to prevent splitting).

Then I screwed 2 plastic pipe hangers onto the middle of the board and clamped them around the end of the 10″ pipe, with the hooks hanging down.

The bike can now be lifted and set into the hooks. This is where you’ll find out if your connections are tight. Note that you don’t have to find the center of gravity for the bike to stay level, as you would if you used a single clamp in the center.

If your bike has cables running under the top tube, you’ll have to thread the hooks between the tube and cables.

Conclusion

This project first appeared in MAKE Volume 18, page 137.