1H1A0400_jbr2-towel

This project first appeared in MAKE Volume 38, on page 84.

I’ve always been fascinated by things that fly. When I was 10, my dad and I hand-built a 2-meter R/C glider, with each wing spar painstakingly glued in place and carefully covered with heat-shrink wrap. With our first test launch, all the hard work was gone instantly, as the plane dove into the ground, splintering into hundreds of pieces … another lesson in flight and gravity. But for some reason, I never gave up.

YouTube player
YouTube player

When Breck Baldwin showed how to build the “Towel” R/C Flying Wing in MAKE Volume 30, I was bitten by the flying bug again. Breck and I struck up a friendship at Maker Faire in California and later, we met up in his Brooklyn studio with my kids for a build session. Since then, I’ve finally mastered radio-controlled fixed-wing flight, and the Towel, now known as the Flack (flying + hack), has been an absolute blast to fly.

In MAKE Volume 31, I showed how to build a small but super fun balsa wood folding-wing glider that’s rocketed into the air using a handheld rubber band catapult. Wind resistance holds the wings back until plane reaches its apex, where the wings pop open for a long and gentle glide down. You can build your own or buy the kit (Maker Shed item #MKRS2).

Since then, I’ve been thinking how cool it would be to combine these two projects. With a drop mechanism, the glider or other flying object could be carried really high in the air and then released from the bottom of the powered plane!

As often happens, ideas led to prototyping, testing, and finally a finished product. In a large park, the ultimate test involved carrying the glider under the R/C plane up to about 200 feet. With a flip of a switch on my transmitter, the servo mechanism released the glider, the wings popped out beautifully, and the glider began its gradual descent. It works!

The drop mechanism is mounted to aluminum “angle iron” that’s attached to the bottom of the R/C plane with velcro. (Because the flying wing lacks landing gear, this allows the drop mechanism to be harmlessly “torn” off when the plane lands.) Attached to the angle iron is a servomotor with a lengthened servo arm. The servo is then connected into the R/C receiver, to a channel that typically controls retractable landing gear, so it moves its full range with the flip of a switch.

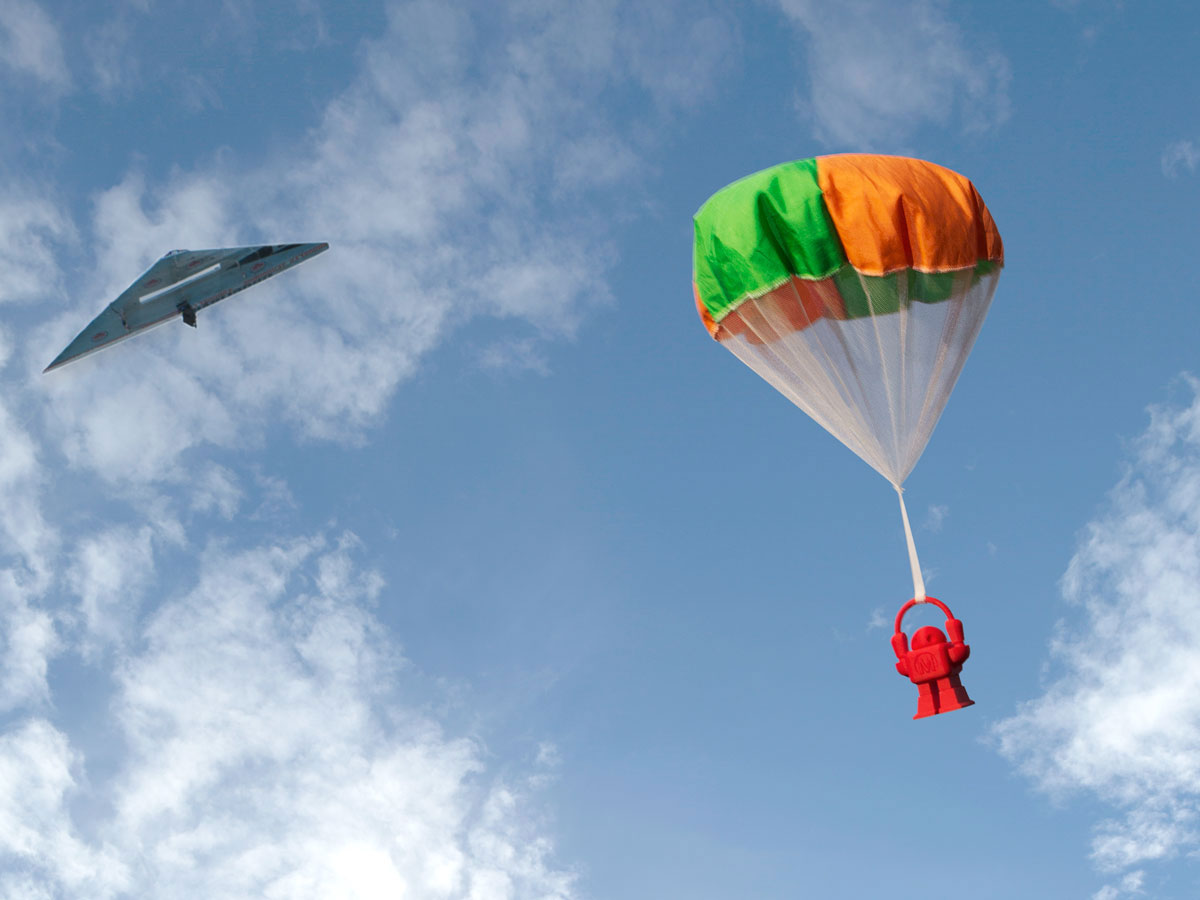
This mechanism can easily be modified for different airplanes and quadcopters to drop different types of things. We recently tested it with a small foam “delta dart” glider, with kids chasing after it crazily as it floated to the ground from 100 feet up, and we lost a plastic paratrooper on the roof of a school after a 3-minute hang-time drop.

If you’re dropping gliders, a spotter is definitely needed because once you release the glider, you need to keep flying the plane! My son is a great spotter and once I get the R/C plane on the ground within 30 seconds or so, I’m able to enjoy the flight of the glider. (My next project is adding an autopilot so the plane can go into “loiter mode” while the glider is recovered.) I hope you have as much fun building this simple little project as I’ve had developing it.

Project Steps

Cut and drill the angle.

Cut a 1½” length of aluminum angle using a hacksaw, and file the rough edges.

Line the servo up with a corner of the angle as shown, so its cable is at the corner, and its shaft is parallel to the crease of the angle. Mark holes for zip ties to criss-cross the servo, about 0.6″ from the edge of the angle.

Drill the holes using a 7/64″ bit.

Mount the servo.

Put a couple drops of hot glue on the servo and press it firmly into place on the aluminum angle. Thread the 8″ mini zip ties through the holes and pull them tight. Trim off the excess. (I tried this project with just glue but the forces were too great and the servo came off. The mini zip ties hold it super tight.)

Attach 1½” lengths of velcro tape side by side to cover the bottom of the drop mechanism (under the side with the servo). I use the rough side of the velcro here.

Build and attach the servo arm.

Cut a 1-1/8″ piece of craft stick. Hot-glue the stick onto the servo arm, taking care not to cover the hole in the servo arm where you’ll be screwing it onto the servo. Then secure the stick with two 4″ mini zip ties.

Screw the servo arm onto the servo. You may need to readjust it once you get it plugged into your R/C radio system.

Slip the rubber pencil cap eraser onto the craft stick and secure it with a zip tie too.

Cut a 1½” section of the bike tube and pull it tight over the other side of the aluminum angle.

Mount it to your plane or copter.

Apply the other side of the velcro tape onto the plane or quadcopter where you want to attach the drop mechanism. Make doubly sure the location will not interfere with the control surfaces or props on the aircraft.

Attach the drop mechanism to the bottom of your plane or quad using the velcro.

Connect the servo extension to the servo on the drop mechanism, and then route it to the R/C receiver on your aircraft. Secure the wiring with additional zip ties or tape to make sure its out of the way of props and control surfaces.

Plug the servo extension into your receiver. I plugged mine into channel 5, which moves the servo a full 90 degrees with the flip of a switch on my transmitter.

Now power up your transmitter and receiver and test the drop mechanism (on the ground). You may need to reattach the servo arm so that it’s in the straight-up position and then moves down to pinch press the pencil eraser firmly against the aluminum angle. Flip the switch a few times back and forth to make sure everything is working well.

Drop fun stuff from way up in the air!

With transmitter and receiver powered up, “pinch” your folding-wing glider, delta dart, or paratrooper into the drop mechanism.

Again, make sure the item you’re dropping cannot interfere with the control surfaces or propellers on the airplane or copter.

The drop mechanism and toy glider are light enough that they shouldn’t affect the center of gravity on your plane or quad too much. But, bear in mind; your flight characteristics will change. Practice dropping something small first, and then build up to heavier things. Each time, test the drop mechanism on the ground first to make sure it releases without binding. Once you’re sure it works, you’re ready to get into the air!

Small things dropped can go incredibly far, so test wind conditions and then maybe start with a lower drop first. With your spotter ready, launch your aircraft and let the fun begin!

Troubleshooting

When dropping the folding-wing glider, the glider needs to stall in order for the wings to come out. To do this while flying, pull back on the transmitter stick so your plane heads up at and angle. While in this position, flip the release switch and the glider should fall away from the plane with wings folding out. Using this technique, you should have full wing deployment every time and some spectacularly long glides.

Going Beyond

Once you get good at dropping, set up hula hoops as targets and come up with your own contests. Better yet, set up an autopilot system to drop your cargo into the hula hoops at the exact coordinates (think futuristic pizza delivery).

One way I’ve found to get a lot of people involved is to build and drop inexpensive roto-copters made of cardstock. You can attach about 29 brightly colored roto-copters to the drop mechanism, drop them from 150′ up, and watch kids run after them crazily as they slowly flutter down. We even dropped some at night with LED throwies attached.

Post your own ideas in the comments below!