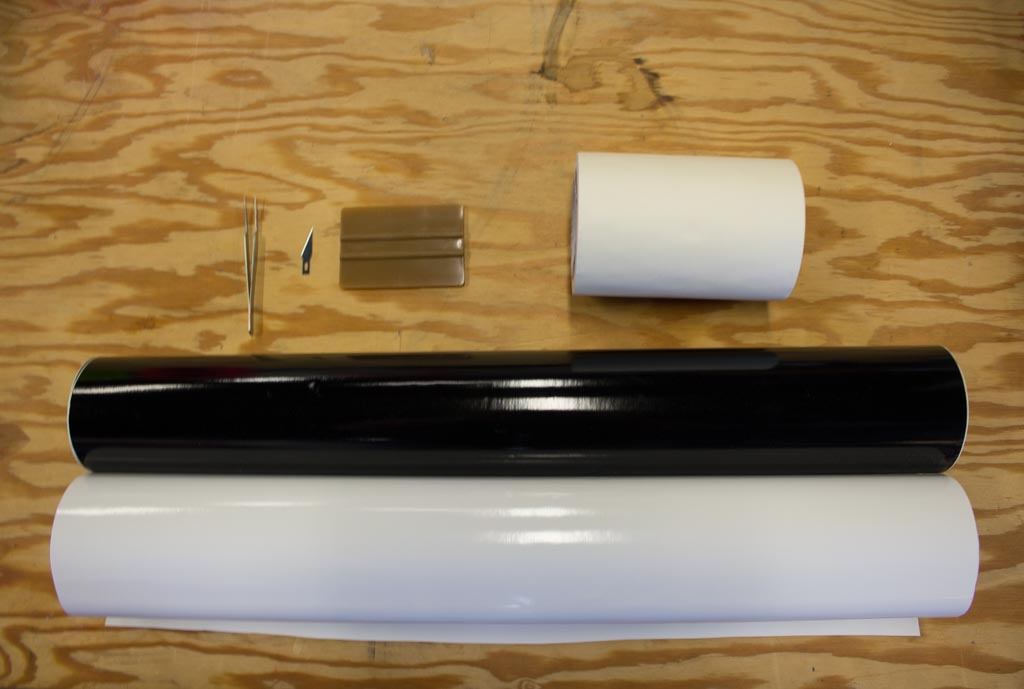
As an avid sticker fan, I have always loved designing and creating my own stickers with vinyl. Luckily, it is a relatively easy process once you learn the basic technique. At first vinyl seems limiting since you can only cut one color at a time, but multicolored stickers can always be created through a simple layering process. You can use as many colors as you’d like, but the process is harder with more colors.
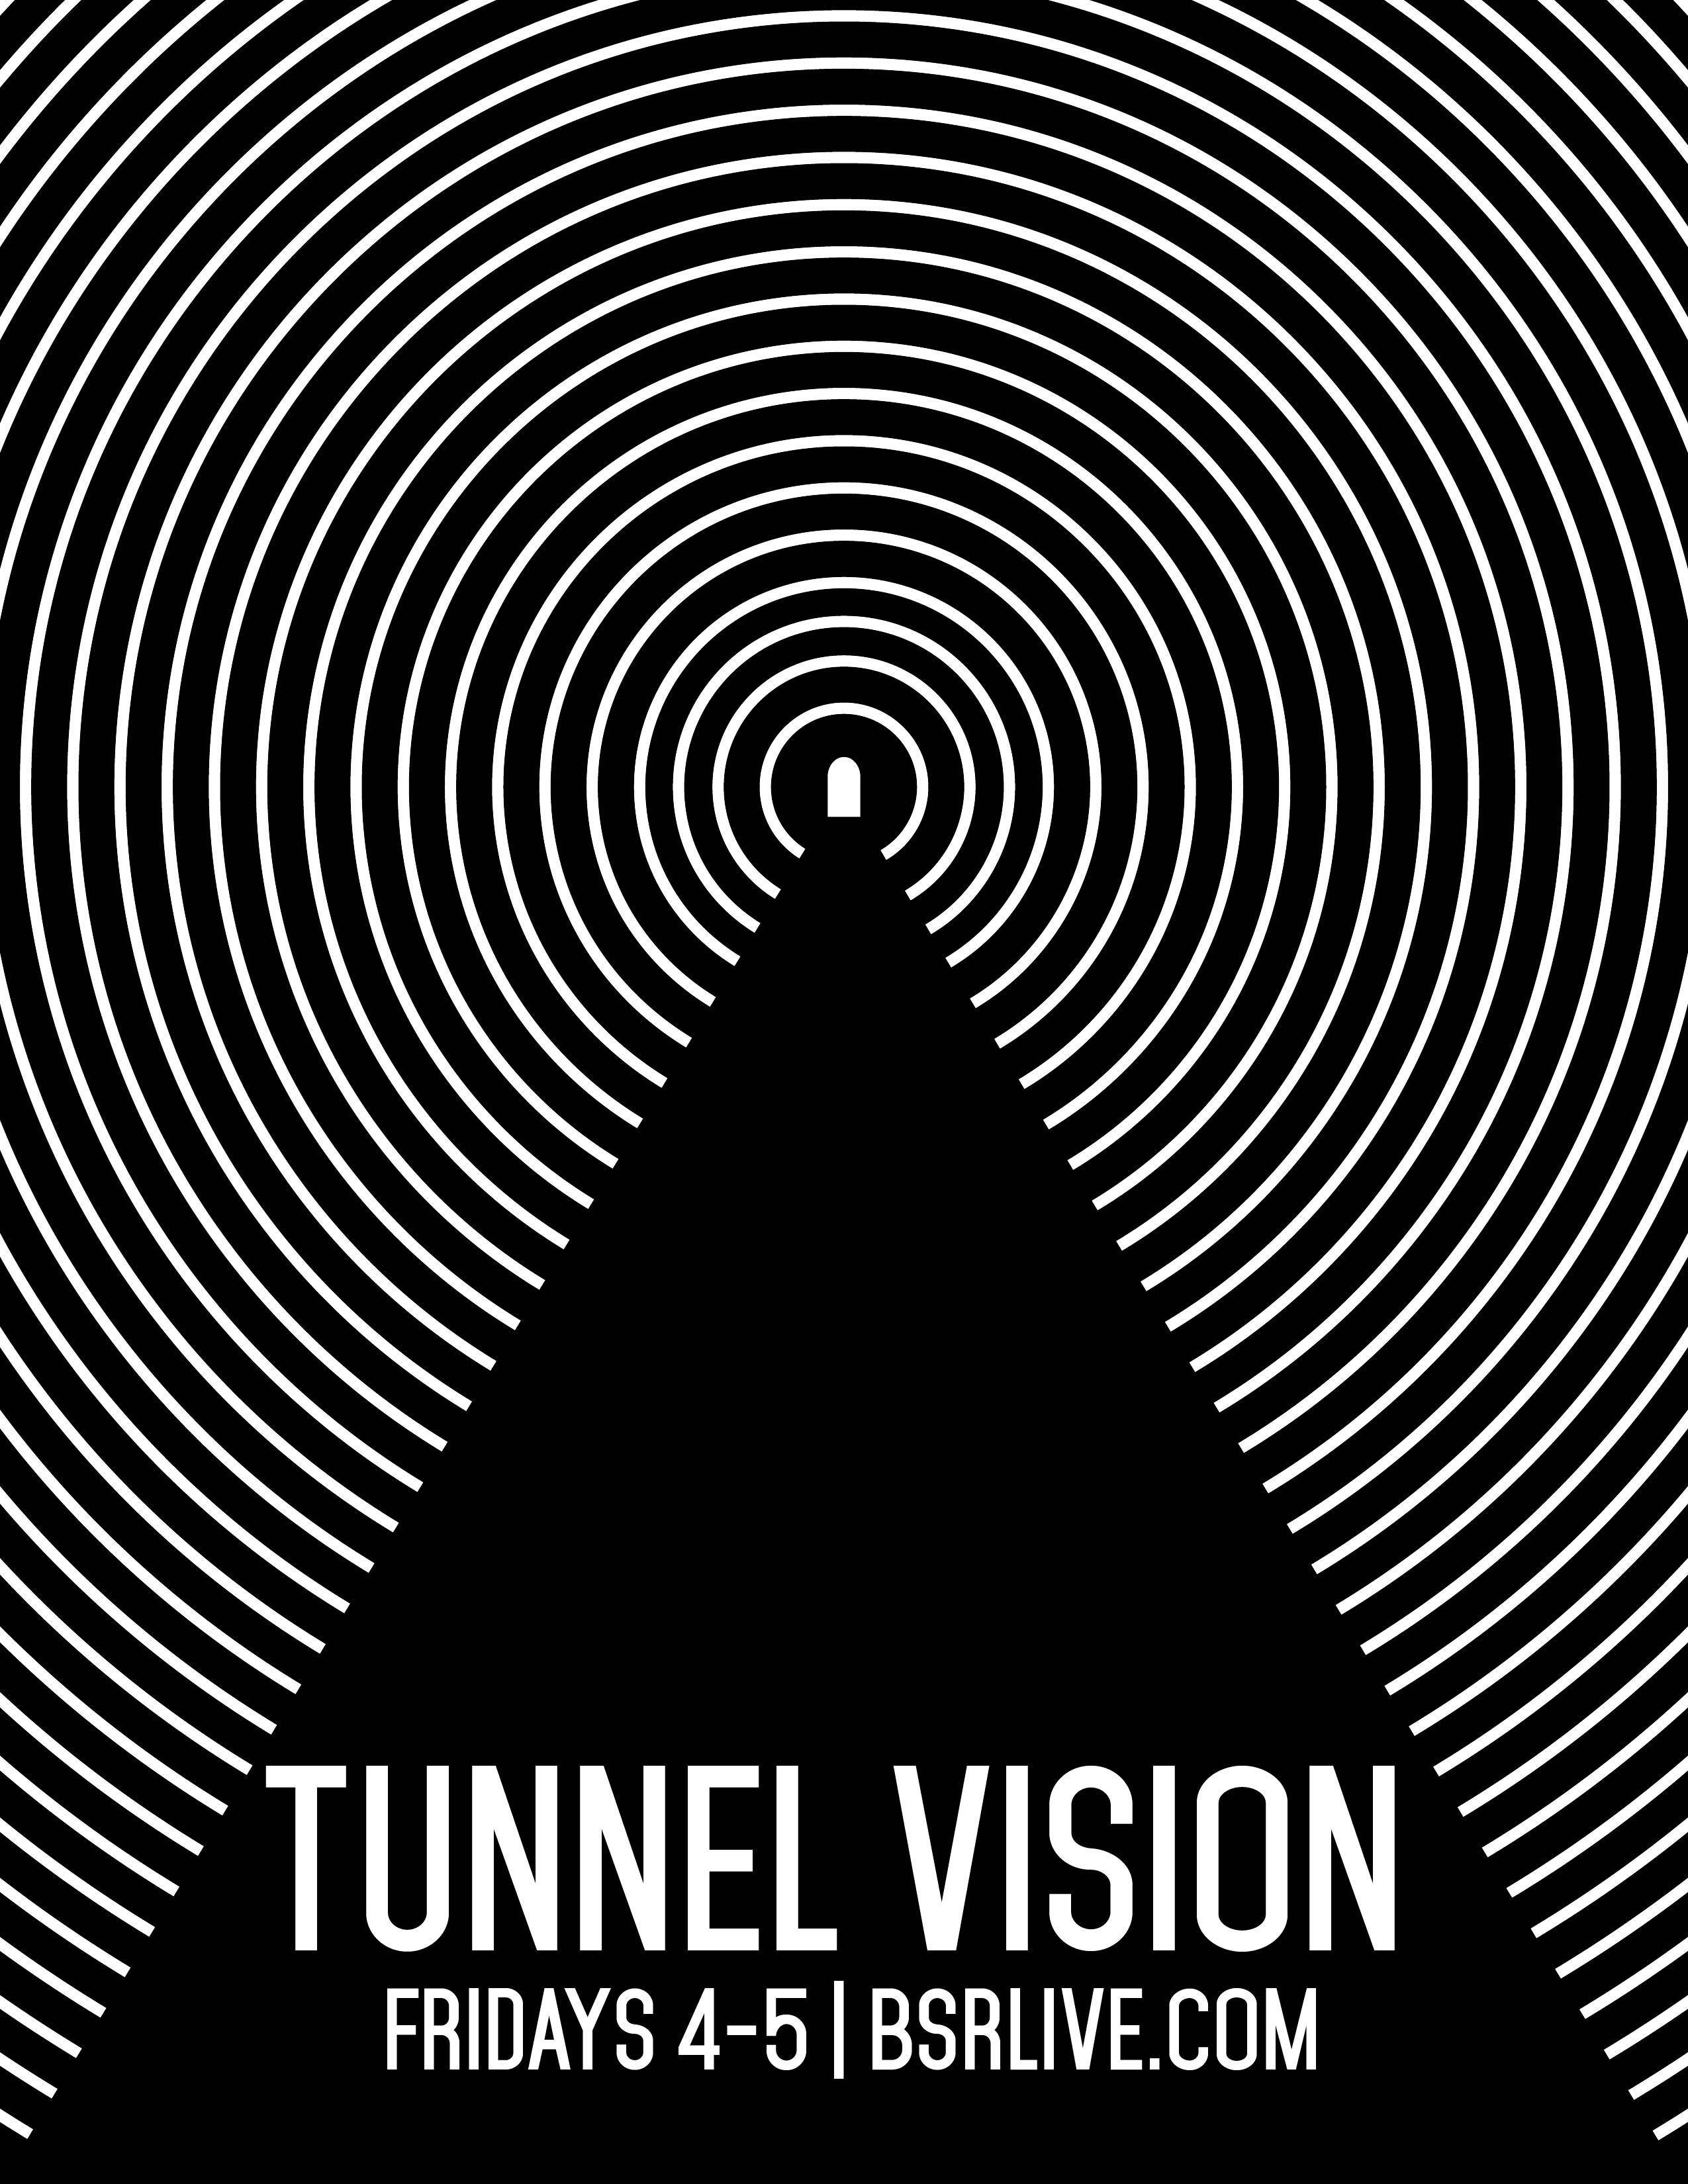
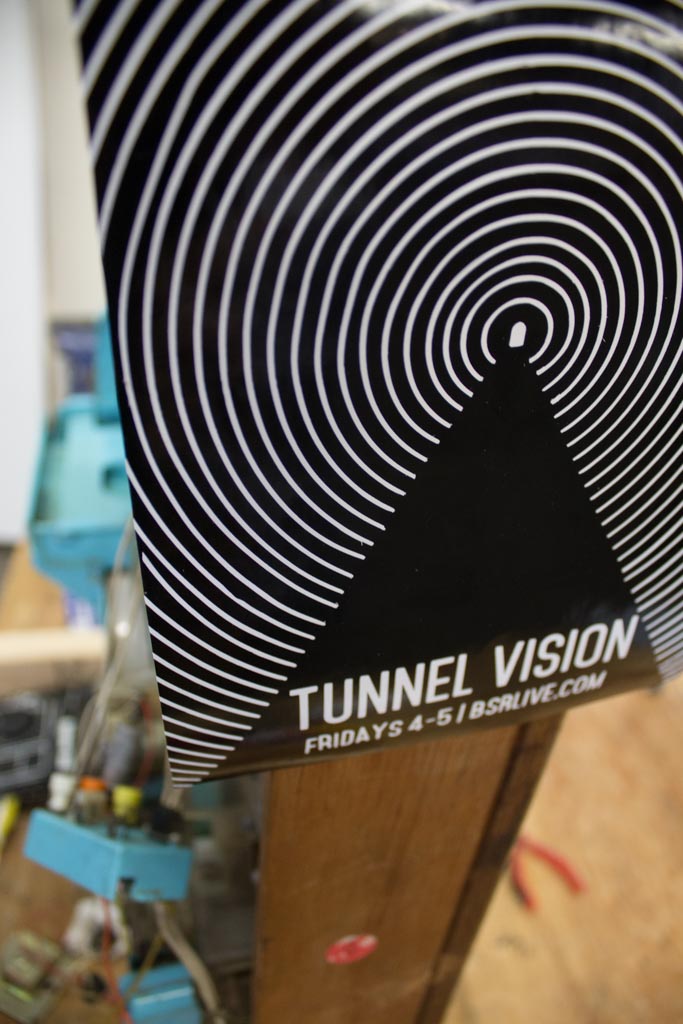
For this tutorial I decided to create a sticker using an awesome poster my good friend Jacob designed for his college radio station. This design is perfect for a beginner because it only incorporates two different colors. It also has an intricate pattern that showcases the versatility of vinyl cutting.

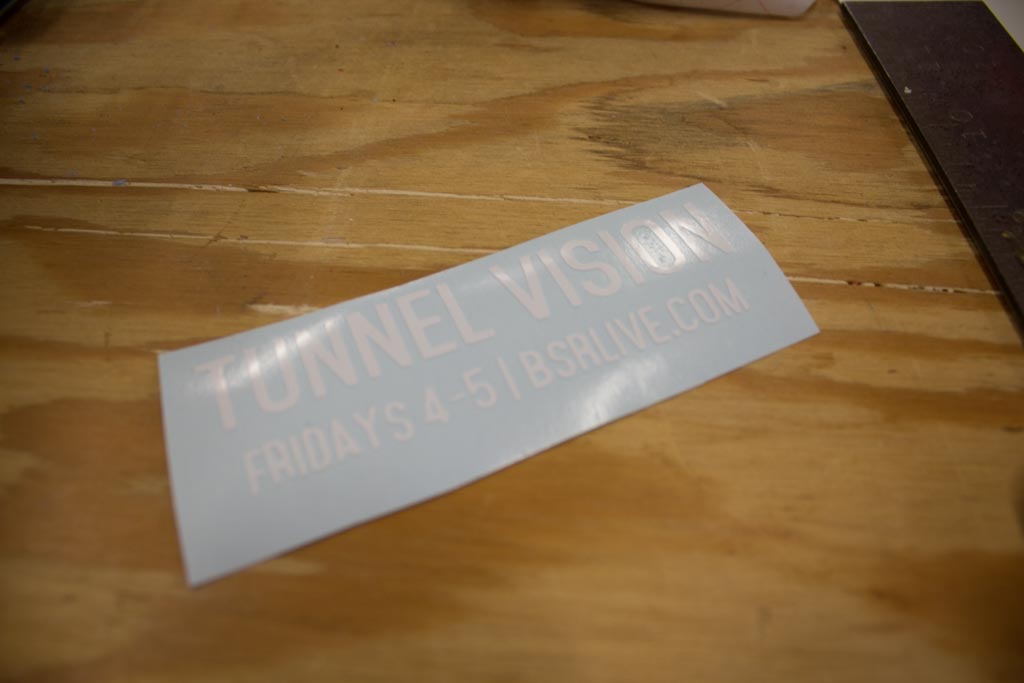
Using his Illustrator file, I made some slight alterations to prepare it for vinyl cutting. First, I had to make the circles wider. Vinyl cutters are somewhat limited when it comes to cutting thin strips, so widening the circles helps the small pieces come out more smooth and clean cut. Second, I removed the gradient from the center of the image. As you would expect, vinyl cutters can only create solid color designs. Lastly, I formed the words out of solid letters. The final file I created still retains the overall design of the poster and is also much easier to transform into a sticker.

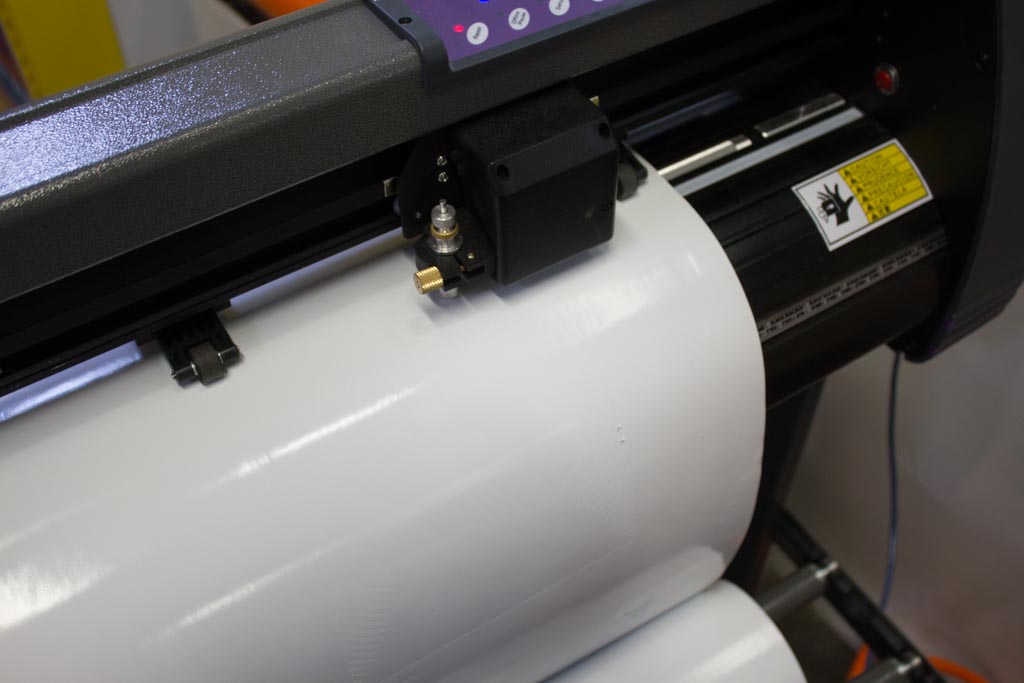
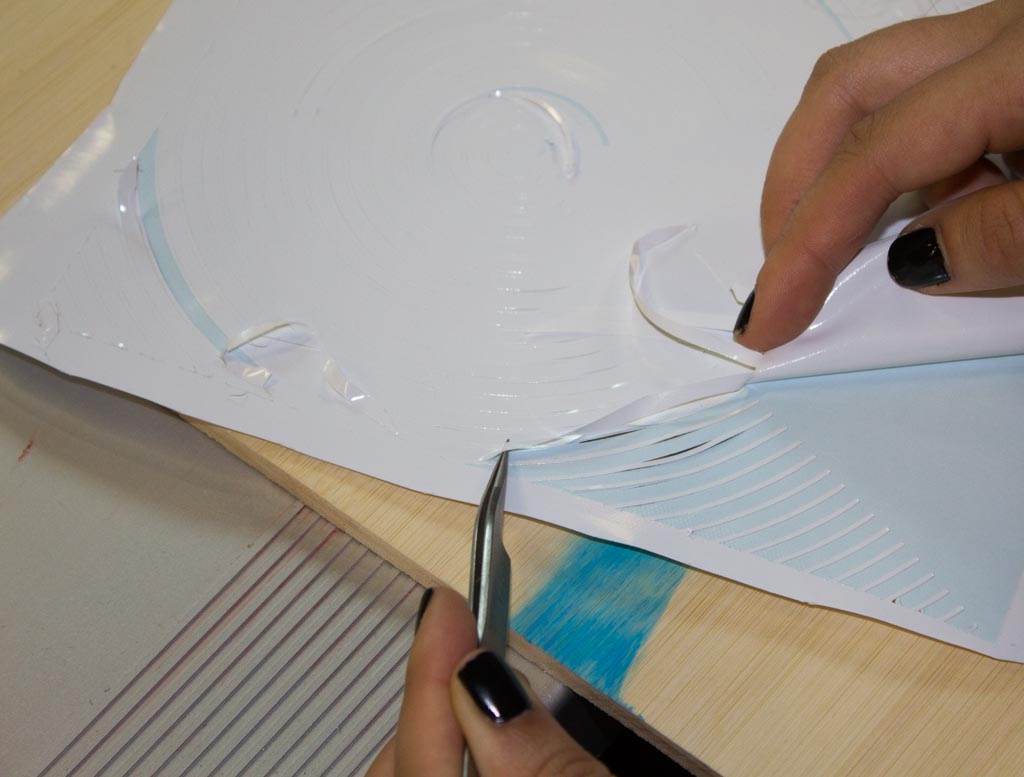
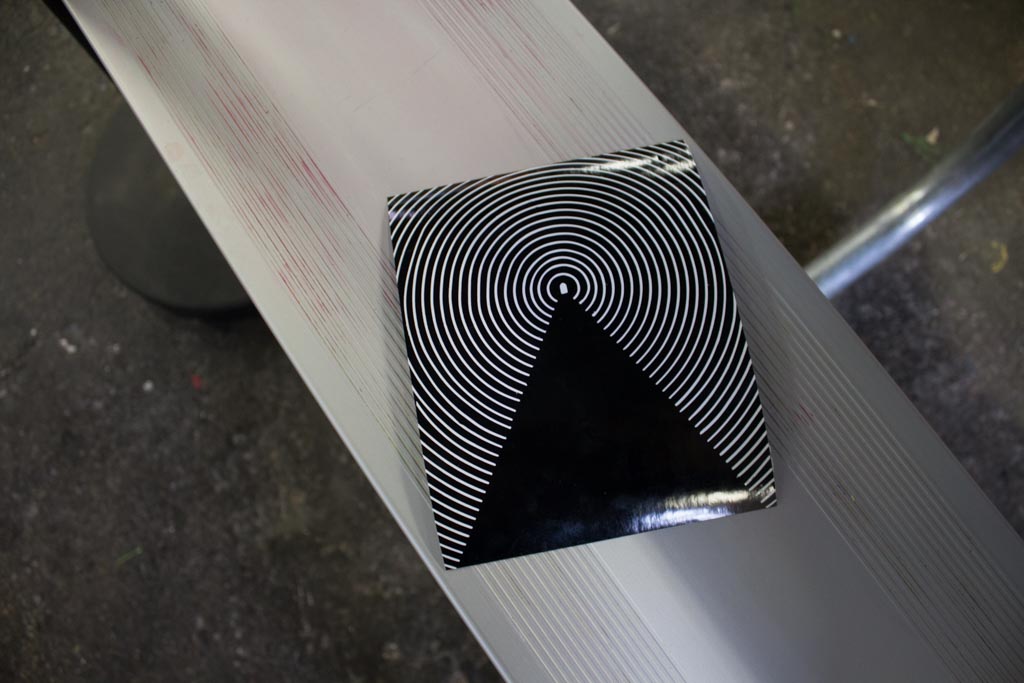
Once the alterations were complete, I cut the design out of a white vinyl and transfered it on to a black vinyl.
I made this sticker about 6 inches wide, but you can always adjust your design file to whatever size you would like. In most cases, making a larger sticker is easier because the individual pieces are not as difficult to manage.