Assemble paper patterns
Print the .pdf pattern attached to this project, or your own pattern, on the heaviest card stock you can get through your printer.
I used some 100 lb cover stock I bought originally to bind screenplays, and would like something even heavier for next time.
Cut along all solid lines with scissors or an art knife, and mountain fold along all dashed lines.
Assemble with Scotch tape, taking care to make the interior cavity as “watertight” as possible.
Remember, unlike traditional papercraft models, tabs go on the outside of the joints, because it’s the interior finish of the joint that is important.
Melt metal
Regardless of the equipment you have available, there is a casting metal suitable for your use.
If all you’ve got is an old tin can and a kitchen stove, you can buy low-melting-point bismuth alloys that will melt in a pot of boiling water (100°C).
If you have a gas hot plate and a nice ventilated (hopefully outdoor) space to work, you can melt old tire balancing weights, which are predominantly lead (melts at 330°C) and can be gathered from roads and parking lots everywhere. This is what I did.
If you have a Gingery-style home foundry, you can achieve temperatures that make it easy to pour zinc alloys (420°C) or even aluminum (660°C).
Note that there are realistic toxicity concerns with poor metal alloys containing lead and/or cadmium, and you should be careful to familiarize yourself with the risks associated with exposure to these metals before deciding to handle them yourself.
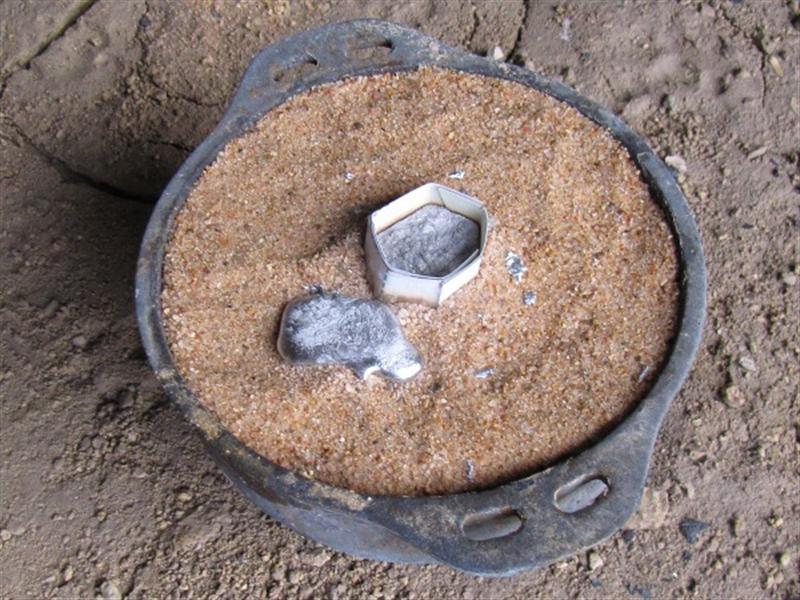
Bury pattern in sand
The pattern needs to be buried with only the sprue protruding from the sand. Hardware store play sand would be my first recommendation, but two of the pieces pictured here were actually cast in table salt.
Do not get any sand or salt inside the pattern itself.
Make sure the sand is uniformly packed around the pattern on all sides, without large voids that might collapse on exposure to the heat and weight of molten metal.
Vibrating the sand here, perhaps by setting it on a running washing machine, dryer, or car engine, is a better approach than tamping.
Mist the surface of the sand with water from a spray bottle to help hold everything together.
Pour metal
Obviously one must be very careful when working with hot metal, even if it is a lower-melting alloy. Long sleeves, long pants, safety goggles, gloves, and closed-toed shoes are non-negotiable.
I melted my tire weights in a steel soup can, as shown above, and lifted it on and off the fire using a large pair of channel-lock pliers.
Even without any sort of formed-in spout it’s not too hard to get the molten metal down the sprue, although as you can see I did splash a bit.
Make sure you pour well up into the sprue, because the metal will shrink as it cools and you want that shrinkage to come out of the waste sprue volume instead of the part itself.
Open the mold
Let your castings cool for at least an hour.
Fish them out of the sand with a pair of pliers and dunk them in a can of room-temperature water.
Leave them in the water for at least 10 minutes.
Once the castings are cool enough to handle, pick them out of the water bath and remove the burnt paper wrapper with your fingers.
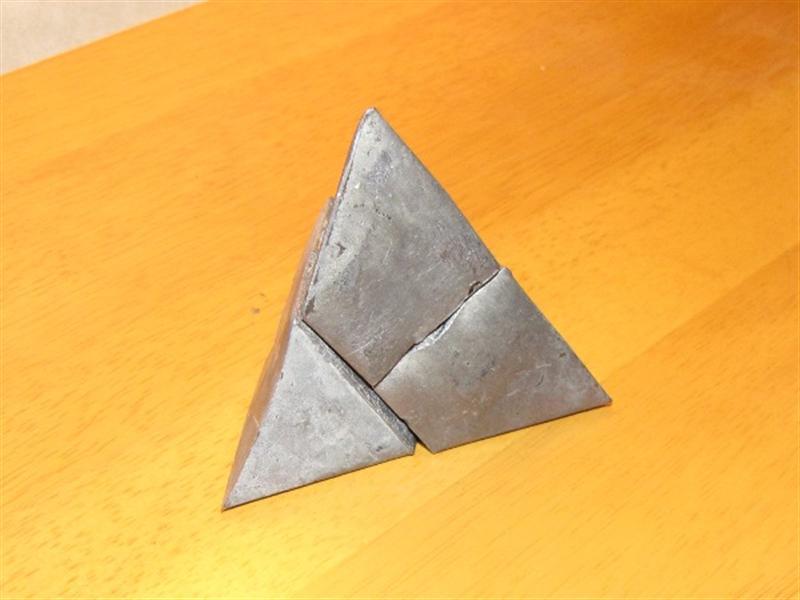
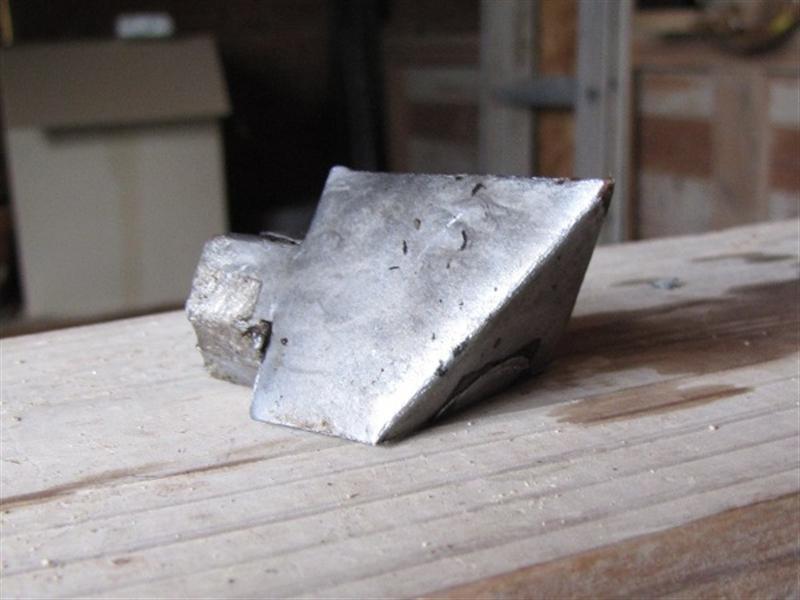
Clean up casting
Cut the sprue off flush at its base using a hacksaw.
Clean up any flash pointy bits with a sharp knife or wood chisel, and possibly a file.
If you’re working with lead- or cadmium-containing alloys, make sure to be cautious about the dust produced by any sawing or abrading operation.
Conclusion
Zinc and zinc alloys ("white metal") are the next step up from bismuth and/or lead-based metals, and can also usually be melted on a gas hotplate in a steel or iron pot. Zinc is of relatively low toxicity, so long as you don't get it so hot that you cause it to burn, in which case inhalation of the zinc oxide smoke can cause "metal fume fever," which is not the end of the world but should definitely be avoided. It may have long-term health effects and, in any case, can make you feel lousy for a weekend. Zinc melts at 420°C and burns at 480°C, so it can be easy to burn it accidentally. You'll know if it happens: Zinc burns with an evil blue green flame, and makes great clouds of smoke. If this should happen to you, don't panic. Being careful not to breathe the smoke, turn off the heat and step back. And as the melt cools take a moment to observe and appreciate the thermochromicity of the zinc oxide layer on top: It's bright yellow at high temperatures but will turn back to chalk white as it cools.
The next big step up is aluminum. If you have the wherewithal to melt and pour aluminum in your shop, you probably don't need me to tell you how to do it. If you're curious, book one of Dave Gingery's classic 7-book DIY-machine-shop series is solely dedicated to the construction and operation of an ultra-low-cost home aluminum foundry. I have only attempted this paper pattern process with lead, but I don't see why it couldn't also work with hotter melts like zinc or aluminum. If you try it do let me know how it goes.