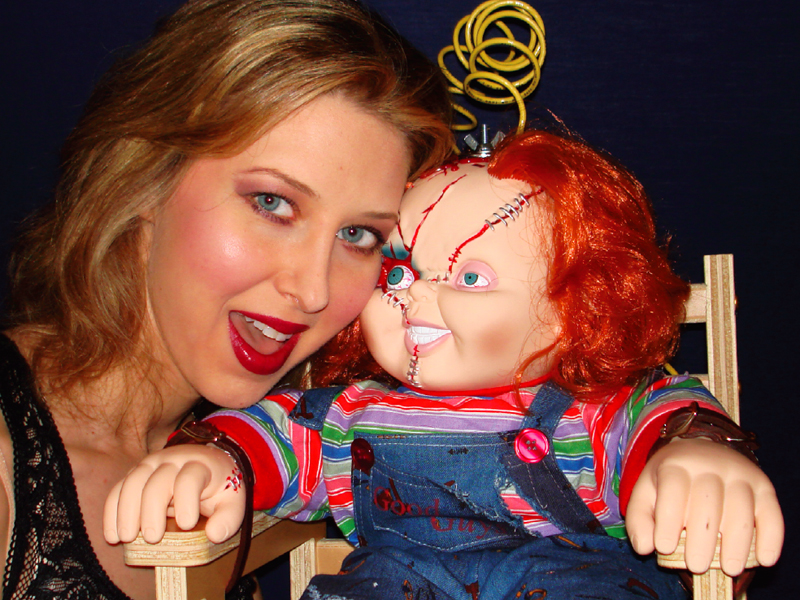
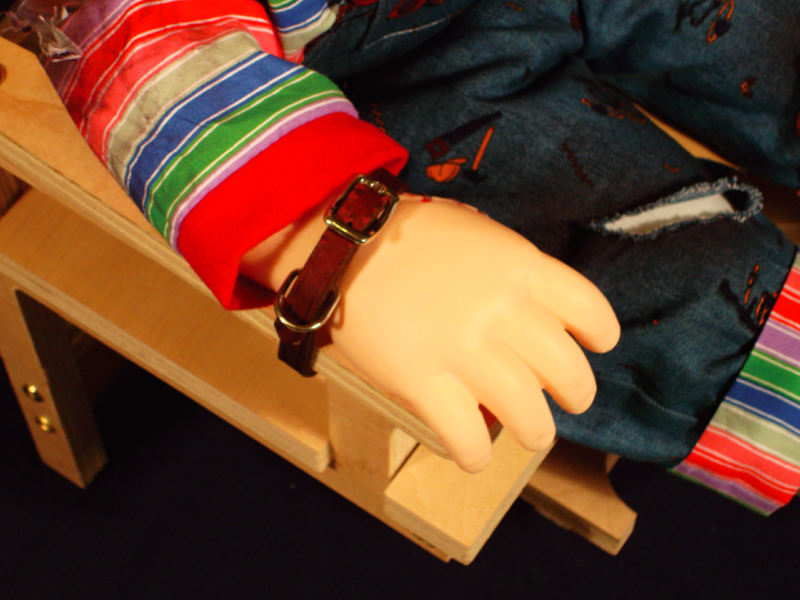
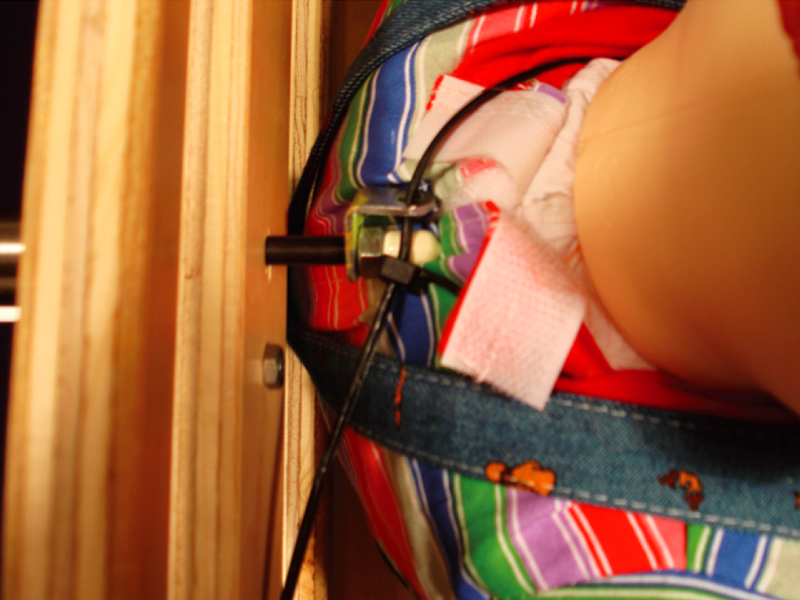
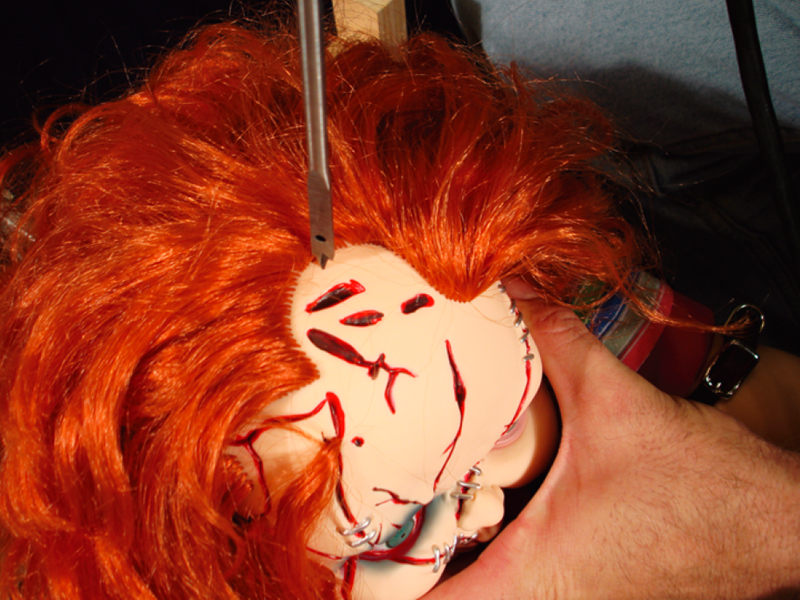
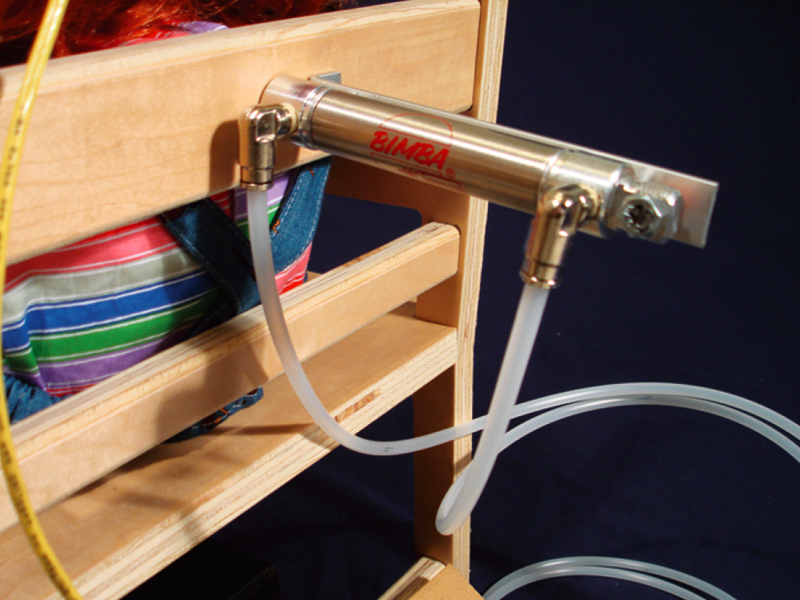
My friend John found this really great Chucky doll on eBay and had an idea for a mini electric chair. With the help of our friends Jeremy, Terry, and Karmyn (pictured with Chucky), we created an automated prop that we call Chucky Fries. With the addition of a simple controller, audio player, and second-hand pneumatics, we created a shockingly entertaining Halloween display. Chucky shakes, thrashes, and laughs-and survives the ordeal ready for the next set of trick-or-treaters.

Project Steps

Modify the doll.

Many plush dolls are overstuffed and will require the removal of stuffing at the natural bend point of the waist to allow the doll to move freely.

After removing enough stuffing to allow the doll to flex, sew the body back together and reinforce the seam with gaffer or duct tape.

If your doll does not have removable clothes, you should perform this step from the backside.

Prepare the cylinder mount.

For the best stability, the output end of the cylinder should be countersunk into the back of the chair.

Use a piece of scrap aluminum to create an L-bracket for mounting the cylinder. The bracket should just meet the shoulder of the push-rob end of the cylinder.

Attach the other end of the bracket to the cylinder’s swivel mount with a 1/4-20 machine screw and nut.

Mount the cylinder.

Start by drilling a 1/4″ pilot hole through the back of the chair at approximately neck level(when the doll is seated).

With painter’s tape, mark a 5/8″ wood bit for the correct depth, then countersink the cylinder-mounting hole.

Drill a second pilot hole in the back of the seat and mount the cylinder(via the L-bracket with a 1/4-20 machine screw and nut.

Mount the doll to the seat.

Mount the doll to the seat by using a wood screw and large fender washer through the hinge-point of the body.

If the chair has arms, use pet collars to secure the hands.

Connect the doll to the cylinder.

Make a small L-bracket with scrap aluminum, and drill holes in both tabs so that the bracket will just slide onto the end of the cylinder’s push rod; secure with a nut.

Connect the push rod to the doll’s neck with a long zip tie.

This doll’s neck has a slot for securing the plush body, so we put the zip tie into this slot and tightened just enough so that the zip tie would not come out.

A little bit of play in the zip tie will let the head move freely, and this is what you want.

Trim the excess zip tie and adjust the doll’s clothing as required.

Create electrode mounting points.

With your drill and a 1/4″ wood bit, drill a hole into the top-center of the doll’s head.

Cut radiating slots from the head hole with a utility knife so that the head of a 1 1/2″ carriage bolt can be pushed through.

Once the bolt head is pushed through, secure with blood-colored hot glue and cover with a large fender washer.

Repeat the process on the doll’s left ankle with a 3 1/2″ carriage bolt, using fender washers on both sides of the ankle.

Make and mount the electrodes.

Cut two 4′ lengths of #10 electrical wire, and crimp ring terminals on both ends of each.

Wrap these wires tightly around a broom handle to create a helical shape.

Mount the electrodes to the head and ankle with wing nuts and to the back of chair with wood screws.

Panelize and connect the control components.

Working with props like this is much easier if the components are panelized on a board.

The second photo shows how we did it. Connect the valve wires to the prop-1 controller using output terminals V+ and OUT0.

Connect the AP-8 audio player to the Prop-1 with the supplied 3-wire jumper cable; the cable connects between P7 of the controller and Serial header of the audio player.

Connect the audio player speaker terminals to an enclosed 8-ohm speaker.

Finally, connect the controller and audio player to a 12V or 24V DC power source (as required by the solenoid valve).

Cut two 3′ sections of 1/4″ polyethylene or vinyl tubing, and connect to the valve output ports. Cut another length of tubing (as required) and connect to the valve input port.

Wrap a bit of teflon tape around the threads of the press-in/MPT adapter, and then screw into the male quick couple. Finally, press the supply tube into this assembly-now you can connect the prop to a regulated (25psi–40psi) pneumatic supply (compressor or air tank).

Conclusion

This project first appeared in Make: Halloween Special Edition, page 86.