Last year I assembled a “Light Brick” kit (MAKE Magazine #18, https://makezine.com/18/lightbrick/). Well, I actually just completed the circuit board. I had trouble finding the materials for the cast plastic “brick” locally. Then I found, in the trash, a “tea candle” lantern with frosted panels. The light brick panel, placed inside, produced a very pleasing display.

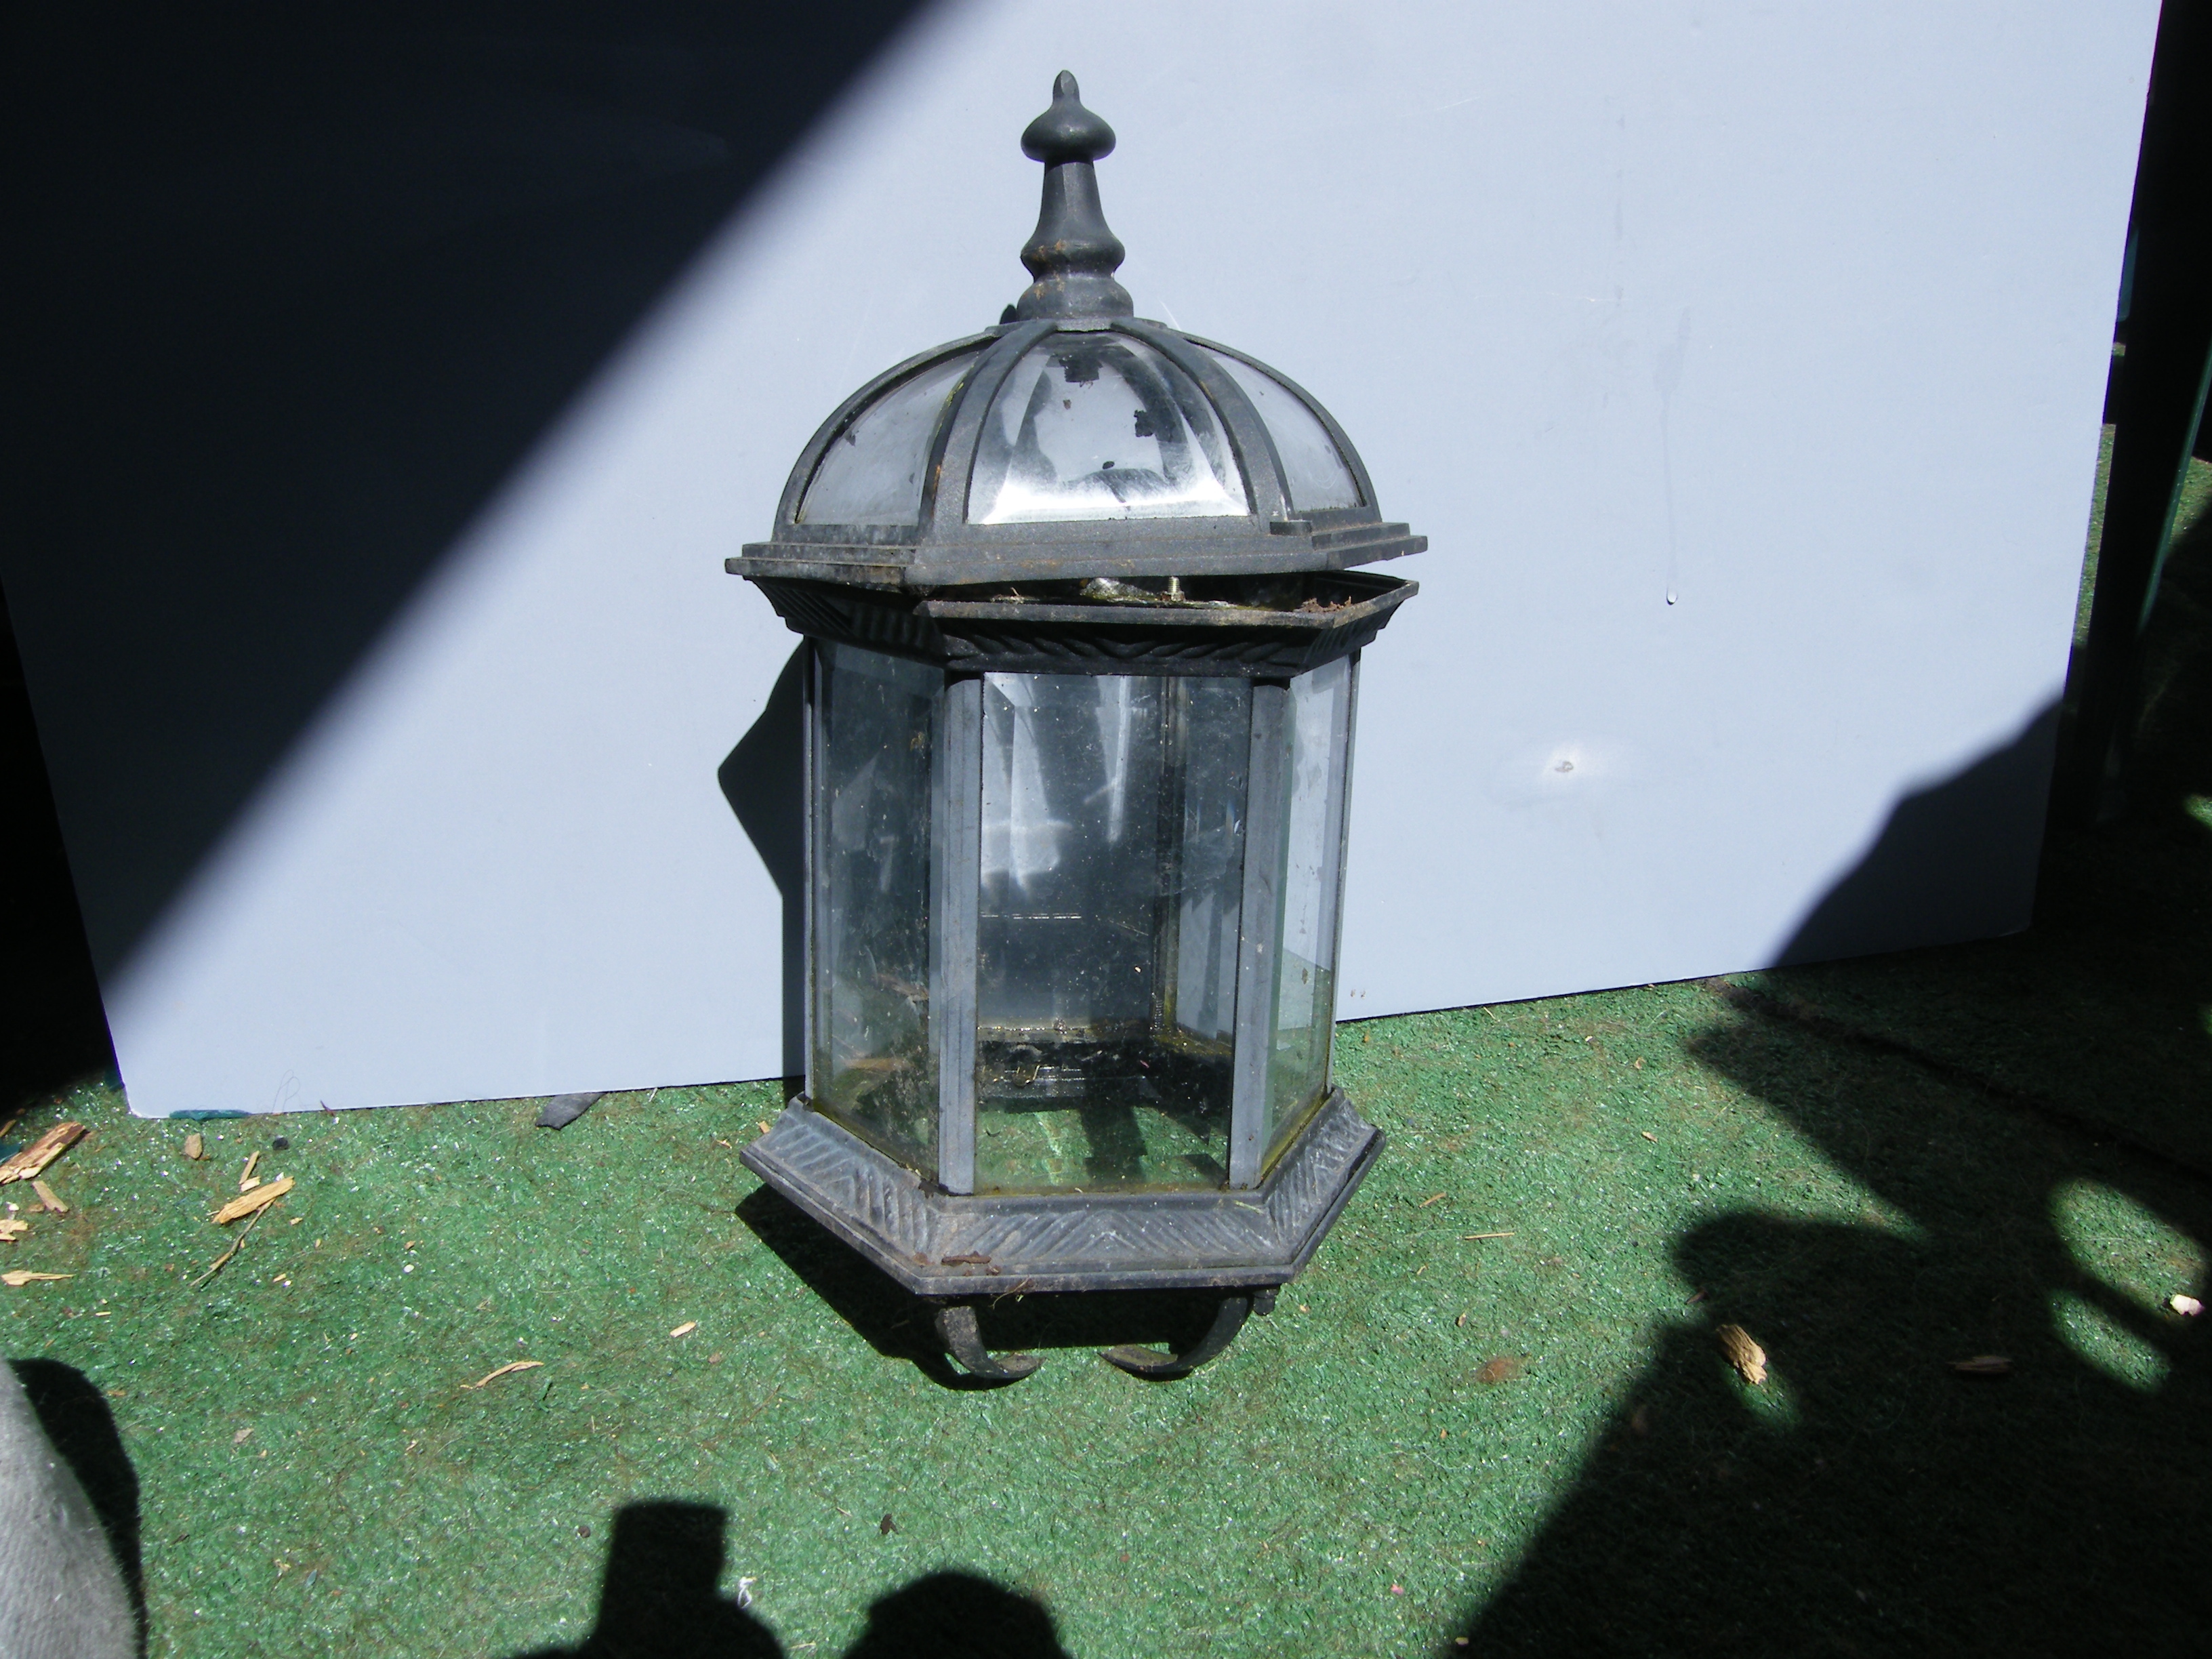
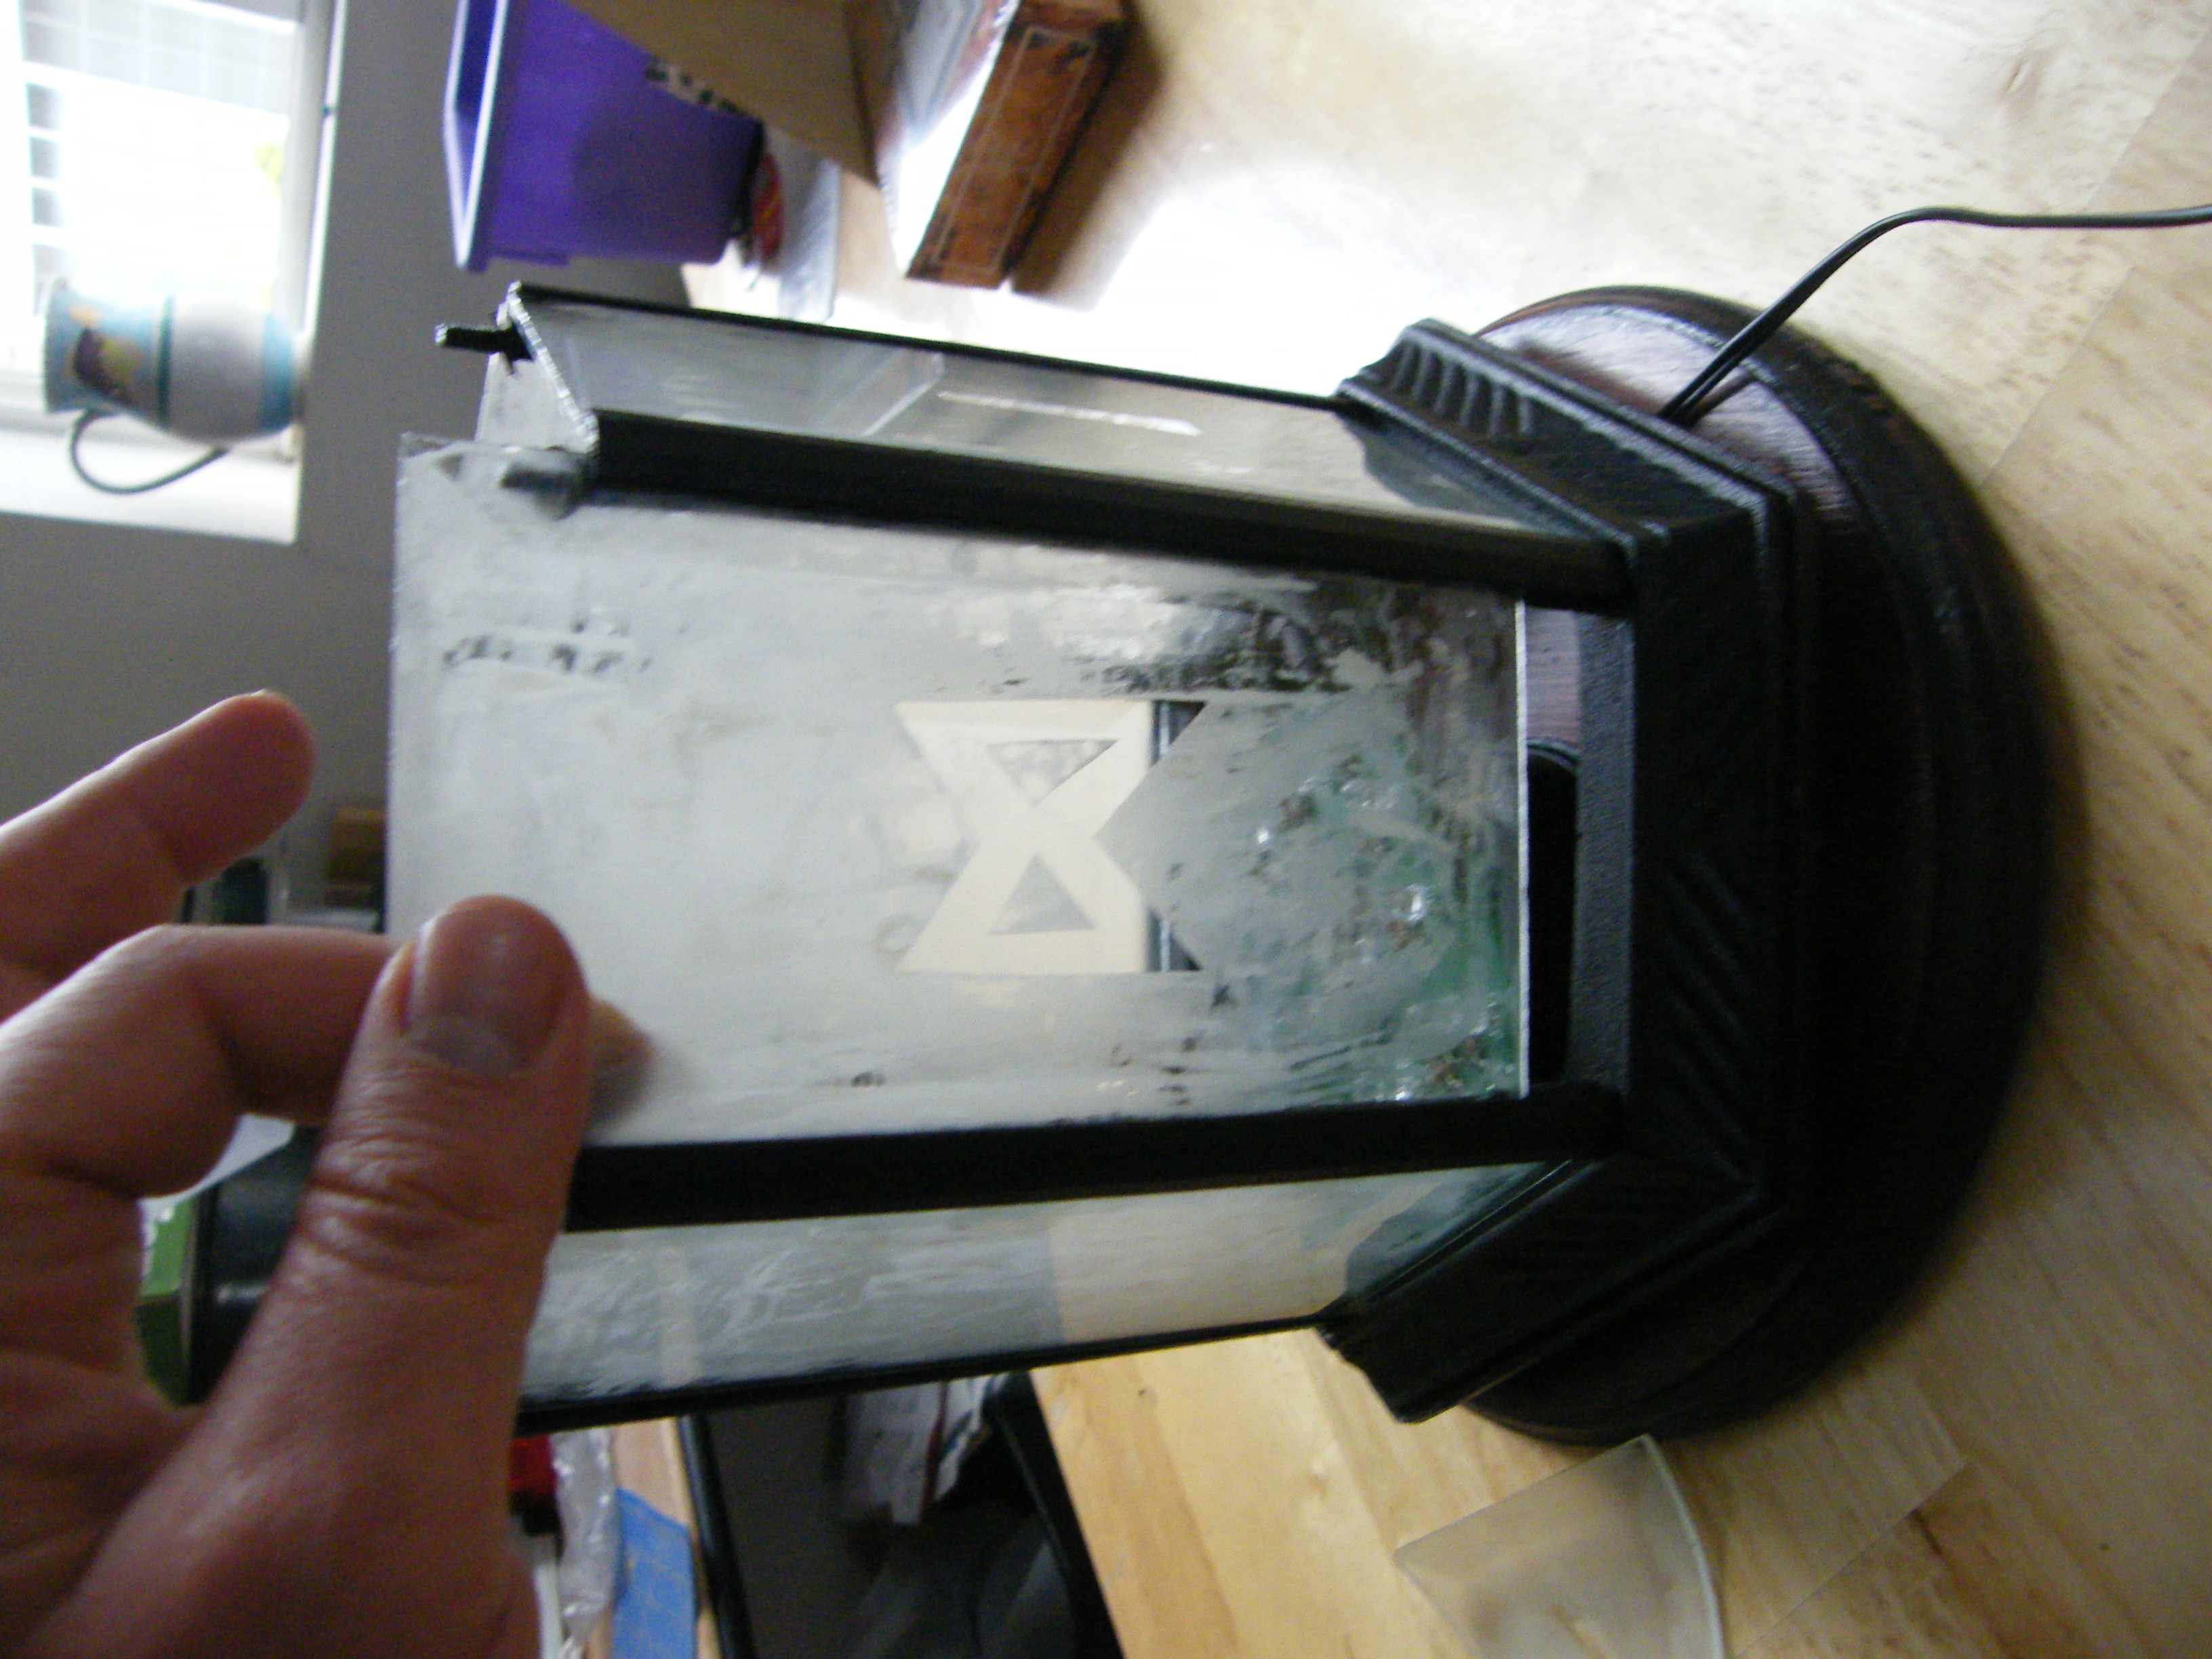
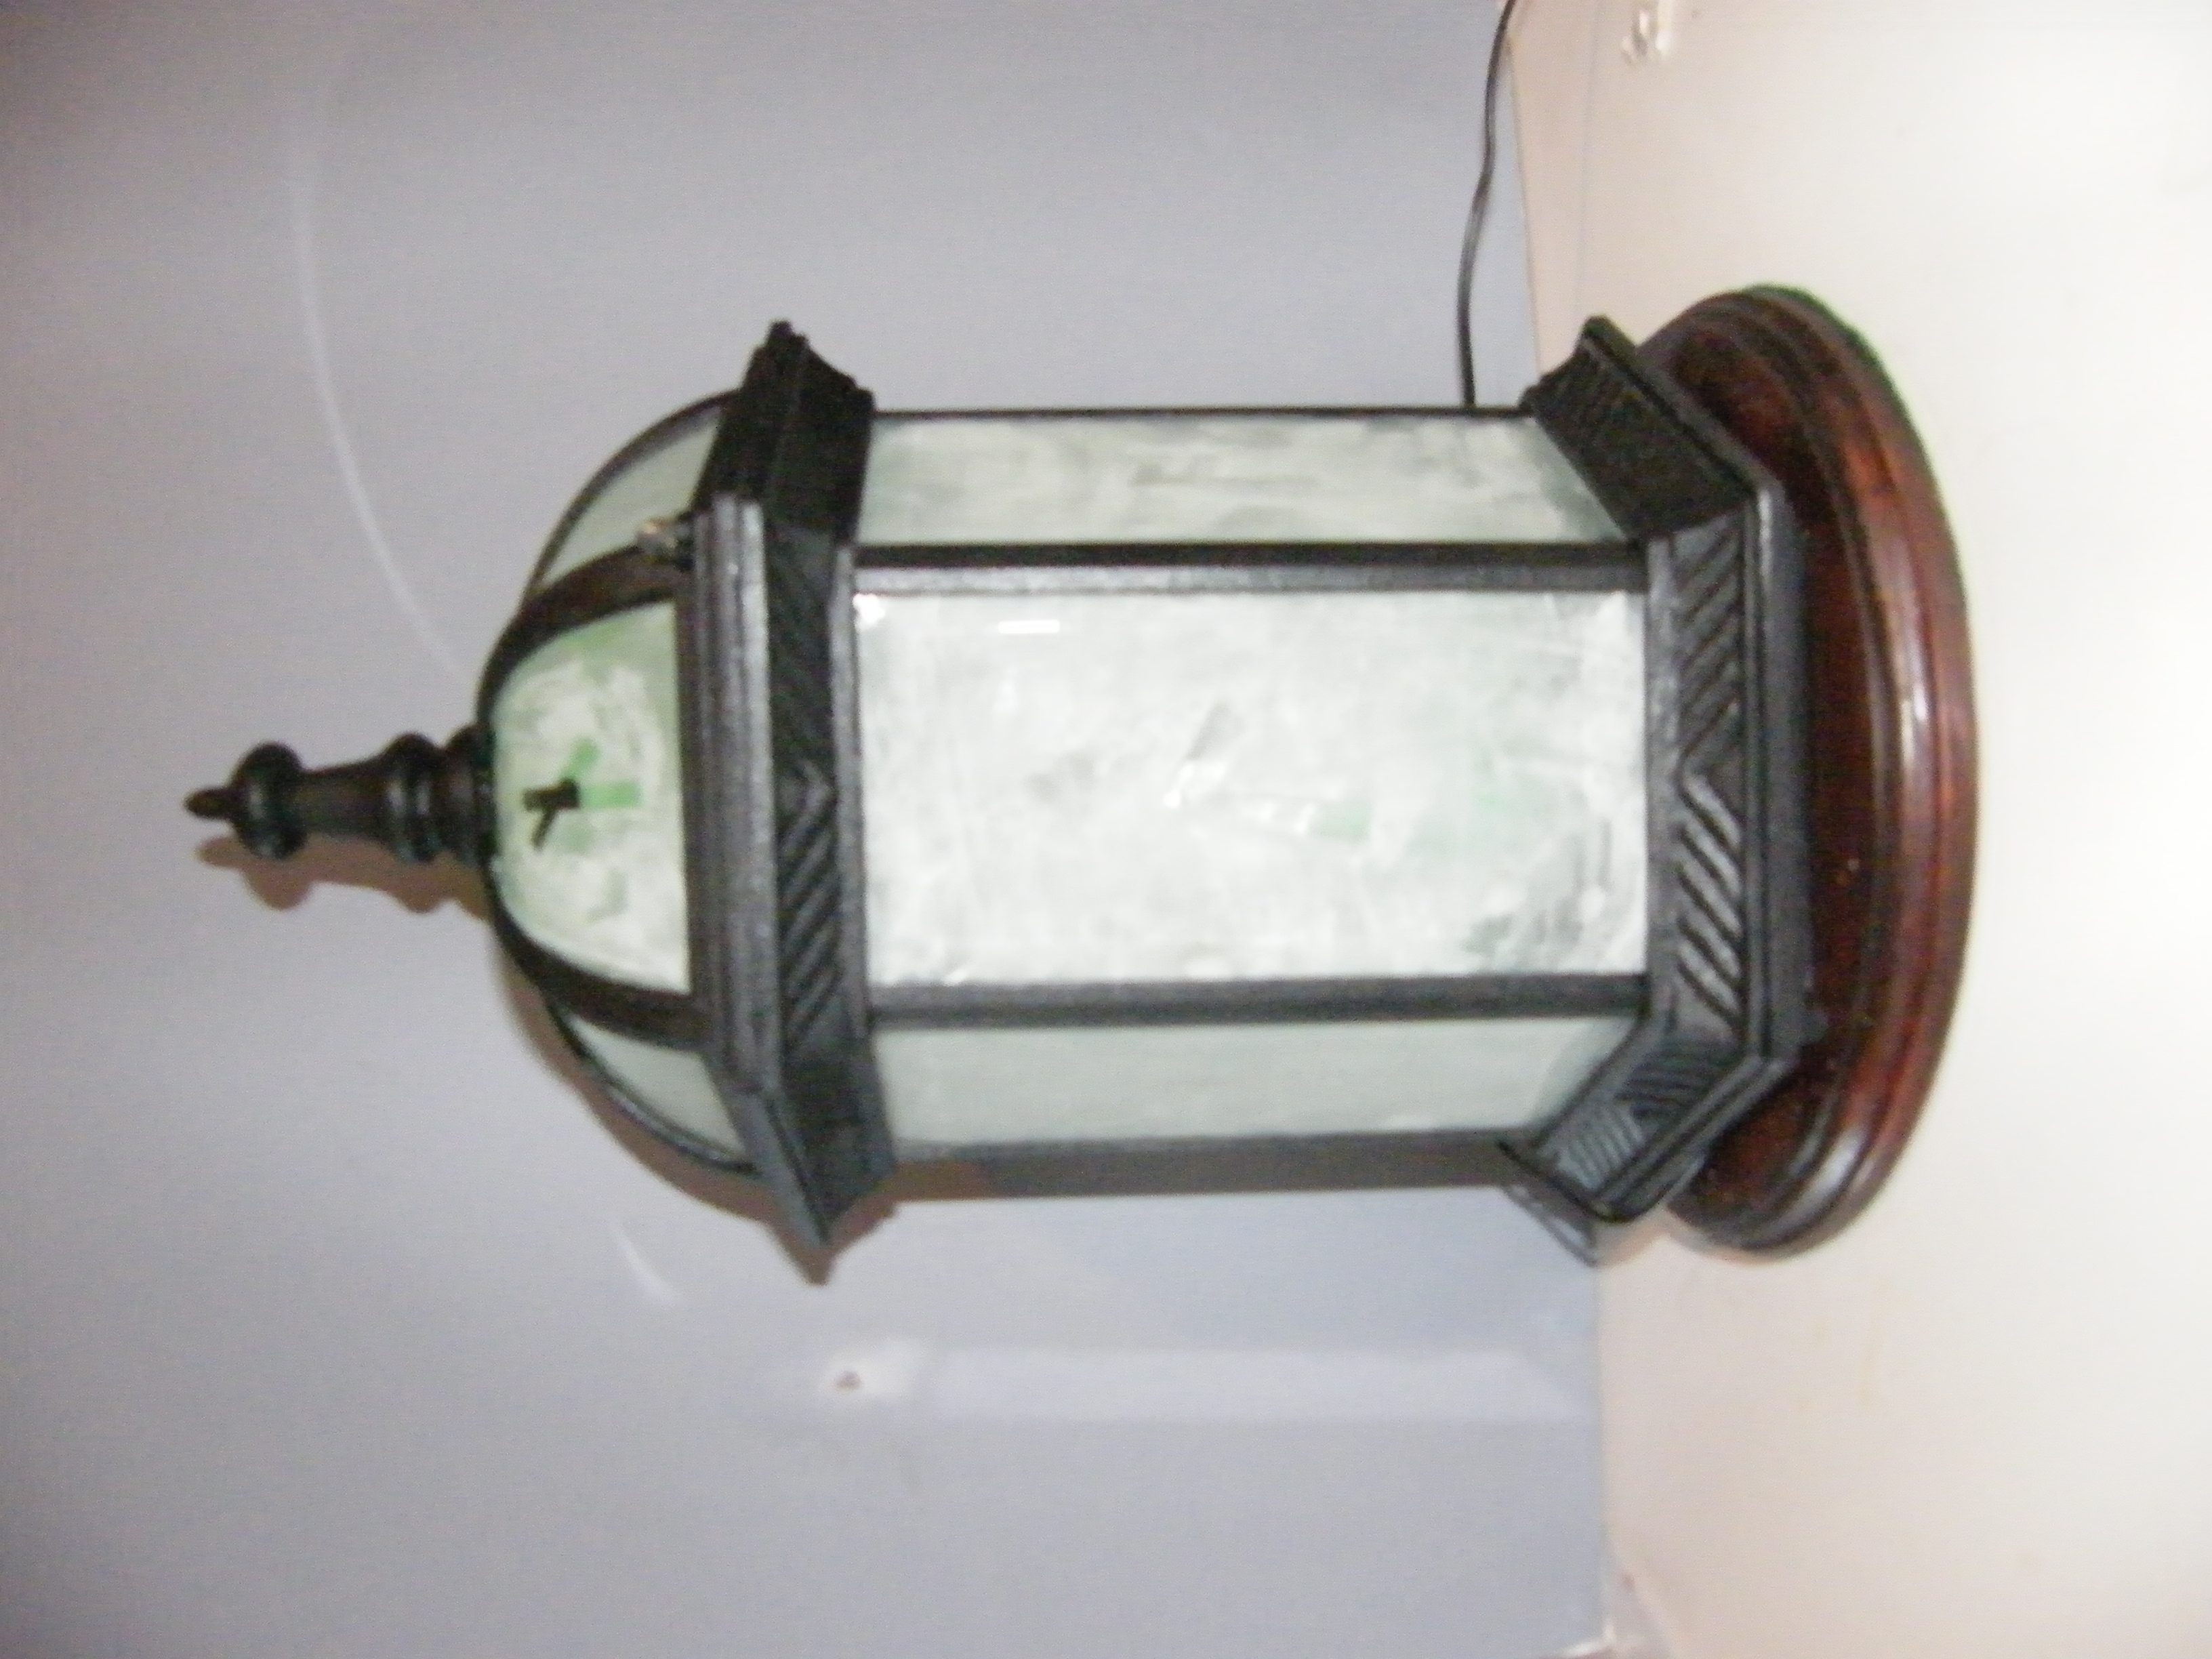
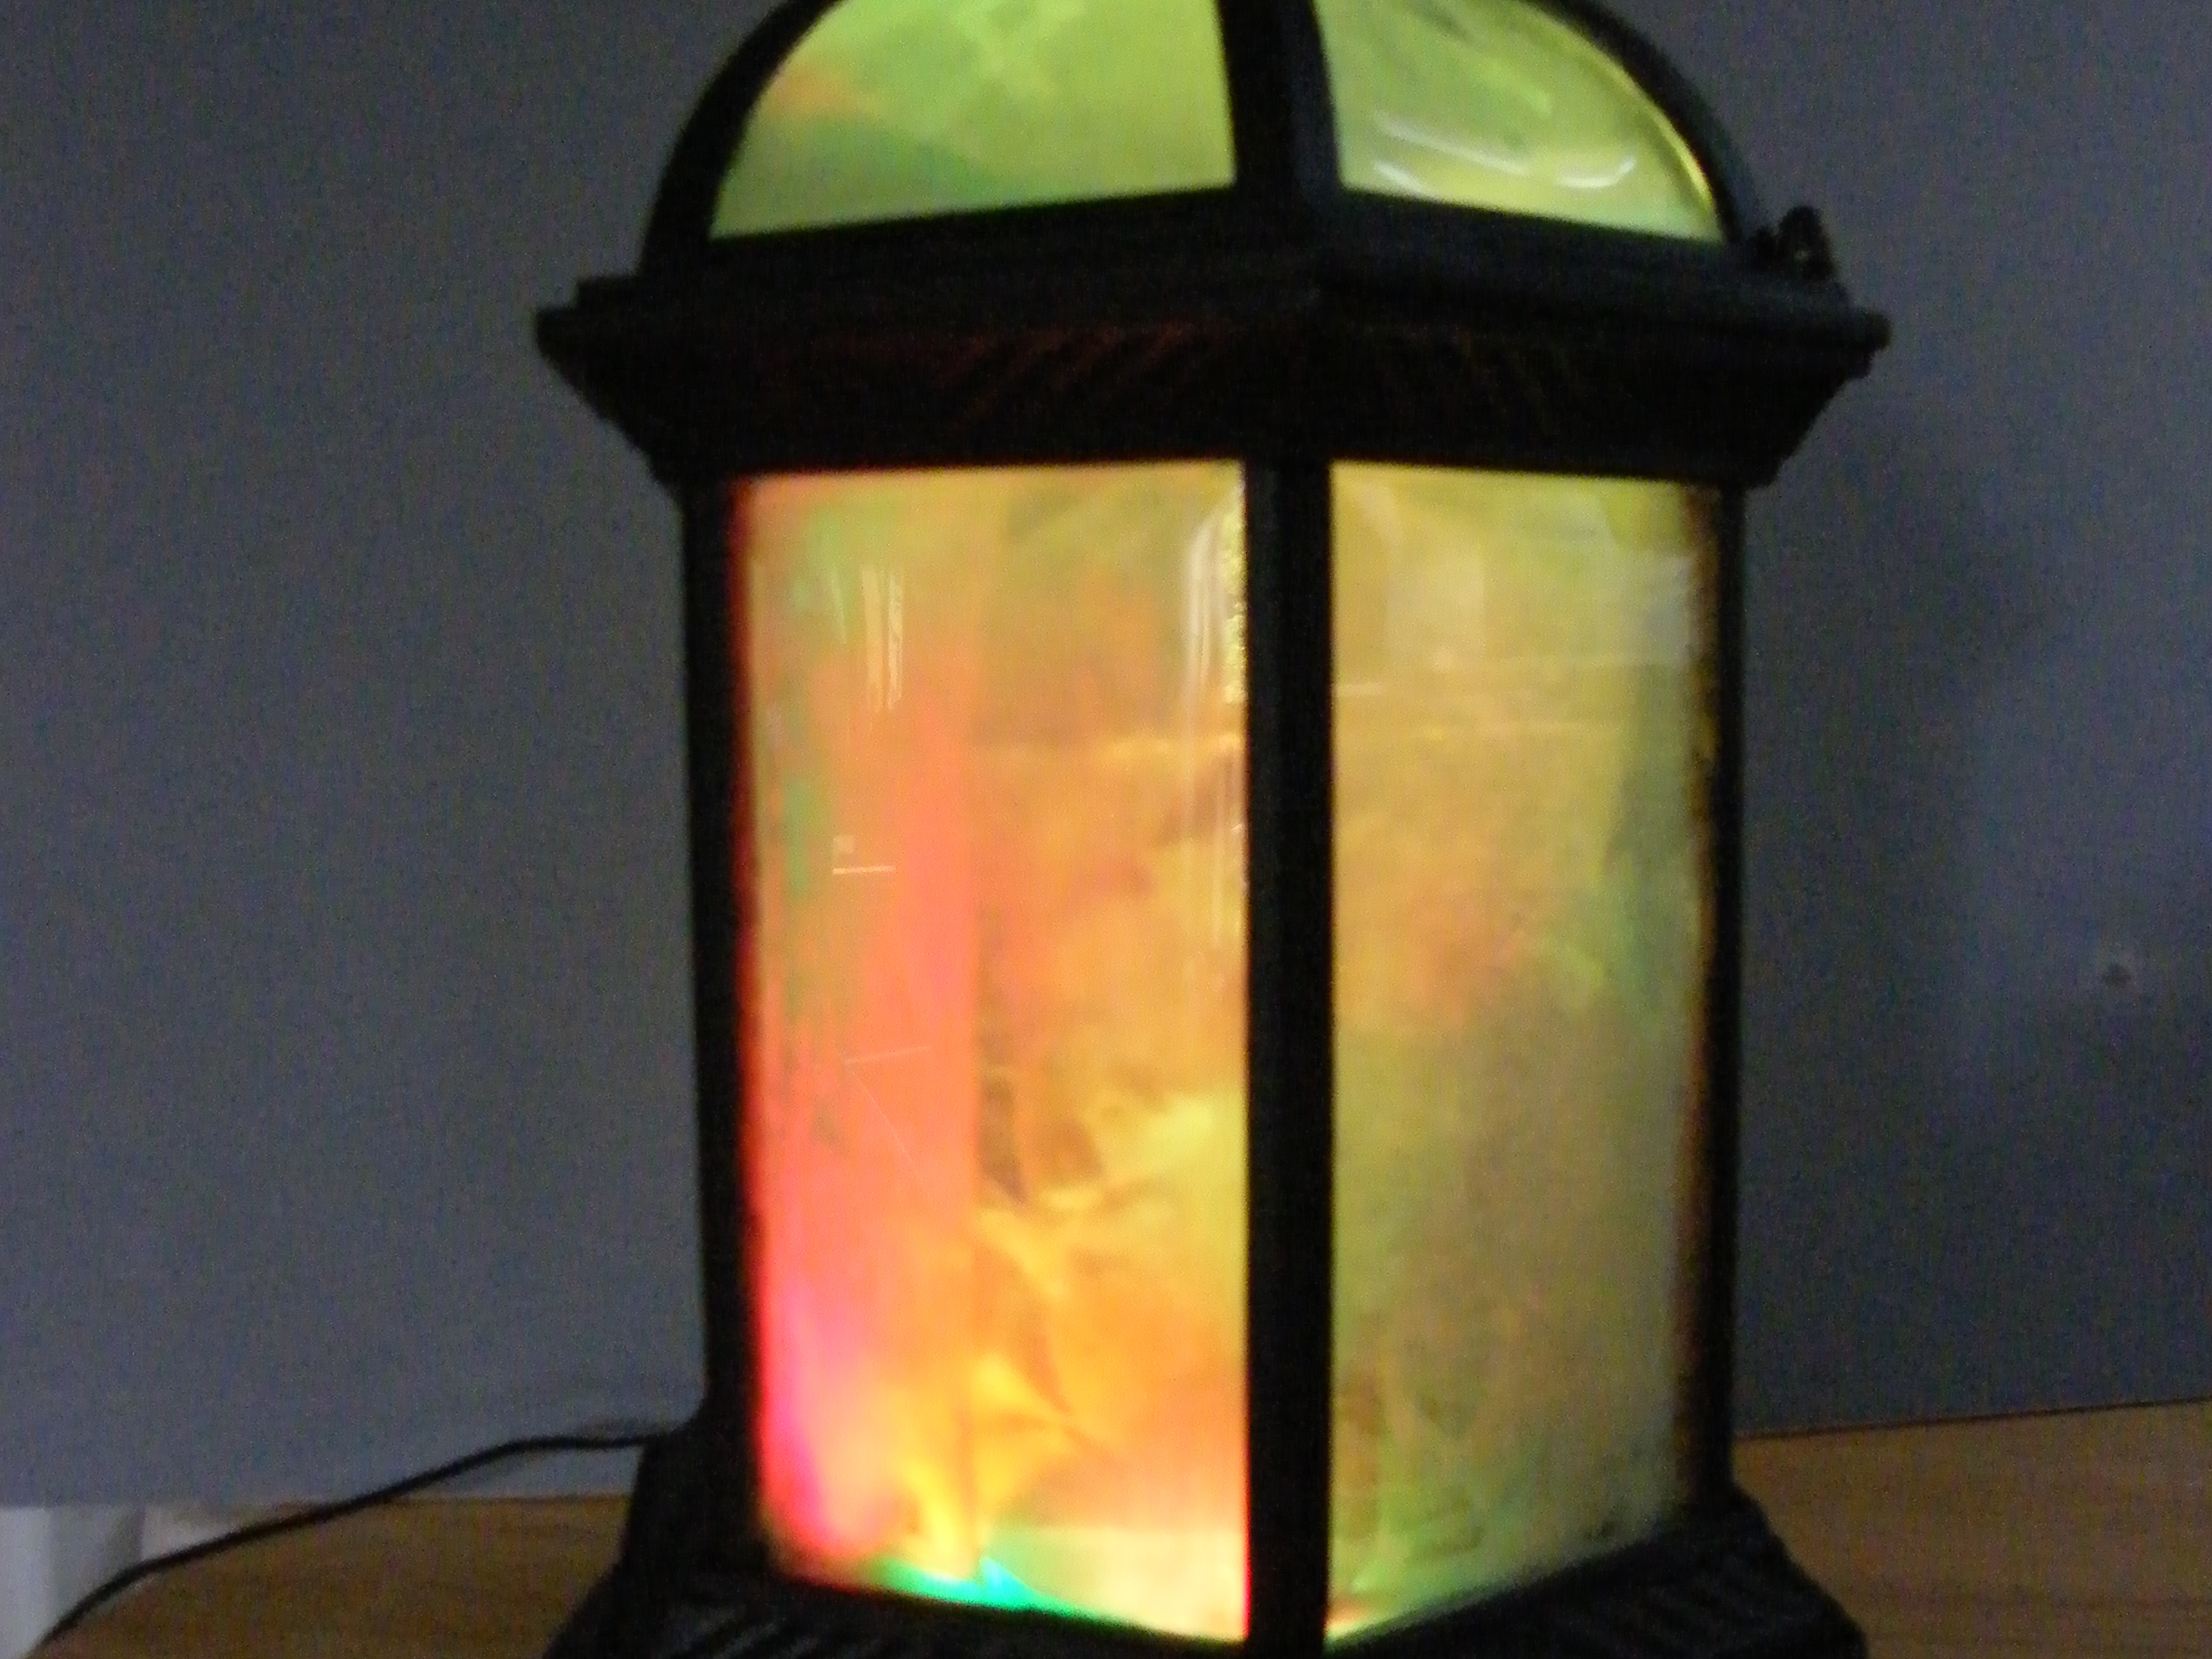
Recently, I found another sort of lamp in the trash; one of the pole-mounted lanterns that illuminate the paths of my apartment complex.

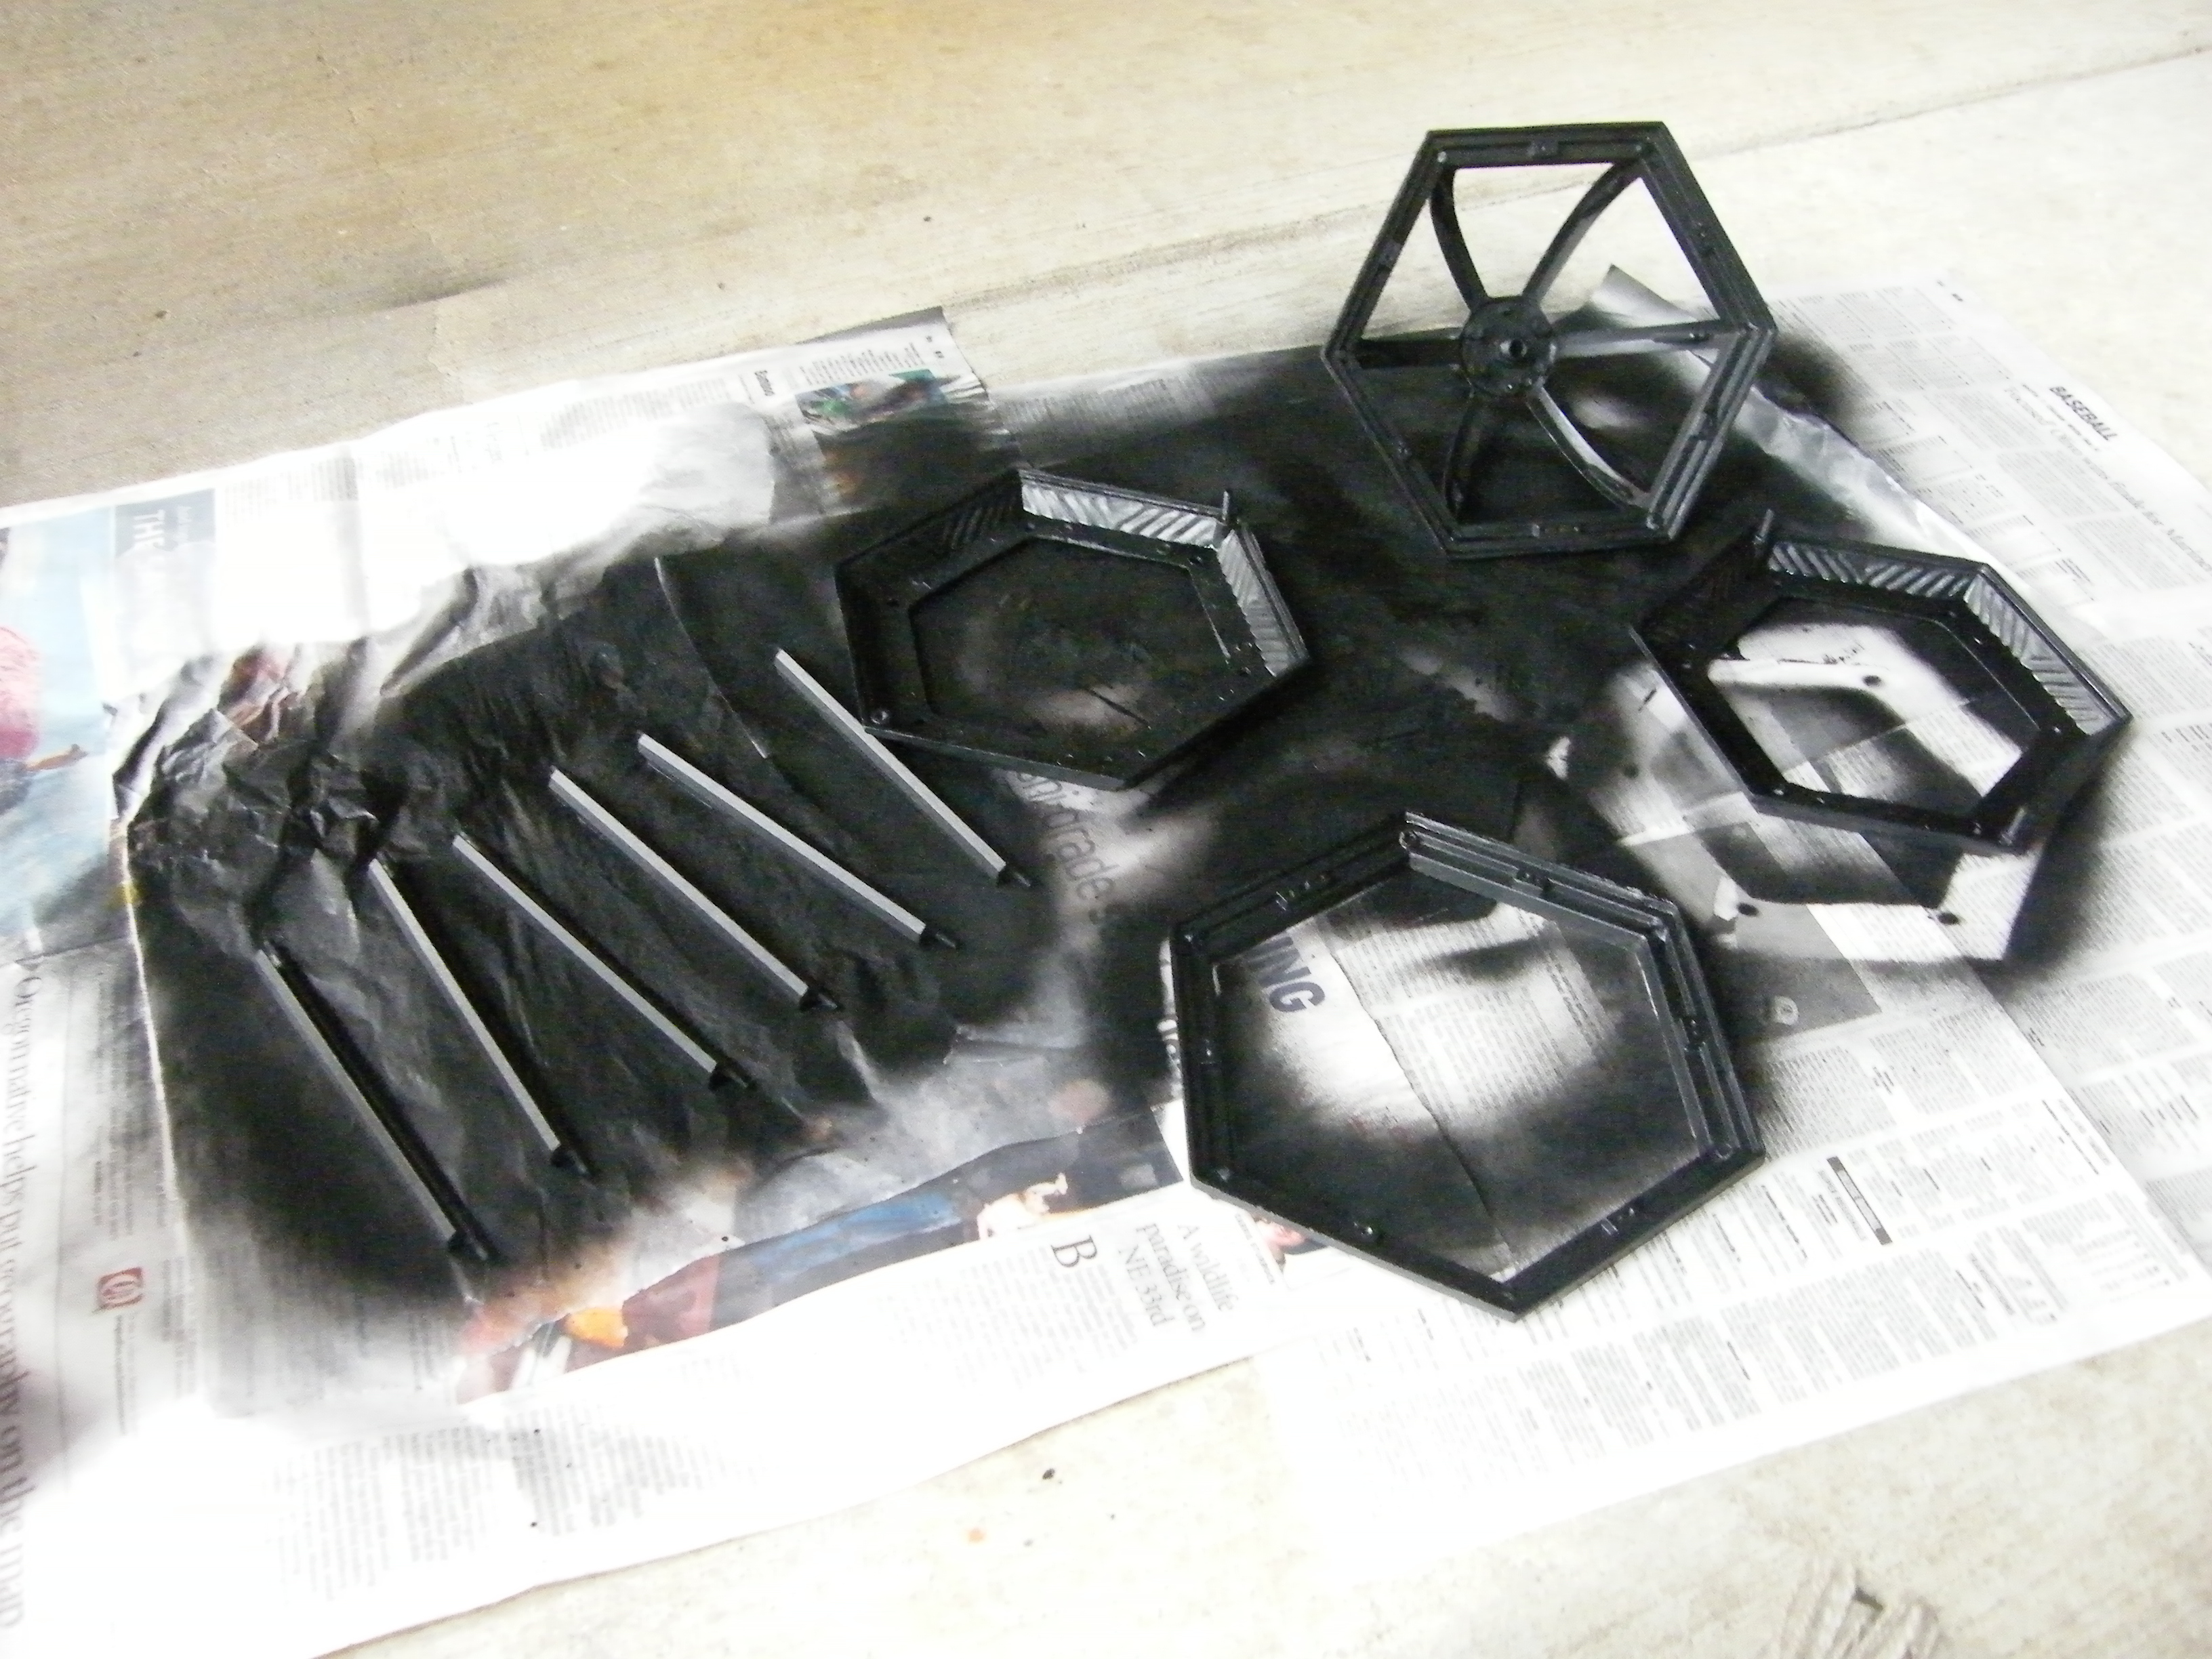
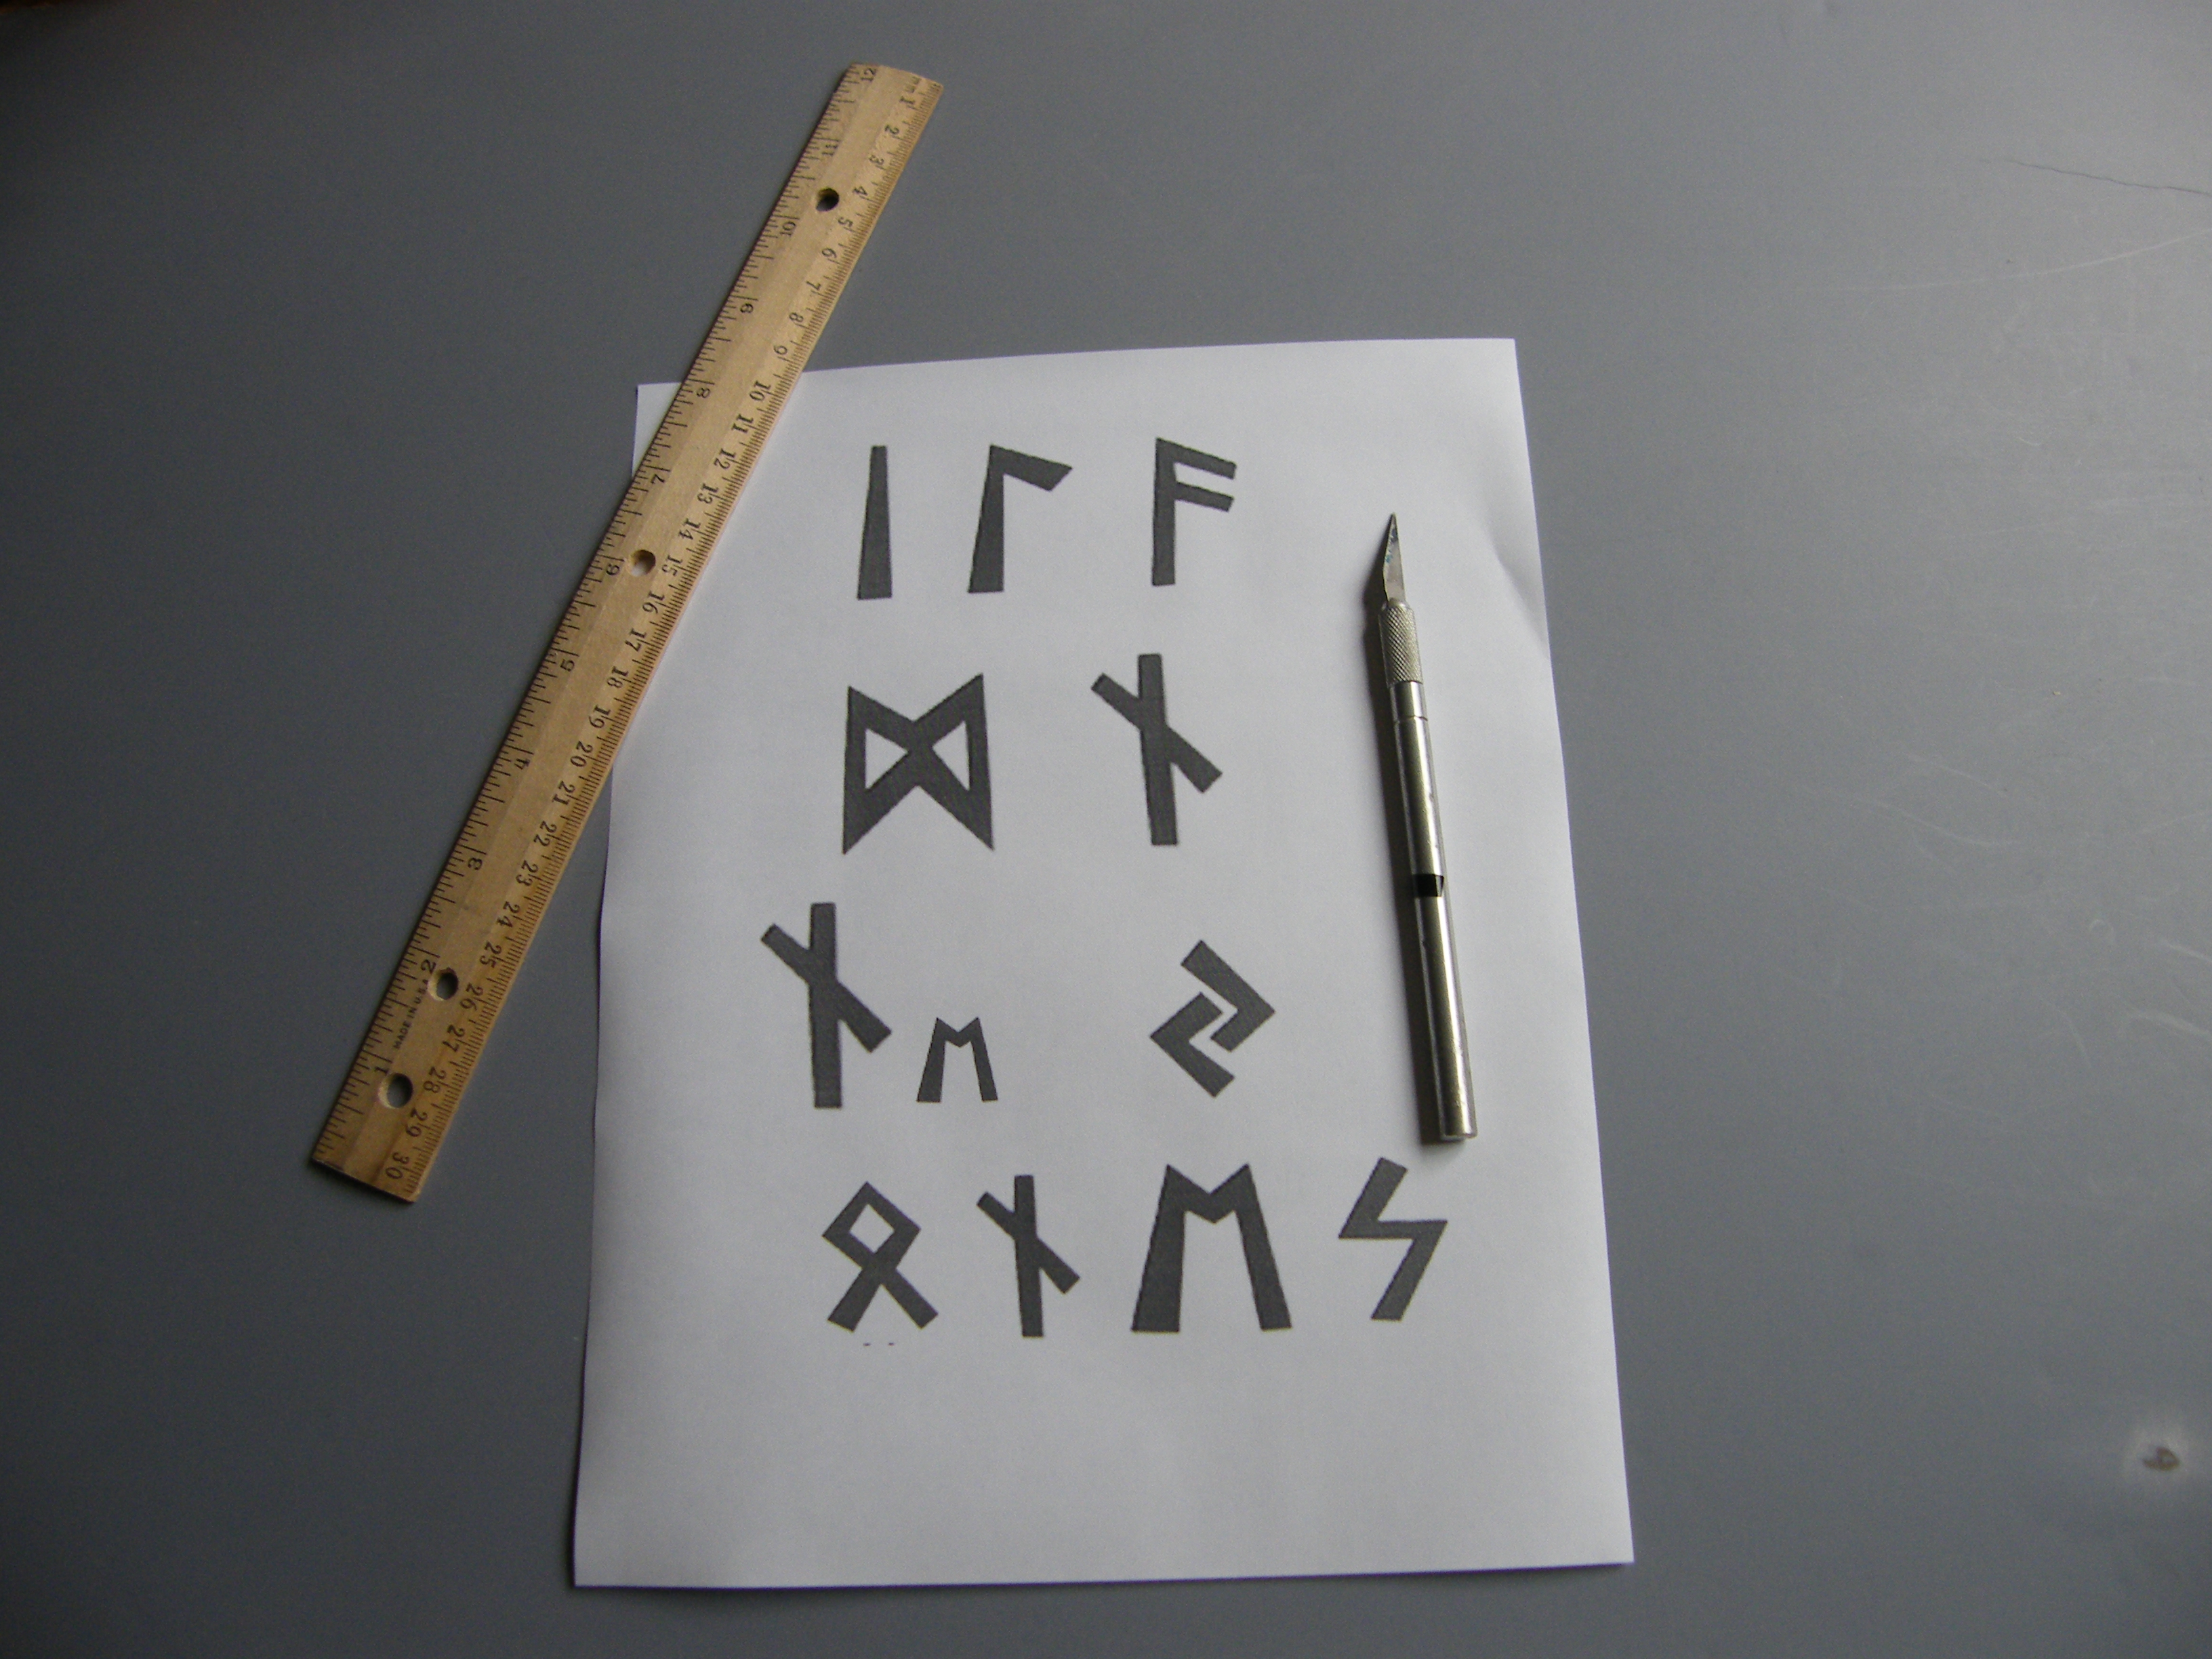
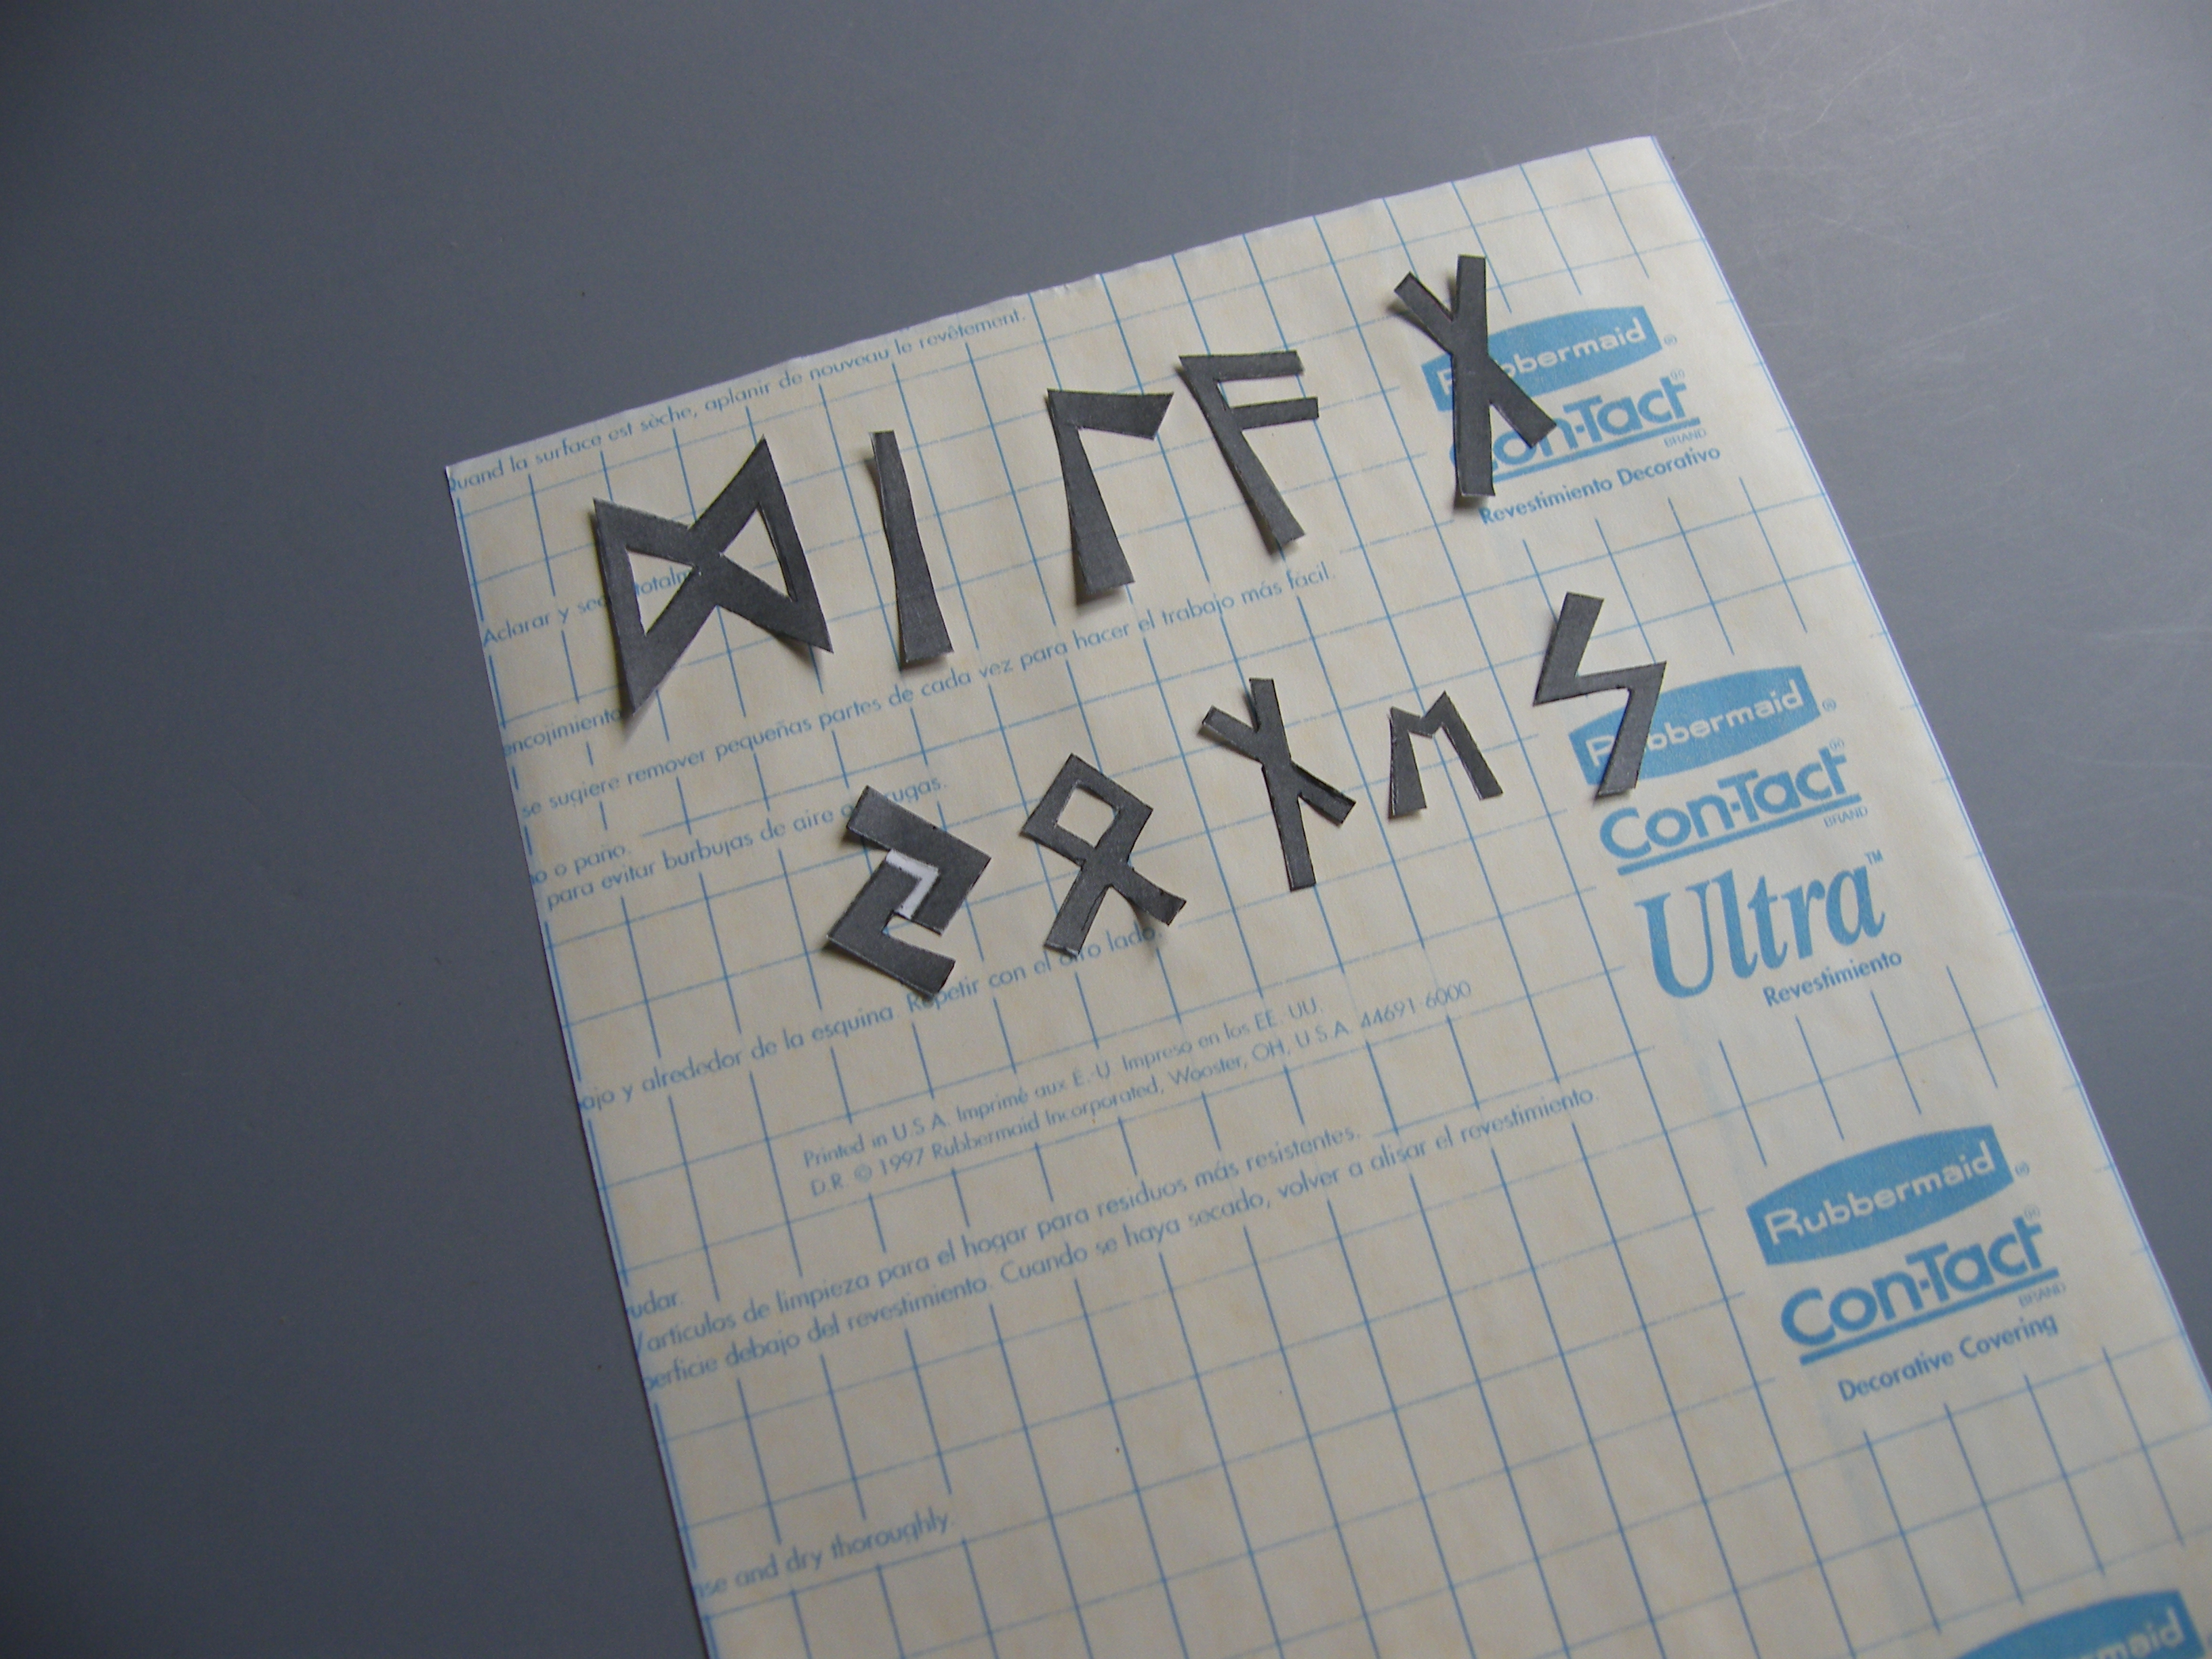
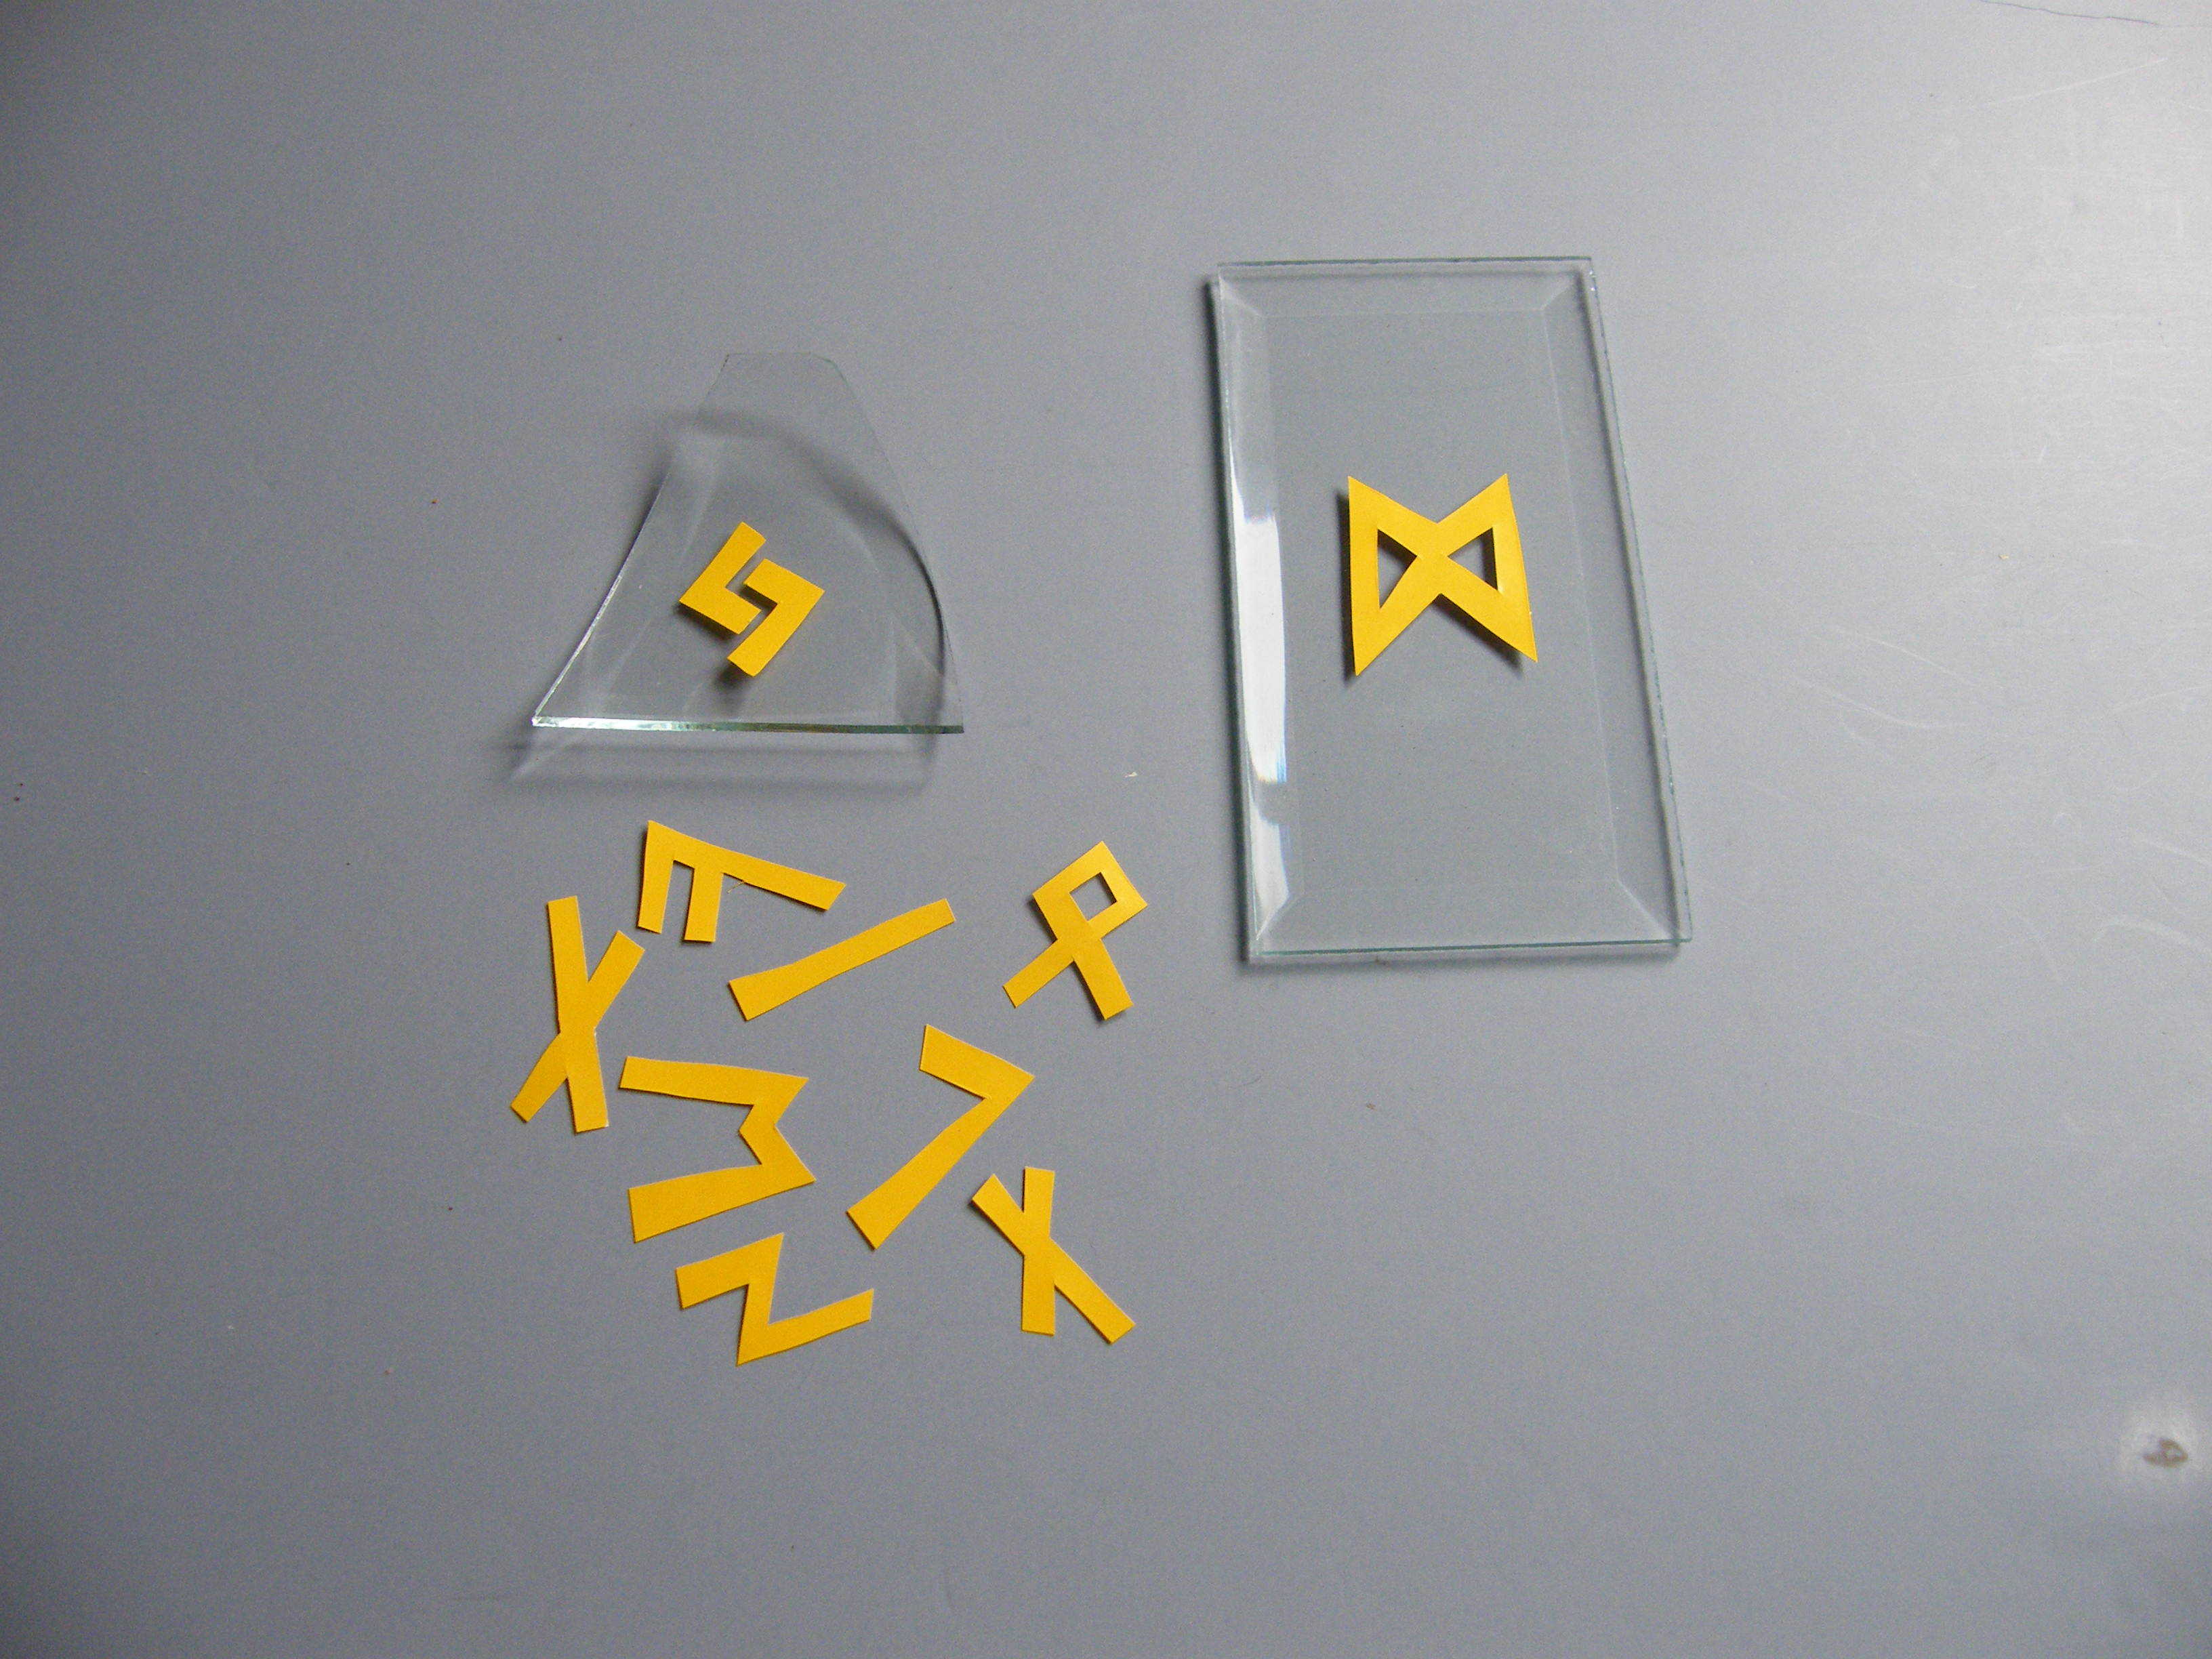
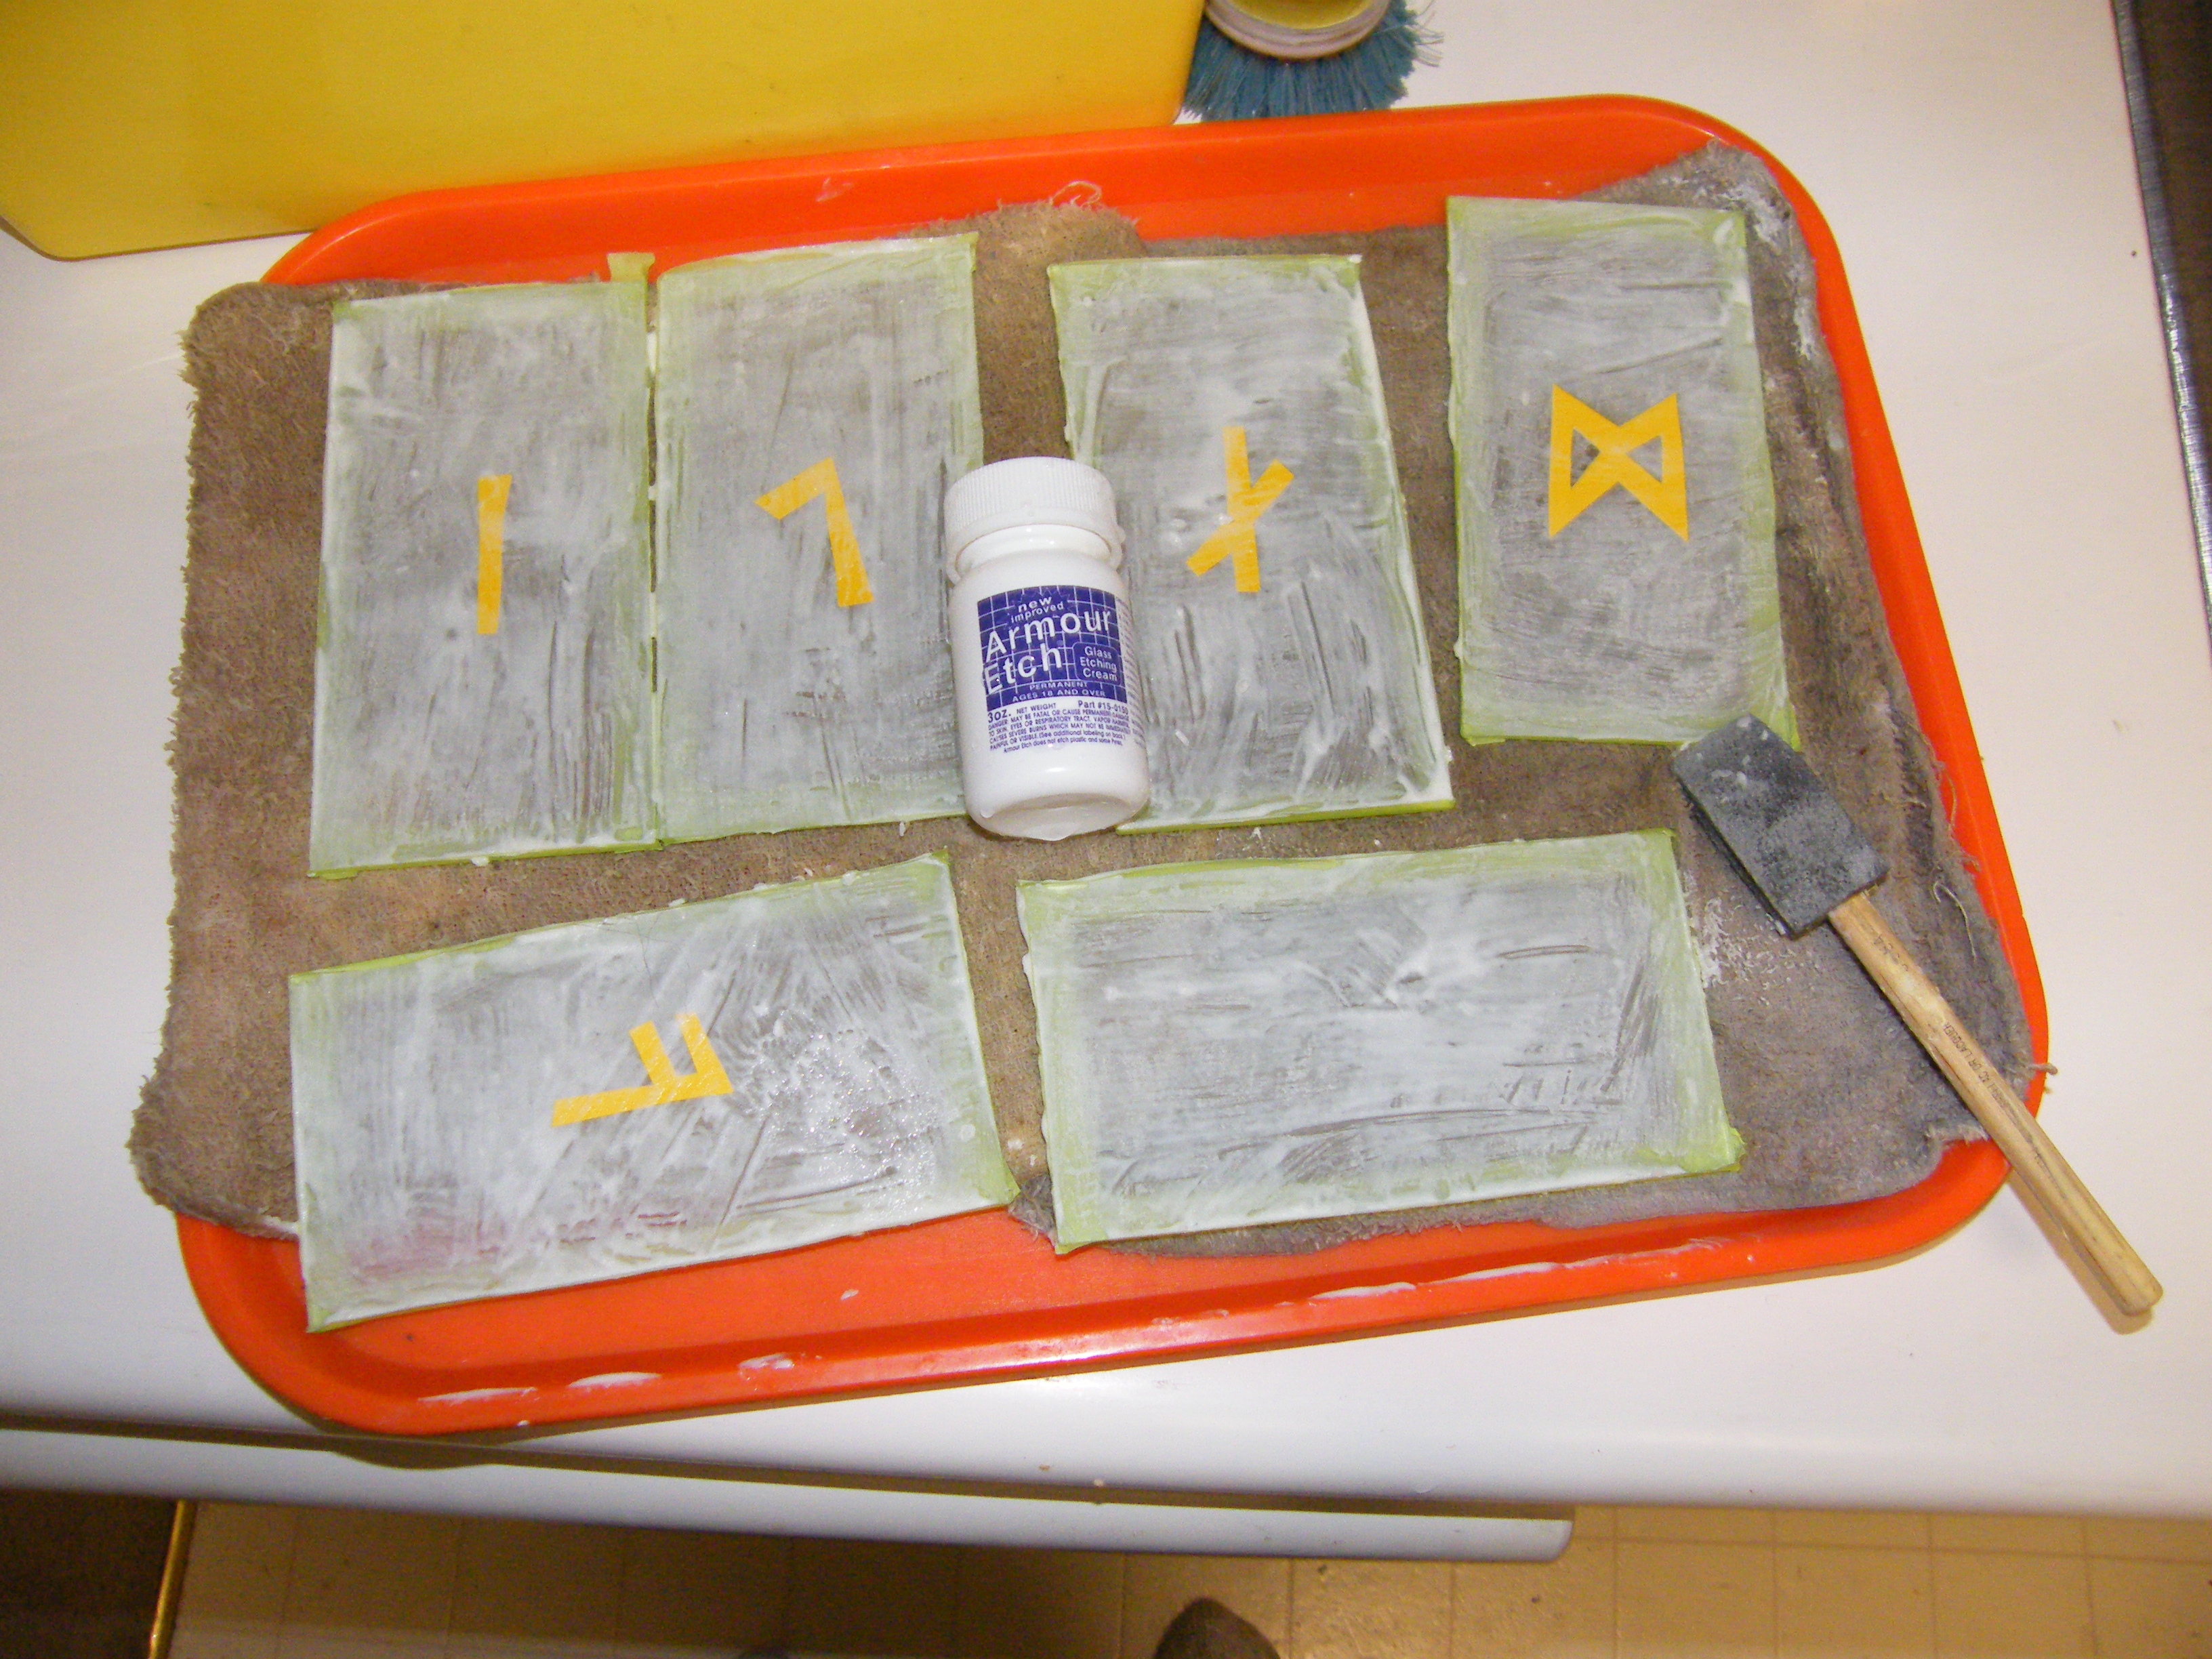
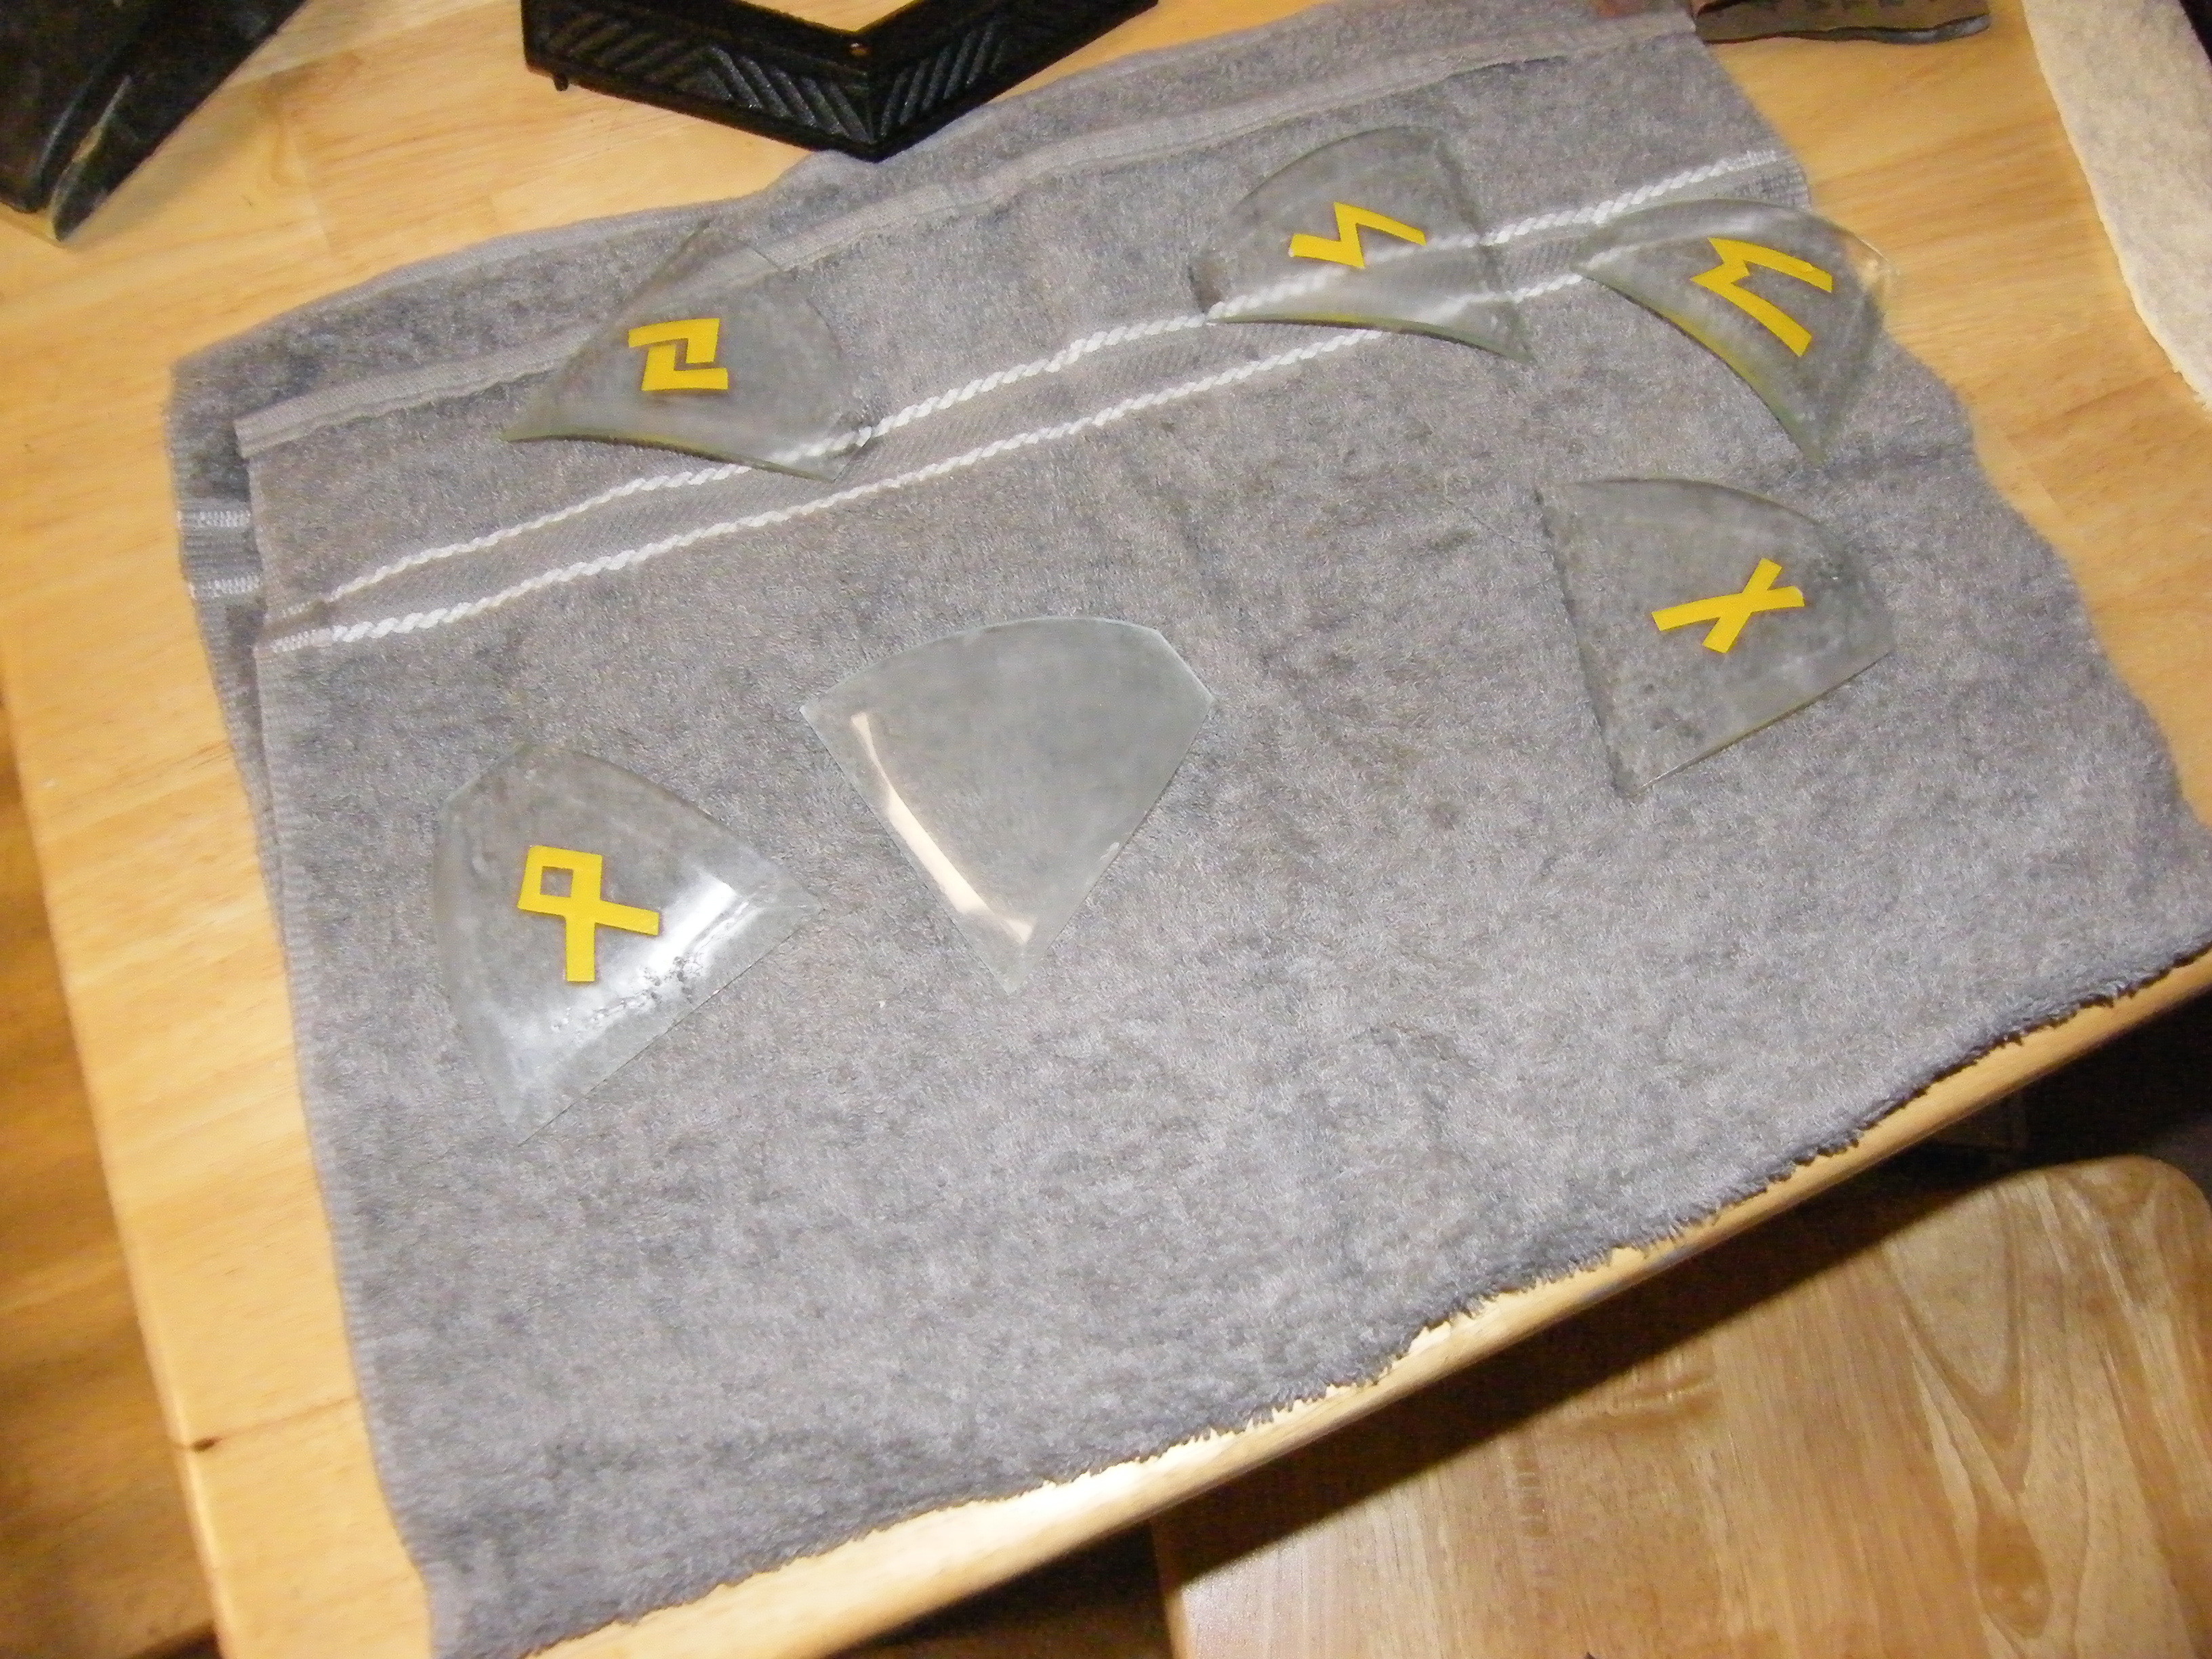
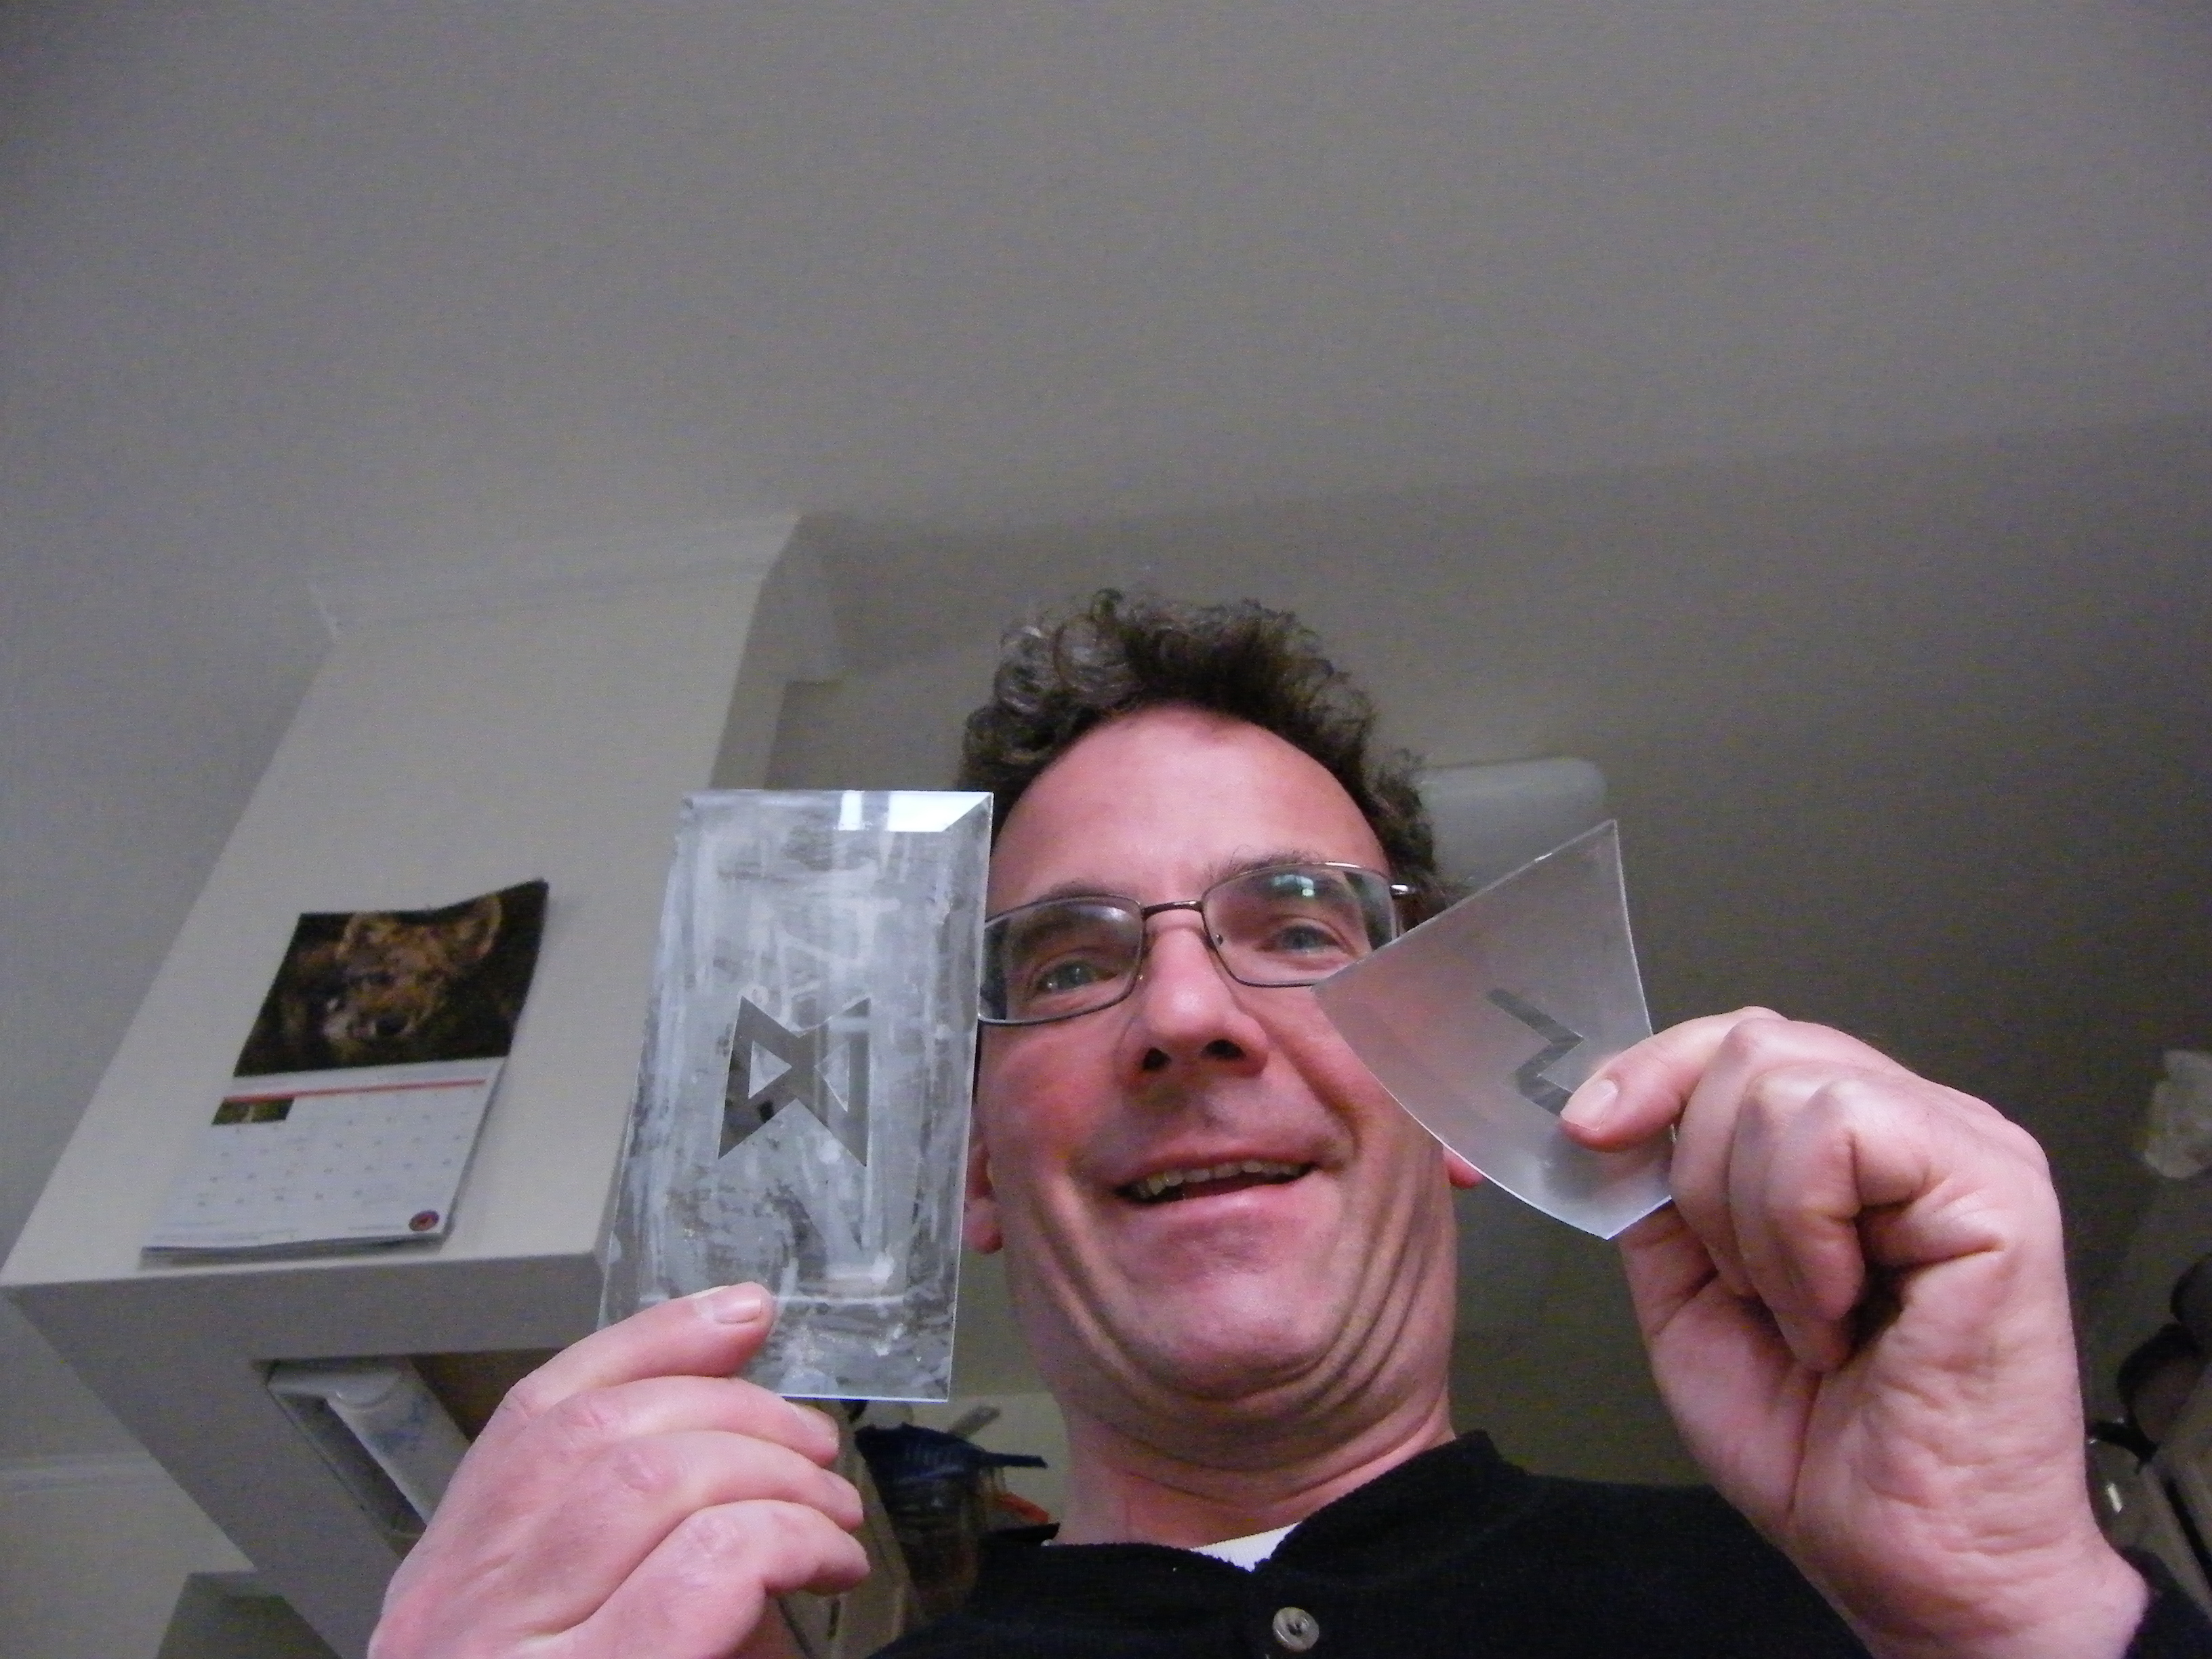
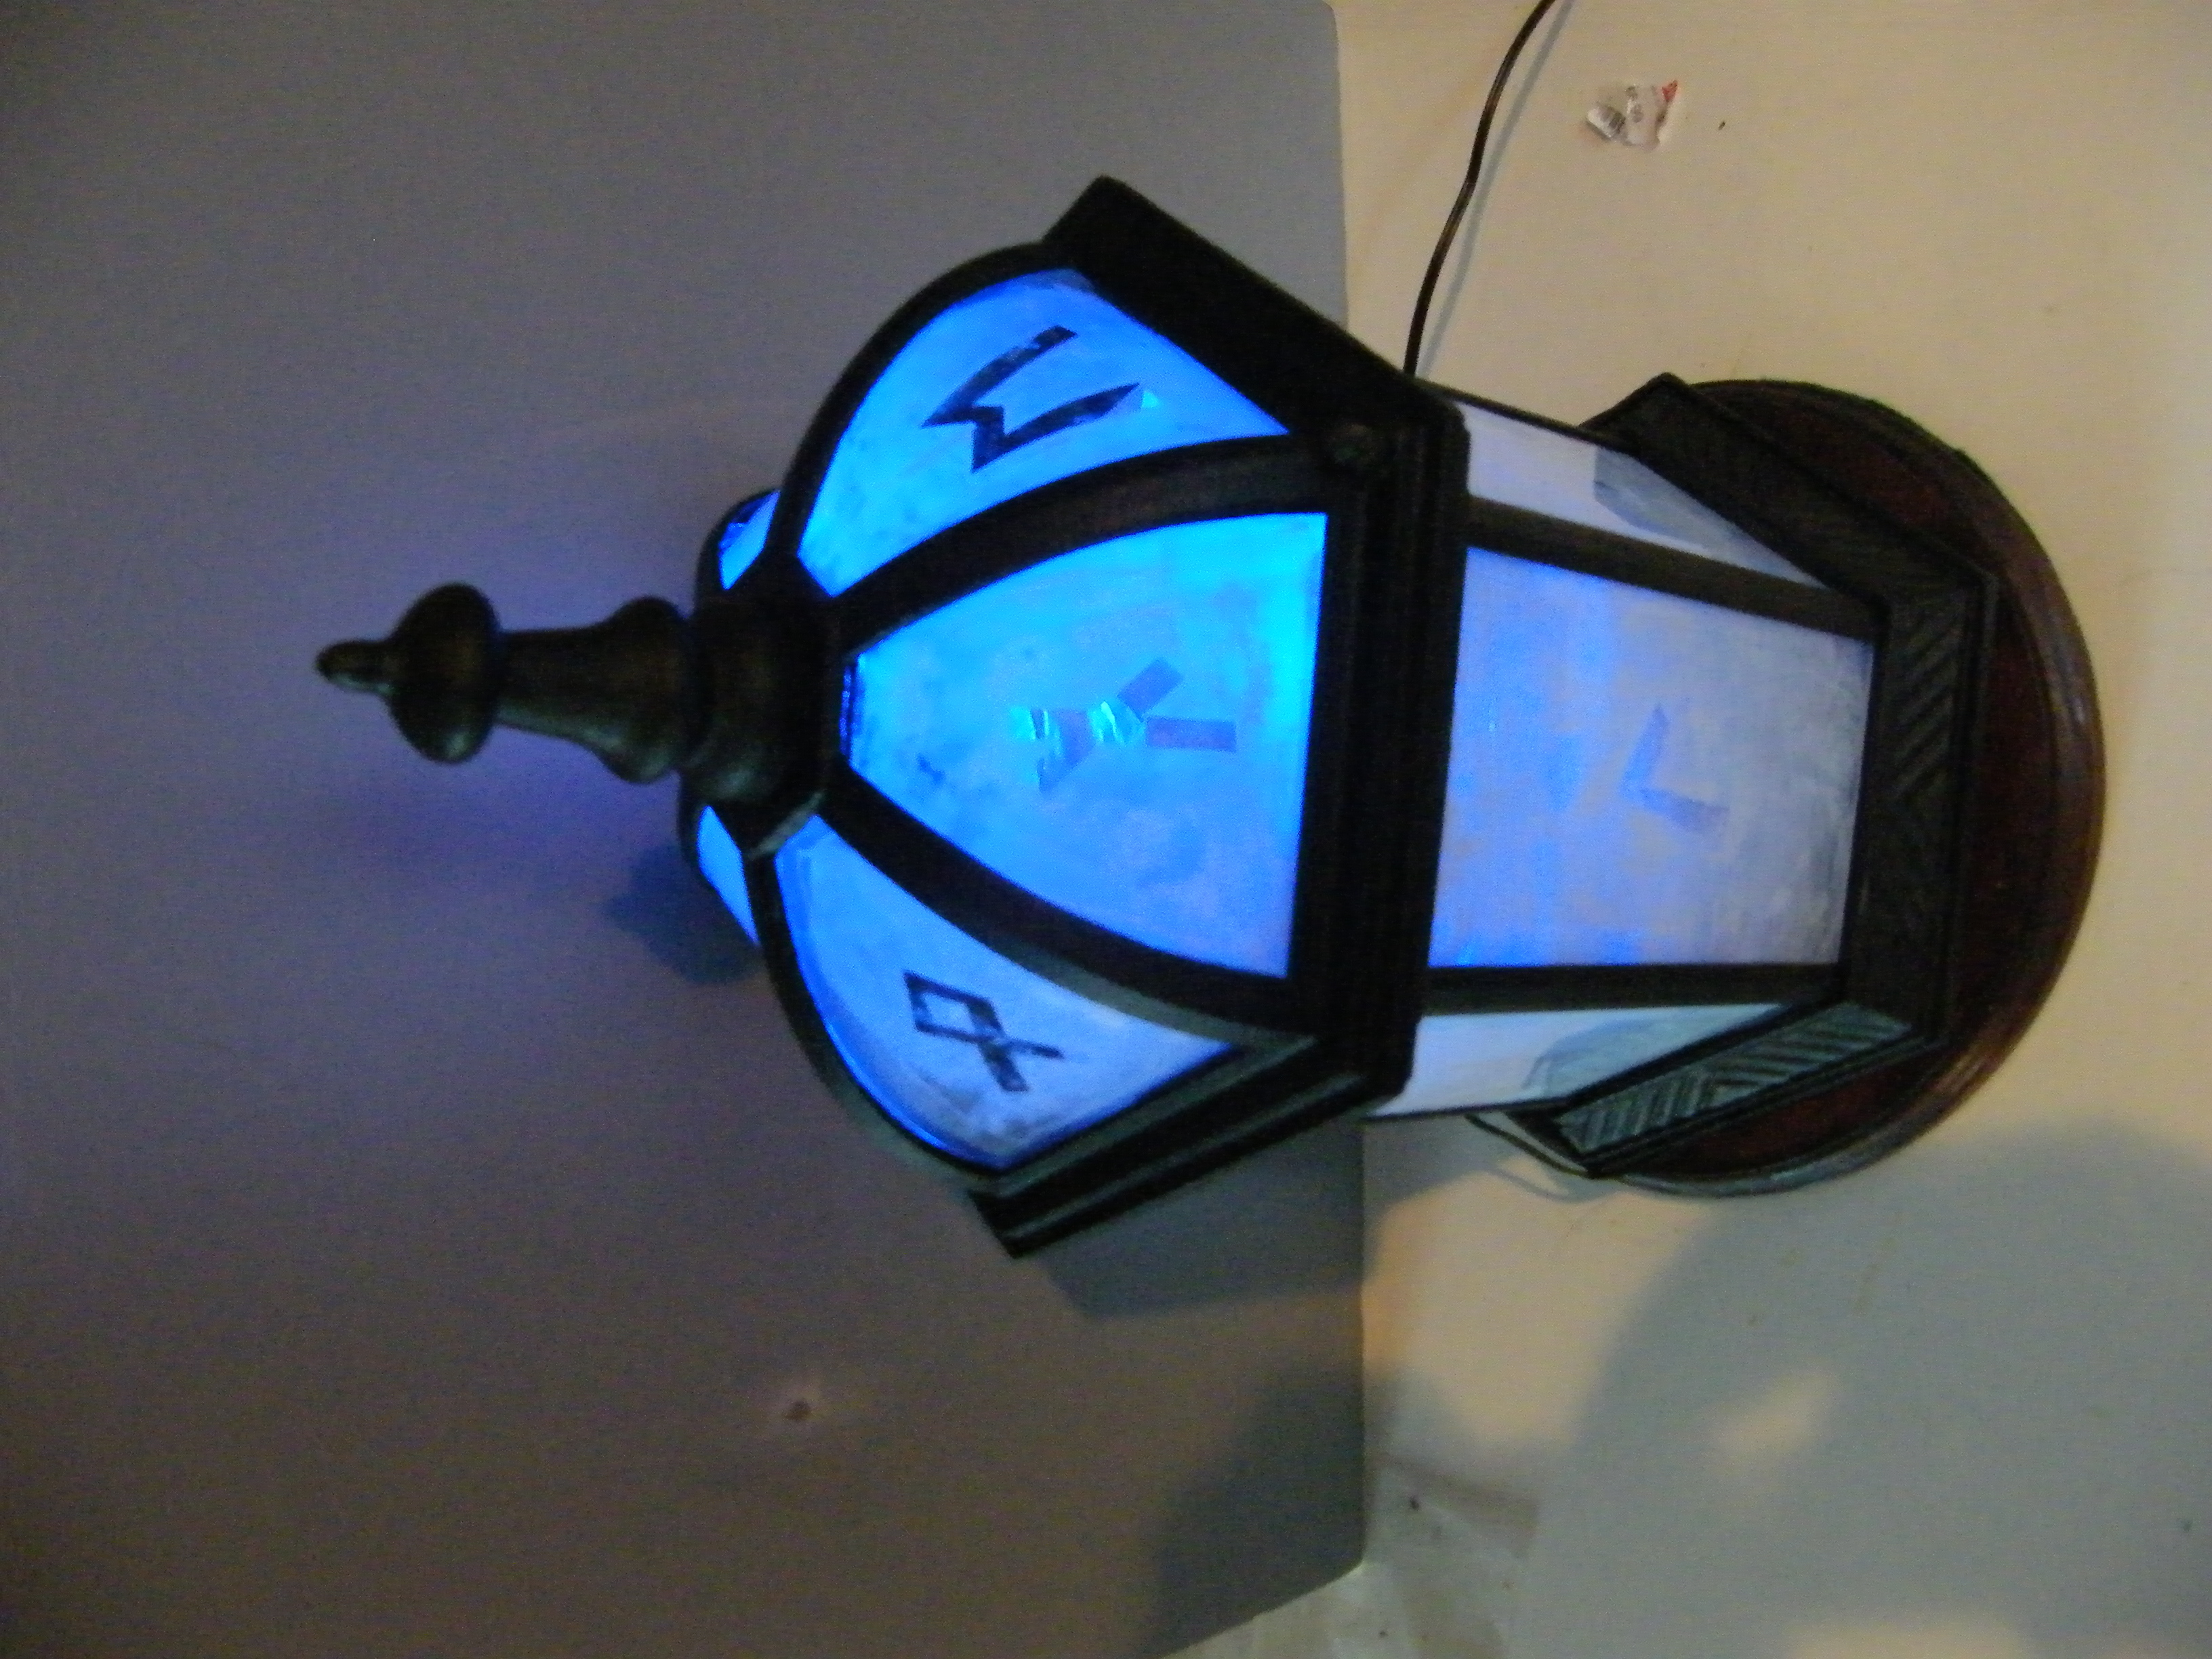
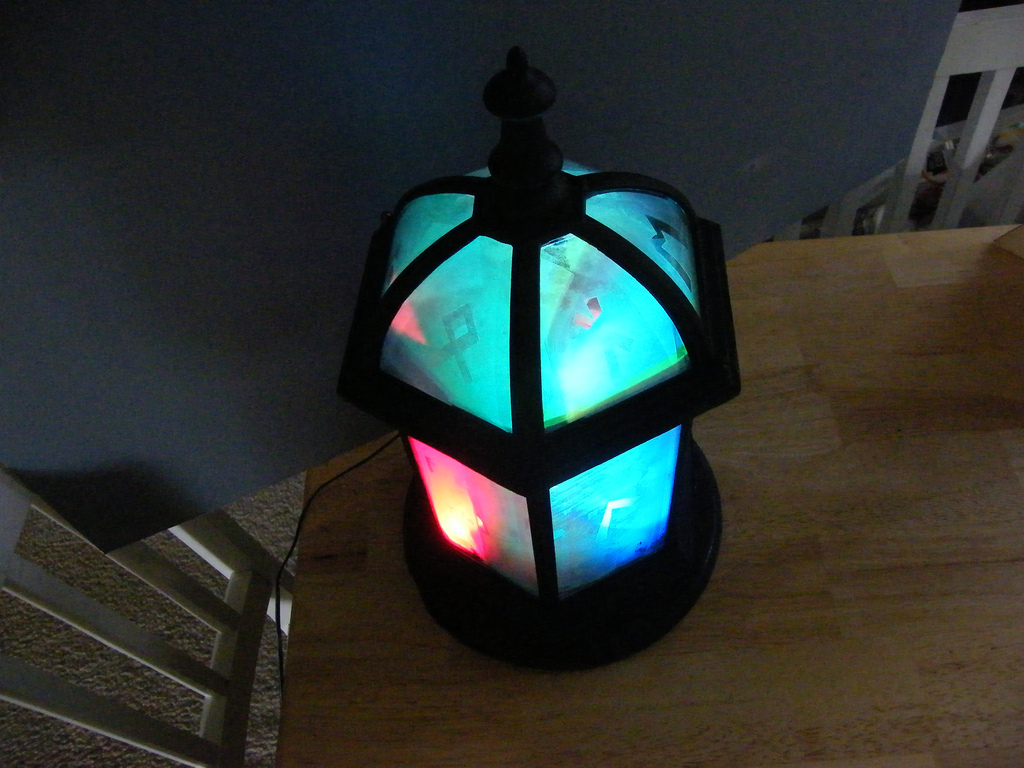
I decided to make it into a custom holder for another light brick panel . . . a belated housewarming gift for my brother. It would have, etched into the glass panels, ancient runes spelling out my brother’s name.

Here goes!

Project Steps

Here is the lantern as I found it. The lower dome was smashed, with just two struts remaining. I sawed off these, leaving a hexagonal frame which would serve as the base of the lamp.

The next step was to clean up the frame and glass.

(Note: The lamp is a Trans Globe Lighting model 4186. A new one costs about $50, but the spirit of this project is to start with a discarded Piece of Stuff. Check out thrift stores and dumpsters!)

After a thorough scrubbing, rinsing, and drying, I painted the frames with a crinkle-finish Krylon spray paint.

Next up, the runes. I found a graphic of the “Old Furthark” runes online, the used Corel Draw to resize the ones I needed. A small set for the top dome, a larger set for the side panels.

I cut out the runes and traced them onto the back of a sheet of “Contact” paper. (Actually, a thin vinyl sheeting.)

Cutting out the tracings resulted in a set of adhesive reversed runes. I stuck these onto the back of the lantern’s glass panels.

The glass panels were etched with Armour Etching Cream. This was not ideal; the stuff (hydroflouric acid with fillers to thicken it) was really meant to be used for fine, small areas.

But you use what you’ve got. I applied the “cream” with a foam brush and let it sit. Experimentation showed that about four hours was required to etch the panels.

After rinsing off the panes, I let them dry. Peeling off the letters revealed clear glass runes, properly oriented for viewing from the “outside.”

Problem! The etching was sufficiently uneven that it really didn’t provide the cloudy, frosted look I desired. So I rubbed the backs with ordinary white chalk.

Assembling the lamp with the etched panels was easy.

I used a cheap pine plaque from a craft store for the lamp’s base. I stained it with redwood stain.

The bottom ring was held onto the base with screws and washers.

I had to drill holes in the base to allow nuts to attached to bolts that held the two bottom rings together.

Rather than solder the light brick’s power connector directly to the board, I attached it to two pieces of bell wire. I used screws, washers, and tape to mount the connector into a notch cut into the bottom frame.

I attached a momentary contact miniature push-button switch to the connector for the board’s tilt switch. This connector is actually a four-mode selector. Each push of the bottom changes from mode to mode . . . one of which is off!

A vexing problem was coming up with a way to “buffer” the light from the LEDs, which were visible through the etched glass.

After trying out a plastic milk carton with the top and bottom trimmed off, I settled on taping rectangles of waxed paper to the inside of the panels.

The combination of chalk and waxed paper did the trick. The light from the pulsing, strobing LEDs is pleasingly smeared and softened. In some sequences it looks like the lantern is full of multi-colored glowing fluid.

The top panels, I left with a clear “shot” through the runes. As it happens, this allowed the lantern to project the runes onto the ceiling of a darkened room!

Here is a link to a video of the lantern in operation.