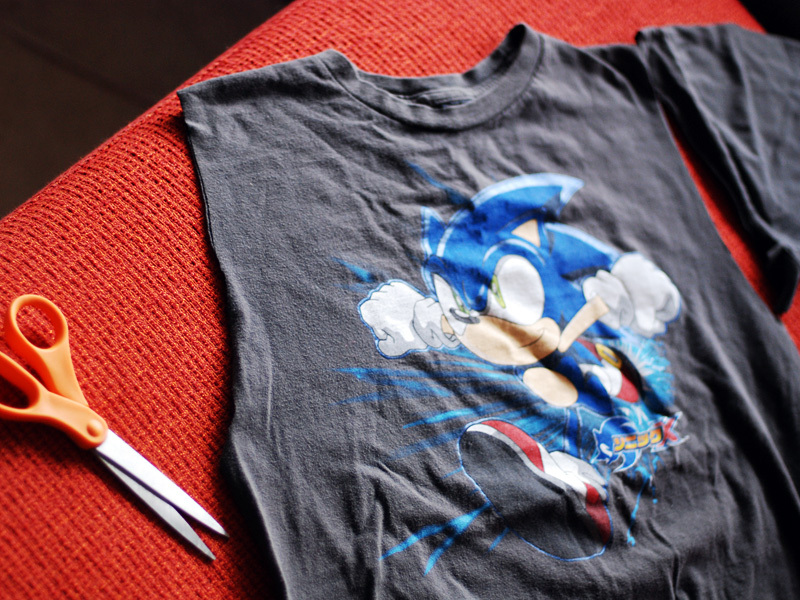
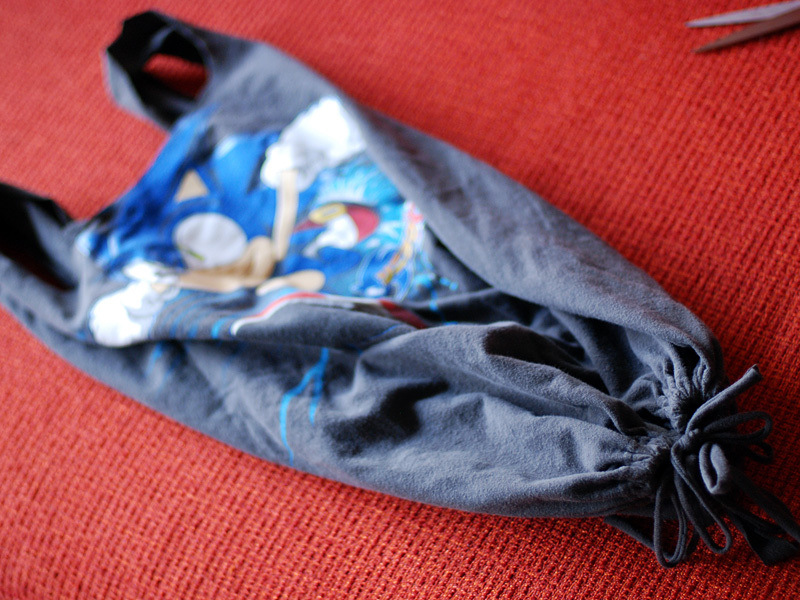
Basically, we’ll turn the bottom of a T-shirt into one or more drawstrings and tie them closed, cut open the top and the sleeves, and your tee is a shopping bag!

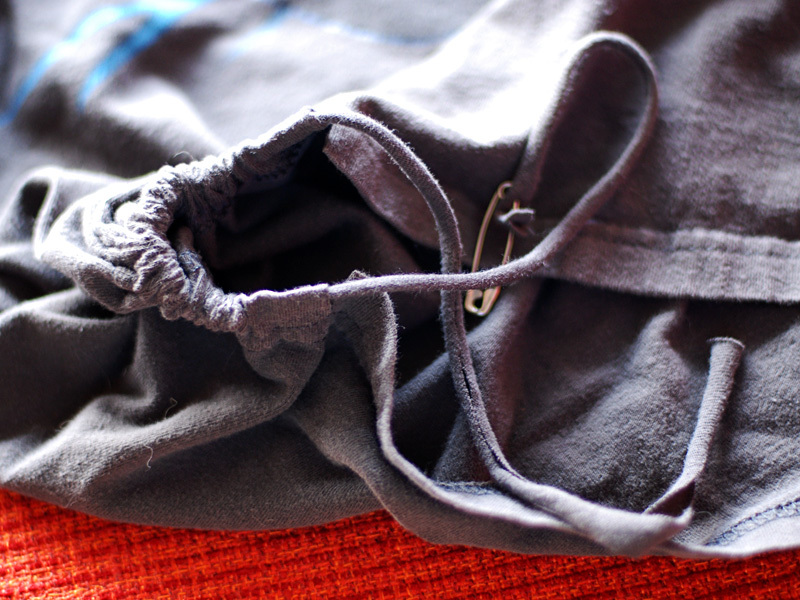
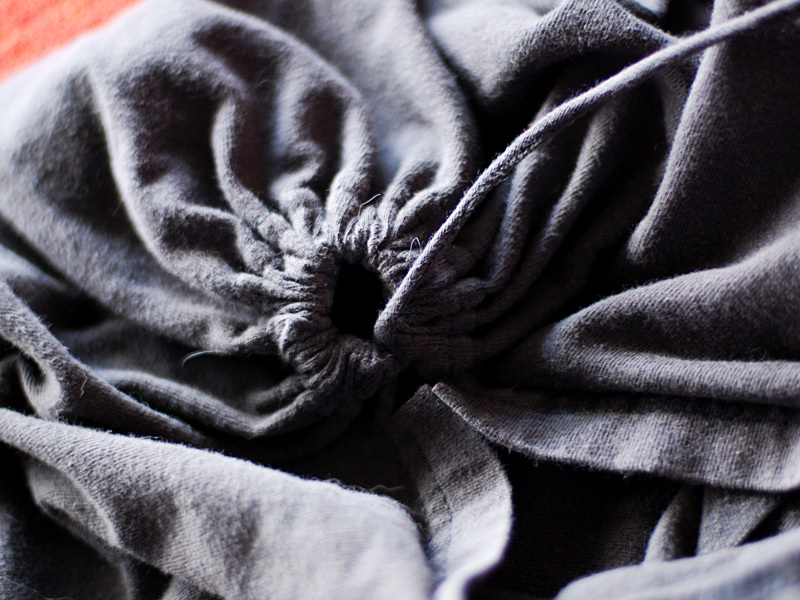
The simplest version of these bags is great for smaller tees, or the more light-weight kind of girl tees – just turn the bottom of the shirt into a drawstring and tie it closed! Even with a not huge tee, this will still leave a significant hole in the bottom of your bag, but for purposes like grocery shopping, that size hole shouldn’t really matter. But to make smaller holes, just make more than one of them – you can make the bag bottom with as many holes as you want, but 3 works well, so the example in the tutorial is with 3 holes. The 1-hole version of this project takes 5-10 minutes, but the more holes you have, the longer it takes (by a few minutes).

Project Steps

Cut the sleeves off, but try to make a somewhat straight line, and go in a bit from the seam – these lines will be the sides of your straps.

Cut some strips from those sleeve pieces – about half an inch wide, the length of one time around a sleeve is good, and as many strips as the number of holes you’ll be making in your bag bottom. (I’ve made bags with 1, 2, and 3 holes, but I haven’t tried more than that.) Pull the ends of the strips to stretch them out and make them curl in.

Cut the neck out to become your bag’s opening – the way you cut this can depend on your tee’s picture (if there is a picture), and also the shape you want your bag. Just make sure you cut a big enough opening to fit things through, for a functional bag.

You could make it rounded, V-shaped, or squared.

Snip slits in the hem part of the tee bottom – as many slits as you want holes. 3 slits, as pictured, is for 3 holes; for a single hole, just cut one slit, and for 2 holes, snip 2 slits.

The slits should be equally spaced from each other, but the spacing doesn’t need to be exact – I just eyeballed my slit placement, no measuring.

Now stick a safety pin through the end of one of those strips you made, and start running it through the hem, through one of the slits.

Run it through to the next slit (or all the way around and back to the beginning, if you’re making a single hole) and pull the cord so it’s centered-ish.

Pull the hole closed as tightly as you can, and tie a tight knot.

Then repeat the last step for the remaining sections, one slit to the next, for however many slits you made.

(Skip this if you just made one slit for one single hole, like the yellow bag.)

For an ultra sturdy bag bottom, tie one cord strand from one hole together with one strand from the hole next to it, tightly, and repeat for each strand (as many of these knots as the number of holes you have; ignore this step if you’re making a single hole), so that the holes are all tied to each other.

Now, you can choose whether you want the T-shirt cord ties hanging down at the bottom, or hidden on the inside.

To hide them inside, bring them through the center, then tie bows on the inside so they don’t fall back through. Or, tie bows on the outside if you prefer (or you could just cut the cords short and skip the bows).